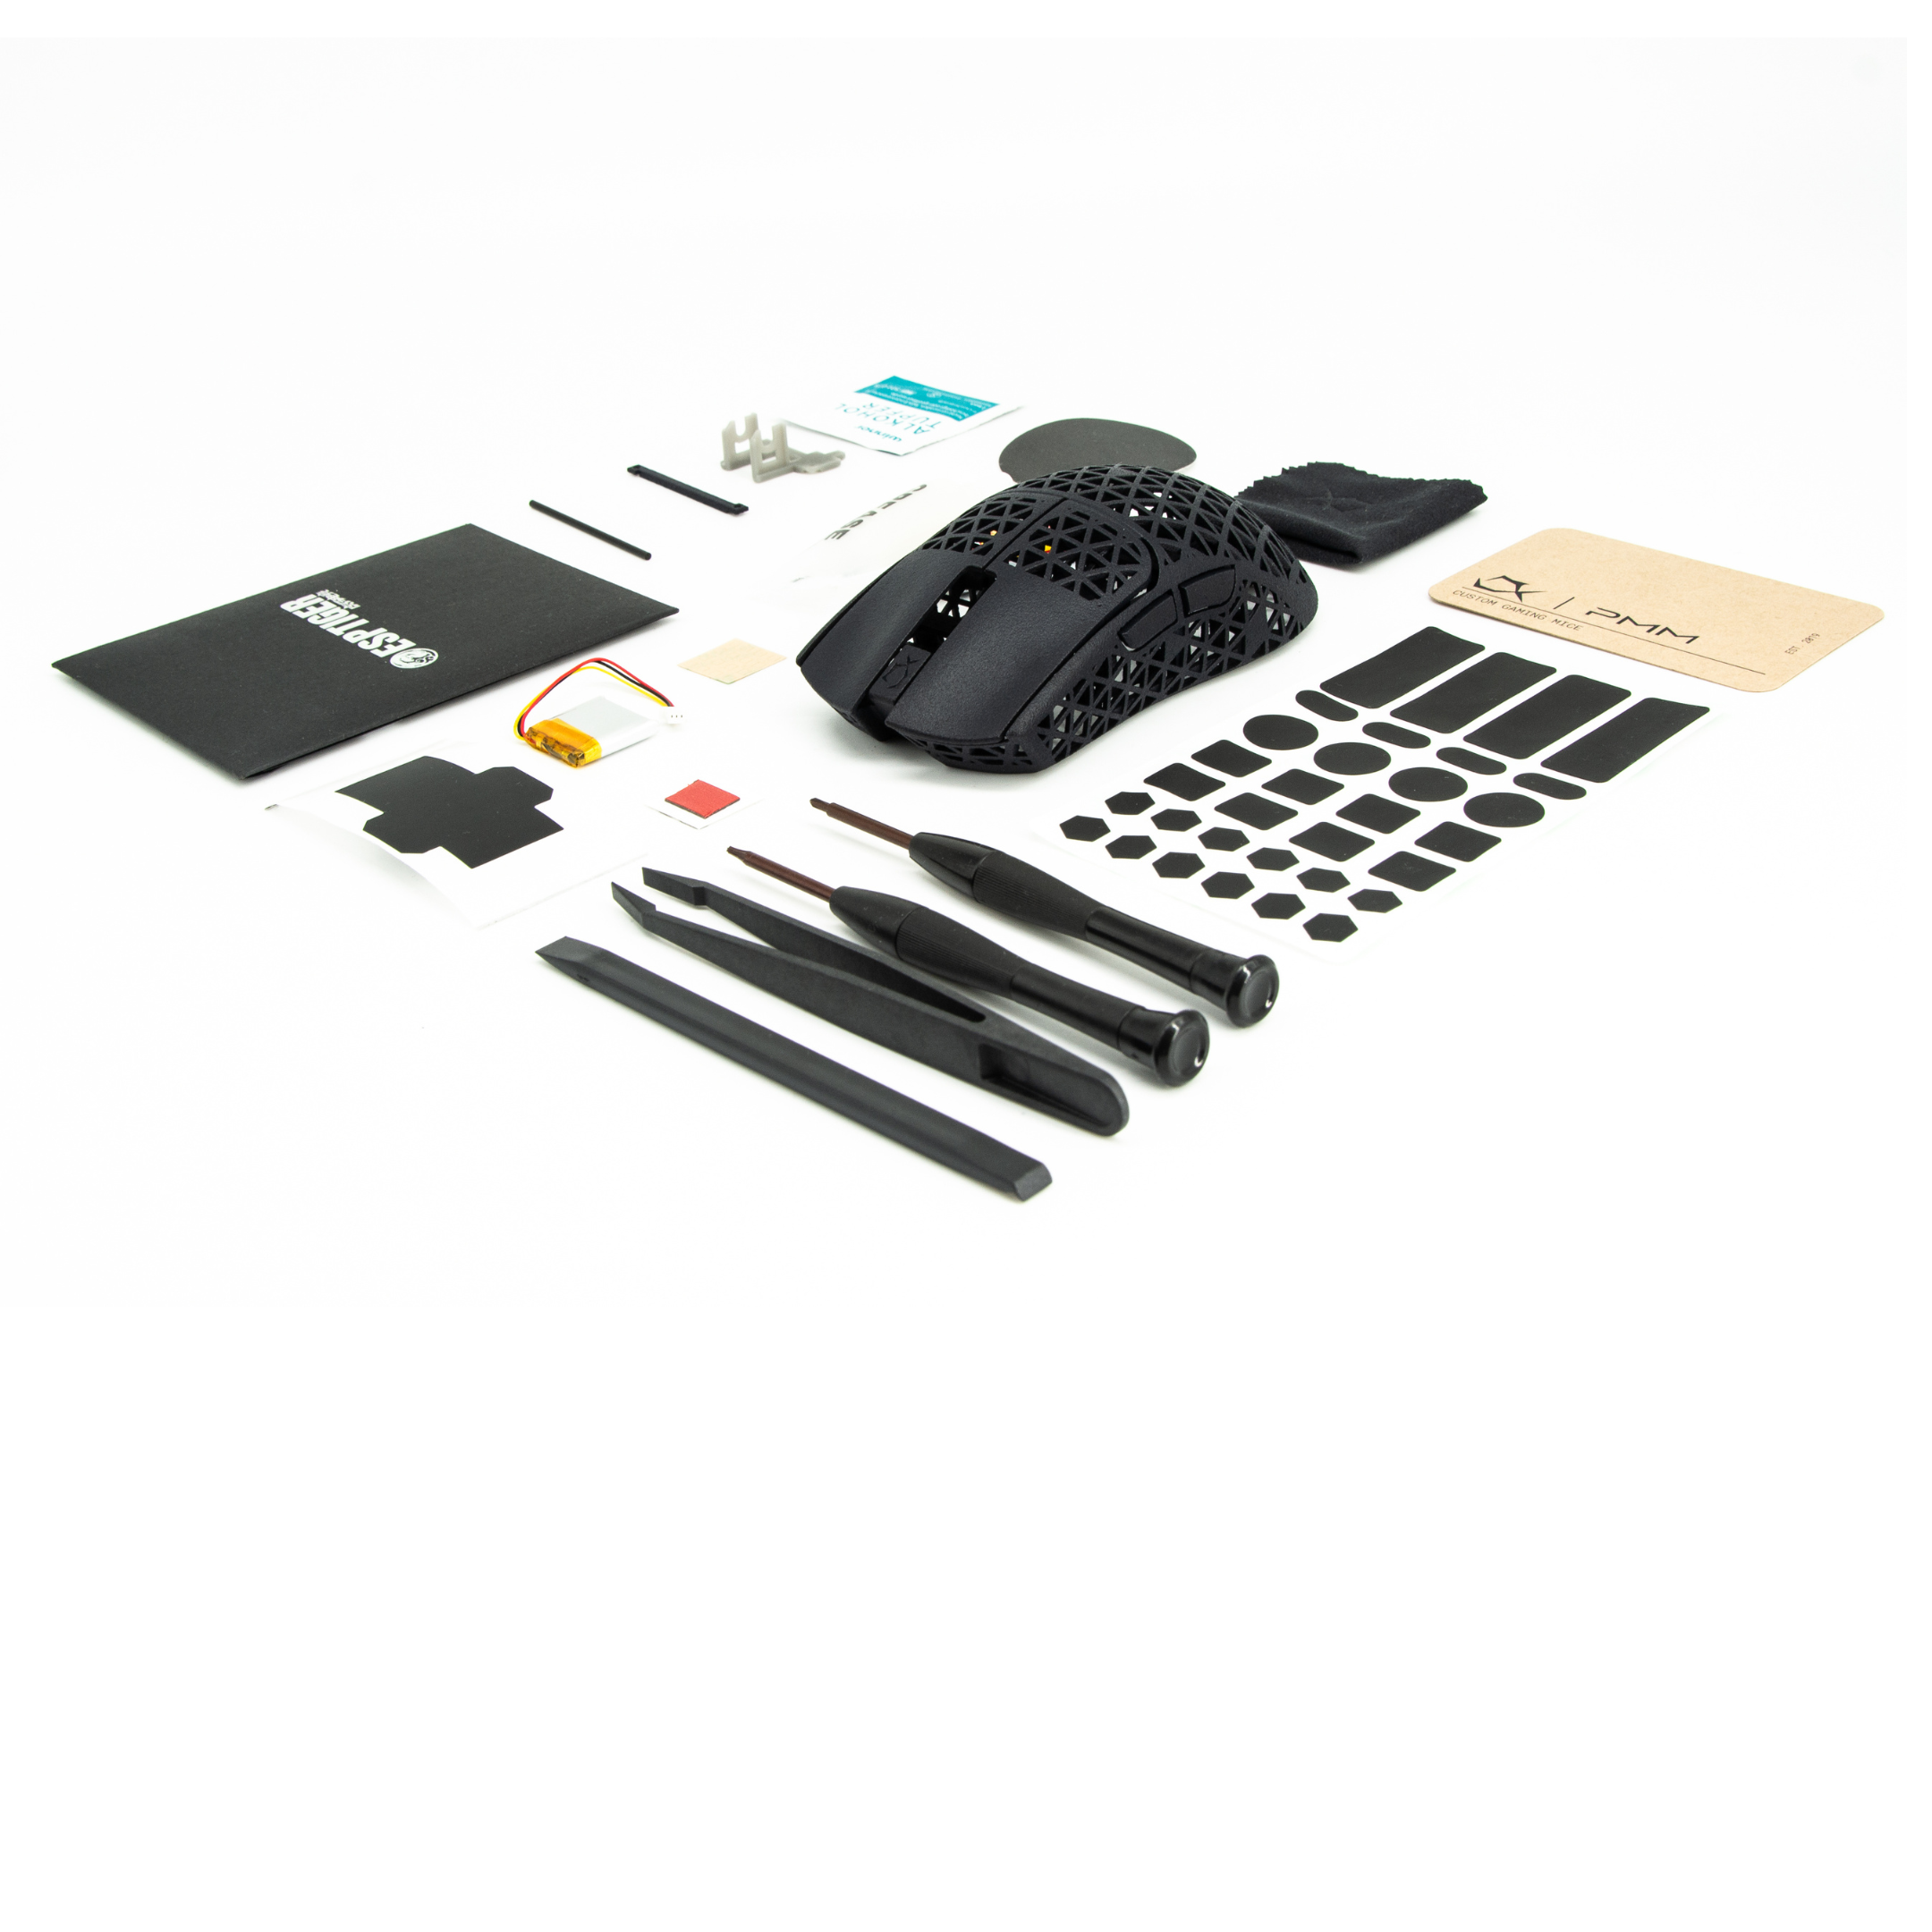
Needed tools

Xacto knife, small cross screwdriver, Torx T6 screwdriver
[1] Remove the mouse feet to get to the screws

[3] Unscrew them using the Torx T6 screwdriver

[4] Split the bottom and top shell. No need to be careful.

[5] Remove the 2 screws in the top shell

[6] Reposition the battery like shown in the picture. Remove the white sticker to achieve better adhesion.

[7] Remove the PCB screws

[8] Bend the hook to the side which is holding the PCB down.

[9] Remove the PCB

If you have this version of the side button PCB, remove the green/grey part so that it fits in the side button PCB holder.

[10] Add the PCB to the bottom shell. It won't go down immediately.

[11] Carefully move the scrollwheel holder to the side to allow the PCB to slide down. This can take a moment.

[12] Fasten the PCB using 3 screws. One screw will be left over.

[13] Add the scrollwheel by slightly bending the encoder to the side.

[14] Add the side button PCB. The two hooks have to be above the PCB.

It is possible that there is left-over powder in the whole for the side button PCB. Remove it with something pointy [Green arrow]. If there is too much pretravel on the sidebuttons try bending those inwards without the side button PCB in place.
[15] Add the 4 torx screws at the sides.

It is possible that a mouse button is constantly activated. The solution is to slightly sand the hook of the top shell or file the parts that the hooks lock in to in the bottom shell like shown in the following 2 pictures.


[16] Add the mouse feet.

For support, contact us here: support@pmm.gg


