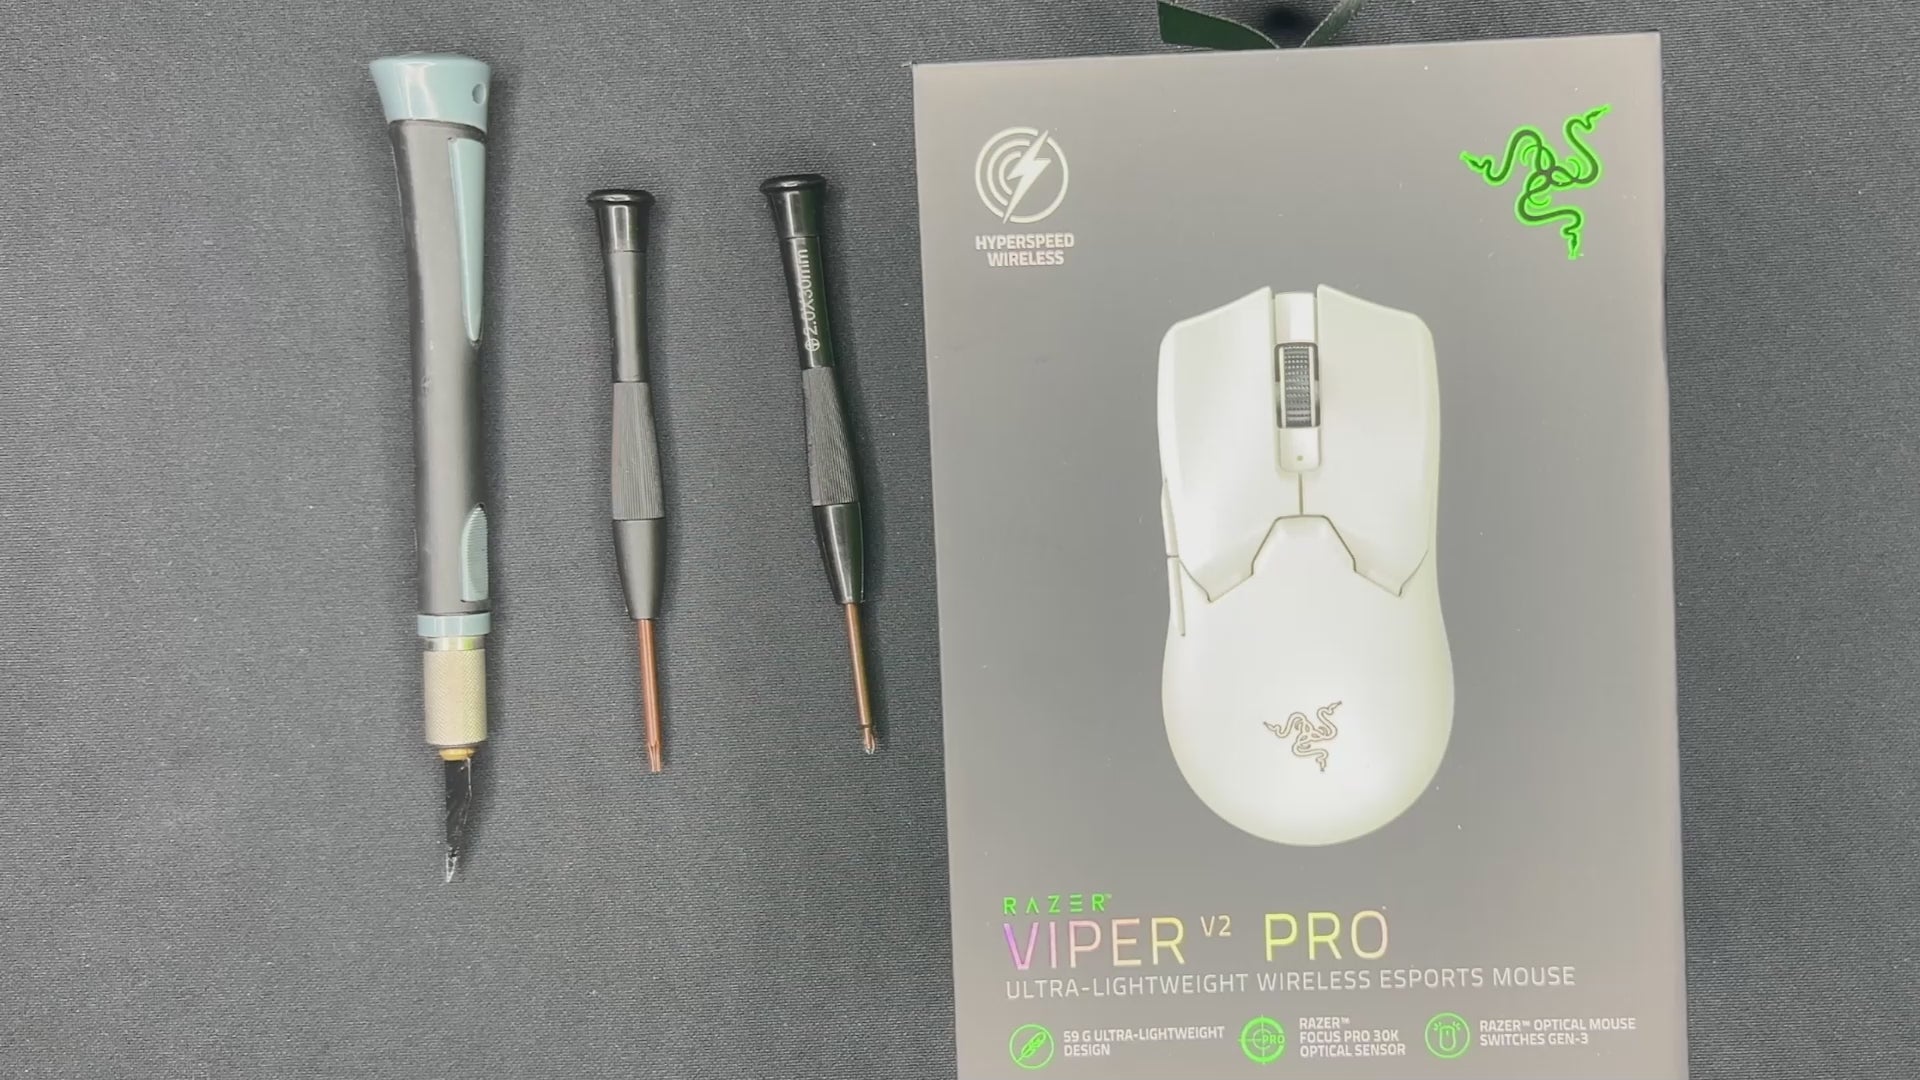
Instructions
You need a Torx T6 and Phillips PH00 screwdriver. Proceed at your own risk. You can damage the ribbon cable.
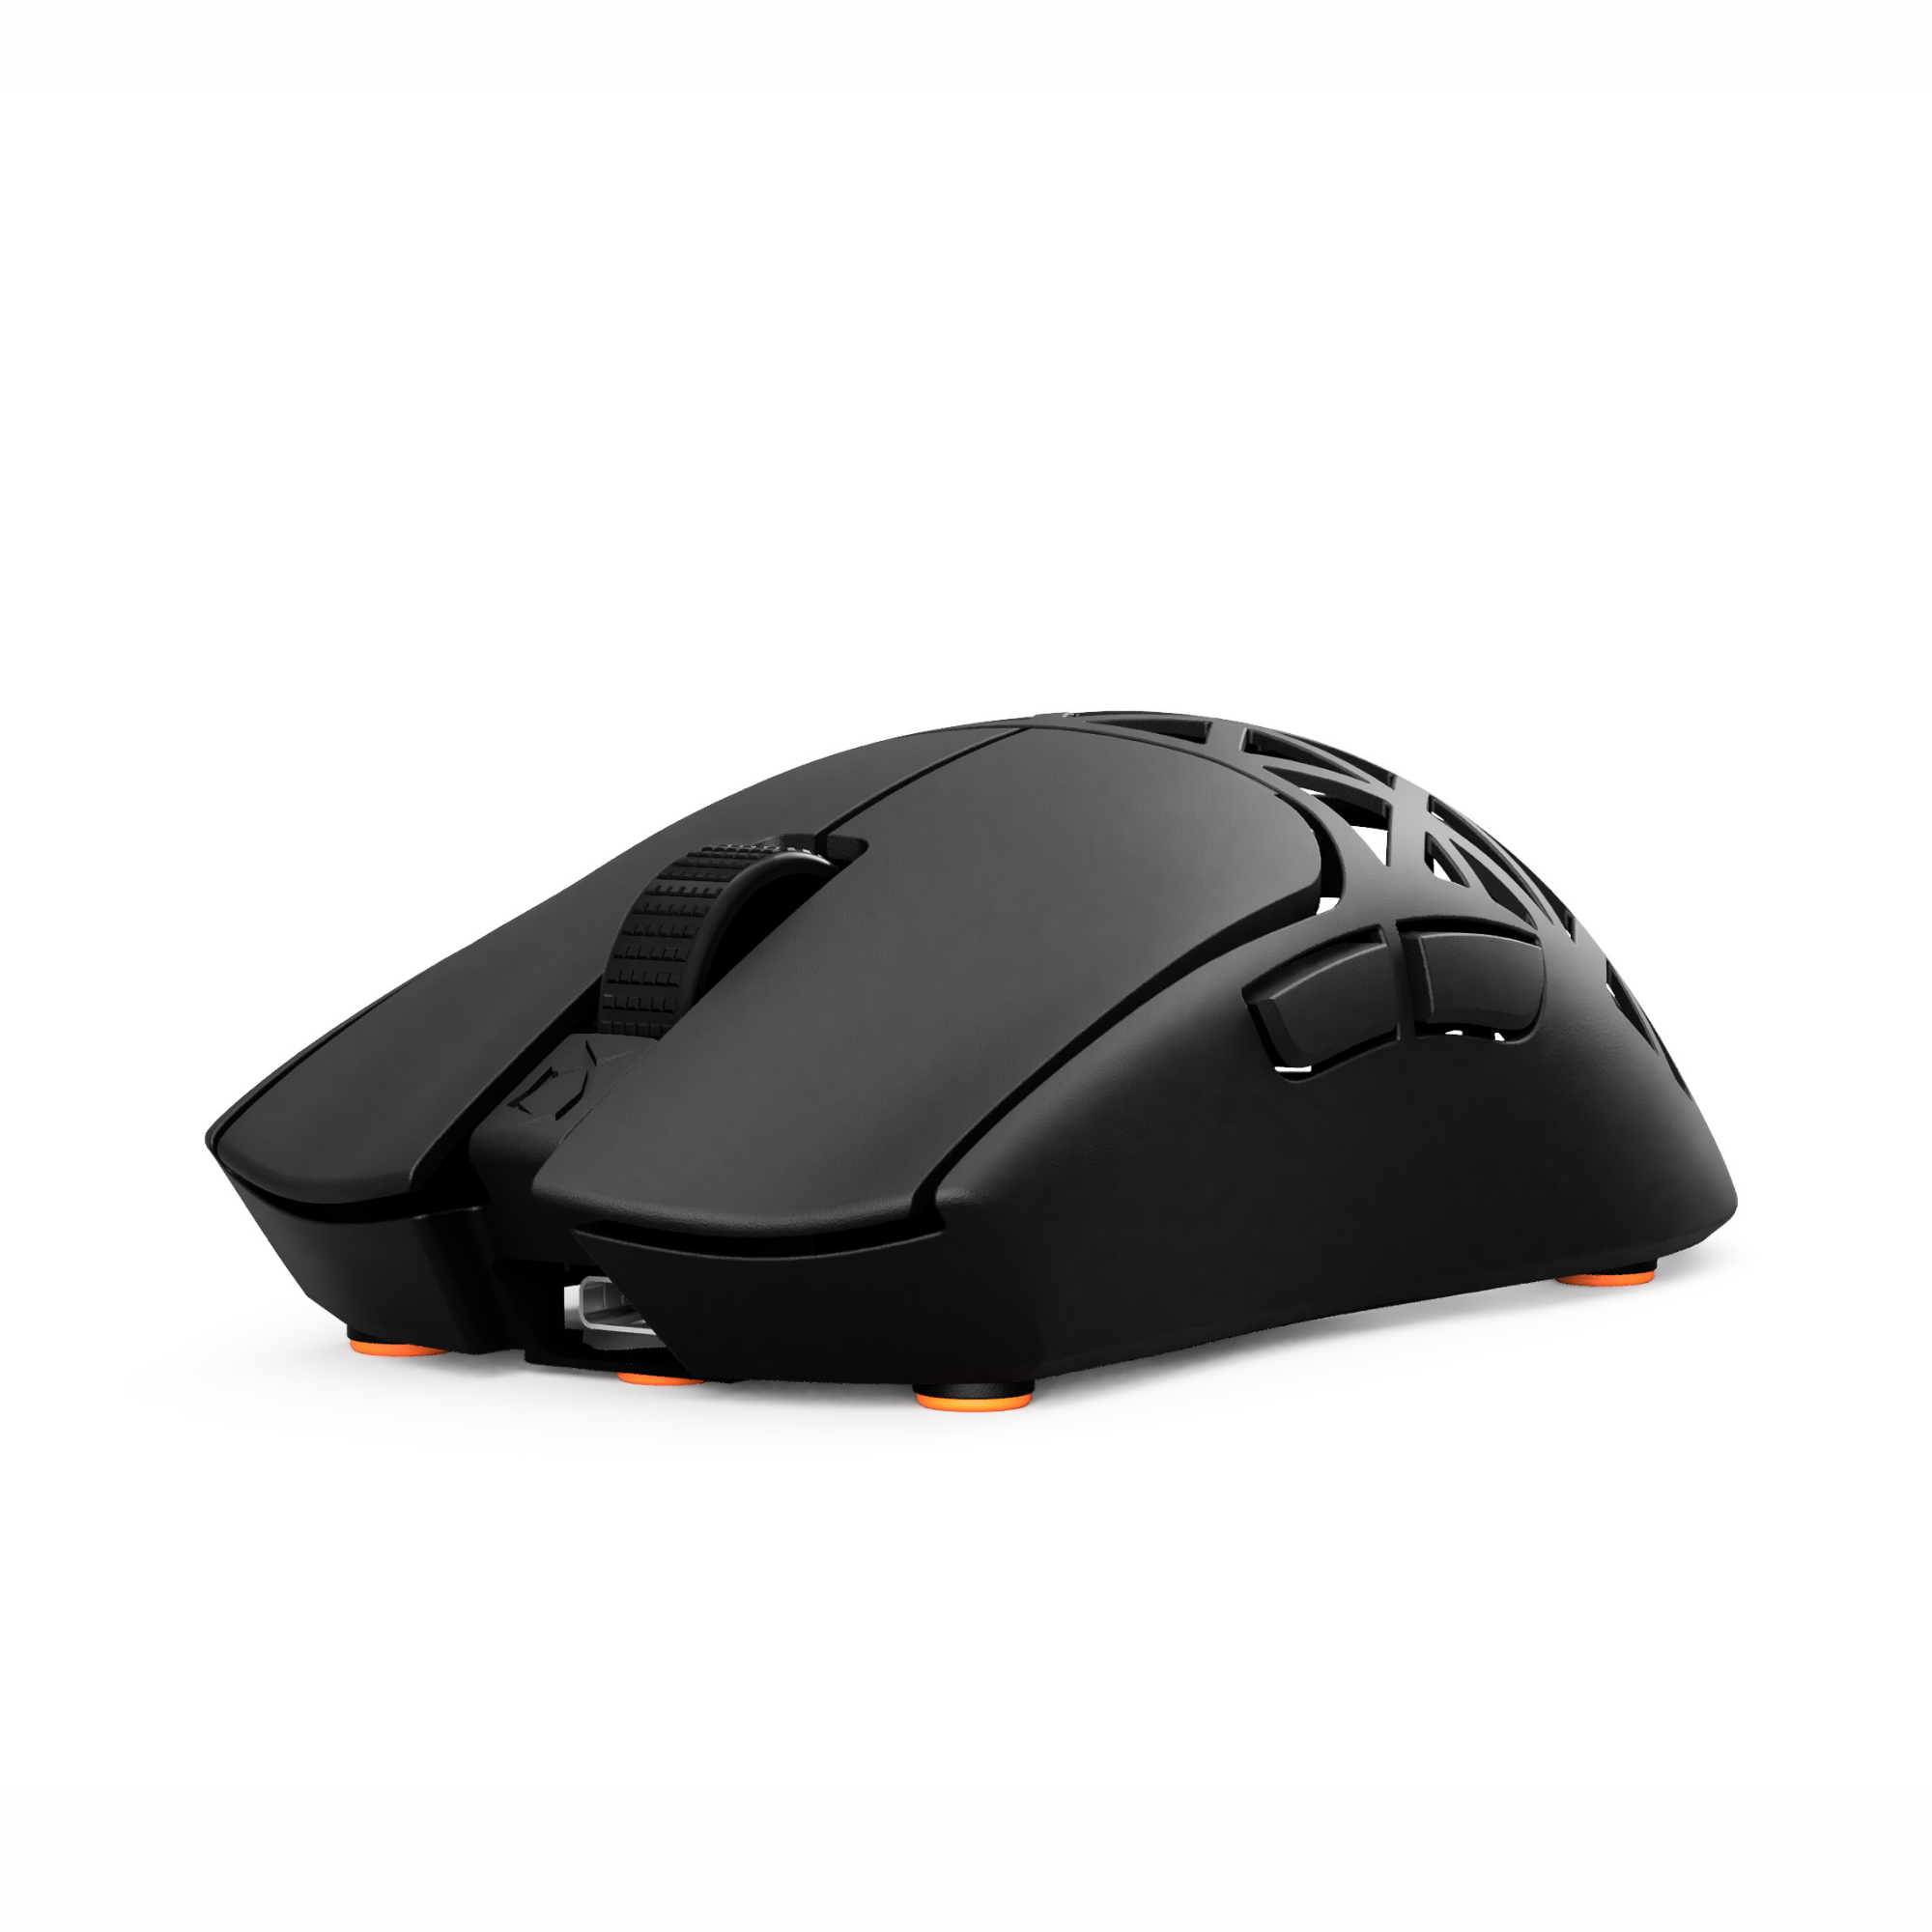
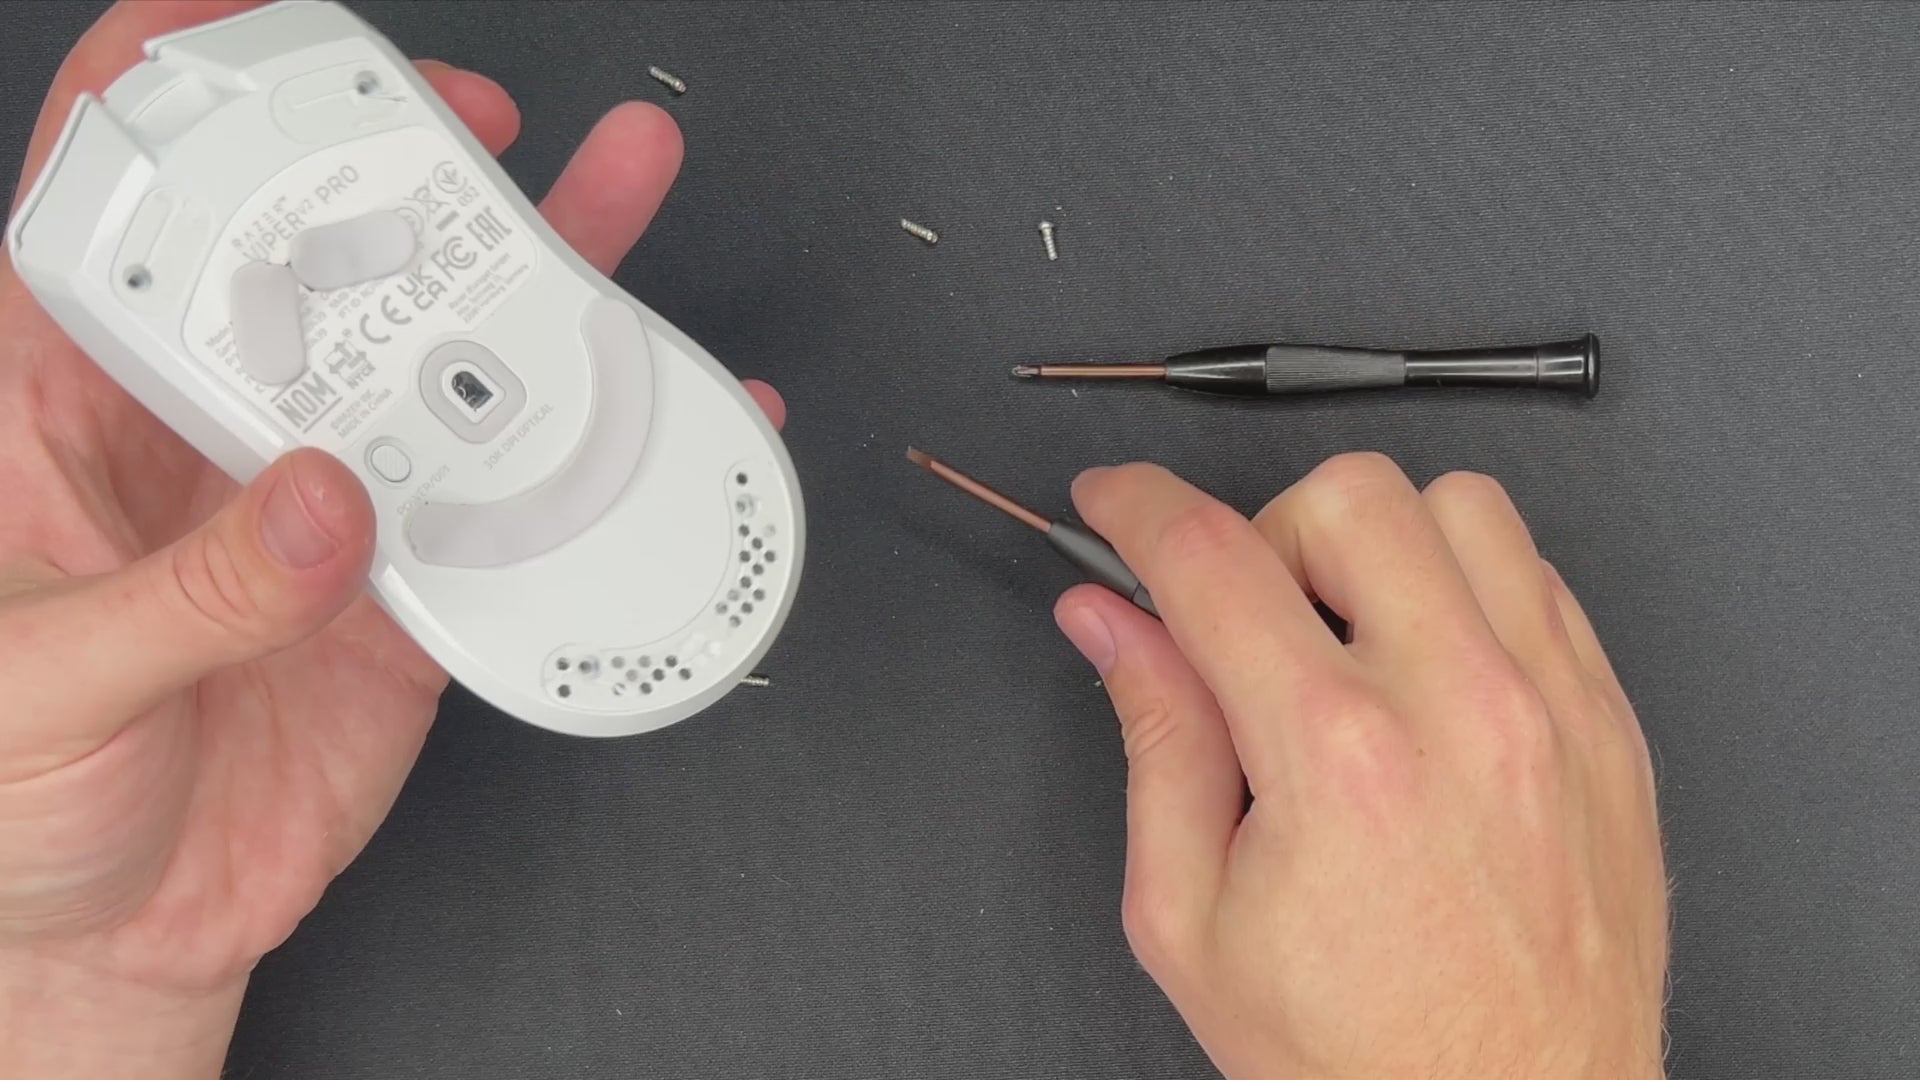
STEP 1: REMOVE THE MOUSE FEET & SCREWS
- Use a plastic pry tool or the cross screwdriver to carefully remove the PTFE mouse feet. This will expose the hidden screws beneath them.
- Unscrew all visible screws using a Torx T6 screwdriver.
STEP 1
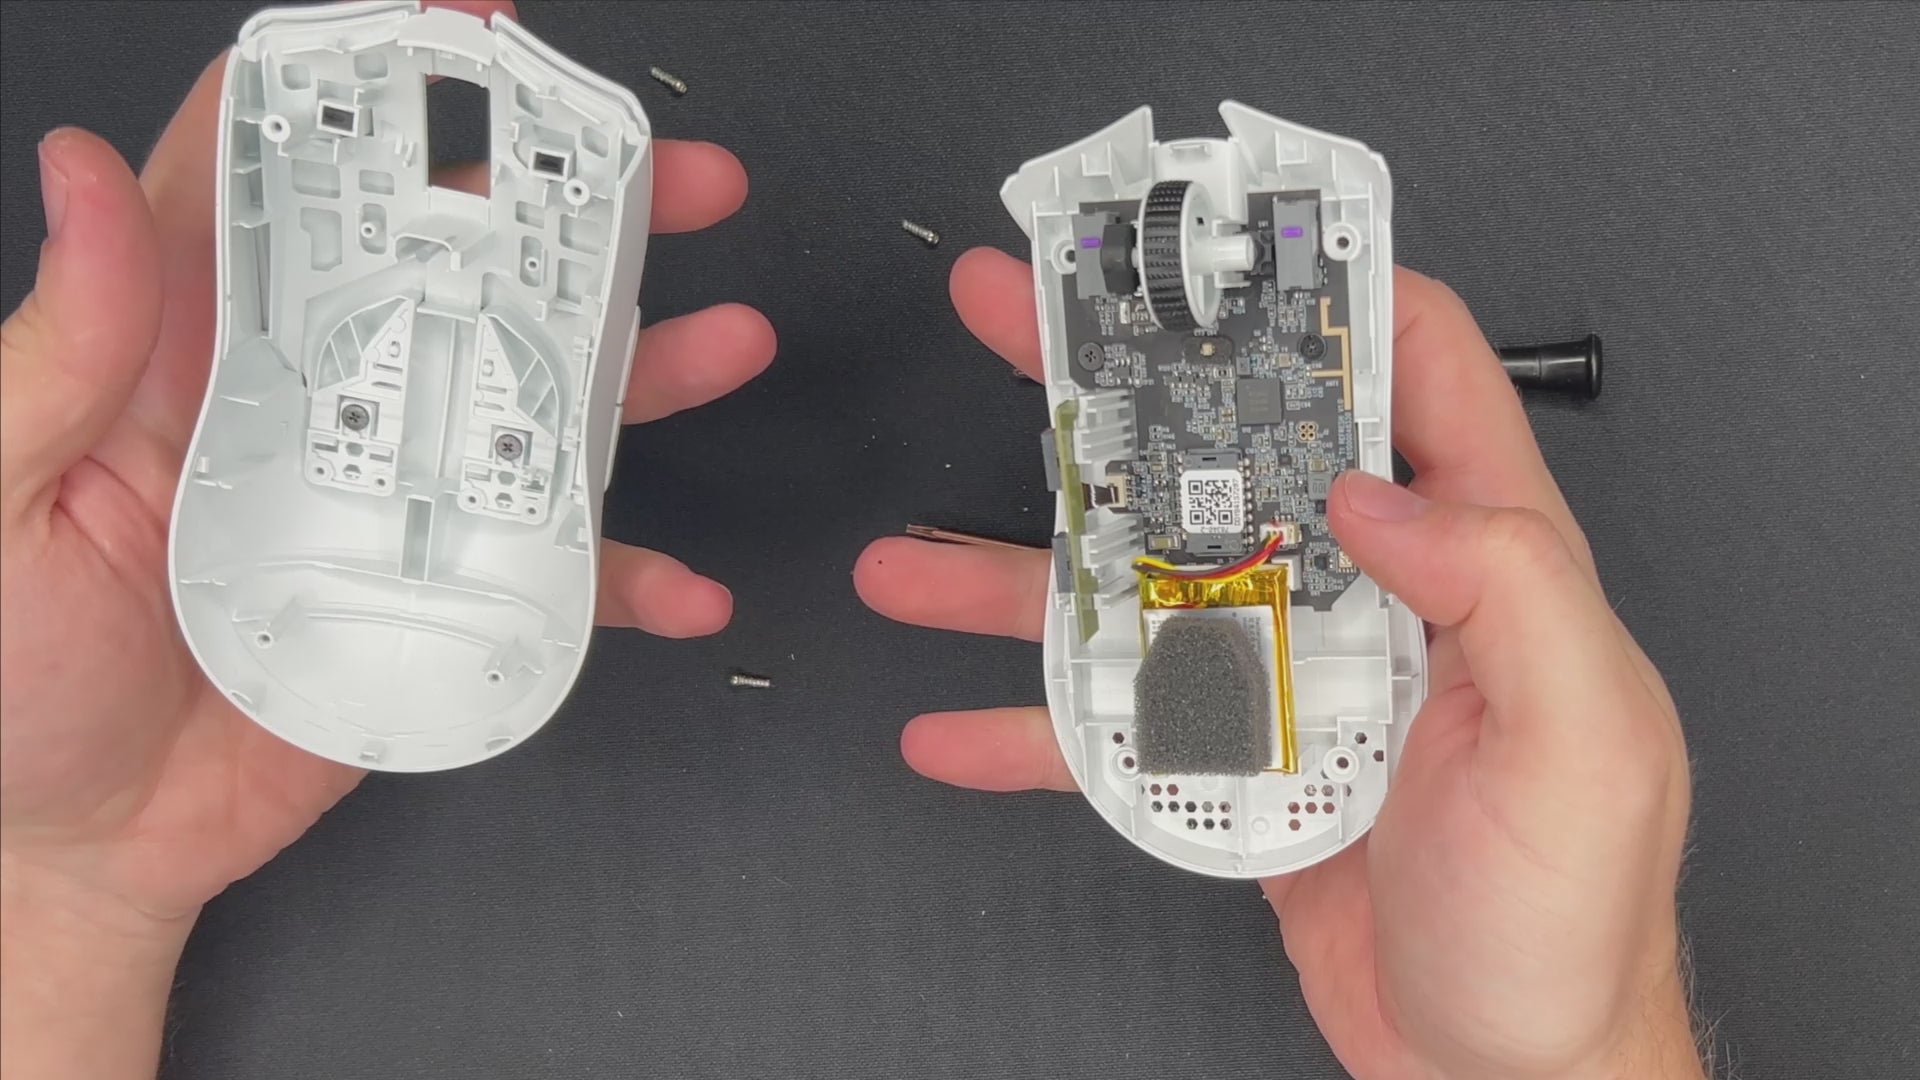
STEP 2: OPENING THE MOUSE SHELL
- Insert a plastic pry tool, the screwdriver or your nails into the seam between the top and bottom shells.
- Gently work around the edges, unclipping the internal latches.
- Slowly lift the shells in different directions and open the mouse.
STEP 2
STEP 3: THE TOP SHELL
- Unscrew the two screws.
STEP 3
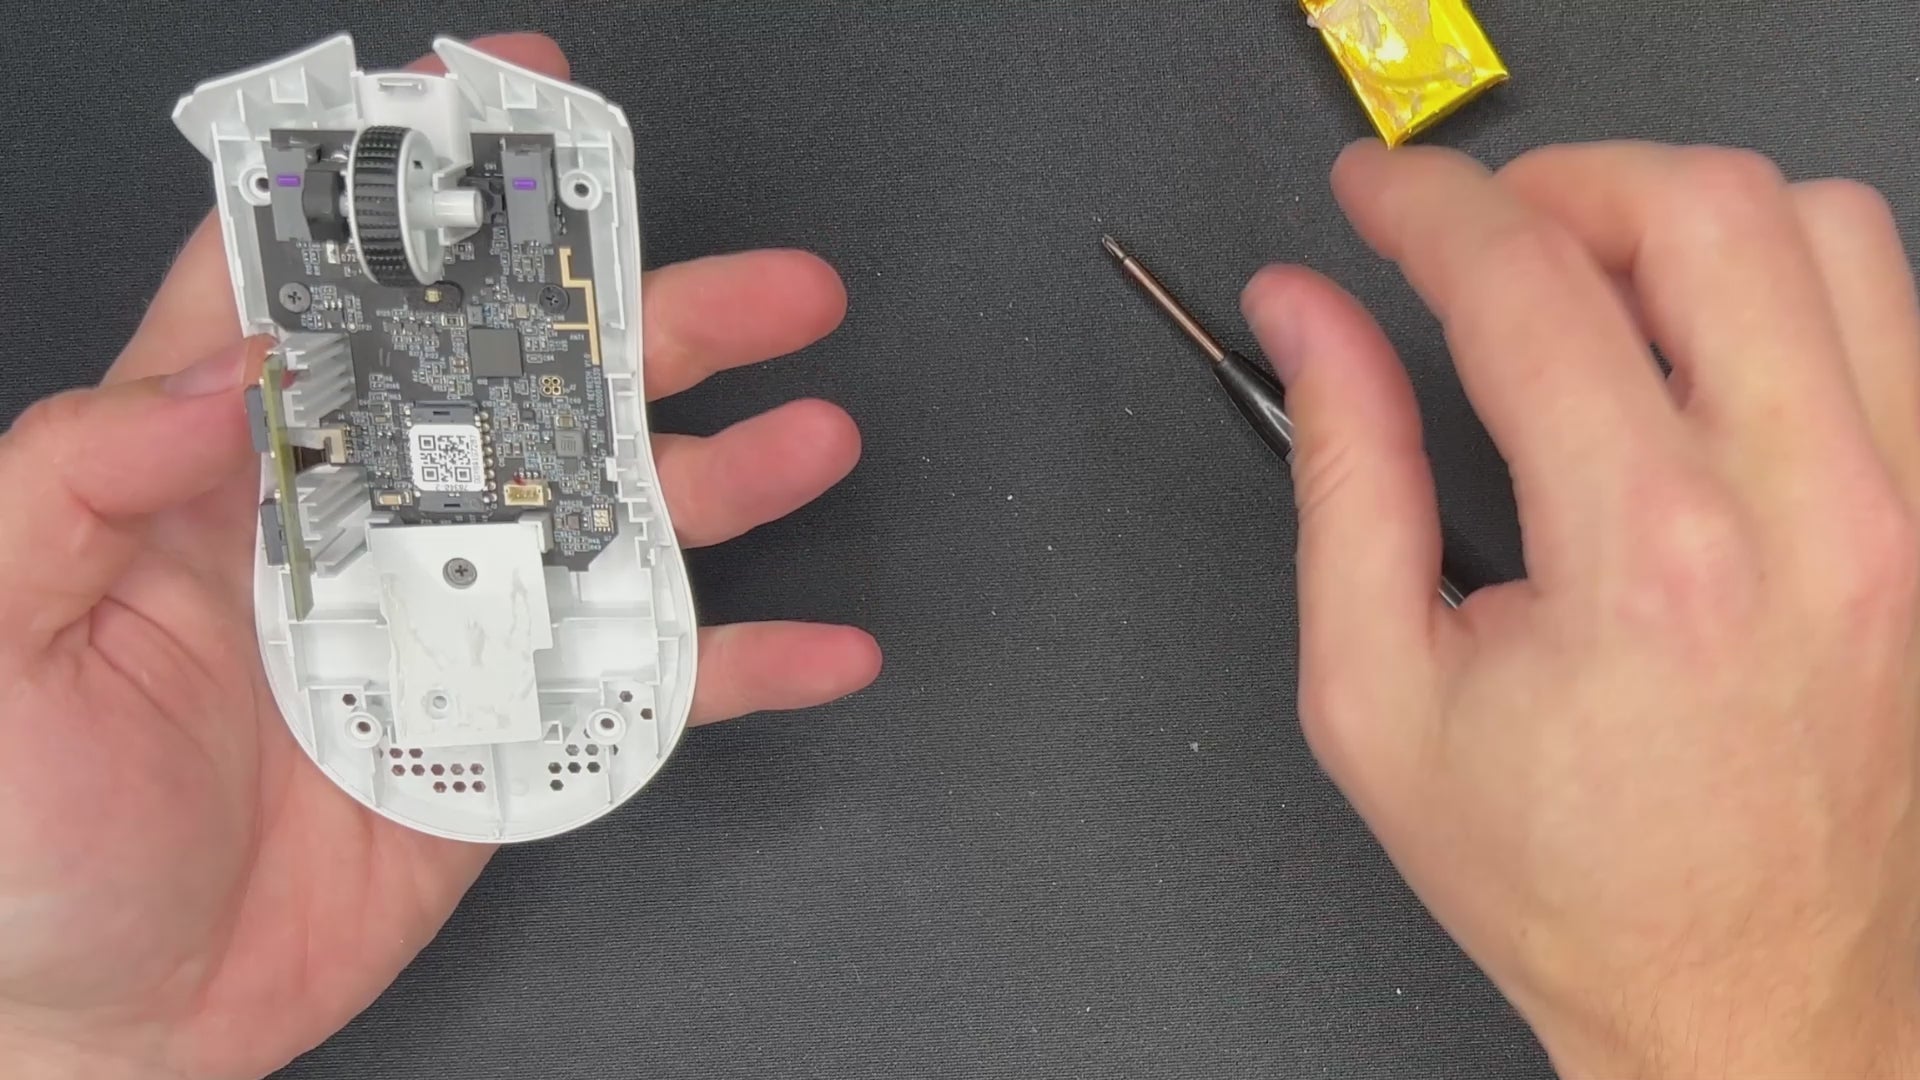
STEP 4: REMOVE THE BATTERY
- Unplug the battery if you haven't done so far.
- Slowly start to take out the battery. The bottom shell is fragile. Be careful if you want to use it again.
- Disconnect the battery from the PCB.
STEP 4
STEP 3: DISCONNECT MAIN PCB
- Use the cross screwdriver to unscrew the PCB.
- The PCB is held by a pin. You can bend the pin as shown in the video or simply take out the PCB starting on the left side.
- Put the main PCB aside.
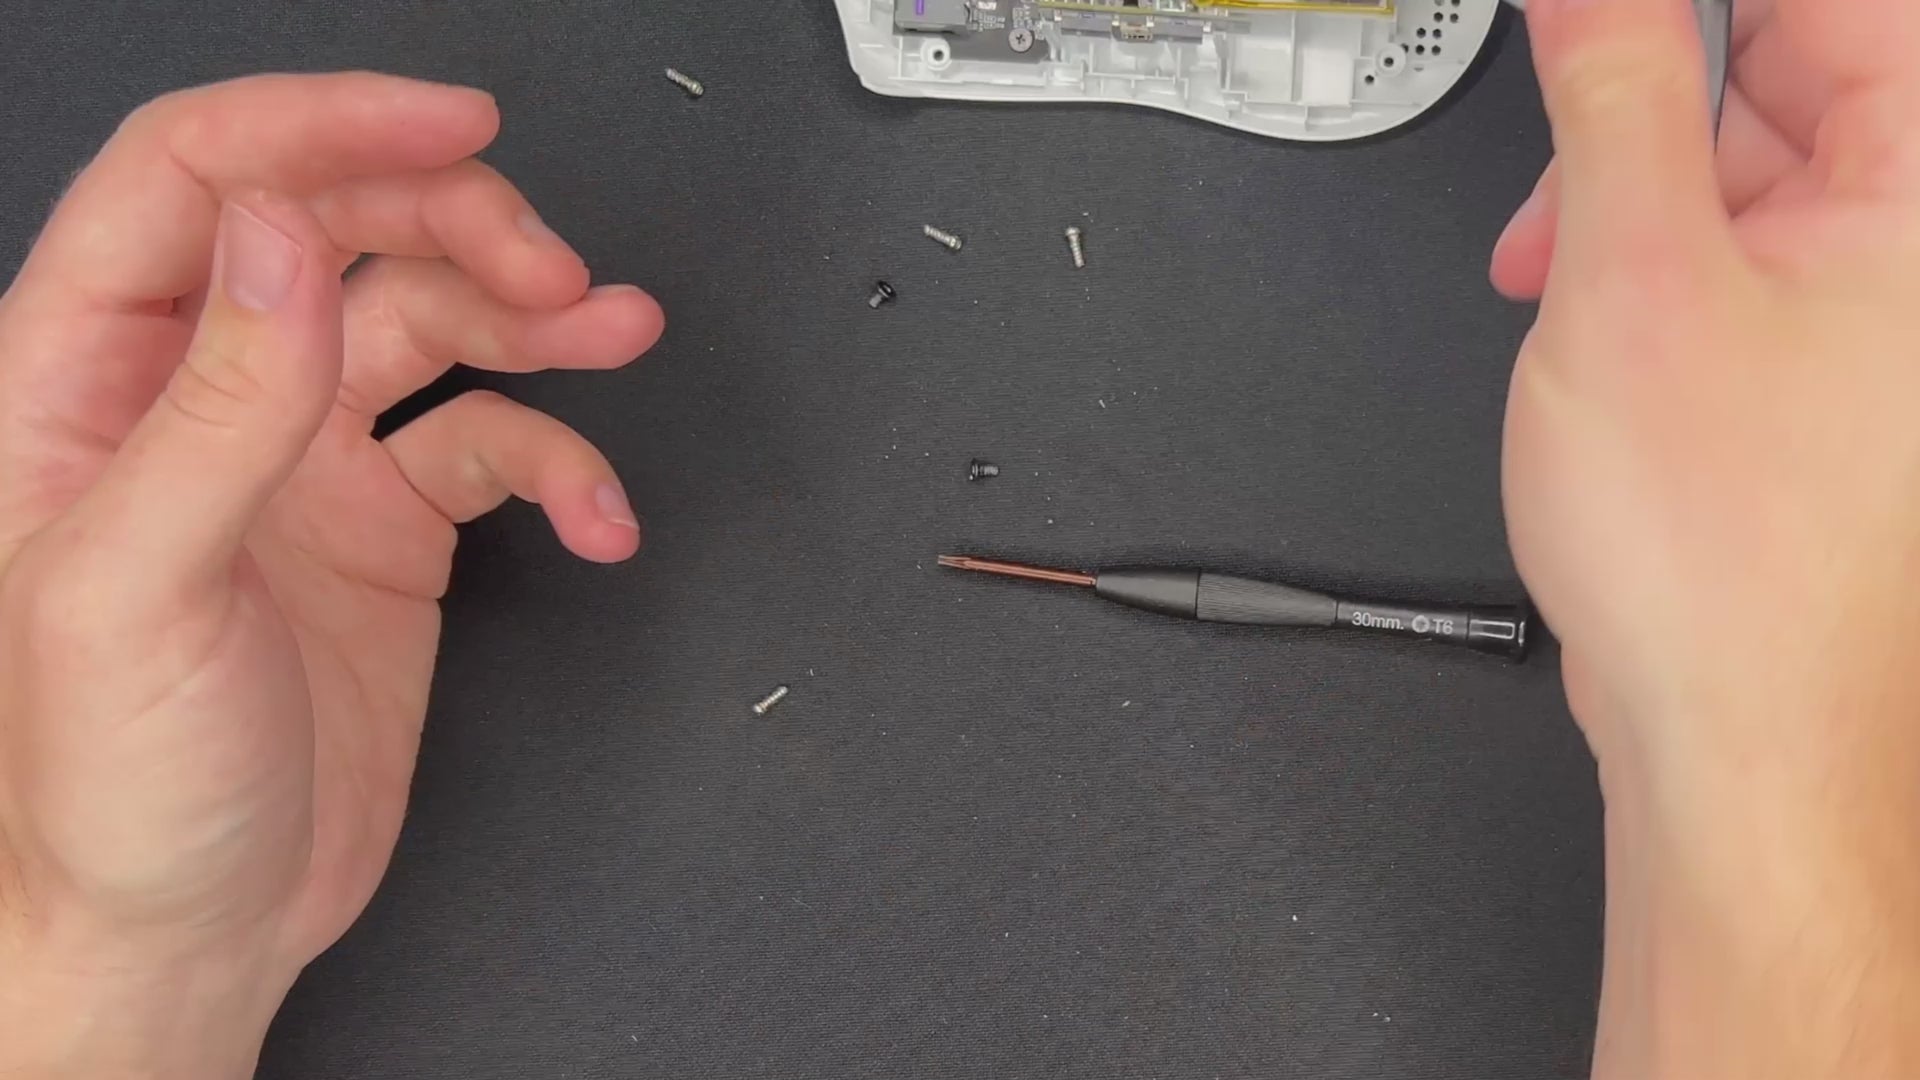
STEP 5
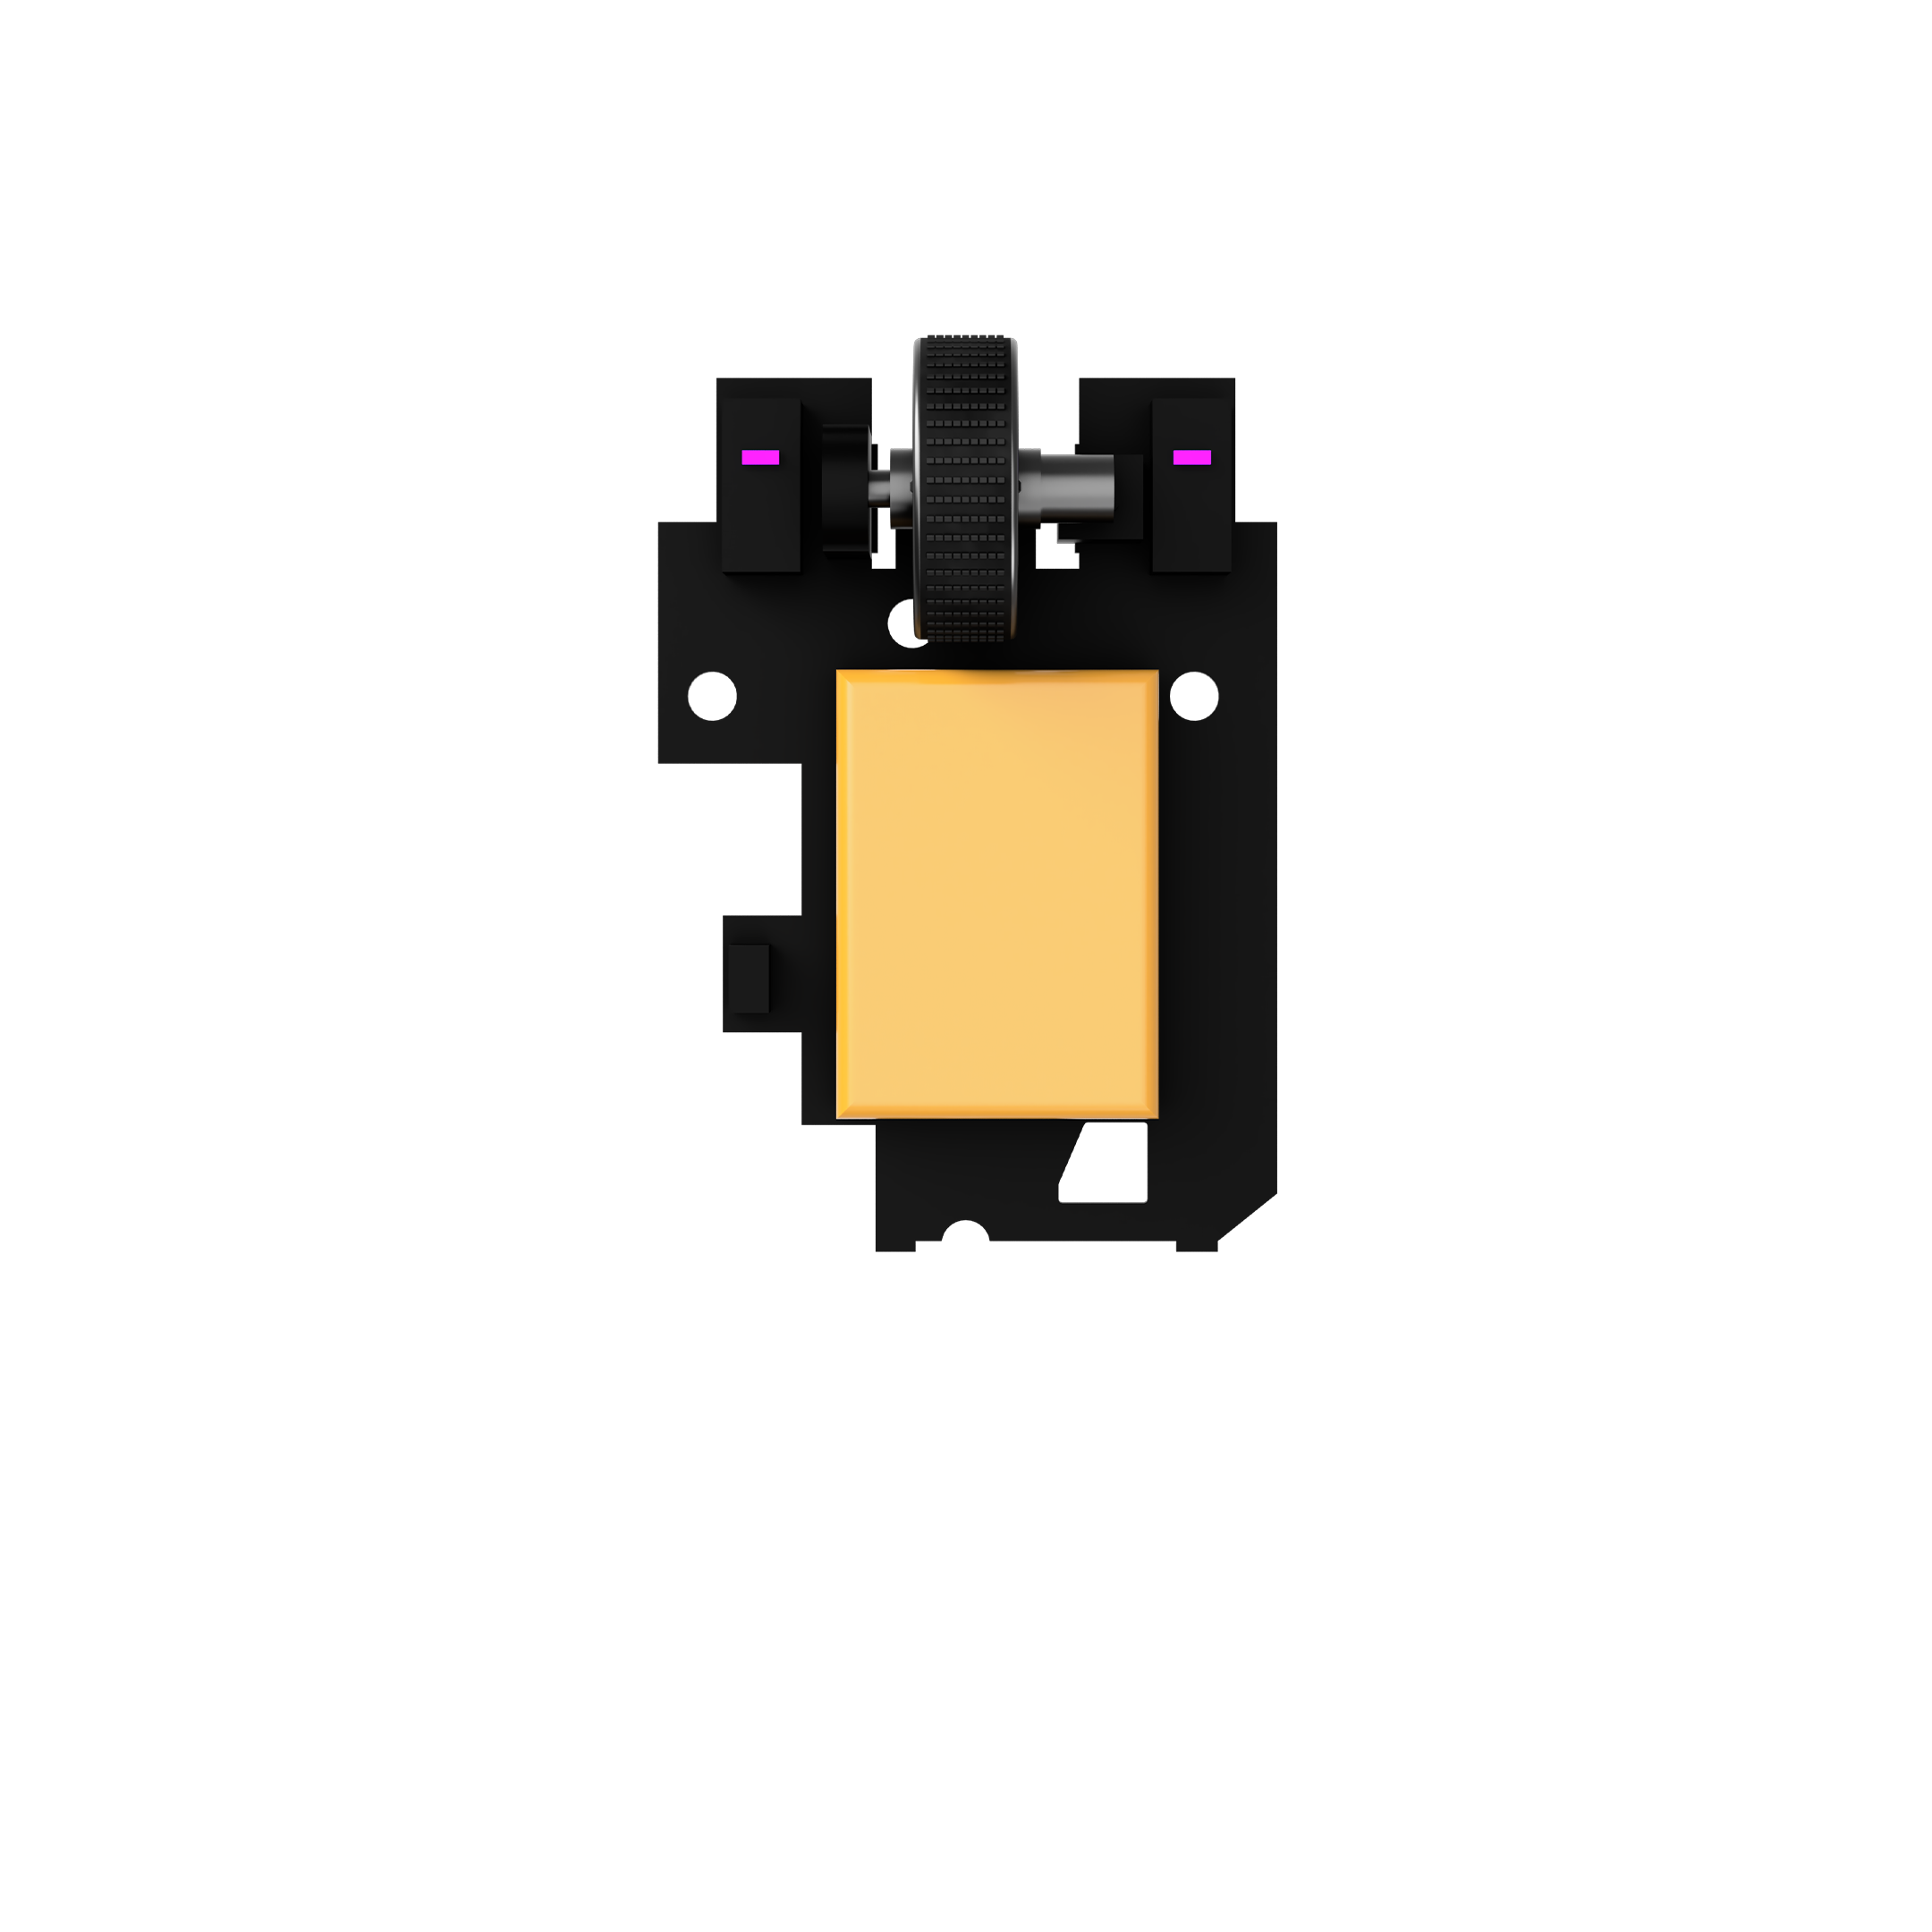
STEP 6: REMOVE DUST COVER
- Plug out the mouse wheel.
- Take off the dust cover.

STEP 6
STEP 7: APPLIES ONLY TO SOME
In case your Viper V2 Pro side button PCB has this, you will need to cut it off. Only a few models have it.

STEP 7
YOU DID IT!
Well done.
ALL COMPONENTS
- Main PCB
- Mouse Wheel
- 300mAh battery
- T6 screw [4]
- Cross screws [6]