STEP 0: CALIBRATE MOUSE BUTTONS
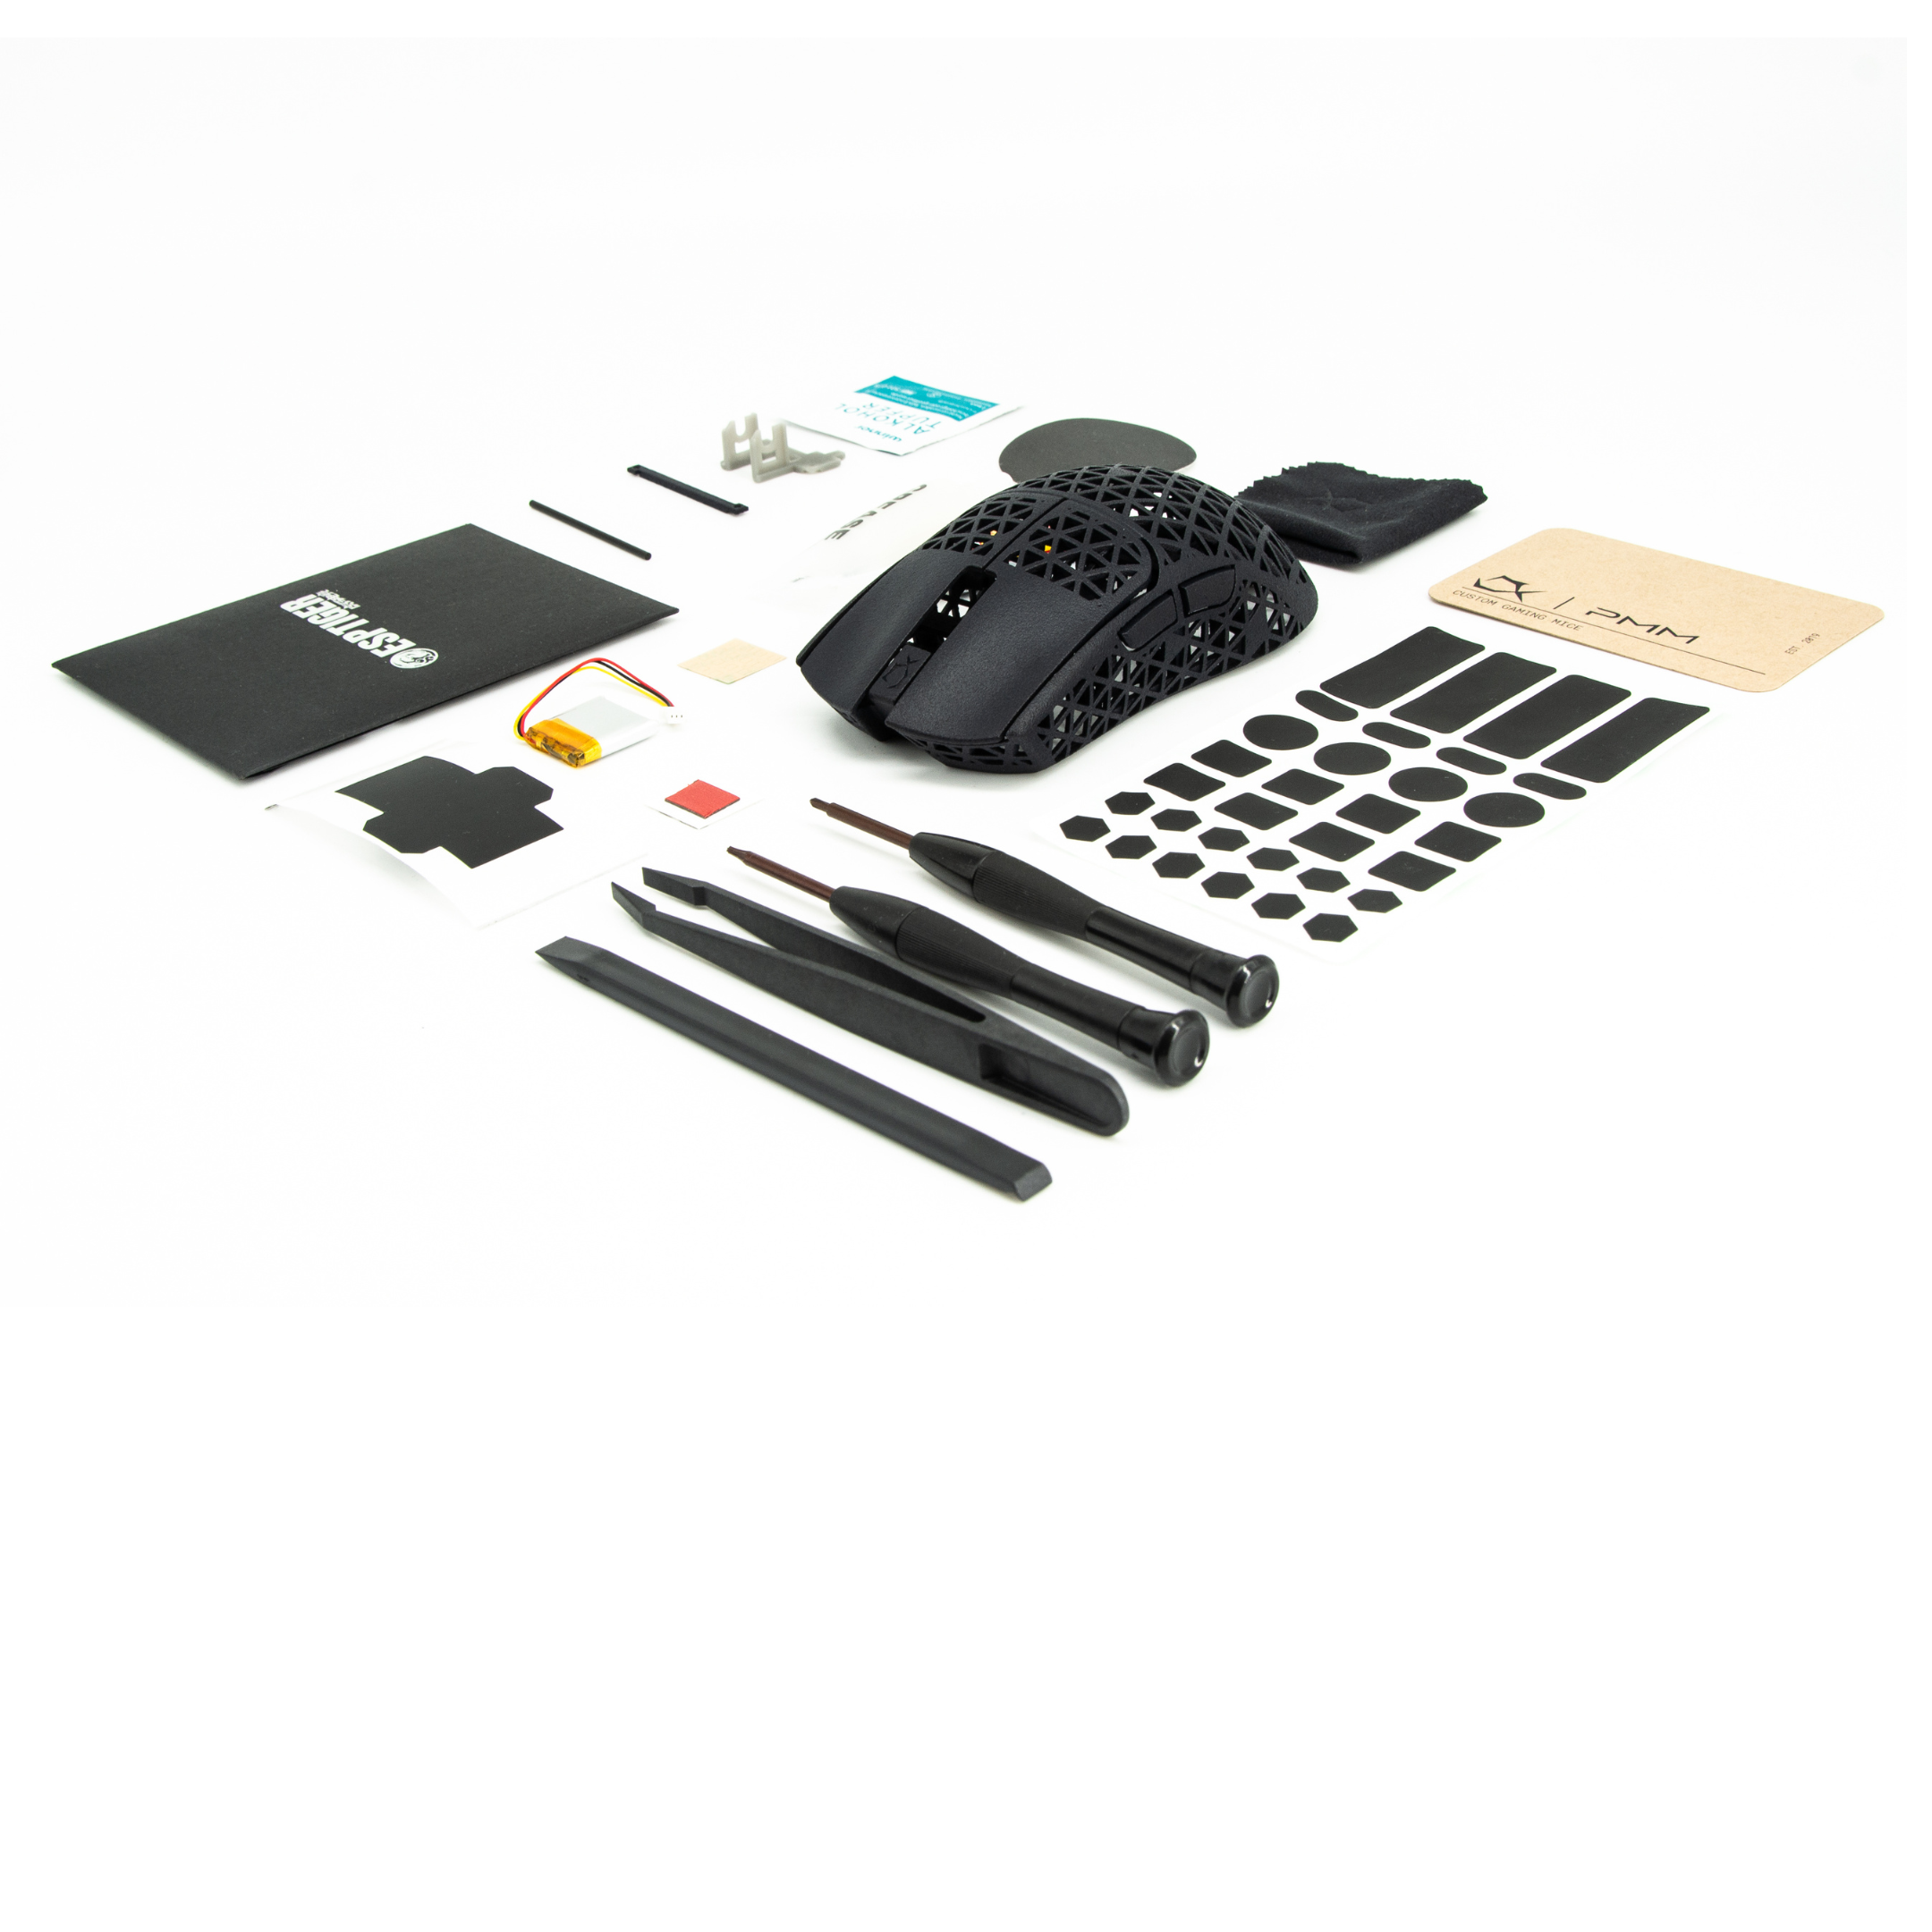
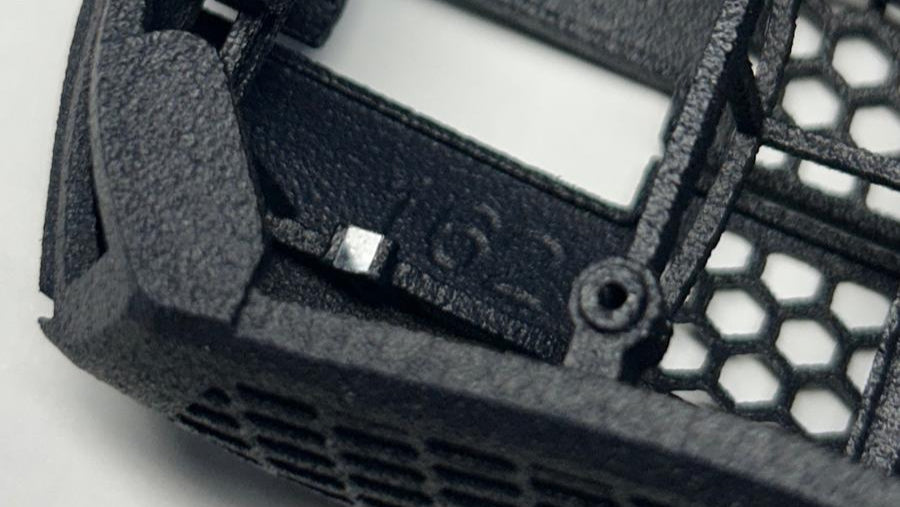
1. Before you do anything, make sure the left and right mouse button work fine. If your shell did not come with plunger spacer applied, apply one spacer per side. Use the supplied tweezers.
2. Insert just the main PCB and check the clicks.
3. If you experience pre-travel, you can add another spacer.
4. If you need help with this step, feel free to join our Live Chat.
STEP 1: ADD MOUSE WHEEL HOLDER, SIDE BUTTON PCB & BATTERY
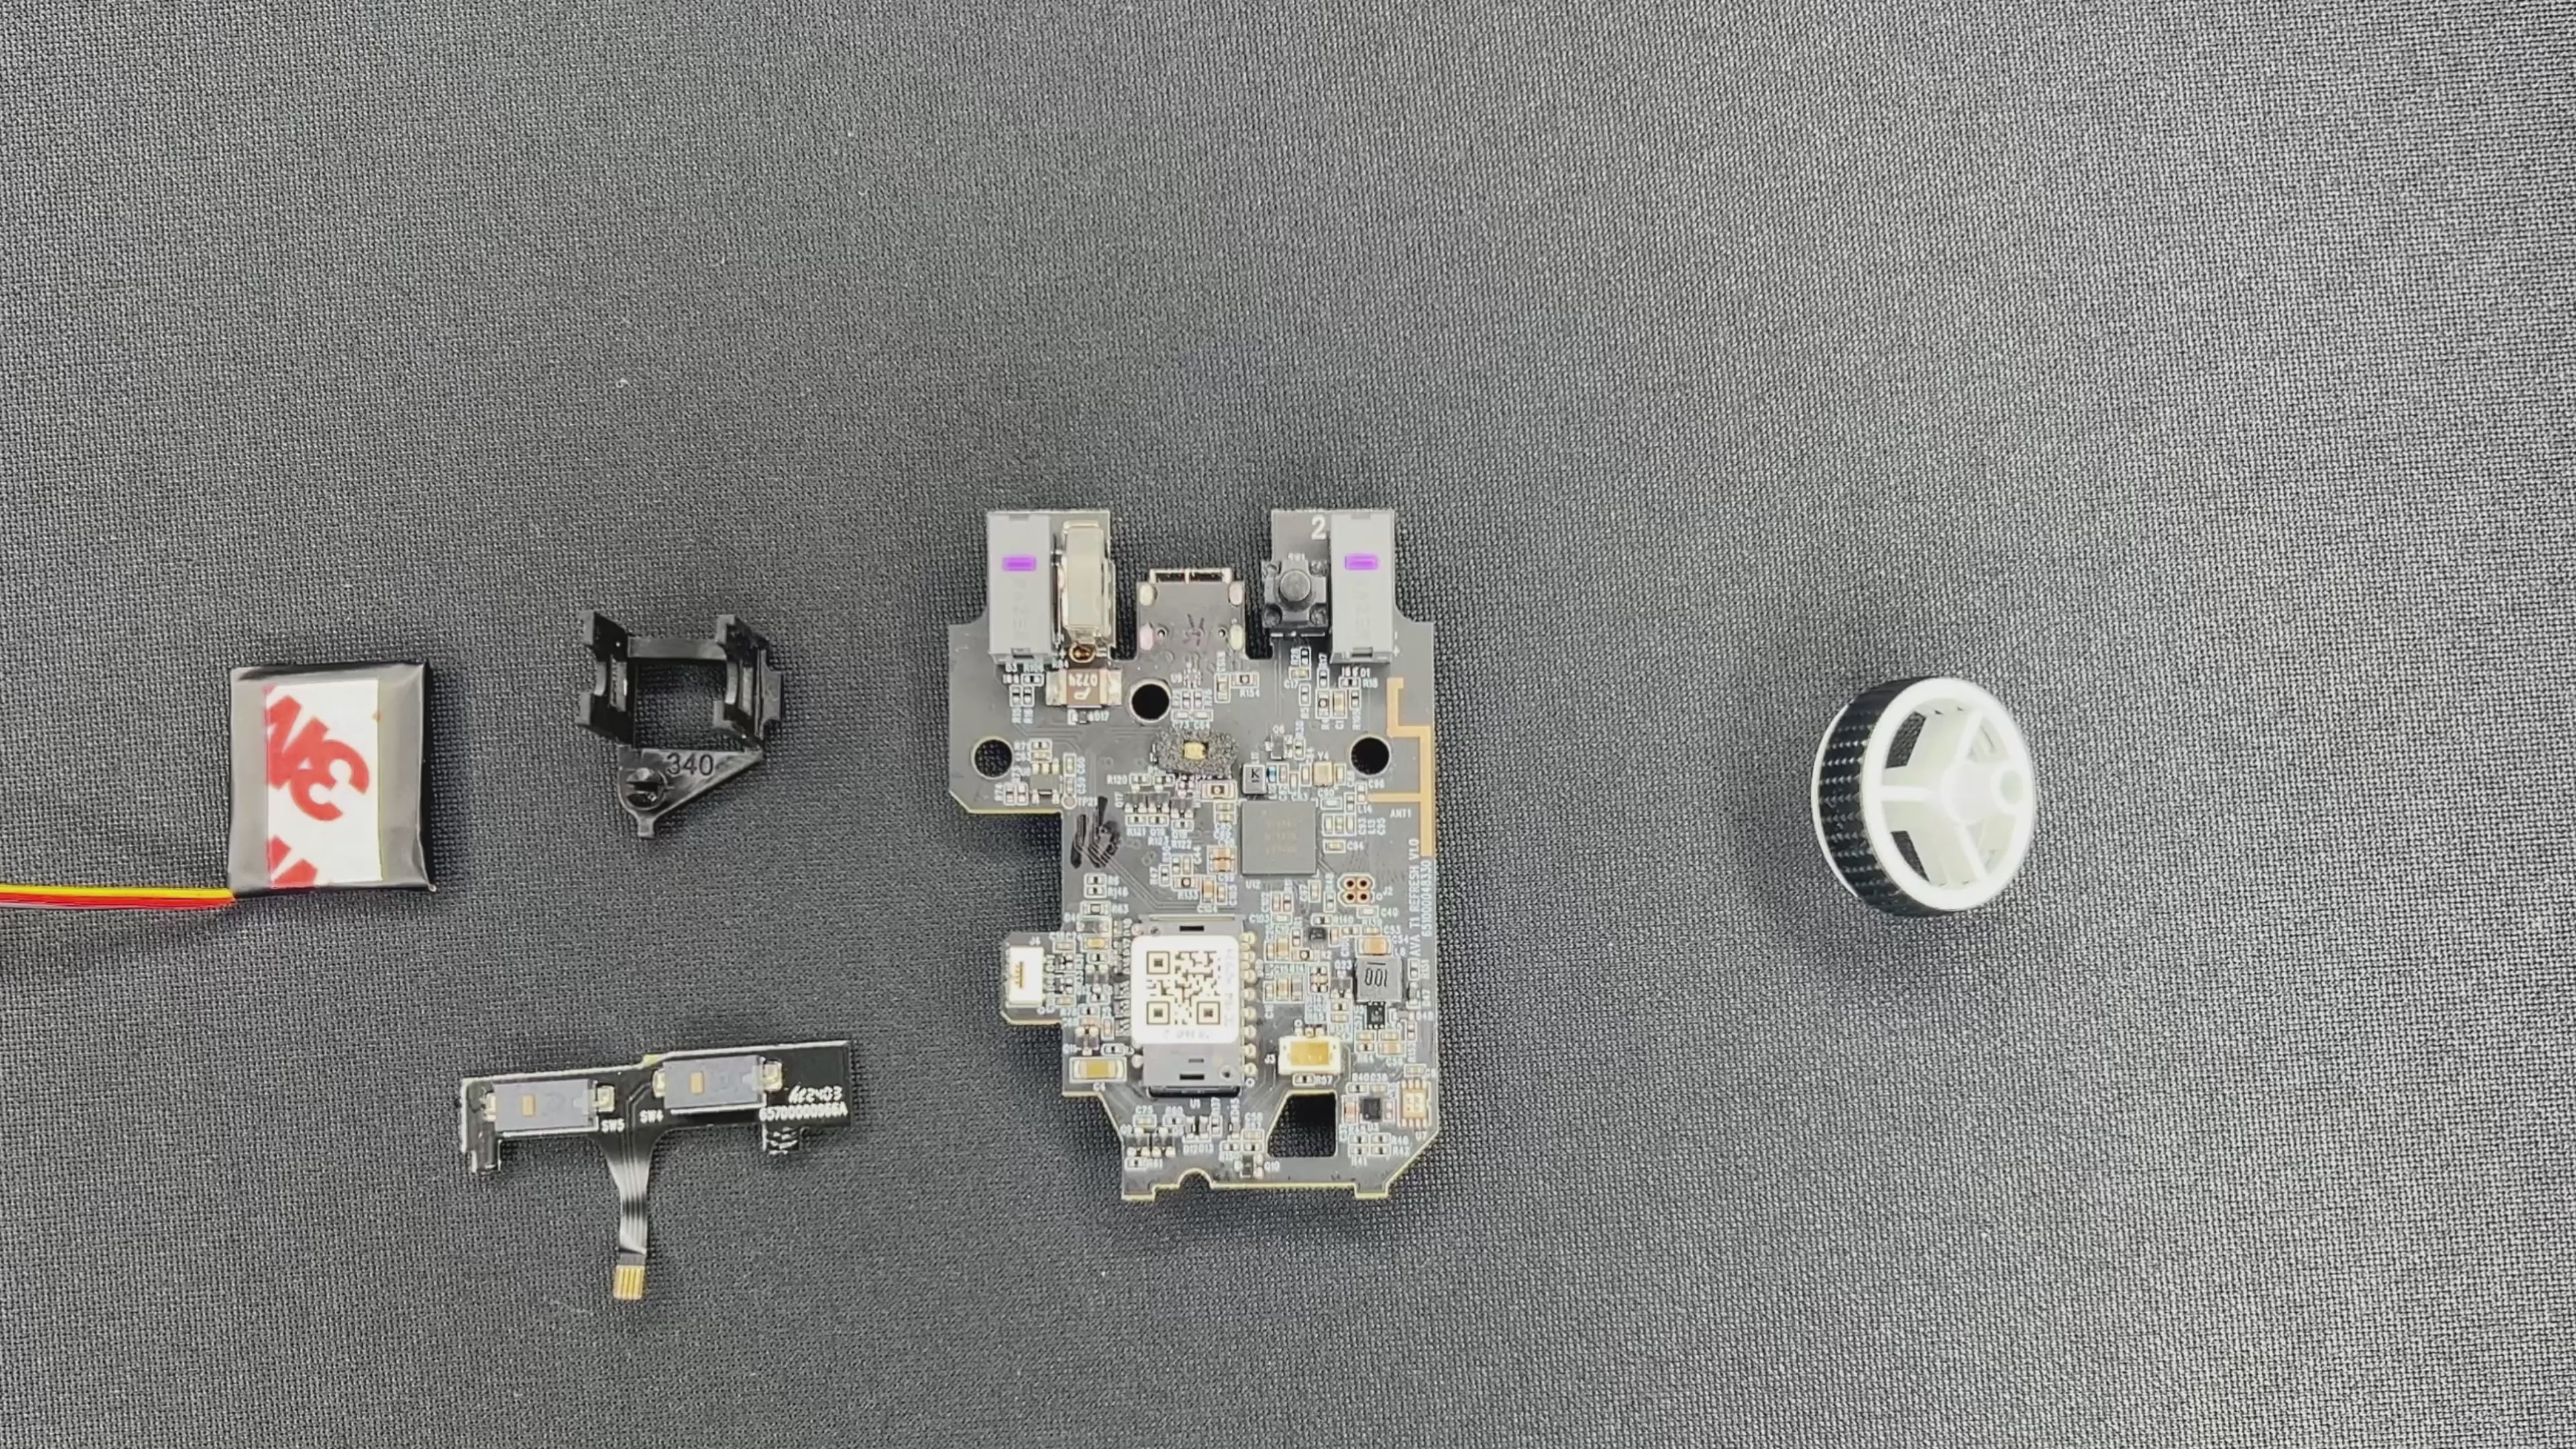
- If your Mod-Kit version is with mouse wheel holder clip: Add the holder like shown on the video: You need to clip it through the PCB. Otherwise ignore this step and simply add the mouse wheel to the encoder.
- Connect the side button PCB. Don't bend the cable. Make sure to cut the Side button PCB to size if you have an older version. Check out the disassembly instructions.
- Remove the red film from the adhesive and stick the battery on top of the sensor. Before you plug the battery into the connector check for the right direction. Plug the battery into the connector.
STEP 1
STEP 2: INSTALL THE MAIN PCB
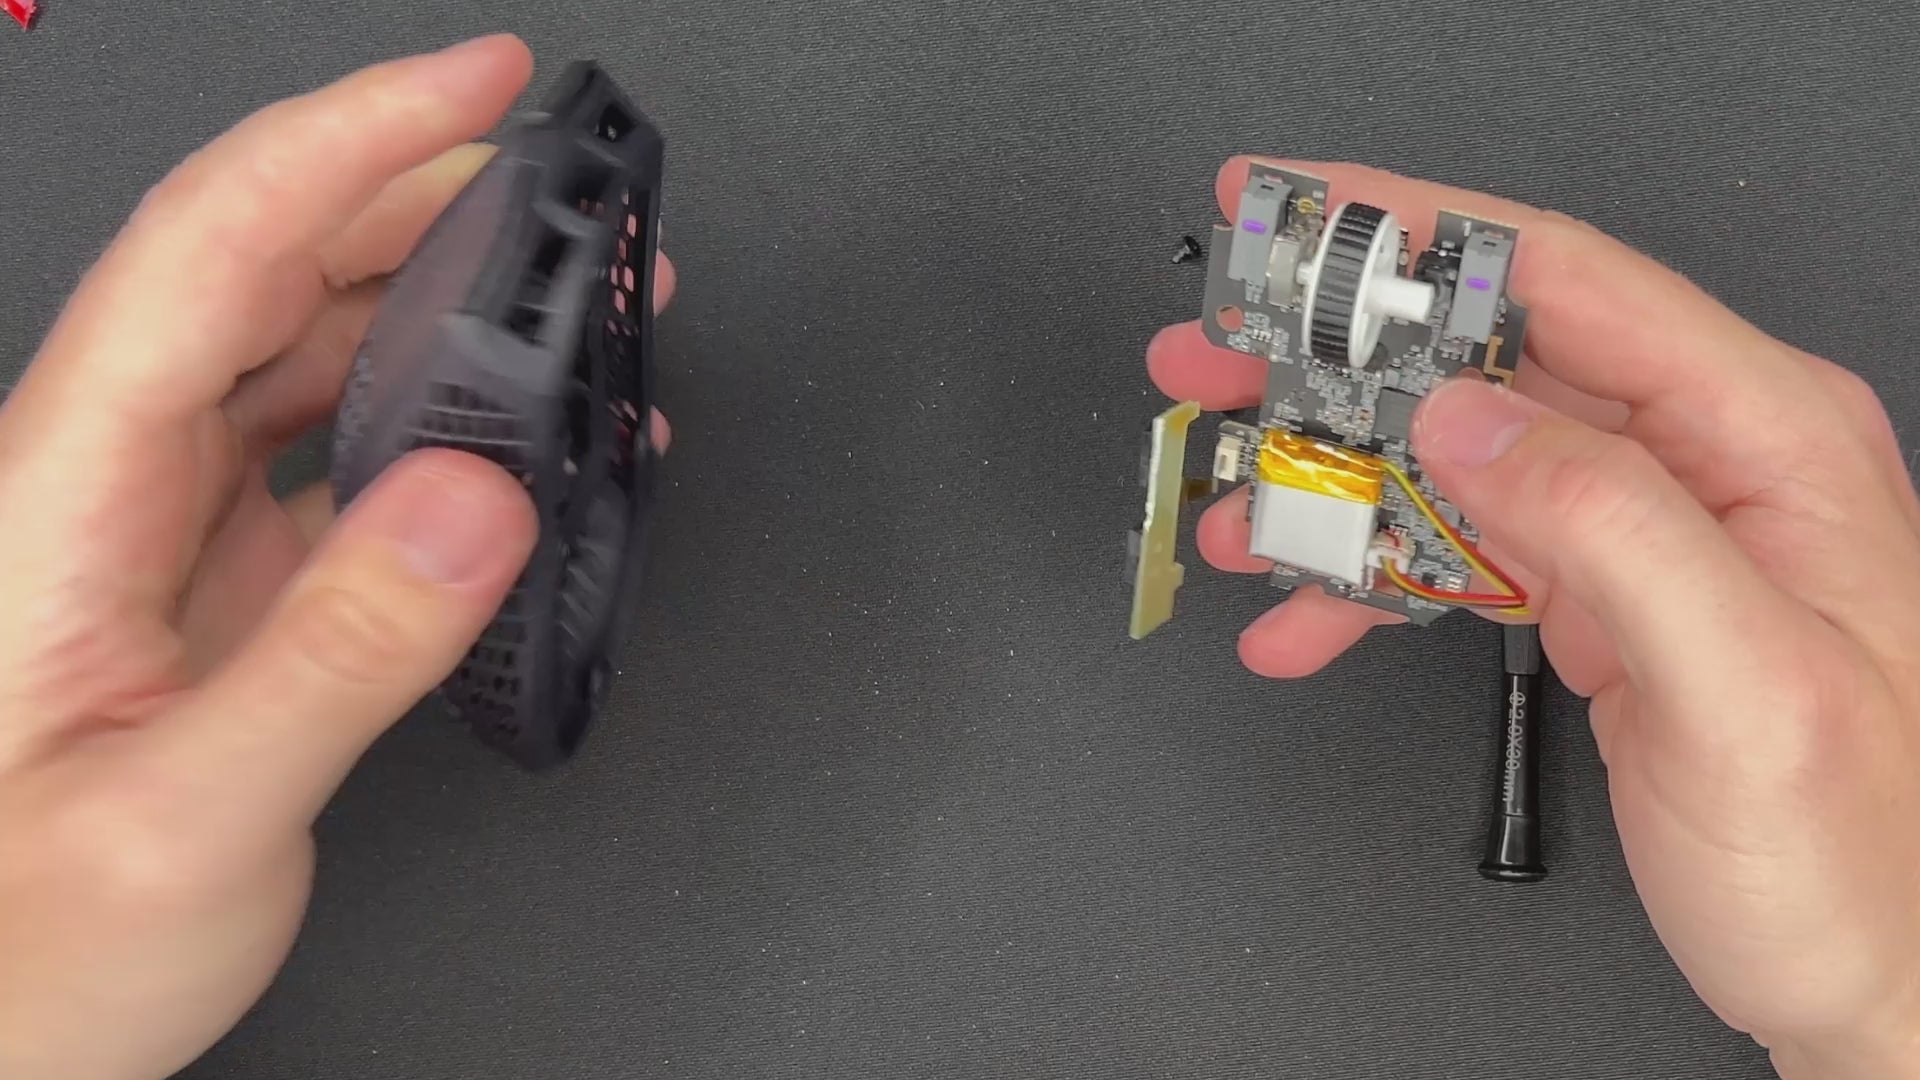
- Start with placing the side button PCB into place. At first just place it in the holder. At this point it does not need to be fully installed, we will do this later.
- Gently bring the main PCB into the designated spots.
- The PCB should align with the screw holes of the shell.
- Check if the clicks are working, they might not be perfect at this stage. This will be fixed soon.
STEP 2
STEP 3: INSTALL THE SIDE BUTTON PCB
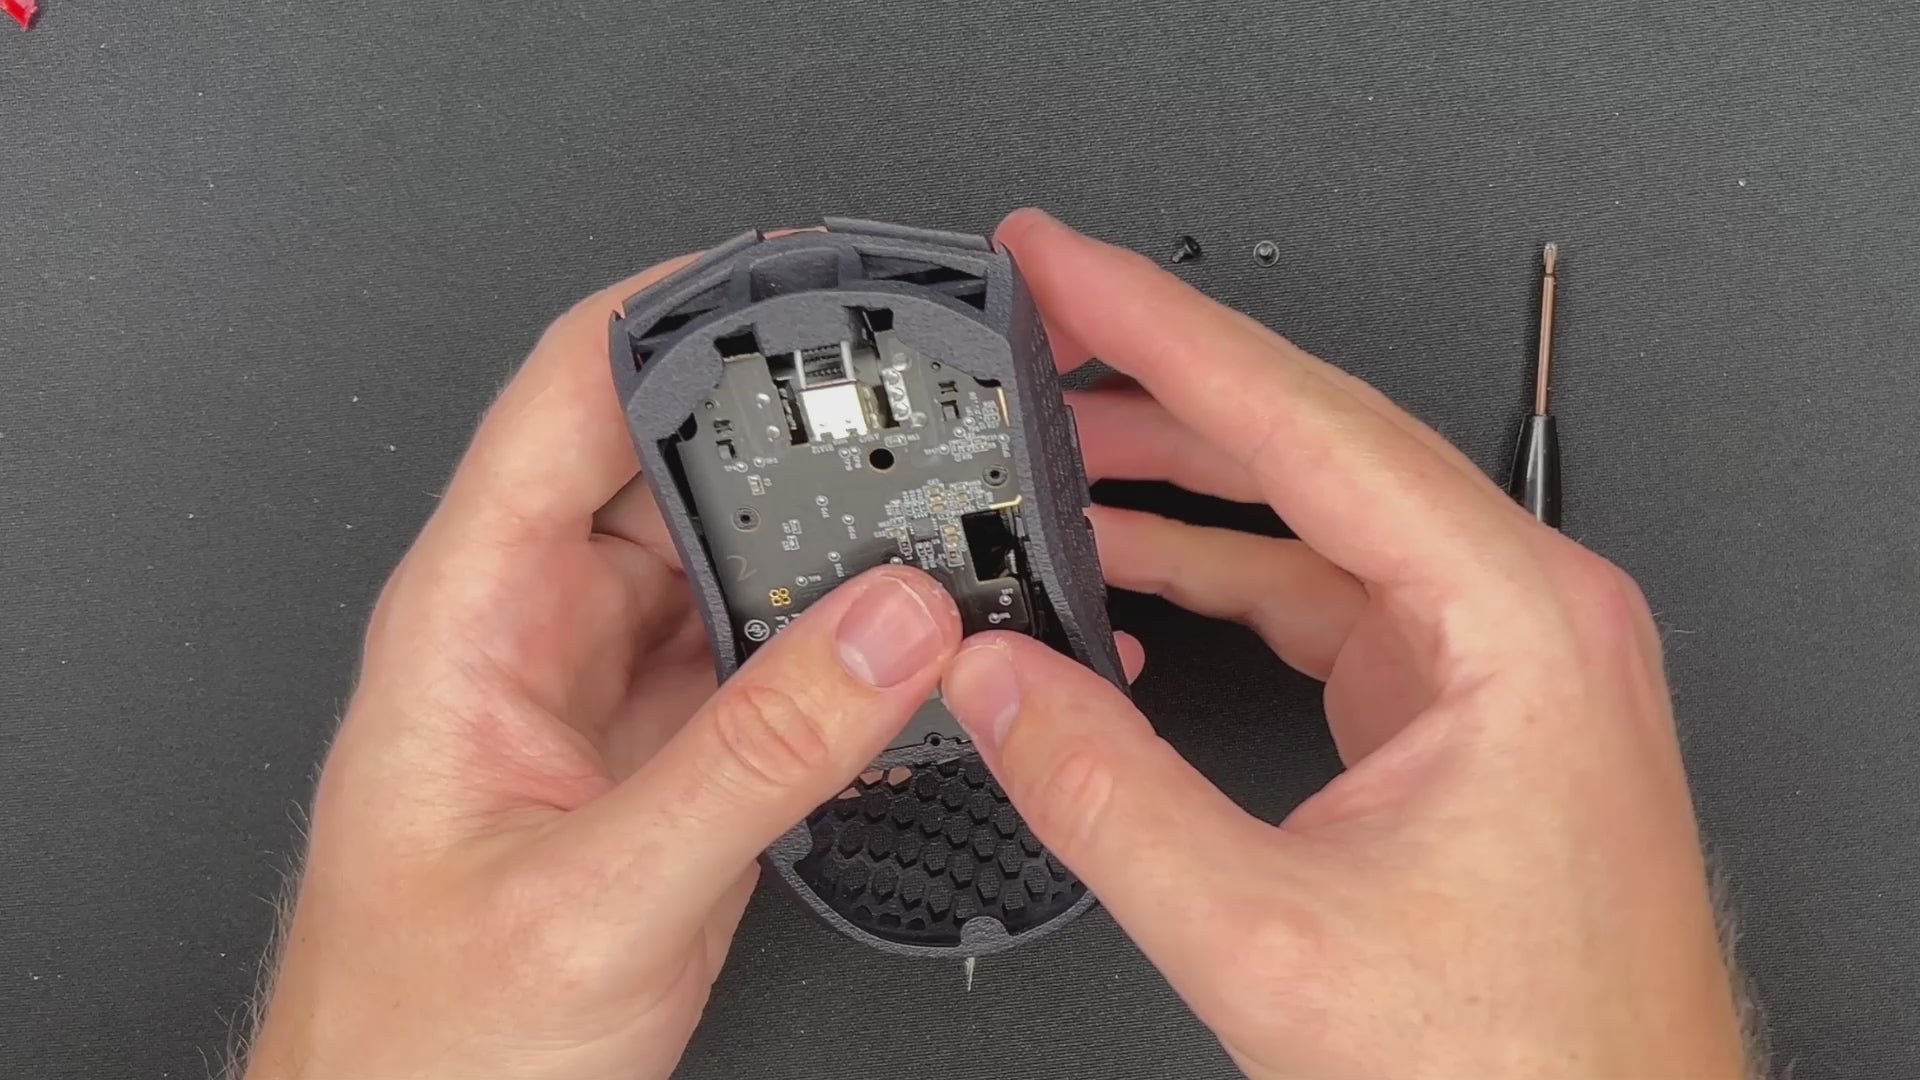
- Check if the side buttons work.
STEP 3
STEP 4: ADD THE SCREWS
The latest version comes with a Carbon fiber rod. Insert it below the PCB in the carbon fiber rod holder.
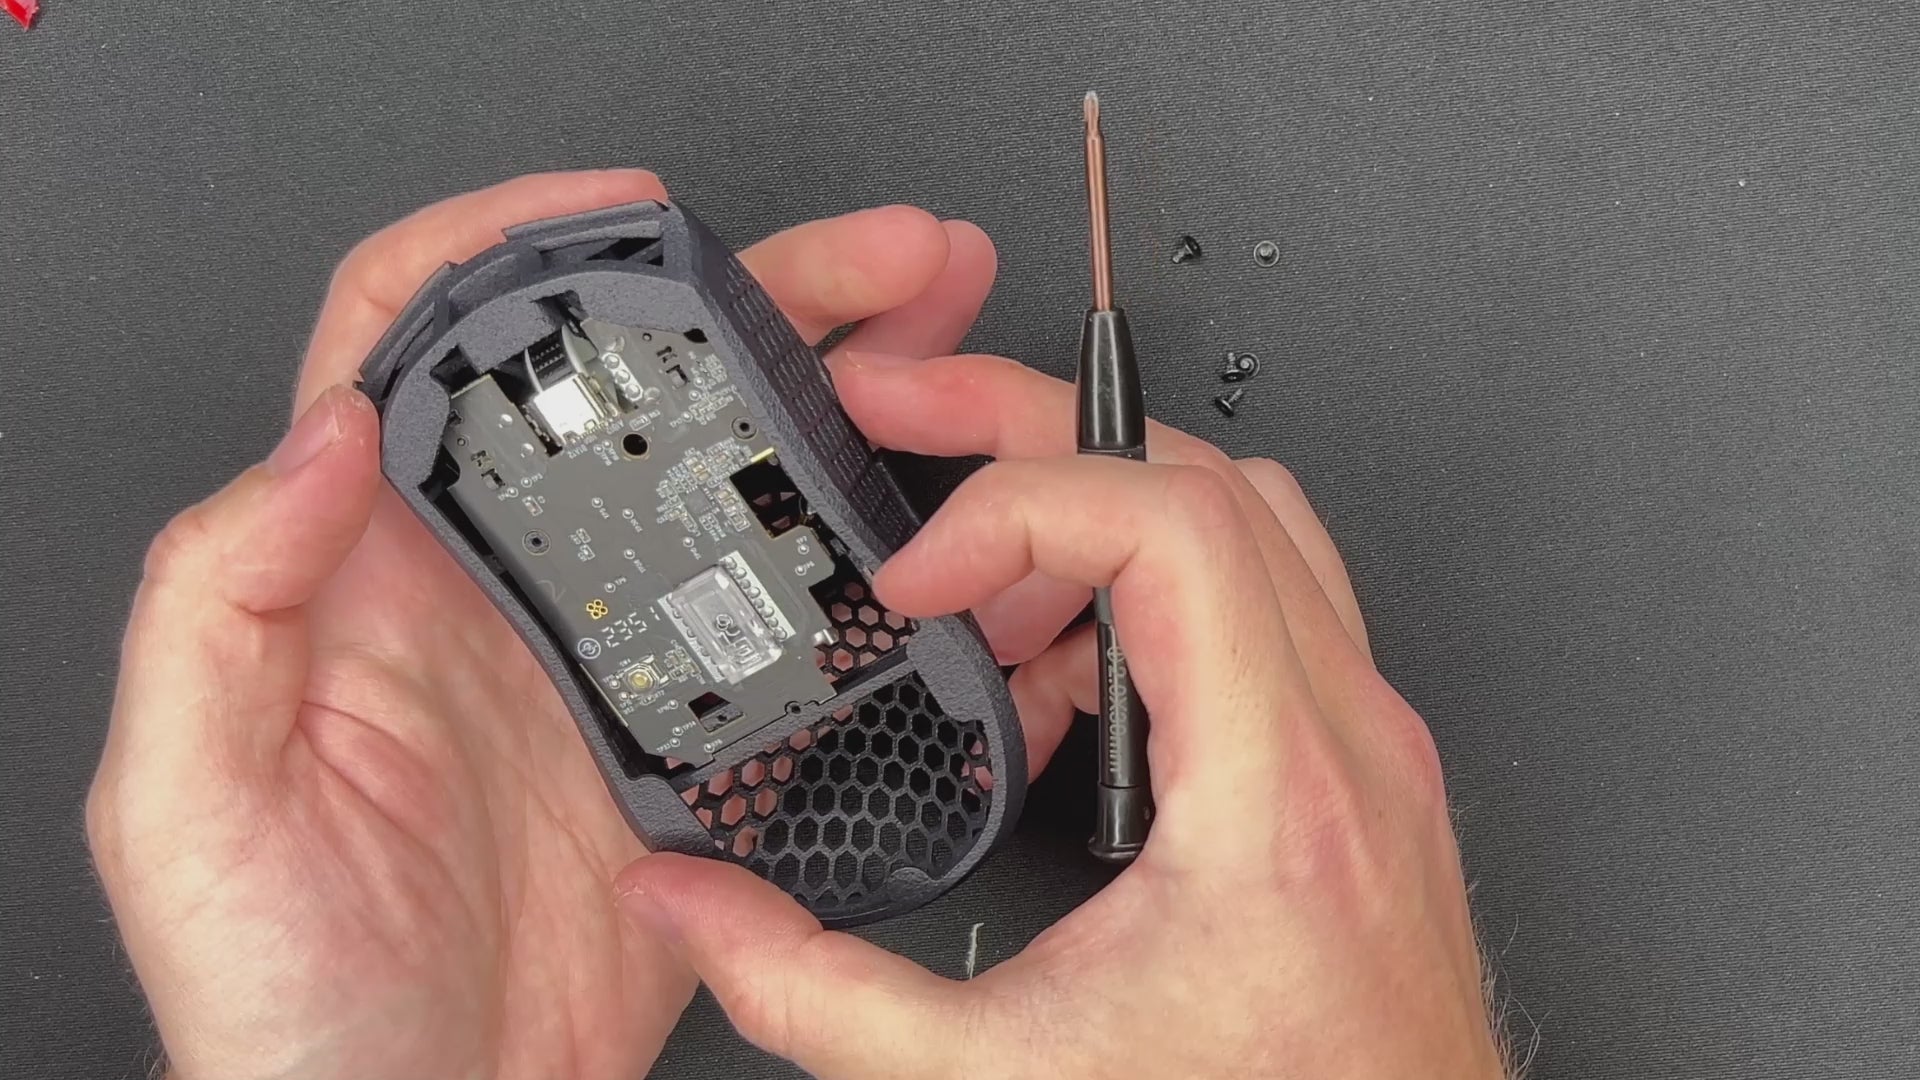
STEP 4
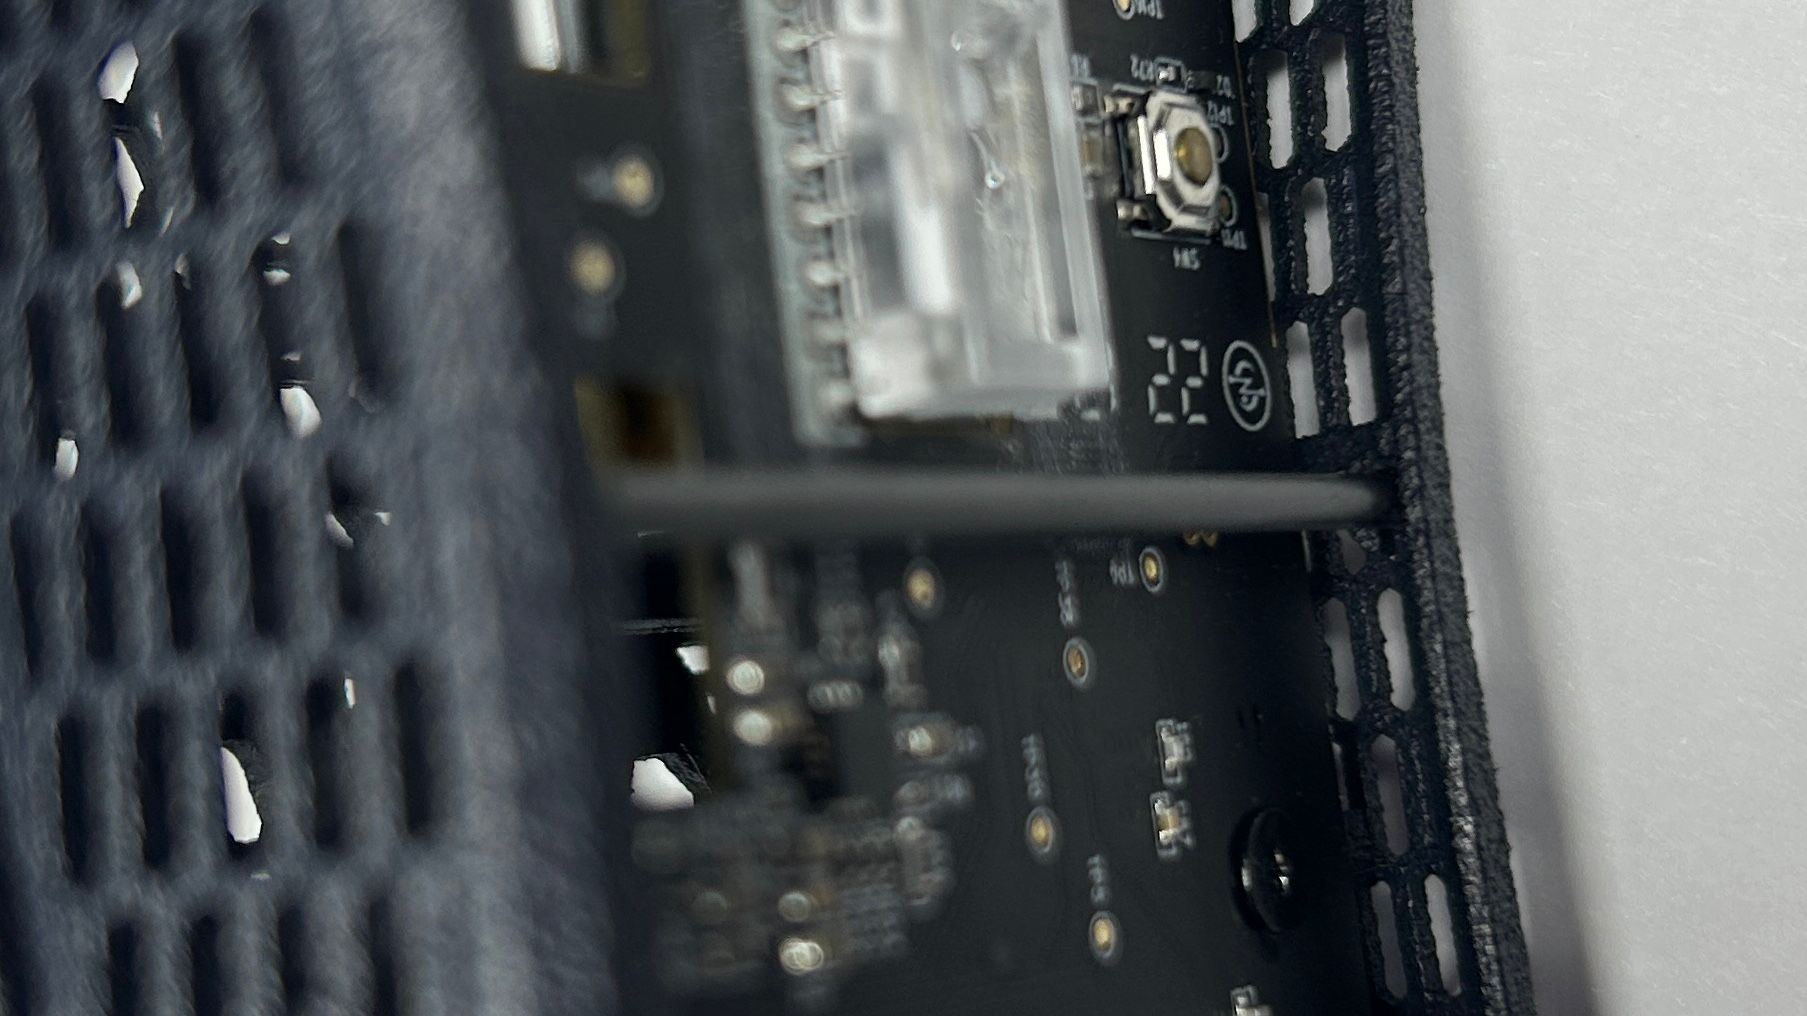
Add rod
STEP 4: FINAL TOUCH
- Add skates: Put them on the designated spots. Make sure to align the skates with the shell properly.

STEP 5
YOU DID IT!
Well done.
FINAL CHECK
Check if all mouse skates touch the ground. If that is not the case it is possible that the PCB got slightly bent during the disassembly process. To fix this problem you need to bend down the shell in the corner where a mouse skate does not touch the desk. You can keep the mouse assembled during this step. Repeat the process until all mouse skates are on the ground. If the scroll wheel feels too tight contact our support team at support@pmm.gg

