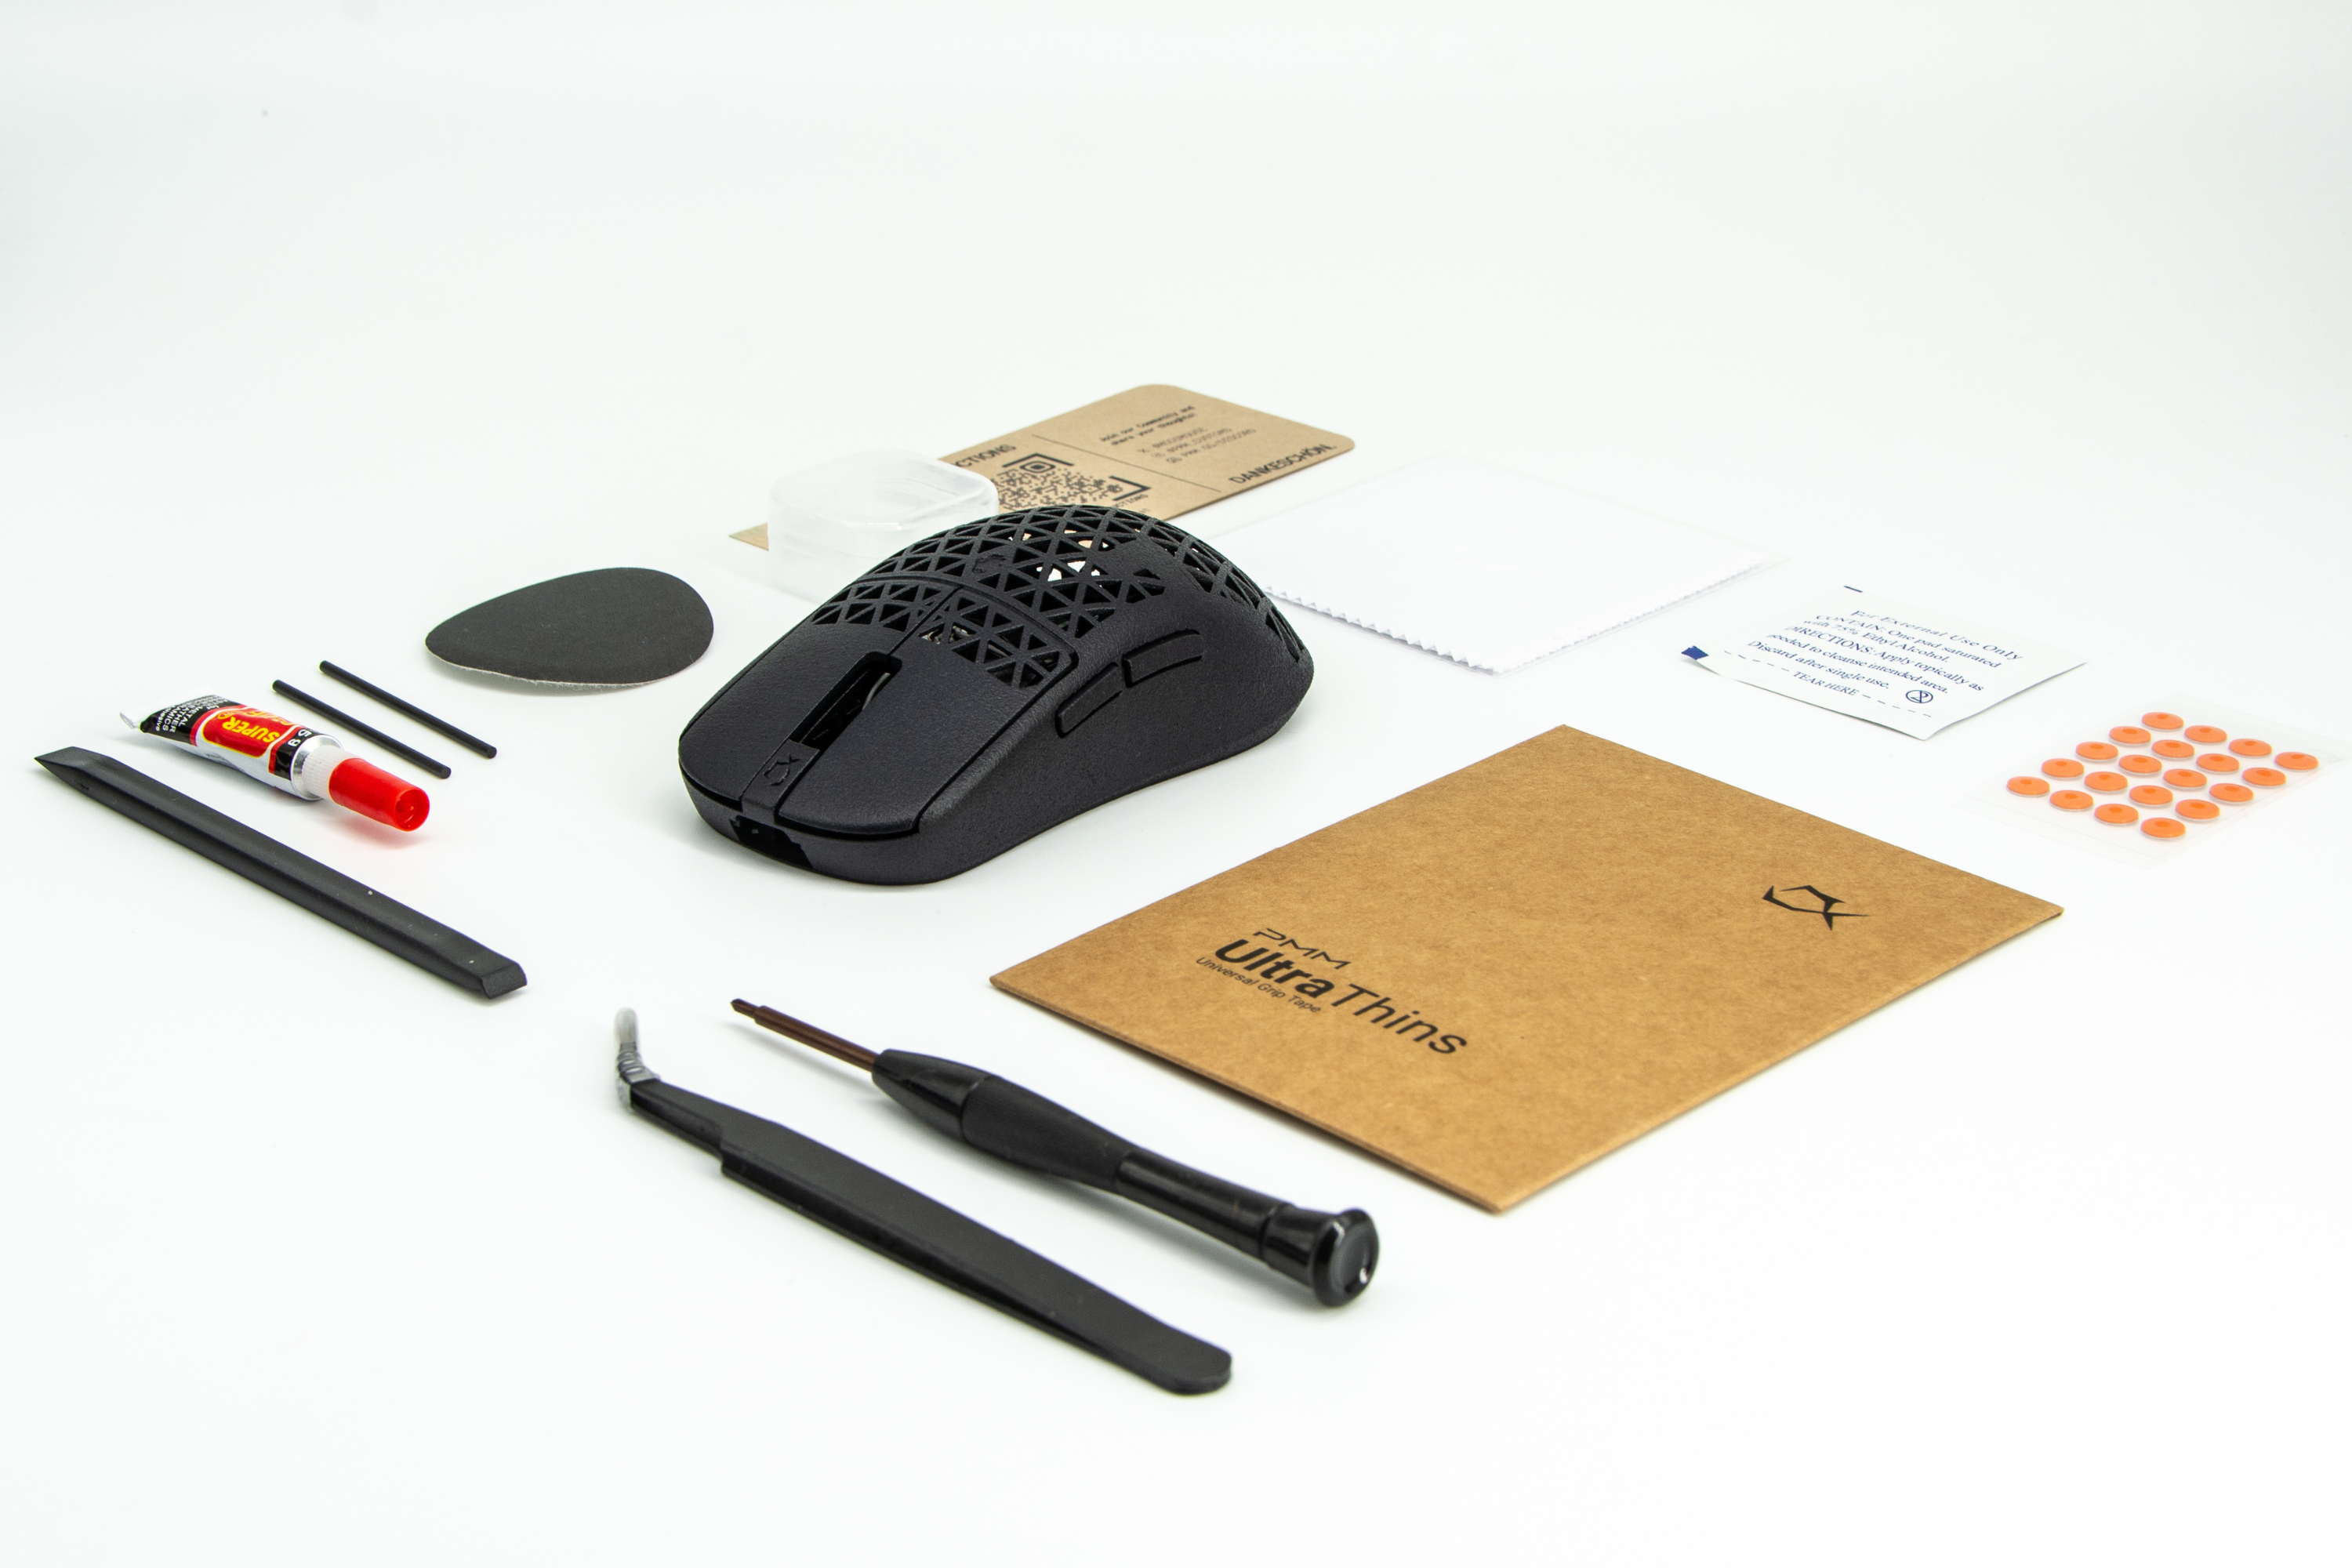
RECOMMENDATION
We recommend watching a step, then assembling that step right after.
STEP 1: MOUSE BUTTONS
- Open the mouse using the pry tool.
- Add a spacer to one plunger using the tweezers.
- Screw the switches in with the big head screws.
- Check the clicks.
- If you have too much pre-travel add another spacer on the plunger.
- If there is too little pre-travel, you can slightly loosen the switch screws by half a turn. Check the clicks and if needed, repeat.
- Use the two long or pointy screws (depending on the mouse version) for the tension system in the front.
- Reduce pre-travel by tightening the screw. If the click is constantly activated loosen the screw. Adjust to your preference.
Note: If the screwholes of the tensioning system are too tight for the long screws, use the pointy screws to widen them first.

STEP 1
STEP 2: ADD THE SIDE BUTTON PCB
- Add a spacer to each side button.
- Insert the side button PCB in the side button holder and secure the PCB with the big head screws.
- Add the carbon fiber rods
- Check the clicks. If there is a little bit of pre-travel, it will most likely disappear once the mouse is fully assembled.
- If there is pre-travel, scroll down all the way to the section "SIDE BUTTON CALIBRATION".
Note: If you experience any problems, please join our Live Chat.

STEP 2

STEP 3.1: FlexCord v2 Installation
Install as seen on the photo.
1. Add Cable support
2. Push the cable support in the designed holder
3. Place cable as seen on the photo
4. Add carbon fiber rod
5. Add PCB and place it under the hook.
6. Add screws.
Troubleshooting guide: Link
STEP 3.2: FLEXCORD v1 INSTALLATION (SKIP FOR STOCK CABLE)
- Add the carbon fiber rod.
- Add the adhesive to the bottom shell.
- Connect the adapter to the cable and add it to the bottom shell.
- Add the cable support and insert it in the holder in the front. The opening should face downwards.
- Place the PCB under the hook in the front and secure the PCB with the pointy screws. Sometimes the hook can come out of the gap later during the assembly. You will notice if your left mouse button doesn’t work properly later.
- Plug in the cable in the PCB.
Note: We recommend updating the OP1 8K firmware using the stock cable.

STEP 3.1
STEP 3.3: STOCK CABLE INSTALLATION (SKIP FOR FLEXCORD)
- Add the carbon fiber rod.
- Start with the cable support in the front.
- Put the PCB under the hook in the front.
- Add the pointy screws.
- Plug the cable in the right direction.
Note: Make sure the stock cable will not be in the way of the tension screws once the top and bottom shell are connected.

STEP 3.2
STEP 4: CONNECT BOTTOM AND TOP SHELL
- Connect the cables. Check where the pins are.
- Connect both shells. Start in the front. Bend a little in the back and click the shell in.
- Check if all is aligned.
Note: Make sure not to squeeze the cable between both shells. If you notice that your scrollwheel is tilted, the reason might be that the PCB is not under the hook in the front.

STEP 4
STEP 5: ADD THE SKATES
Your Mod-kit should come with our dot skates but you can also use the OP1 8K skates that came with your OP1 8K box.
YOU DID IT!
Well done.
Apply grip tape if desired. On shells with standard coating, slightly sanding it will help with adhesion.
If you have any other problems, contact our support team at support@pmm.gg or in the live chat (Bottom left).
Have fun gaming!
TROUBLESHOOTING
1) Problem: Left mouse button feels stiff.
Solution: Check if the main PCB is under the hook in the front. If it’s not, the PCB is too high and the mouse button will hit the encoder.
2) Problem: Right mouse button feels weird.
Explanation: Tensioning screw touches charging cable.
Solution: Bend the charging cable away from the tensioning screw.
3) Problem: Mouse buttons activate too easily or are constantly activated.
Solution: Use the tensioning screw to calibrate the mouse buttons. If that doesn’t fix the problem, remove one spacer.
4) Problem: Mouse buttons don’t activate when clicked in the front.
Solution: Add a spacer.
5) Problem: Mouse wobbles.
Solution: You can slightly bend the mouse. This will adjust how the top shell sits on the bottom shell and release tension.
Solution 2: Make sure there are no cables between the sensor and carbon fiber rod
EXTRA: SIDE BUTTON CALIBRATION
If you experience pre-travel on the side buttons, take a look at this video.
1. Bend the side buttons in.
2. Add the side button PCB, as well as the carbon fiber rods and check the clicks.
3. If pre-travel is still present, repeat these steps.

Side Button Calibration