
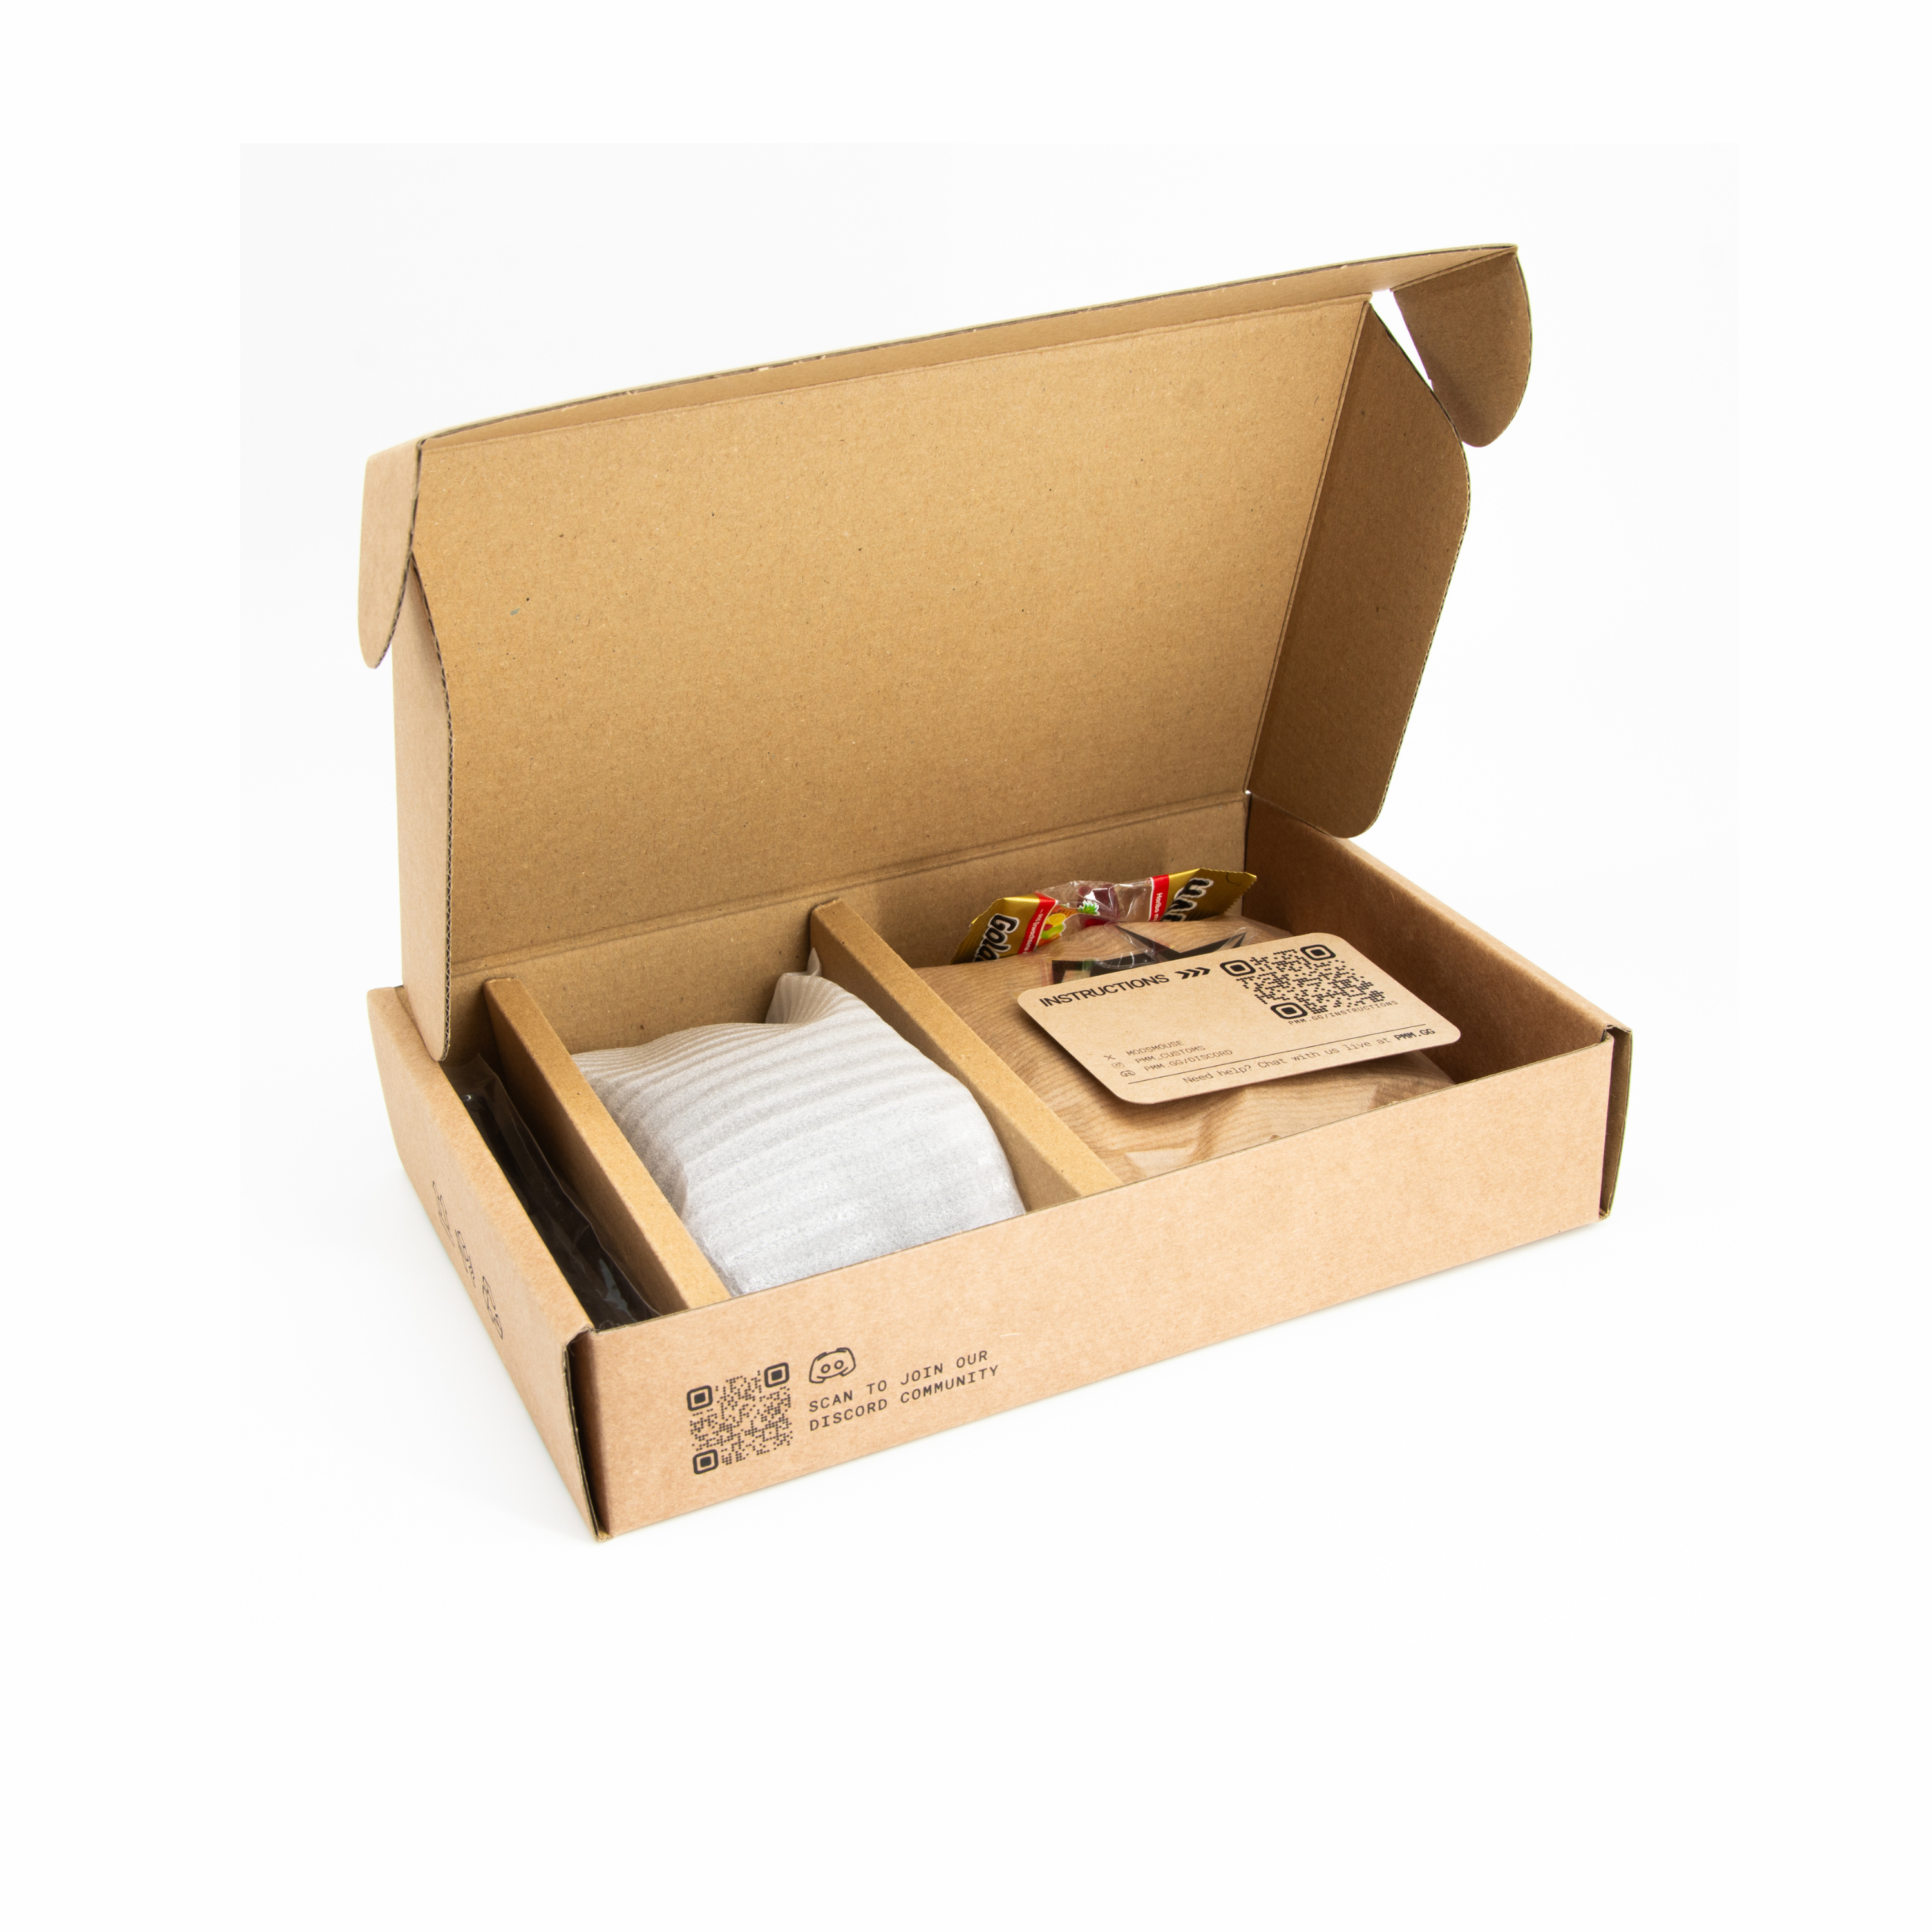
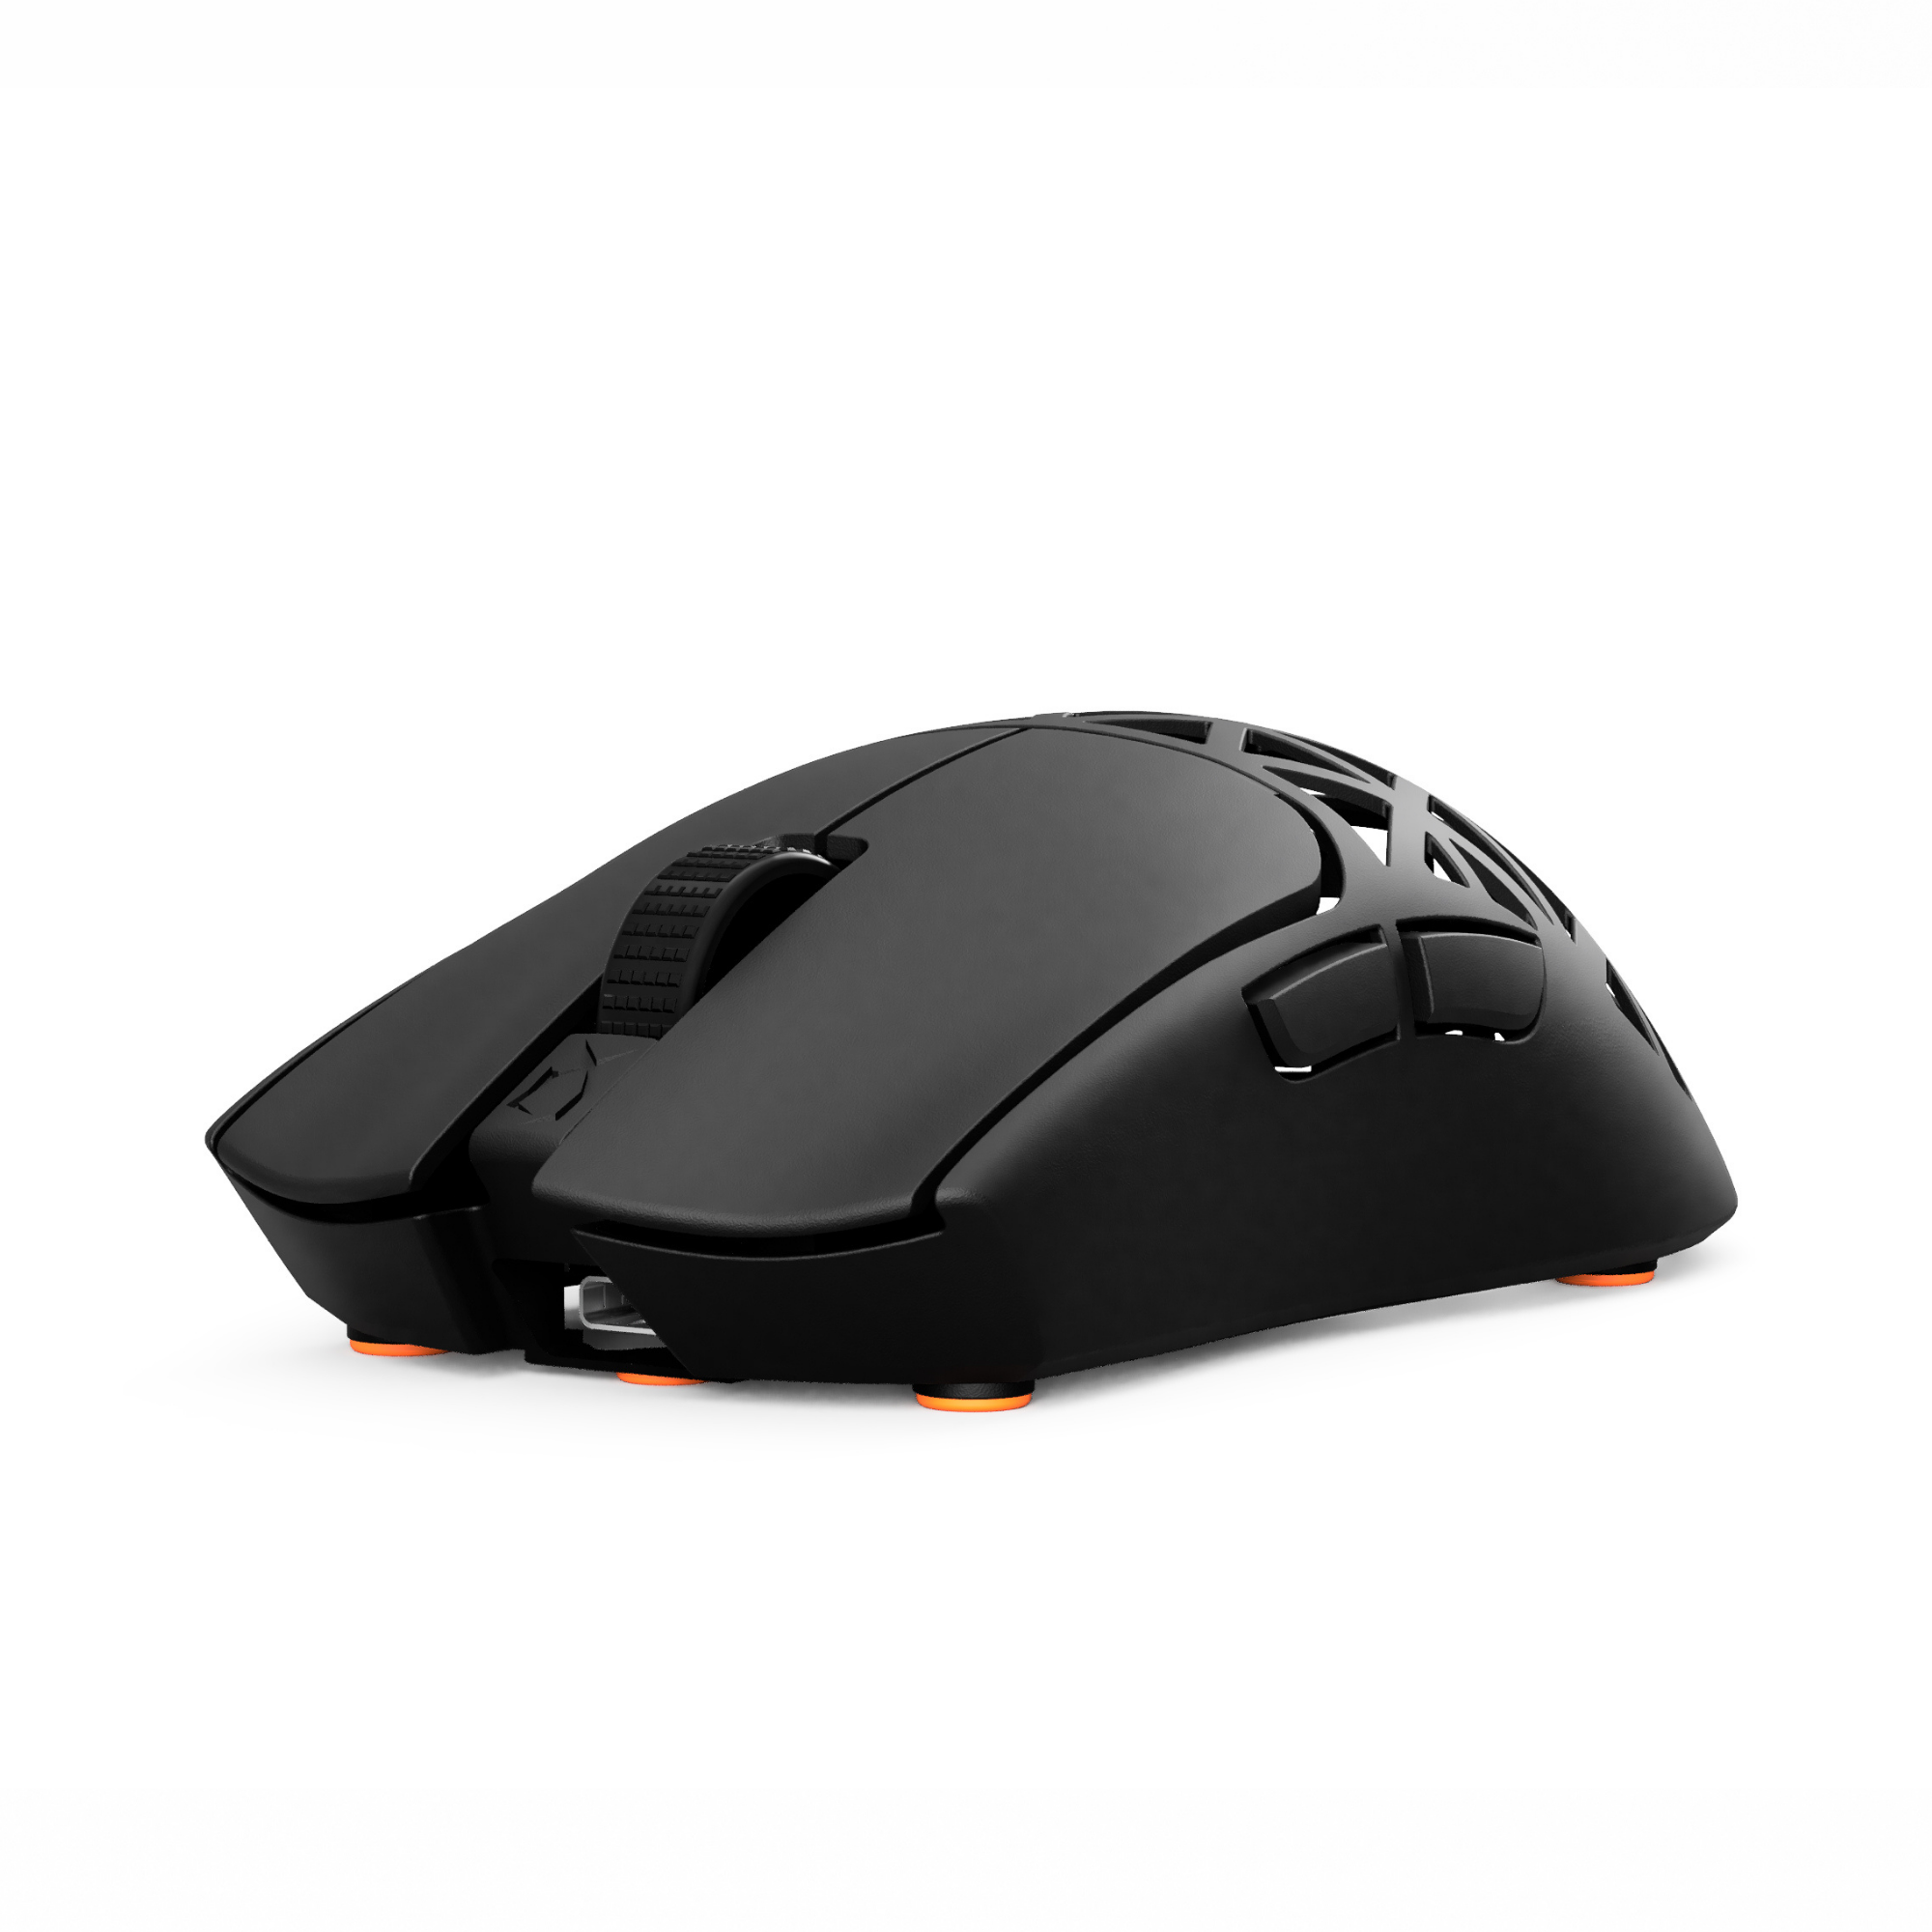
Instructions
You need a Torx T6 and Phillips PH00 screwdriver. Proceed at your own risk. You can damage the ribbon cable.
STEP 1: REMOVE THE MOUSE FEET & SCREWS
- Use the pry tool to carefully remove the skates. This will expose the hidden screws beneath them.
- Unscrew all visible screws using a Torx T6 screwdriver.
- Store the screws in the screw box.

STEP 1
STEP 2: OPENING THE MOUSE SHELL
BEFORE YOU OPEN THE MOUSE: Be careful at this point. Both shells are connected with a ribbon cable. Watch instructions first.
- Insert the plastic pry tool into the seam between the top and bottom shells.
- Gently work around the edges, unclipping the internal latches.
- Slowly lift the top shell but do not fully remove it yet, cables are attached to the PCB.
- Locate the ribbon cable. Open the black latches.
- Don't pull on the ribbon cable immediately. First push it to the side so the hooks on the ribbon cable come free.

STEP 2
STEP 3: DISCONNECT MAIN PCB
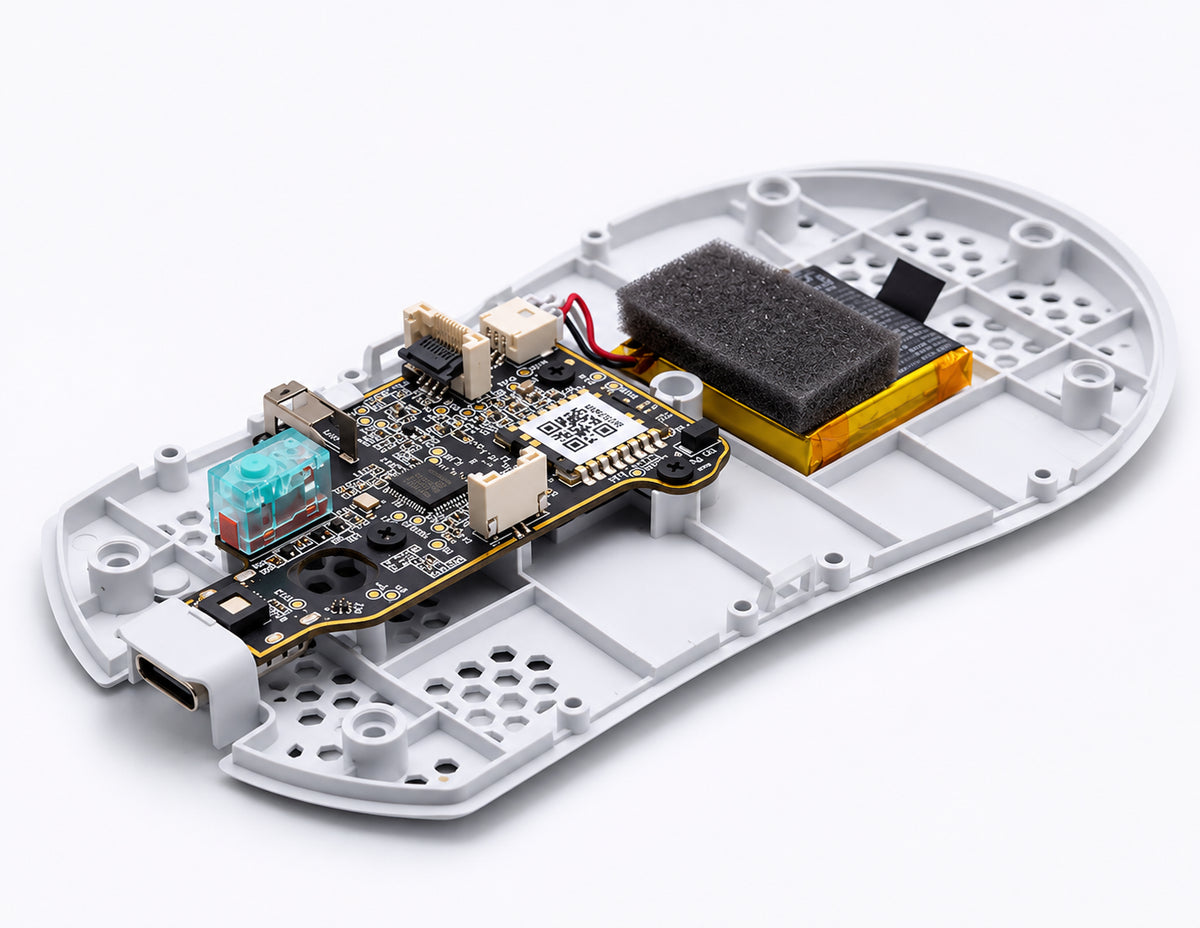
- Use the cross screwdriver to unscrew the PCB.
- Take the PCB out at an angle so that the hook and the side does not get into the way.
- Put the main PCB aside.
- Disconnect the battery from the PCB. Don't pull on the battery cable.

STEP 3
STEP 4: REMOVE THE ORIGINAL BATTERY [NOT RECOMMENDED]
- Unplug the battery if you haven't done so far.
- Slowly start to take out the battery with the flat side of the plastic pry tool. The bottom shell is fragile. Be careful if you want to use it again.
STEP 5: REMOVE THE MOUSE WHEEL PCB
- Unscrew all screws and lever out the inner frame.
- You will find the mouse wheel PCB on top.

STEP 5
STEP 6: DISCONNECT THE MOUSE WHEEL PCB
- Push the mouse wheel PCB from behind and take it out.
- Store the spring and plastic part to potentially use in the future.

STEP 6
STEP 7: REMOVE THE SIDE BUTTON PCB
- Unscrew the structure to disconnect the structure from the top shell.
- Wiggle the structure out of the top shell.

STEP 7
STEP 8: DETACH SIDE BUTTON PCB
- Use the tweezers to go between the plastic and the side buttons. Be very careful and slow. Gently loosen the glue of the side buttons and detach both parts.

STEP 8
YOU DID IT!
Check your parts.
