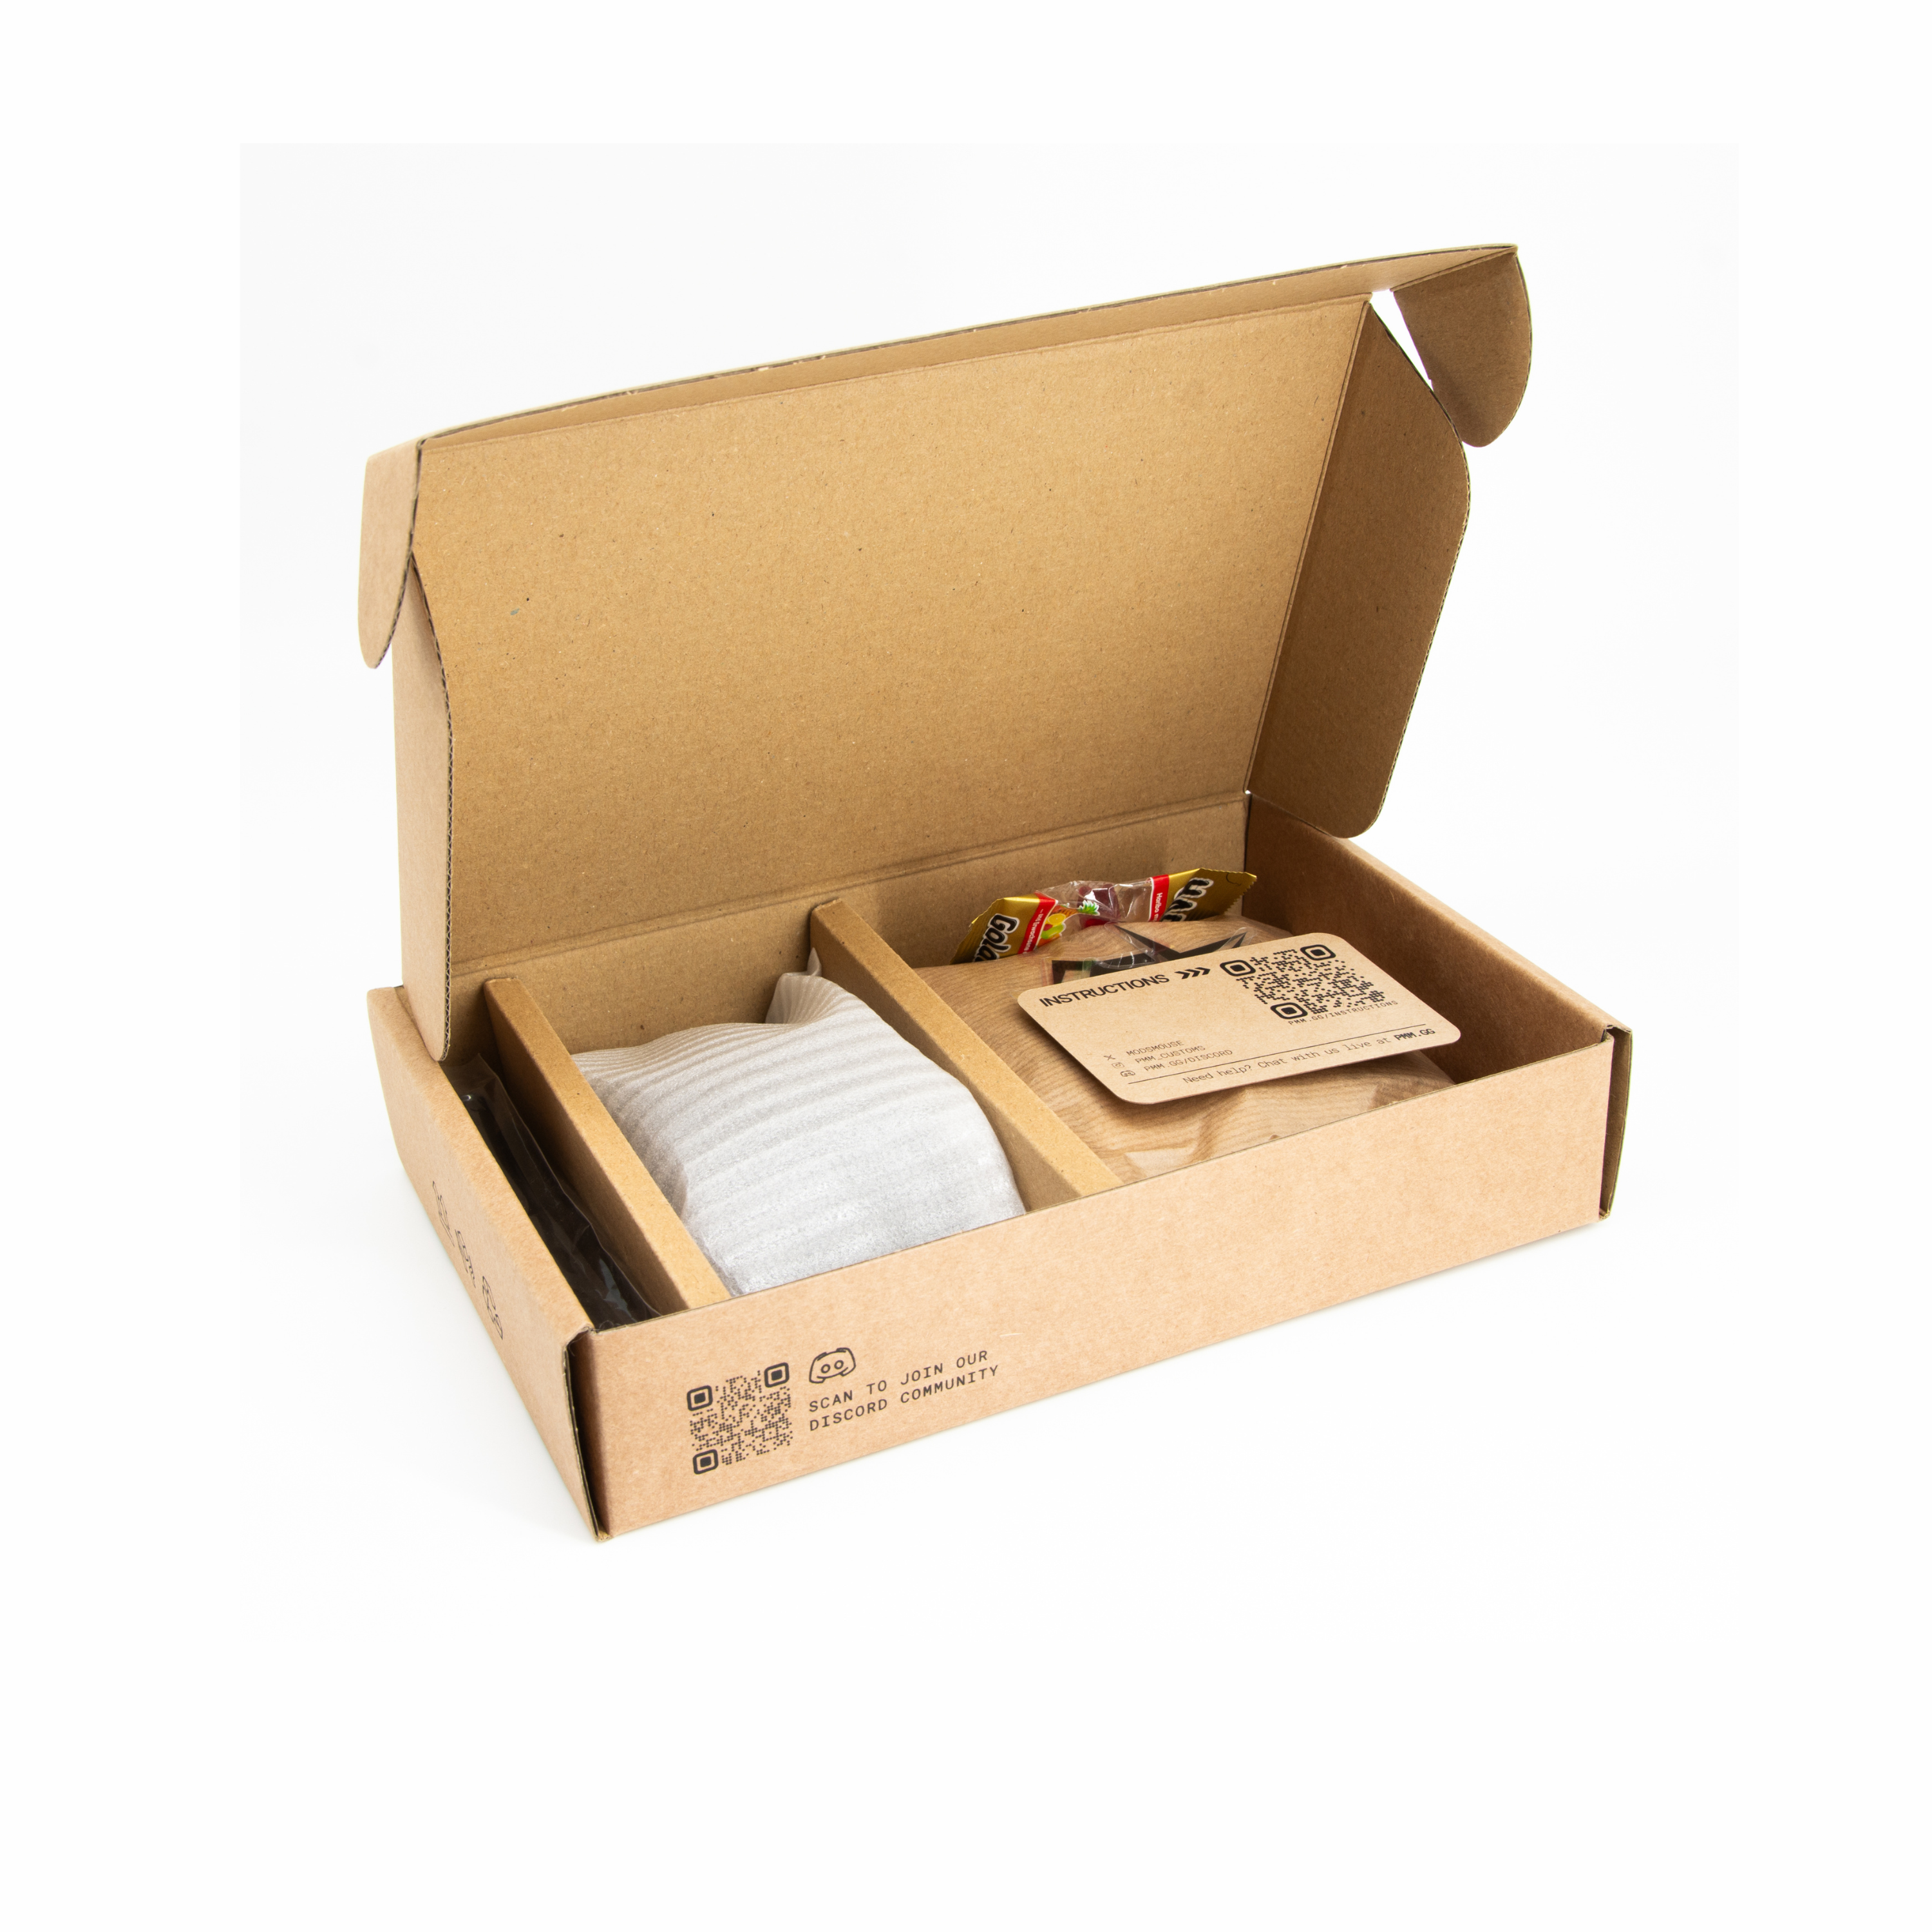
These instructions are for the P-CBR MOD-KIT.
[1a] Needed parts
 After the disassembly, these are the only parts that you need. You won't need the torx screws! After the disassembly, these are the only parts that you need. You won't need the torx screws! |
[1b] Needed parts - Screws
|
Screw types from left to right: Dome screw, short screws, long screws |

[2] Needed Tools
 You need a Phillips screwdriver (PH00).
|
[3] Add a power switch
|
Pay attention to it's orientation! |

[4] Add the lens
 Again, pay attention to the orientation. It has to sit tight so the design can be too tight and you need to file the lens holders a bit! Again, pay attention to the orientation. It has to sit tight so the design can be too tight and you need to file the lens holders a bit! |
[5] Add the PCB
 Secure it with two short screws. The other screwholes stay empty.
|
[6] Mouse button screws
|
The head will push against the spring and fixate it. |

[7] Insert sidebutton PCB
 |
[8] Secure it
 Secure the PCB with the long screw as shown in the picture. Same with the dome screw. If the top shell is too twisted, you can try screwing this screw only half-way in.
|
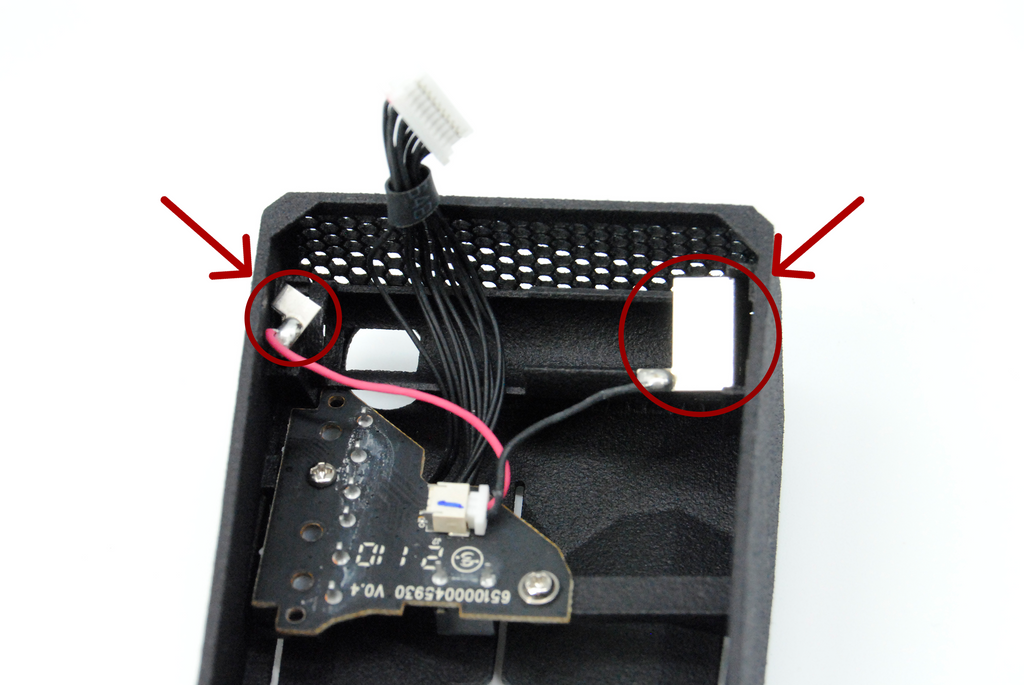
[9] Battery contacts
|
After cutting them to size, insert them in their pockets. |
[10] Add battery
 Pay attention to the correct orientation. The micro USB port should be on the side with the hole.
|
[11] Add magnetic adapter
 Using the magnetic charger helps with this.
|
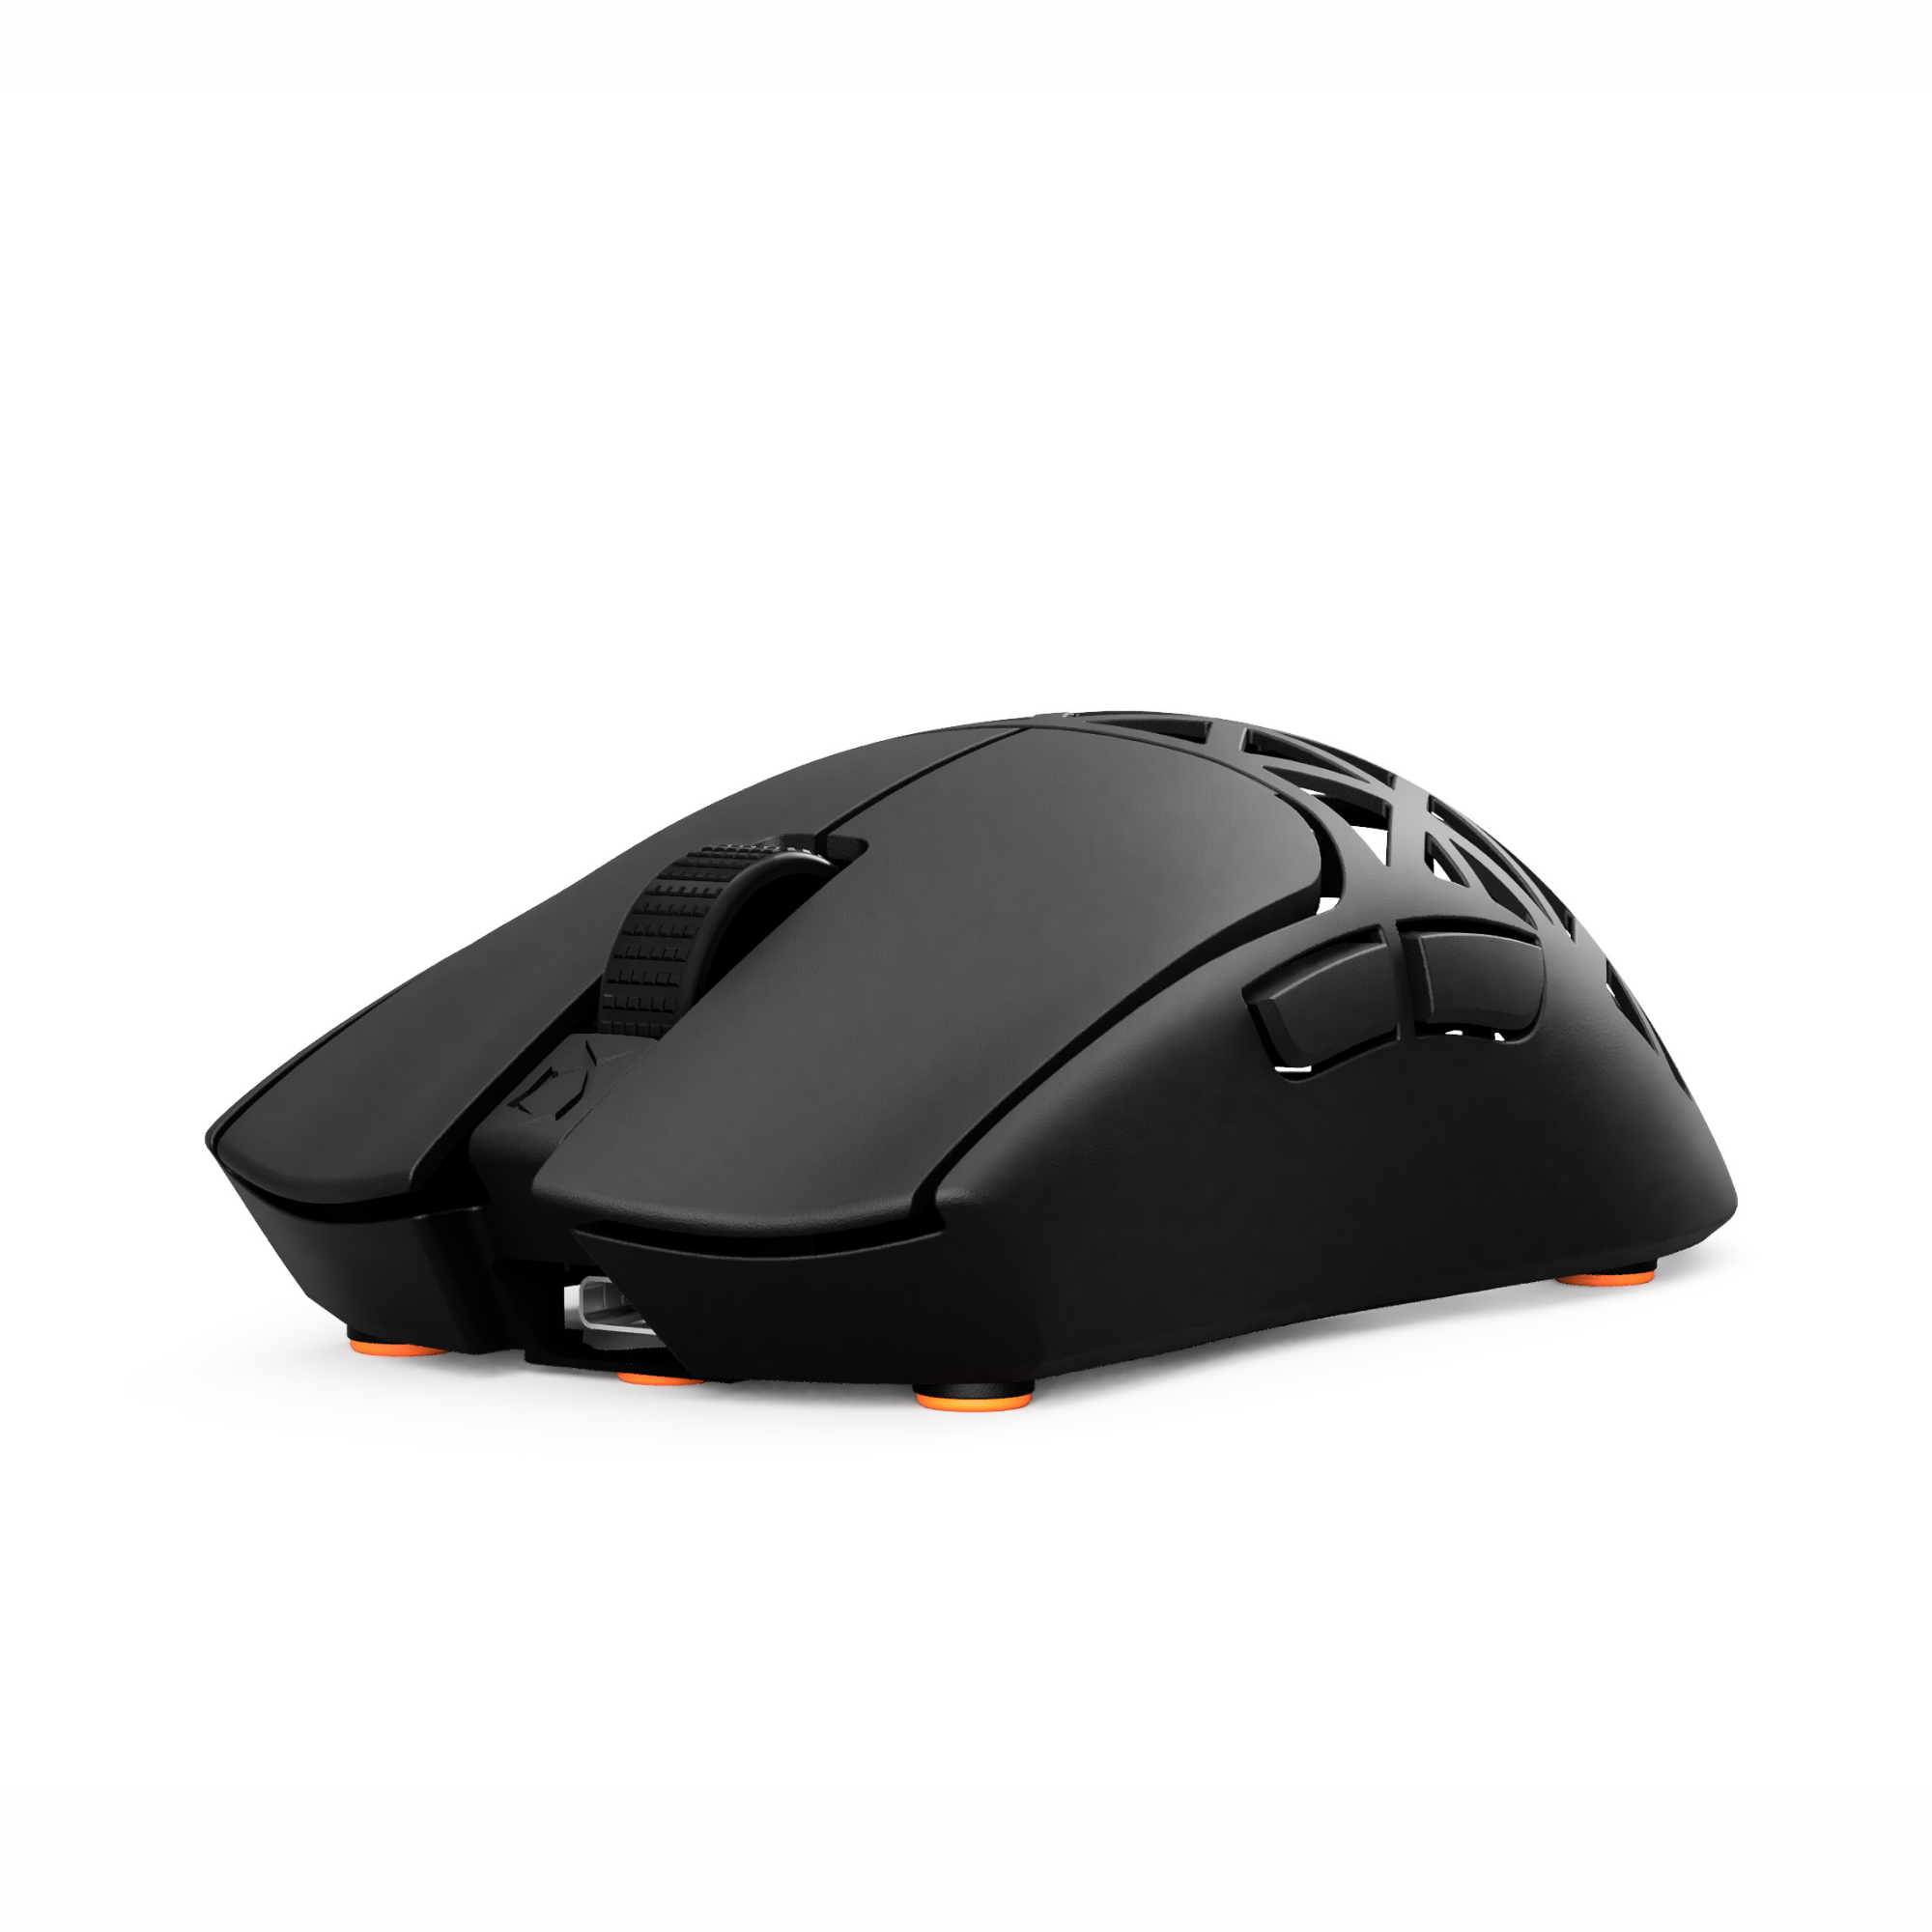
[12] Result
|
That's what it should look like. |

[13] Connect both PCBs
 |
[14] Slide it on
 Slide the bottom shell in the top shell as seen on the picture
|
[15] Correct screws
|
The short screw goes in the left hole, the long one in the right. |

[16] Screw them all the way in
 Test the side button, LMB and RMB. Also test if the mouse turns on and charges!
|
[17] Mouse feet
 If it all works, finish by adding the mouse feet.
|
[18] Software
|
If you want to use software to change the DPI, you can download Razer Synapse. |