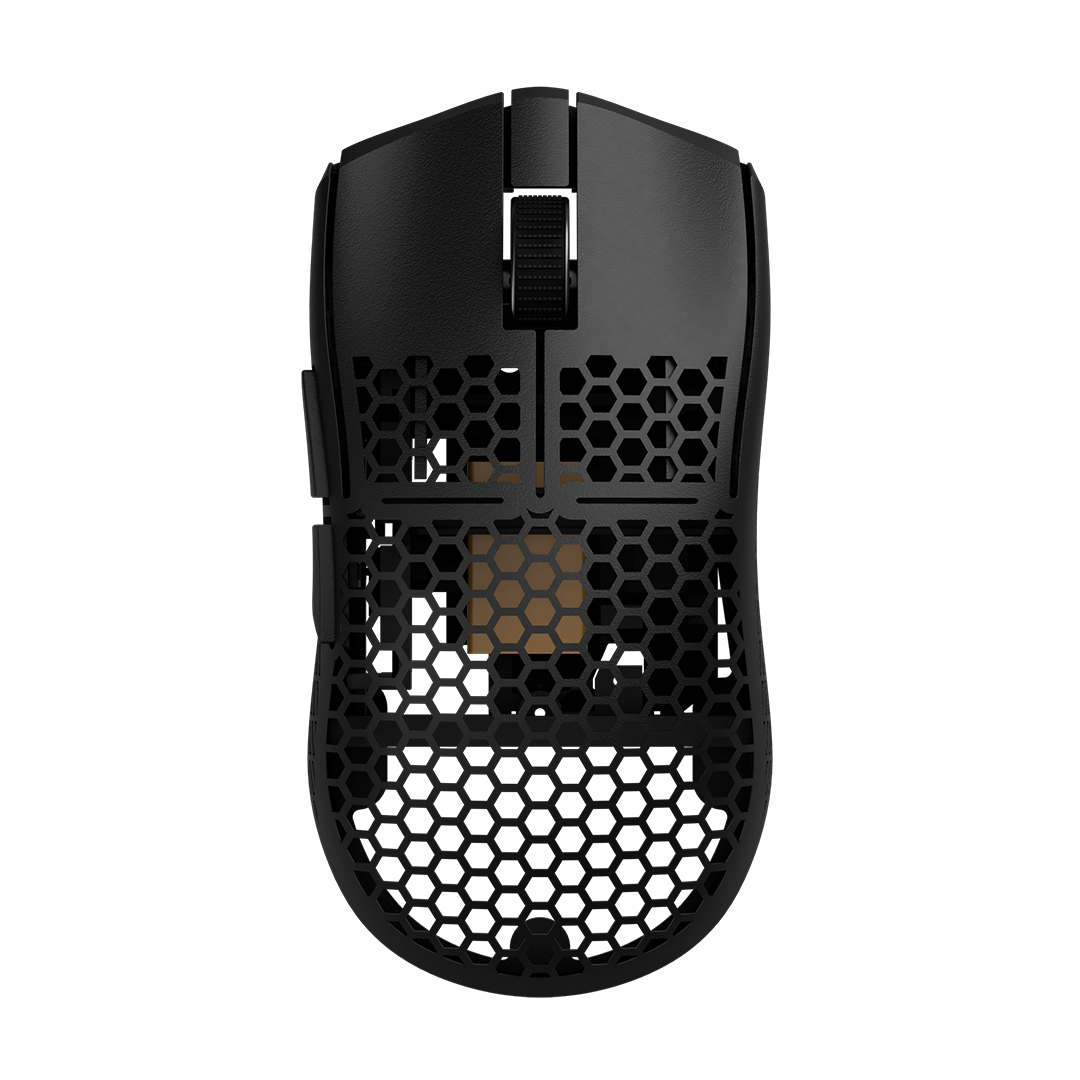
Needed tools
 You need a small cross electronics screwdriver (aka Phillip's or PH00), as well as a TORX-6 screwdriver or something else to unscrew Torx screws: a small slot screwdriver, scissors or anything else that is pointy. Lastly, either something to cut sheet metal or two pliars to bend sheet metal until it breaks.
|
[1] Take the top off
 |
[2] Unscrew both screws
 These will be called short screws later.
|
[3] Take out the USB dongle
 |
[4] Unscrew the four Torx screws
 Use TORX-6 screwdriver or something else to unscrew Torx screws: a small slot screwdriver, the tip of your scissors or anything else that is pointy. Get creative!
|
[5] Open the mouse
|
Using a slot screwdriver works best here |
[6] Disconnect the plug
 |
[7] Unfasten the PCB
 Unscrew the 3 PCB screws, also called short screws
|
[8] Remove PCB, lens and power switch
 |
[9] Unfasten sidebutton PCB
 Unscrew two long screws and one dome screw. Next, pull out the battery sheet metal parts.
|
[10] Cut/bend the sheet metal contacts
 If you have a sheet metal cutter, use that. If not, simply bend the metal repeatedly until it breaks. Using two pliars works best here.
|
[11] Repeat on the smaller metal contact
 We only need one of them since there will be only one battery
|
[12] All the needed parts
 |
[13] Contact support
Let us know if problems appear and we will assist you.


