v2.1
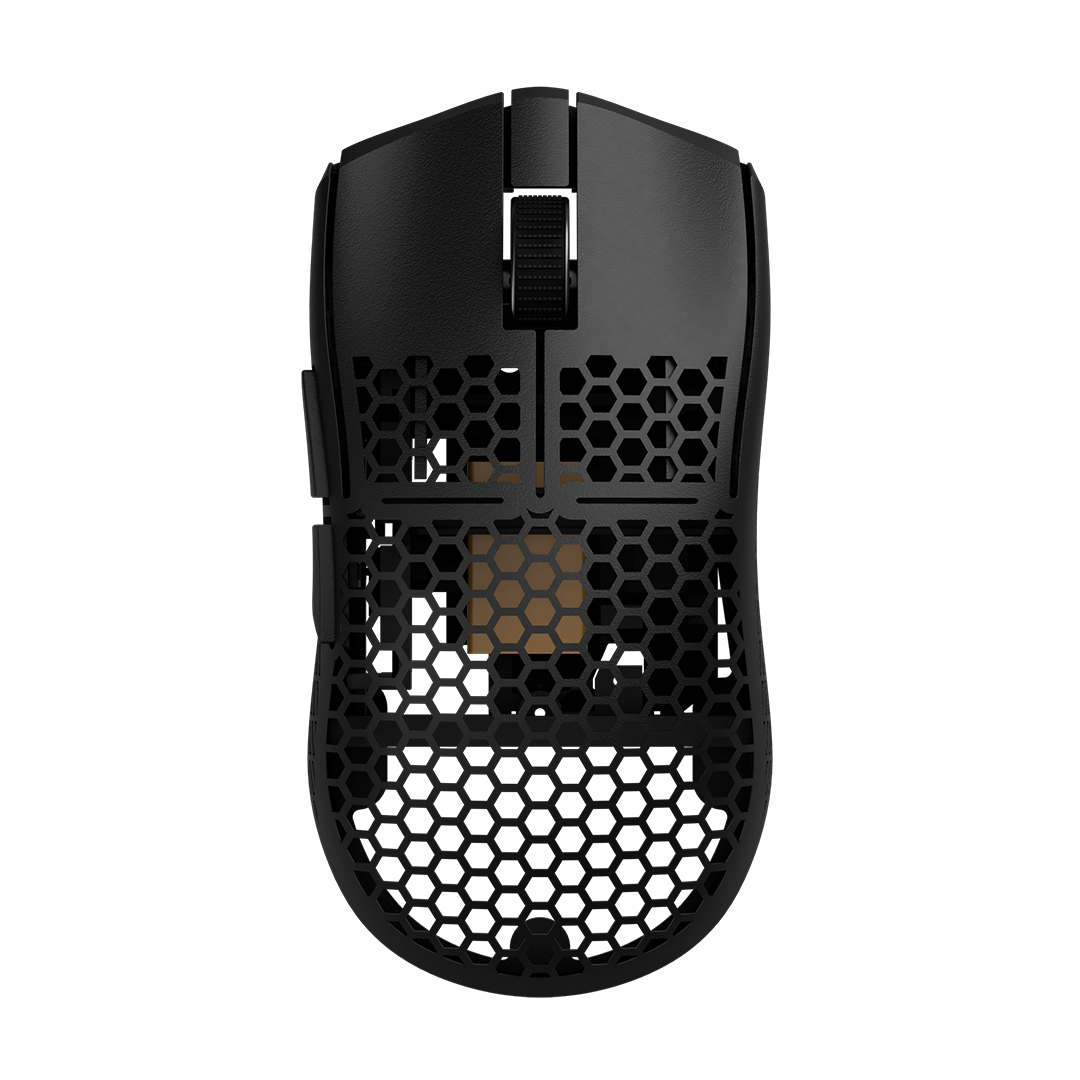
These instructions are for all Logitech G603 based mods.
See G603 disassembly instructions here.
Parts required
|

Power switch, side buttons, scroll wheel, PCB for scroll wheel, PCB, scroll wheel holder, battery, battery adapter, battery springs, shell, USB, side button PCB and screws.
|
[1] Add power switch
[2] Add PCB
|
 Add PCB, use 2 mid sized screws and 4 small sized screws. Make sure you can move the power switch. Add PCB, use 2 mid sized screws and 4 small sized screws. Make sure you can move the power switch.
|
[3] Add scrollwheel holder
|

Add a scrollwheel holder, use 4 small screws.
|
[4] Add scrollwheel to your mouse
|

Add a scrollwheel PCB and scrollwheel, use 3 small screws.
|
[5] Add side button PCB
[6] Add side buttons
|

Add side buttons with 2 small screws
|
[7a]Solder the battery springs
Don't pay attention to the cable colors. Only pay attention to the white plug to figure out which battery spring goes where!
Remove some of the insulation if necessary, cut the battery springs as shown on the picture, choose the correct small one and solder both to the cable.
[7b] Add the small spring (black)...
...and fasten it using a small screw
[8] Add large battery spring (red)
[9] Add battery
[10] Add screws in the mouse buttons
|

Add mid sized screws in the mouse buttons as shown in the picture.
|
[11] Add sidebutton PCB using a plate screw
[12] Add left micro switch
|

Add left micro switch using 2 small sized screws.
|
[13] Add right micro switch
|

Add right micro switch using 2 small sized screws.
|
[14] Add magnetic adapter with charging cable
[15] Result
[16] Plug in battery cable. Front cable goes to small spring
[17] Add 4 large screws on the bottom
[18] Add 3 small screws on the bottom
For support, contact us here: support@pmm.gg
For further instructions continue here: https://pmm.gg/instructions


 Add PCB, use 2 mid sized screws and 4 small sized screws. Make sure you can move the power switch.


