
Assemble your PMM Mod
STEP 1: Disassembly of the OP1 8k
We recommend watching a step, then assembling that step right after.
Note: We recommend updating the OP1 8K firmware using the stock cable.
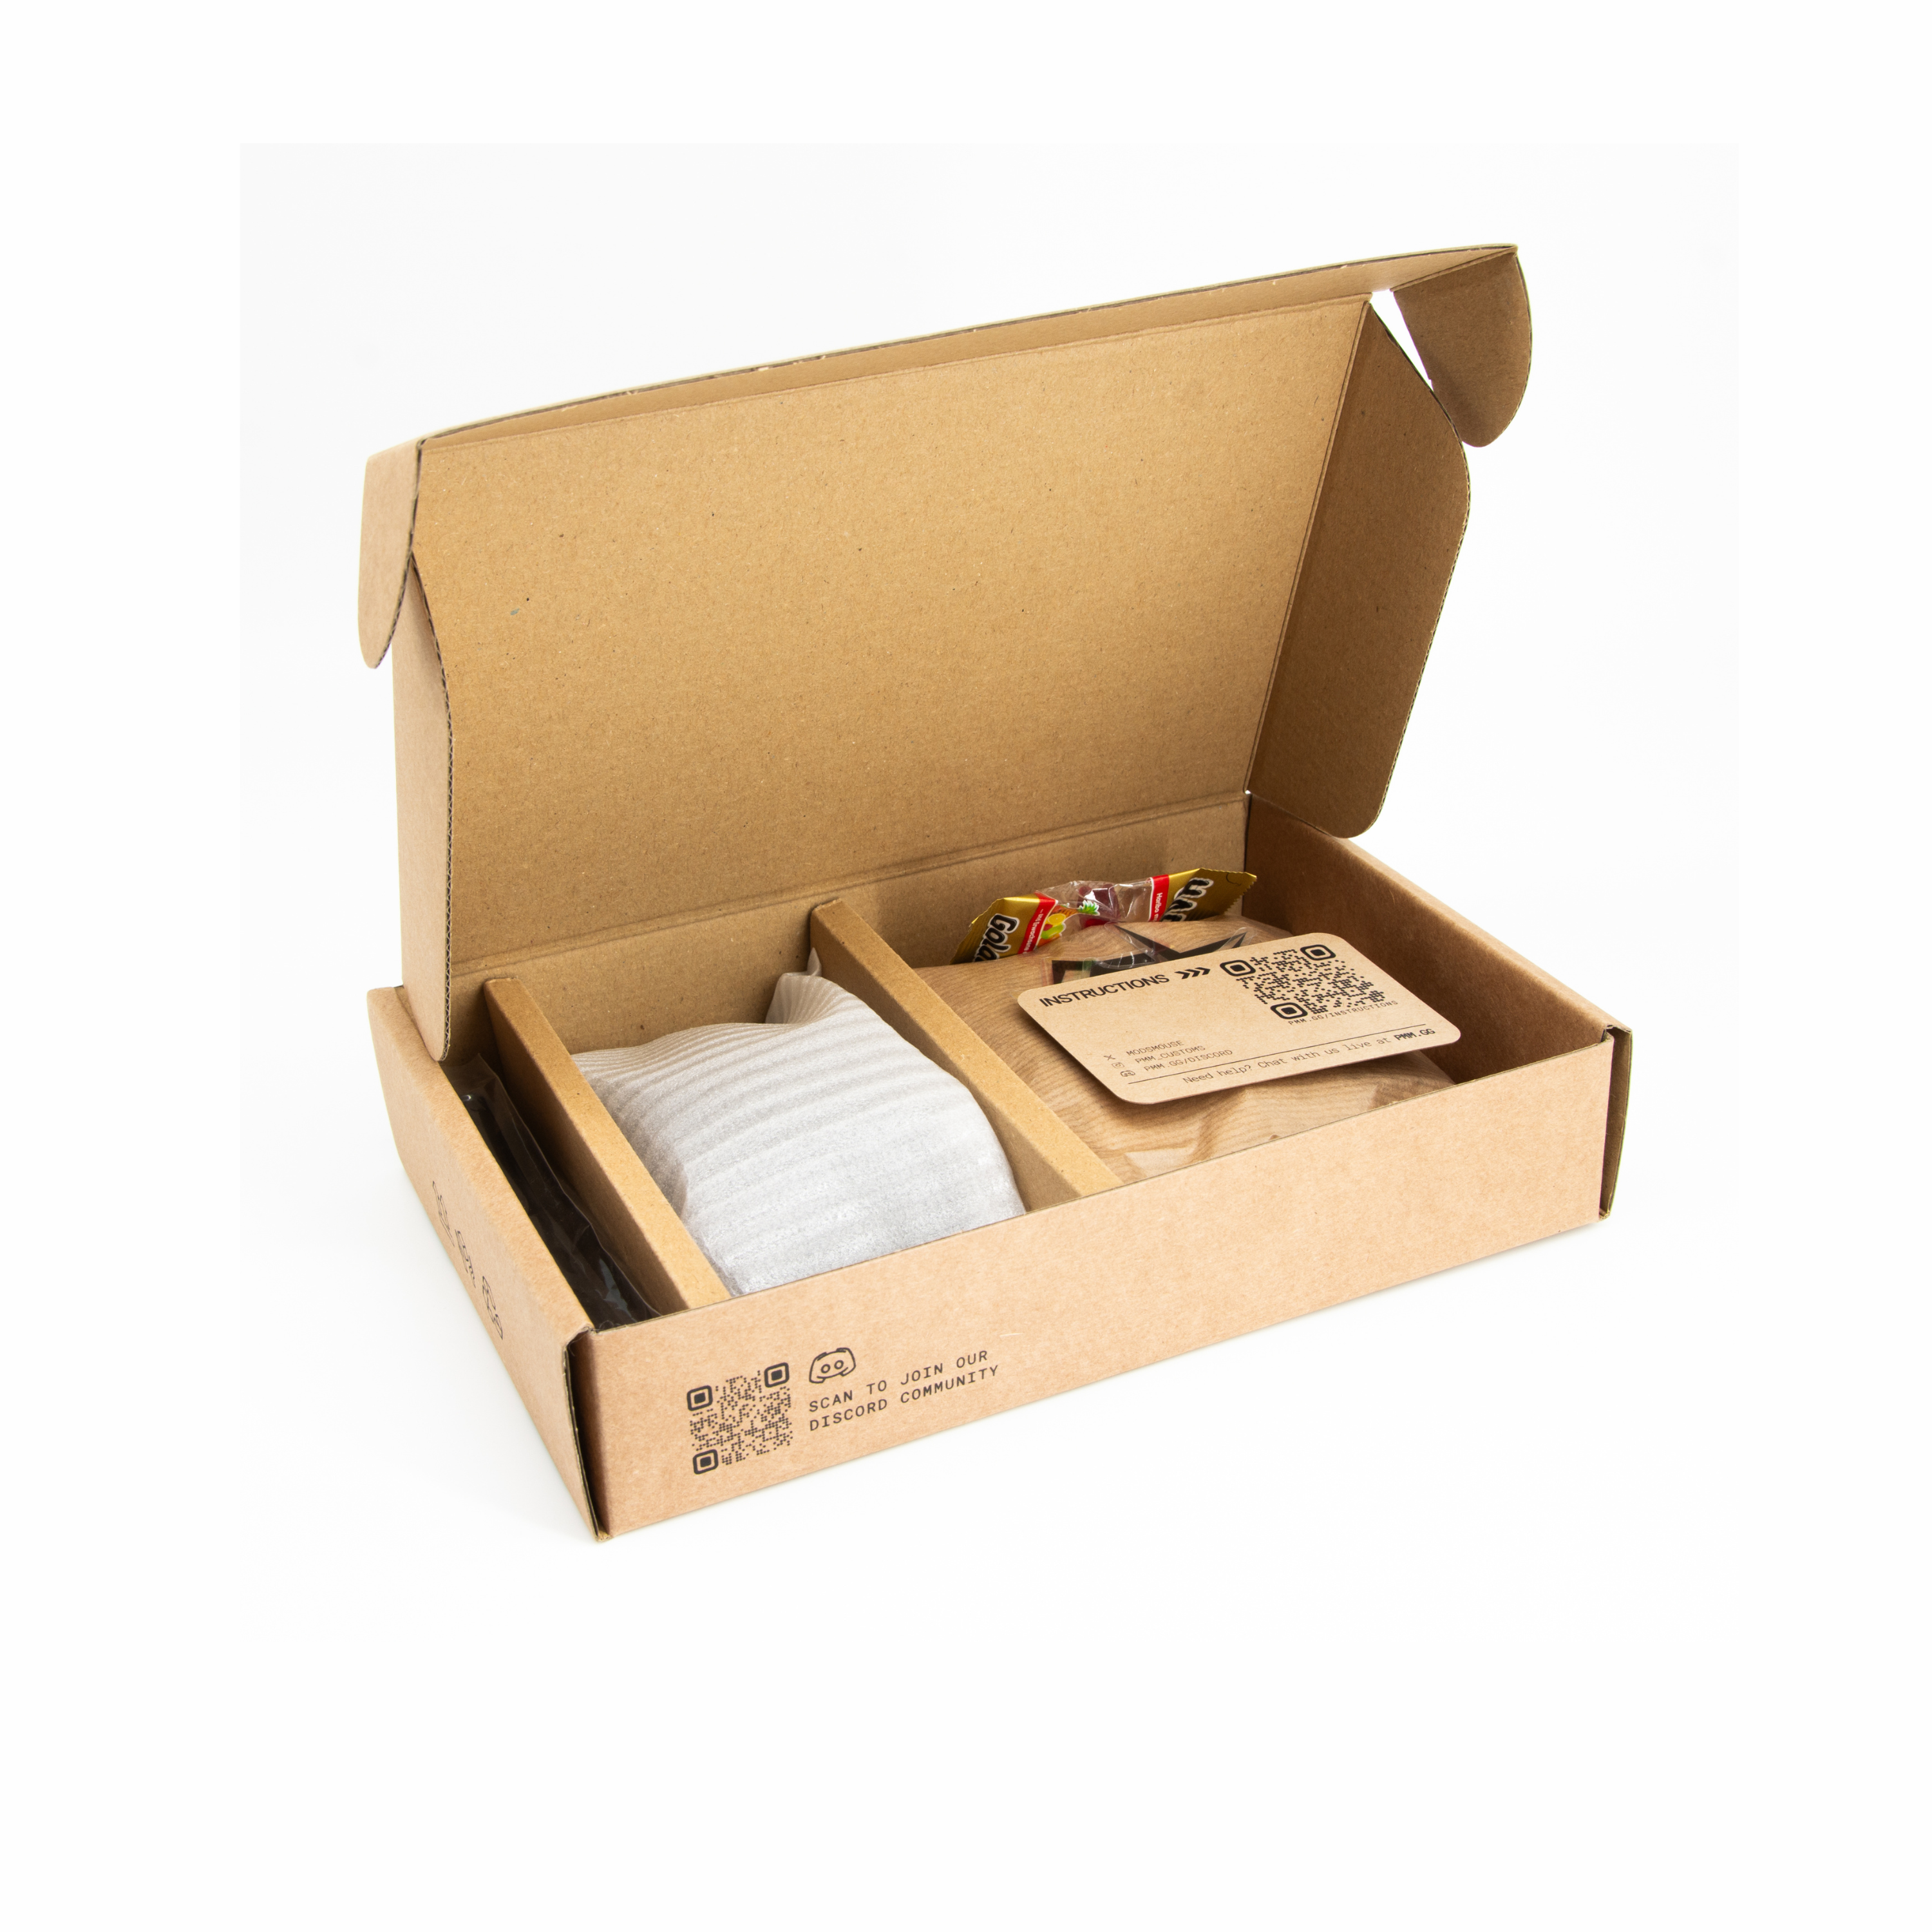
Use the transparent screw box to prevent losing your screws.

STEP 1
STEP 2: Switch Installation

STEP 3: Add the Cable Support
- If you use the stock cable, use the same holder for it.
- If your Mod-Kit came with an additional cable support, we recommend to use that one since it is optimized for the CYBER OP.
Note: If you experience any problems, please join our Live Chat.

STEP 4: Add the PCB
- Use the PCB Adapter if you have a cut PCB. See graphic below.

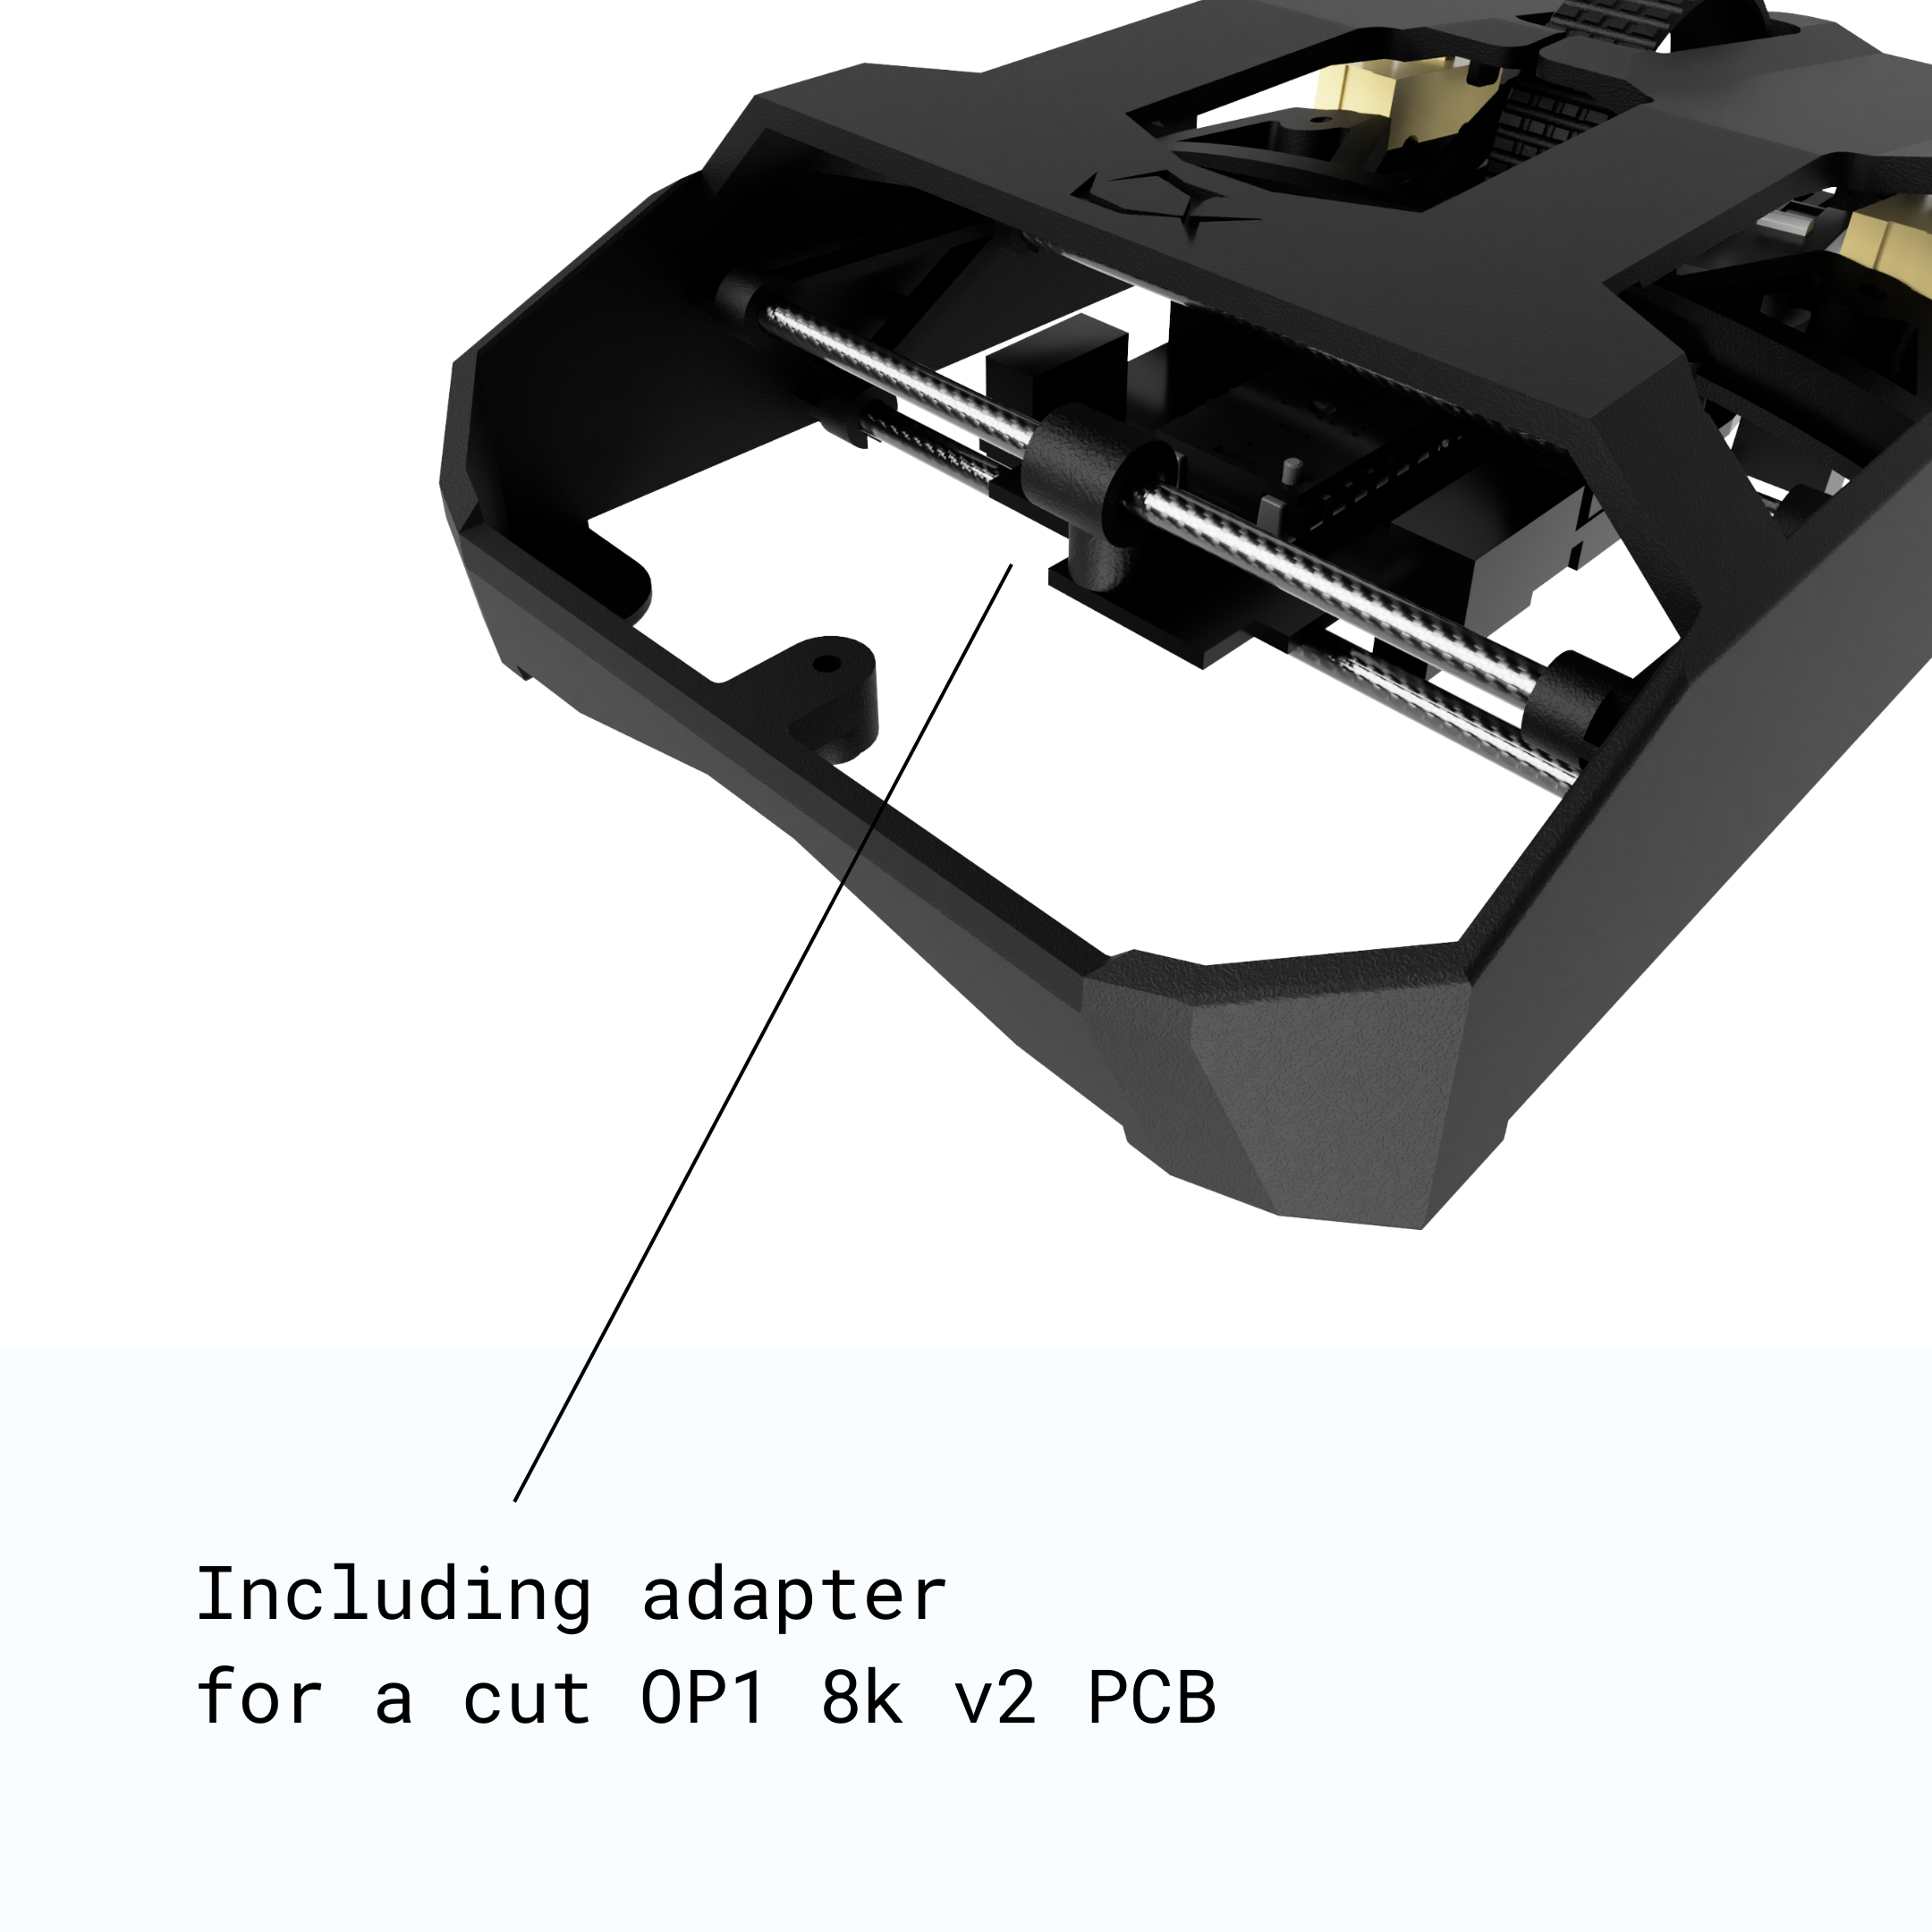
For customers with a cut OP1 8k v2 PCB
Simply use our adapter and add it to the carbon fiber rod.
Ignore if you didn't cut your v2 PCB or have a v1 PCB.
STEP 5: Final Step
Note: If the clicks feel too tight (too little pre-travel) you can slightly loosen the switch screws. We recommend to start with half a turn.
