STEP 1: PREPARATION
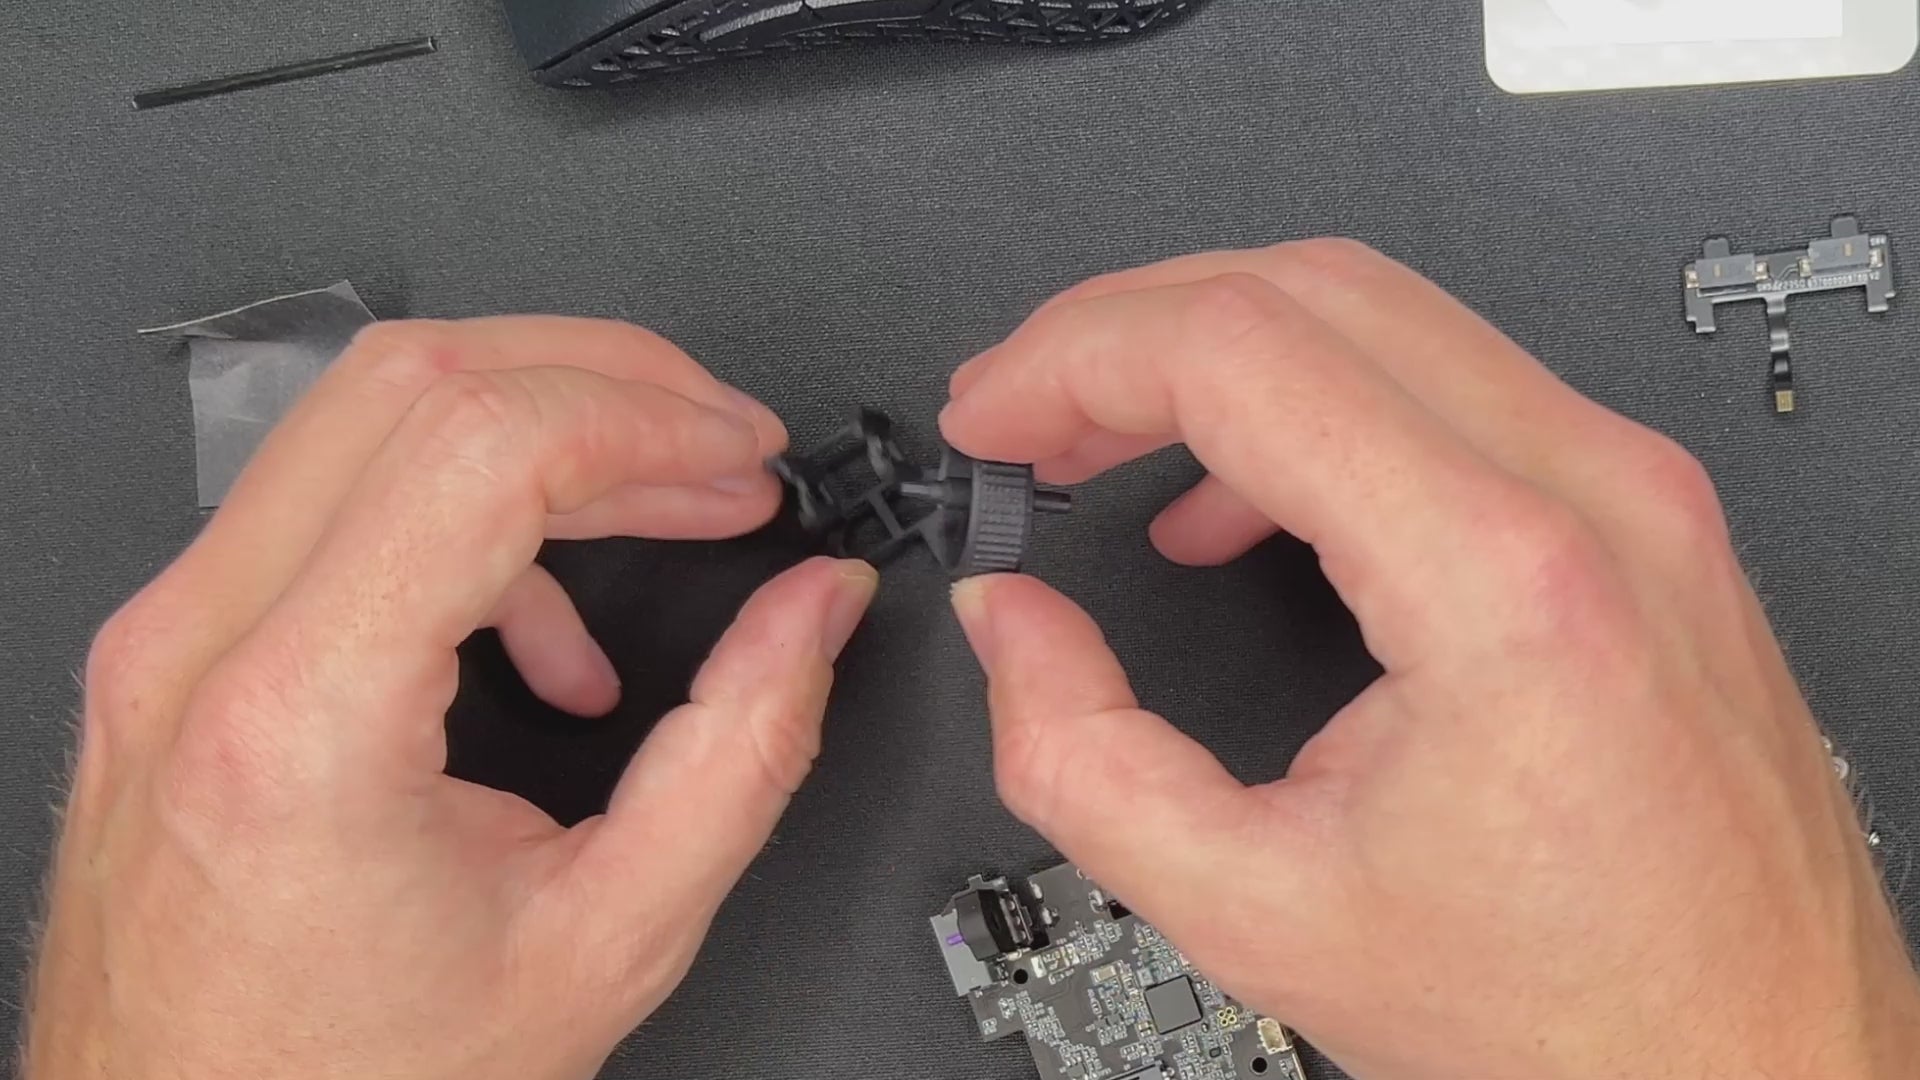
Sand the mouse wheel holder & the mouse wheel.
- Start with the mouse wheel holder. Use the sanding paper and a screwdriver. Don't use too much pressure.
- Sand the thicker pin of the mouse wheel.
- Final check: Does the wheel run smooth in the holder?
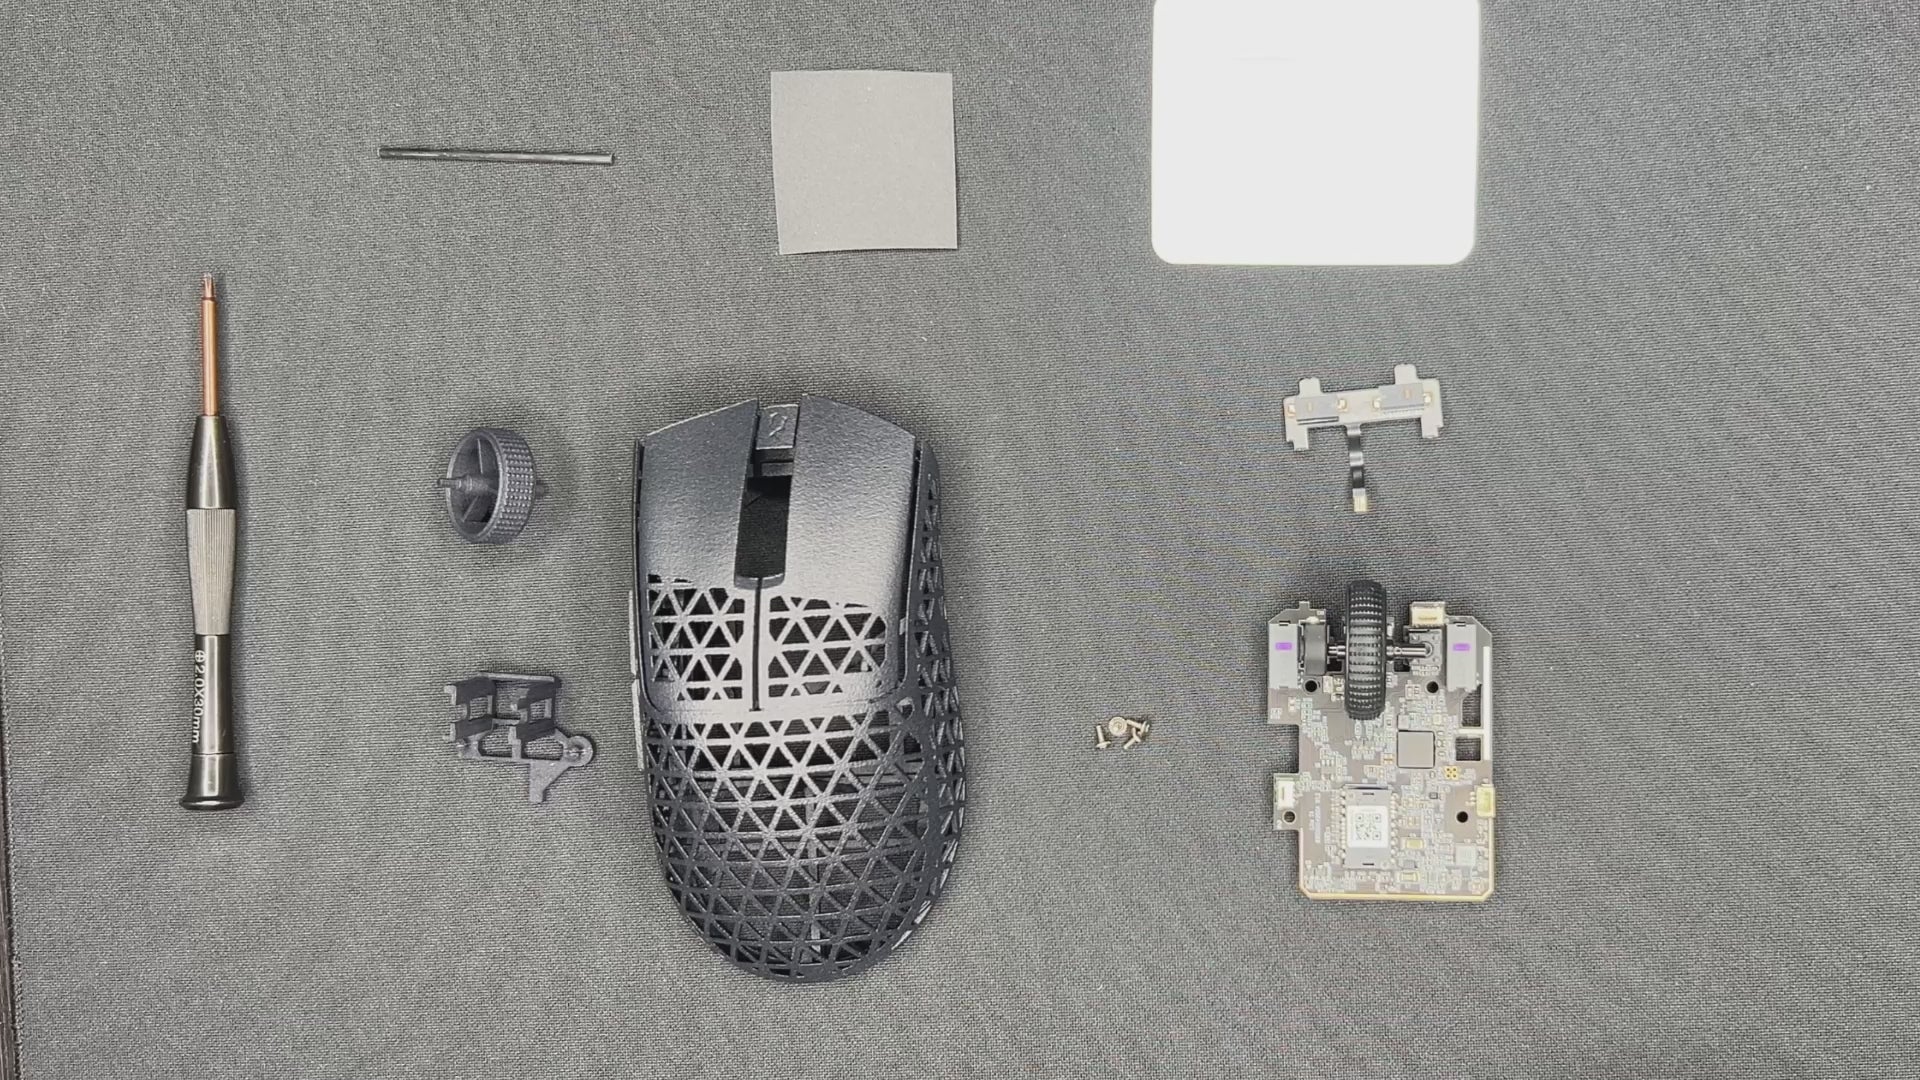
STEP 1
BATTERY
NOTE: You can also use the mouse wired. In that case you don`t need to attach the battery. It will save you 3g.
If you want to use the battery follow the video below.
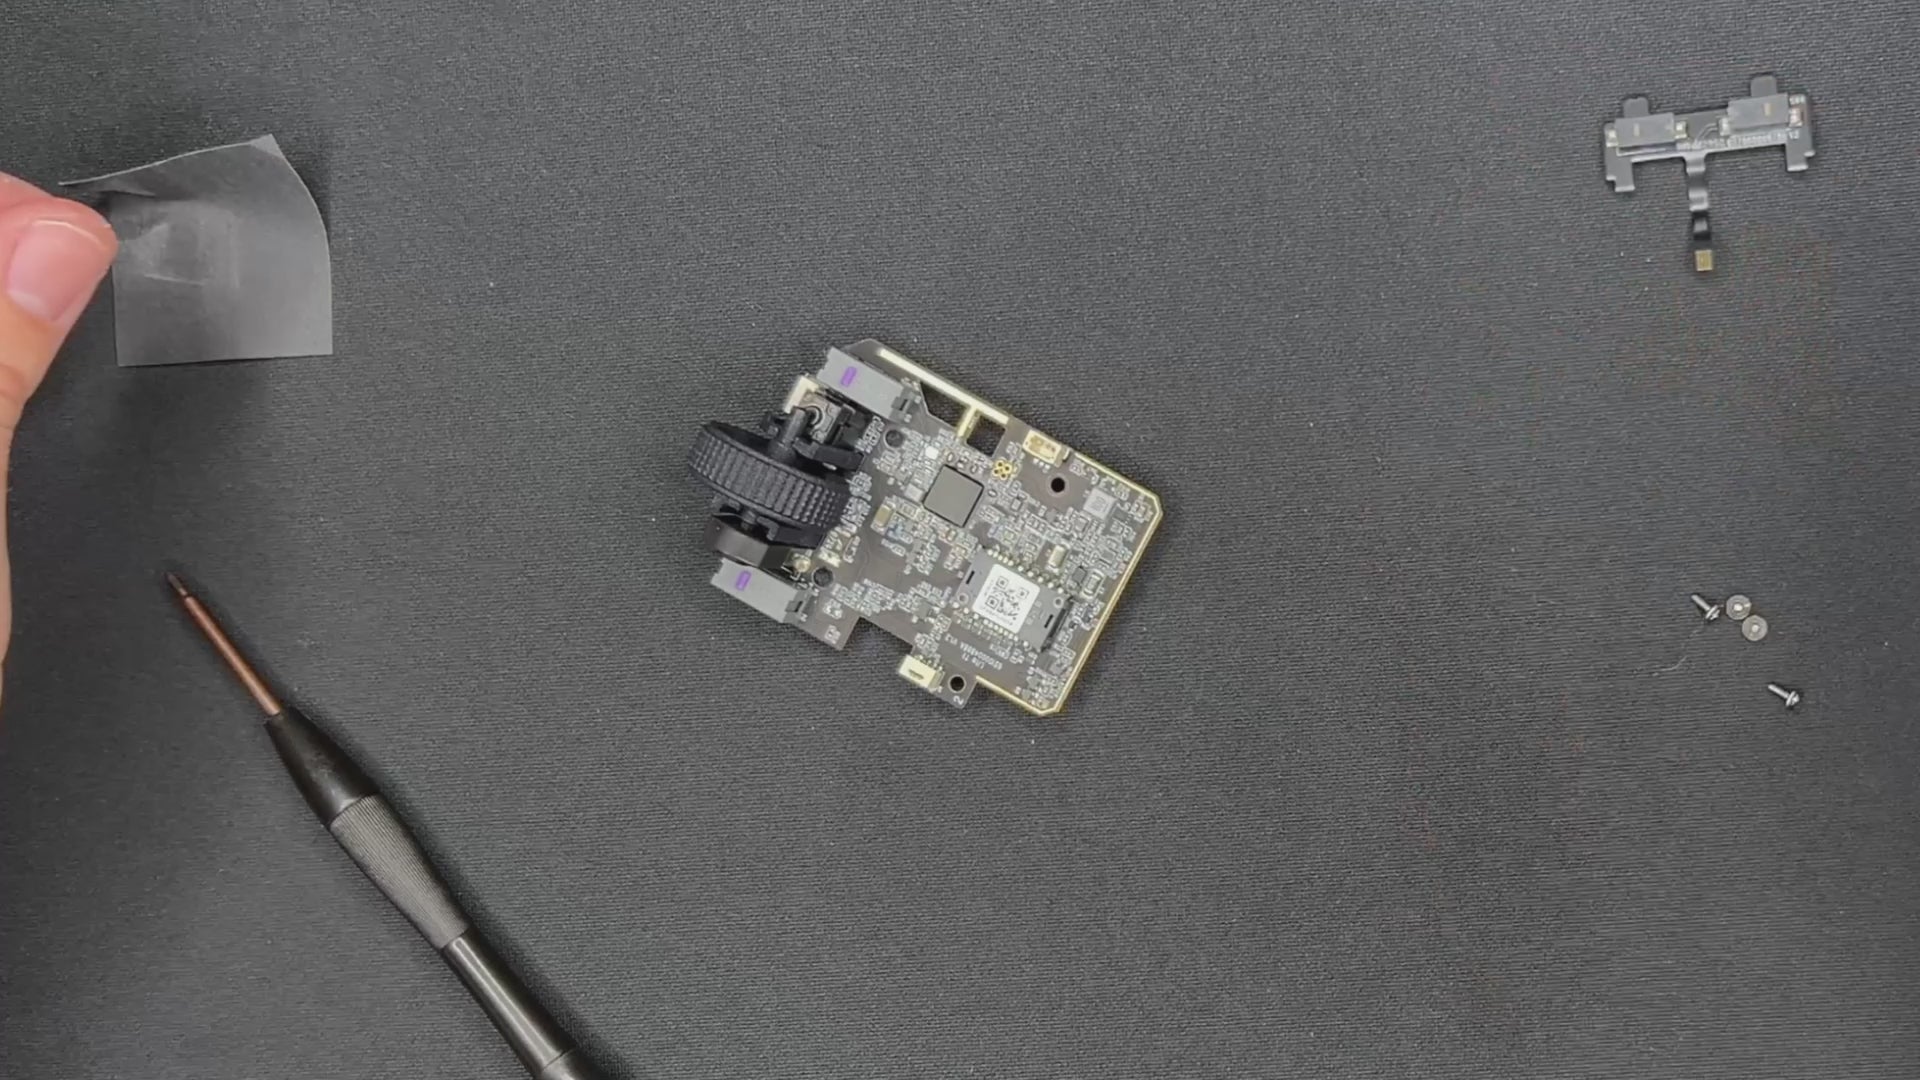
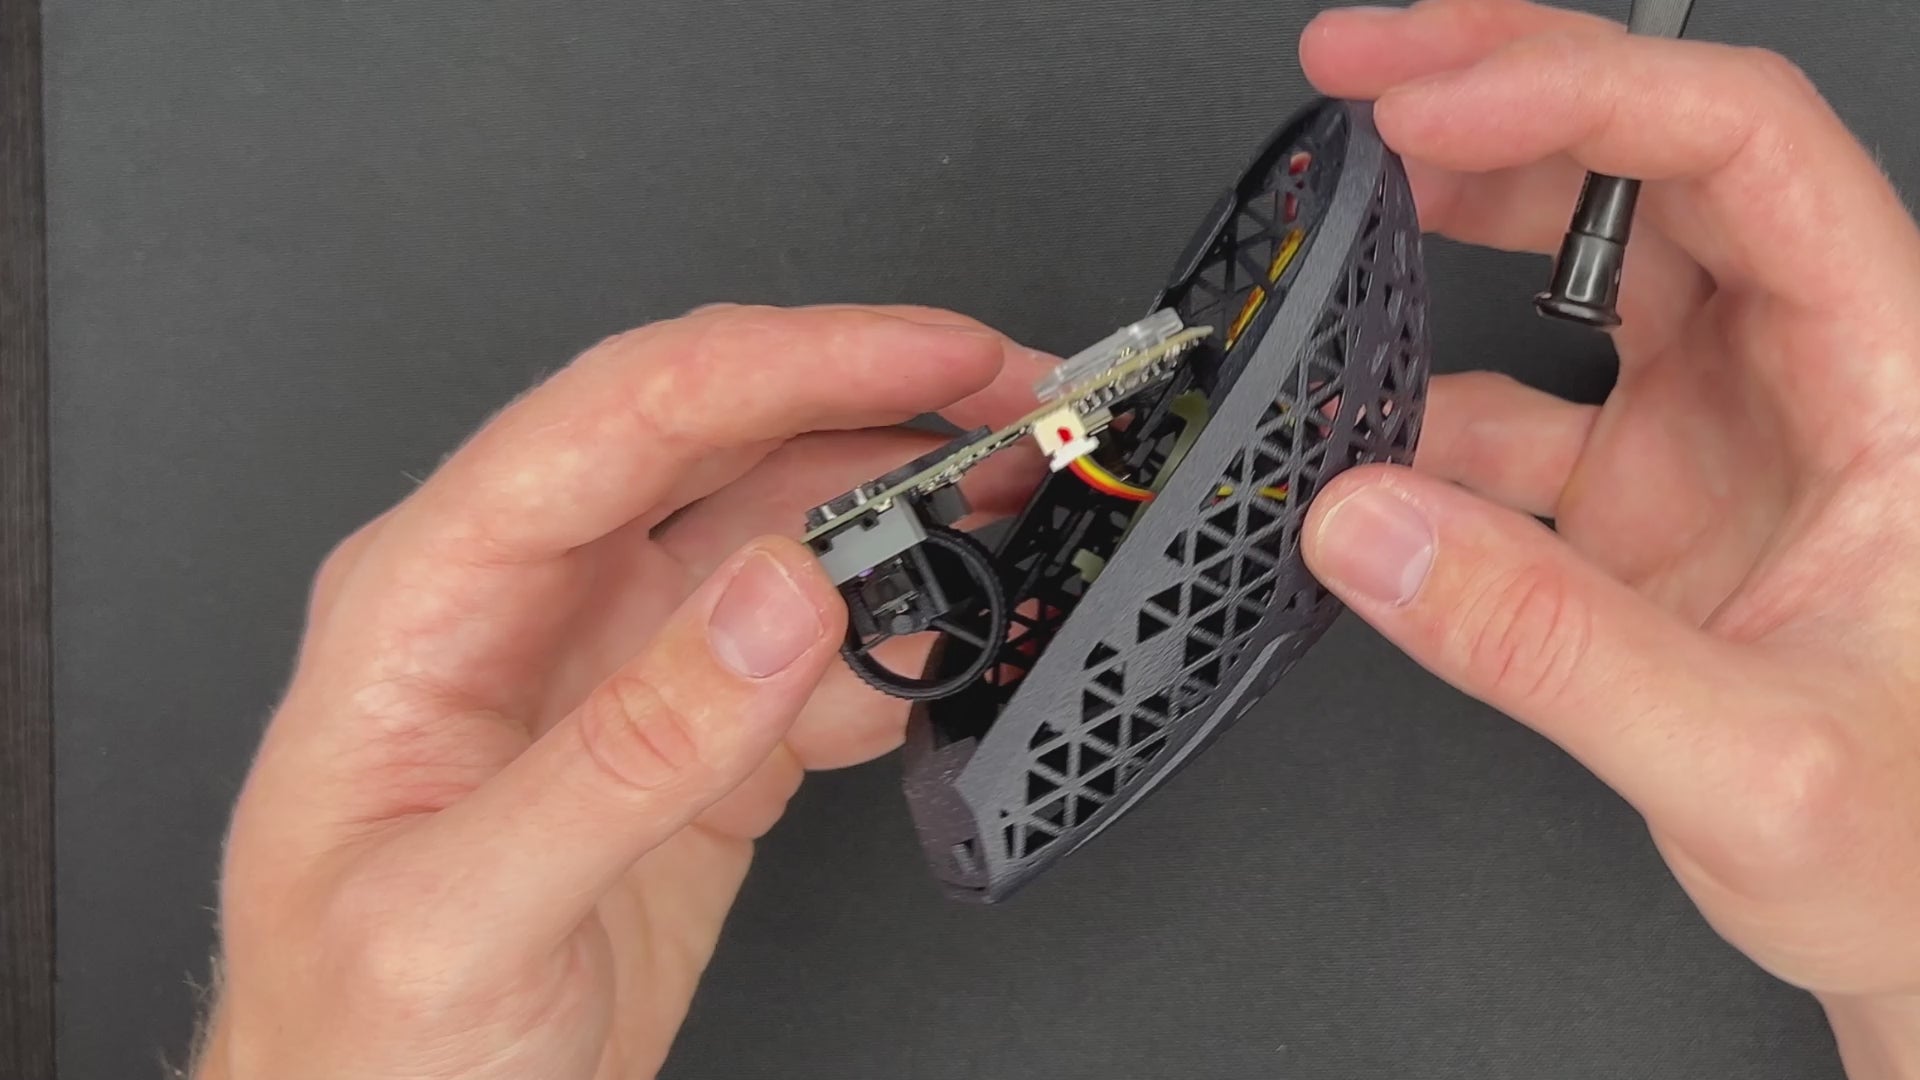
STEP 2: ADD THE MOUSE WHEEL
- Plug the scroll wheel inside the encoder.
- Install the mouse wheel holder. IMPORTANT: Make sure the holder sits on top of the PCB in the front.
- Check if the mouse wheel runs smoothly. If there is too much friction you either need to sand more, or center the mouse wheel further. Updated mouse wheel holder are already so smooth that no sanding is needed.
STEP 2
STEP 3: CONNECT THE SIDE BUTTON PCB
- Connect the side button PCB with the ribbon cable. Be careful, don't bend the cable or put it in with too much pressure. The cable is fragile.
STEP 3
STEP 4: INSTALL CARBON FIBER RODS
The following video shows an older design version. By now, the carbon fiber rod gets inserted after the addition of the main PCB.

STEP 4
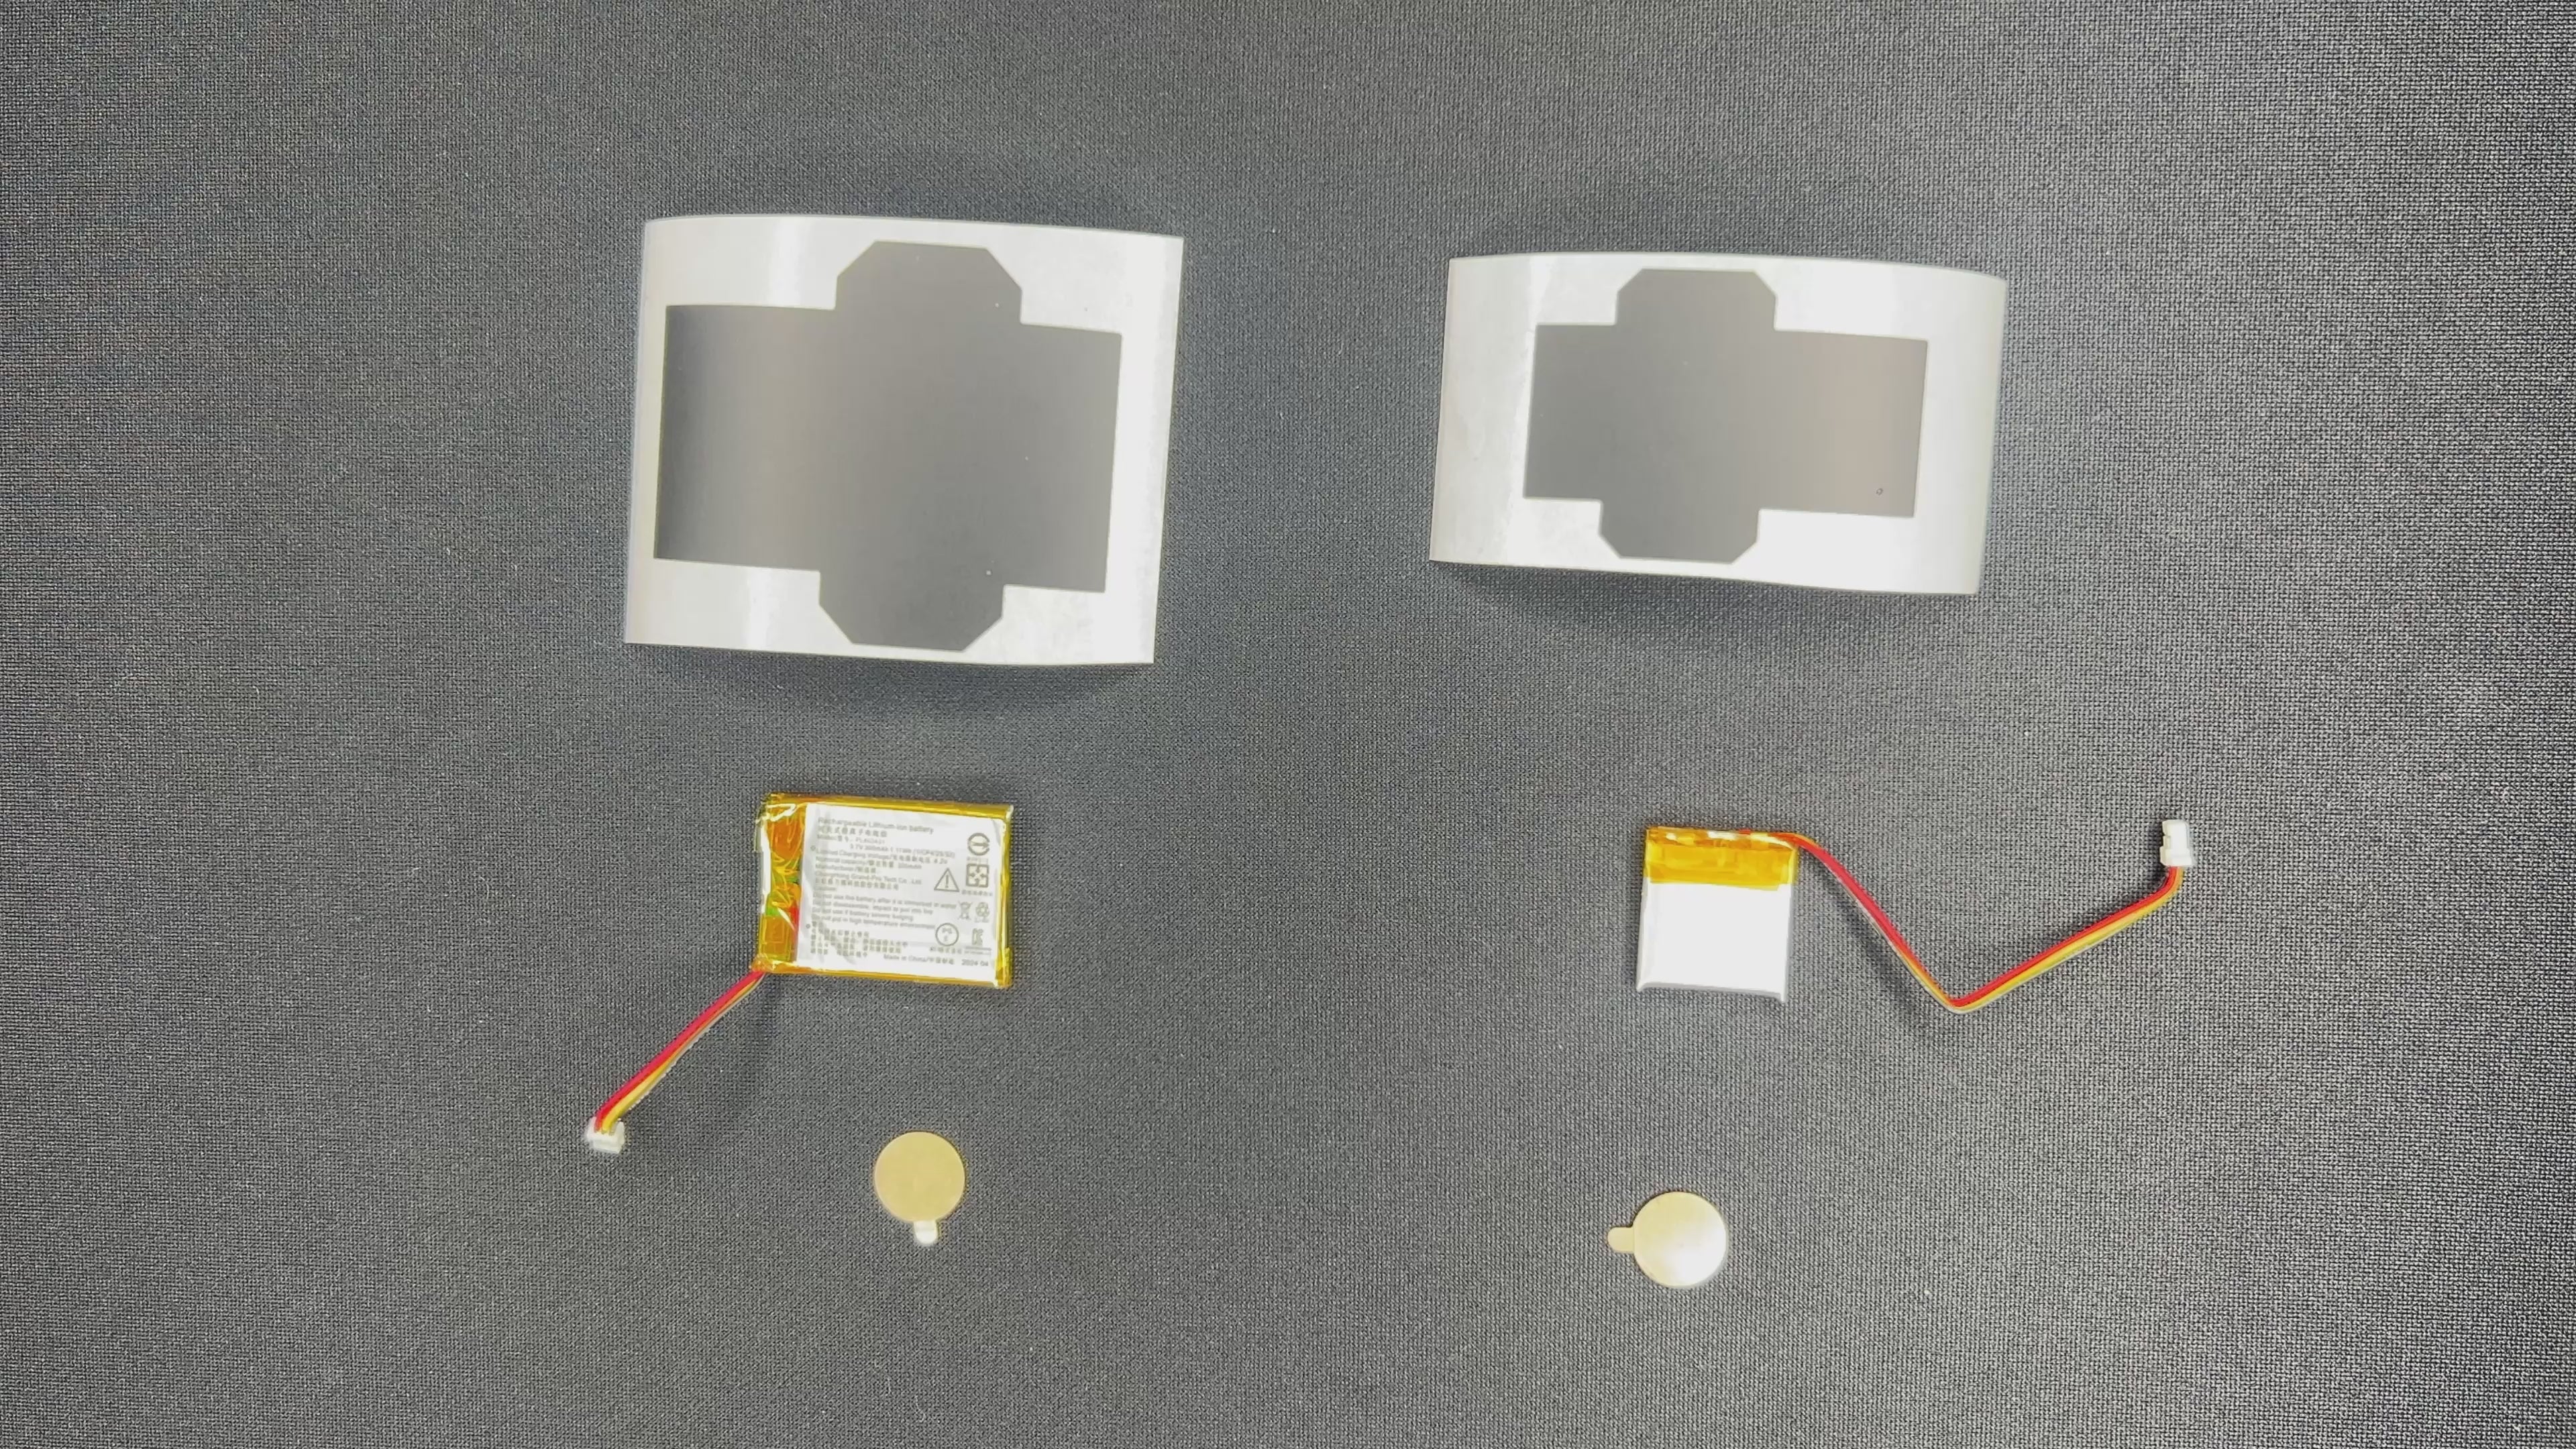
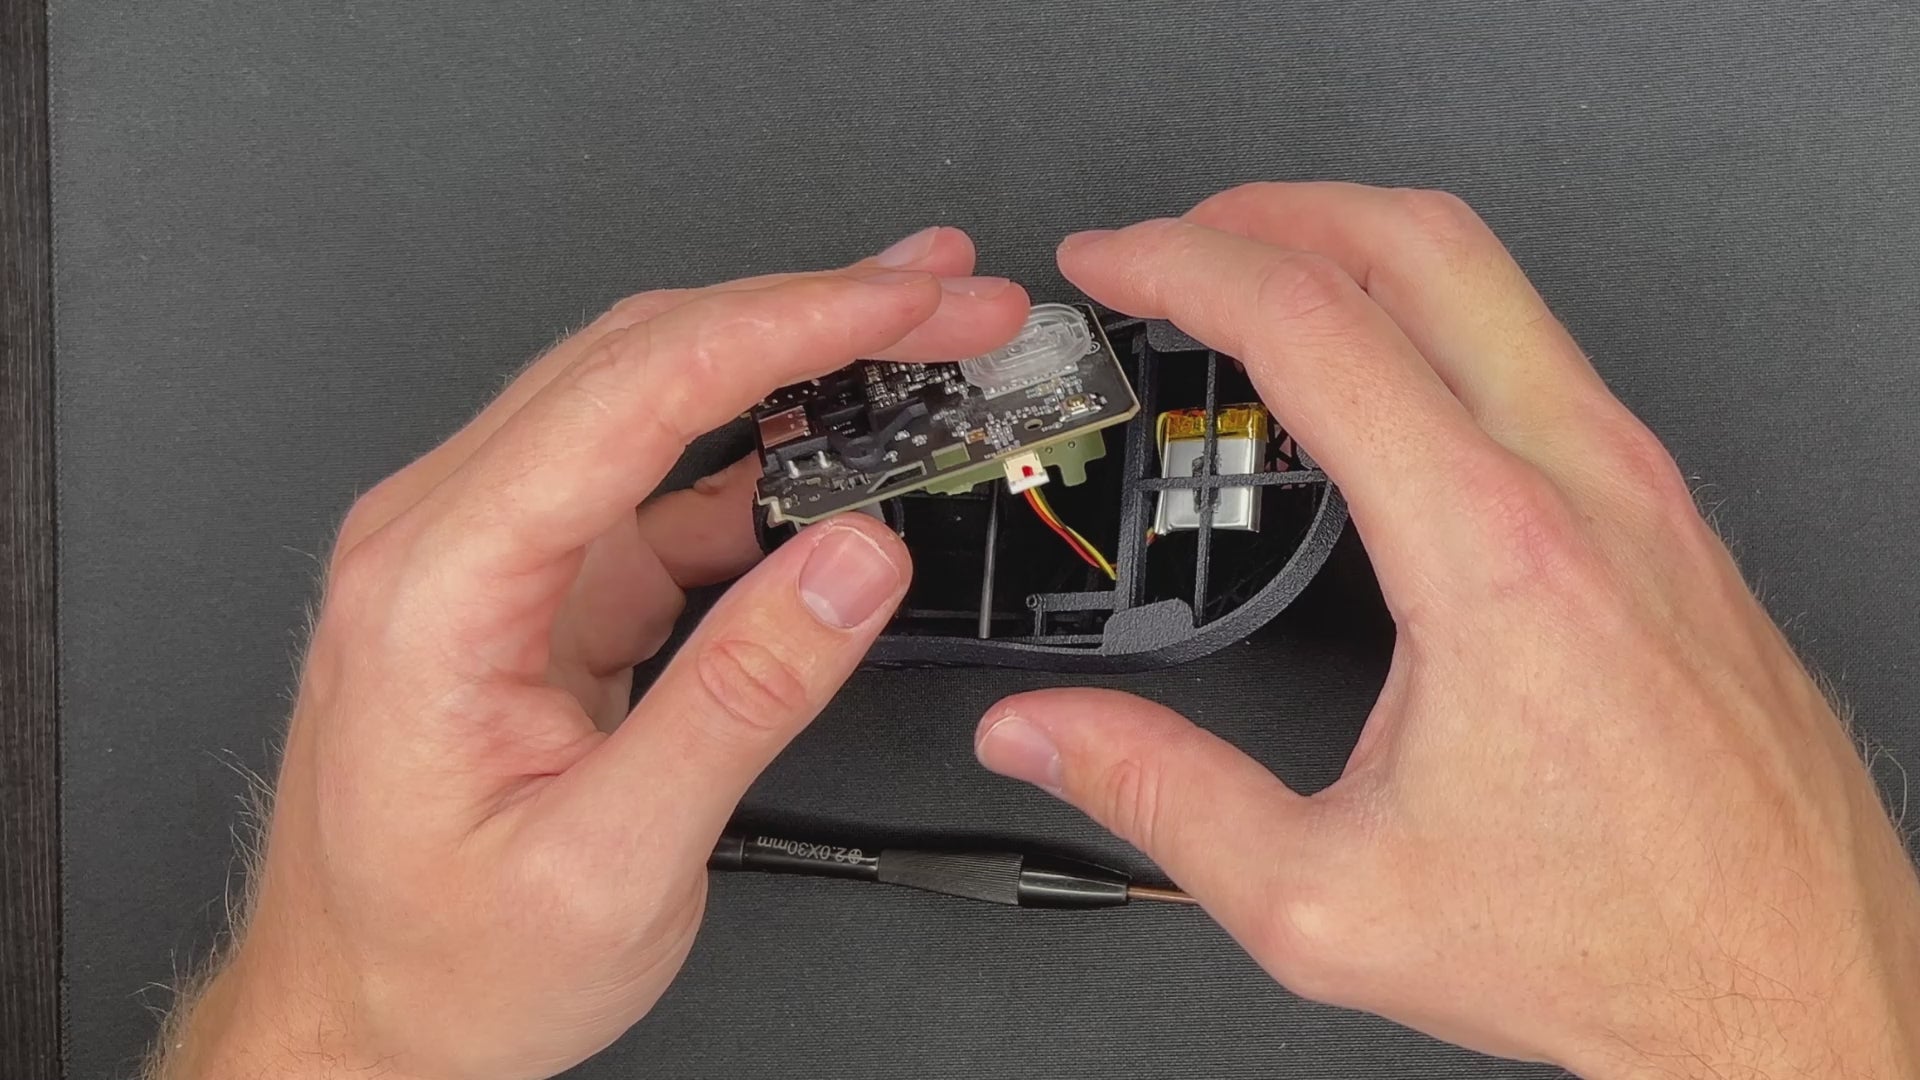
STEP 5: ADD THE BATTERY
Put adhesive on your battery.
- Take off the adhesive.
- Place the battery in the back, for a good weight balance. The shell is fragile, don't push the battery to hard against the rods.
- Check the battery cable to be in the right position.

STEP 5
STEP 6: OPTIONAL - NOT NECESSARY
- For easier installation of the side button PCB, you can cut one part of the side buttons. This step is not necessary but makes the build easier.

STEP 6
STEP 7: CONNECT BATTERY WITH PCB
- There is only one way to plug in the cable. Check that the connectors are in the correct direction.
STEP 7
STEP 8: PLACE THE SIDE BUTTON PCB INSIDE THE SHELL
- Place the side button PCB in the holder. It does not need to be completely inside. Later you will have the change to fully insert it.
STEP 8
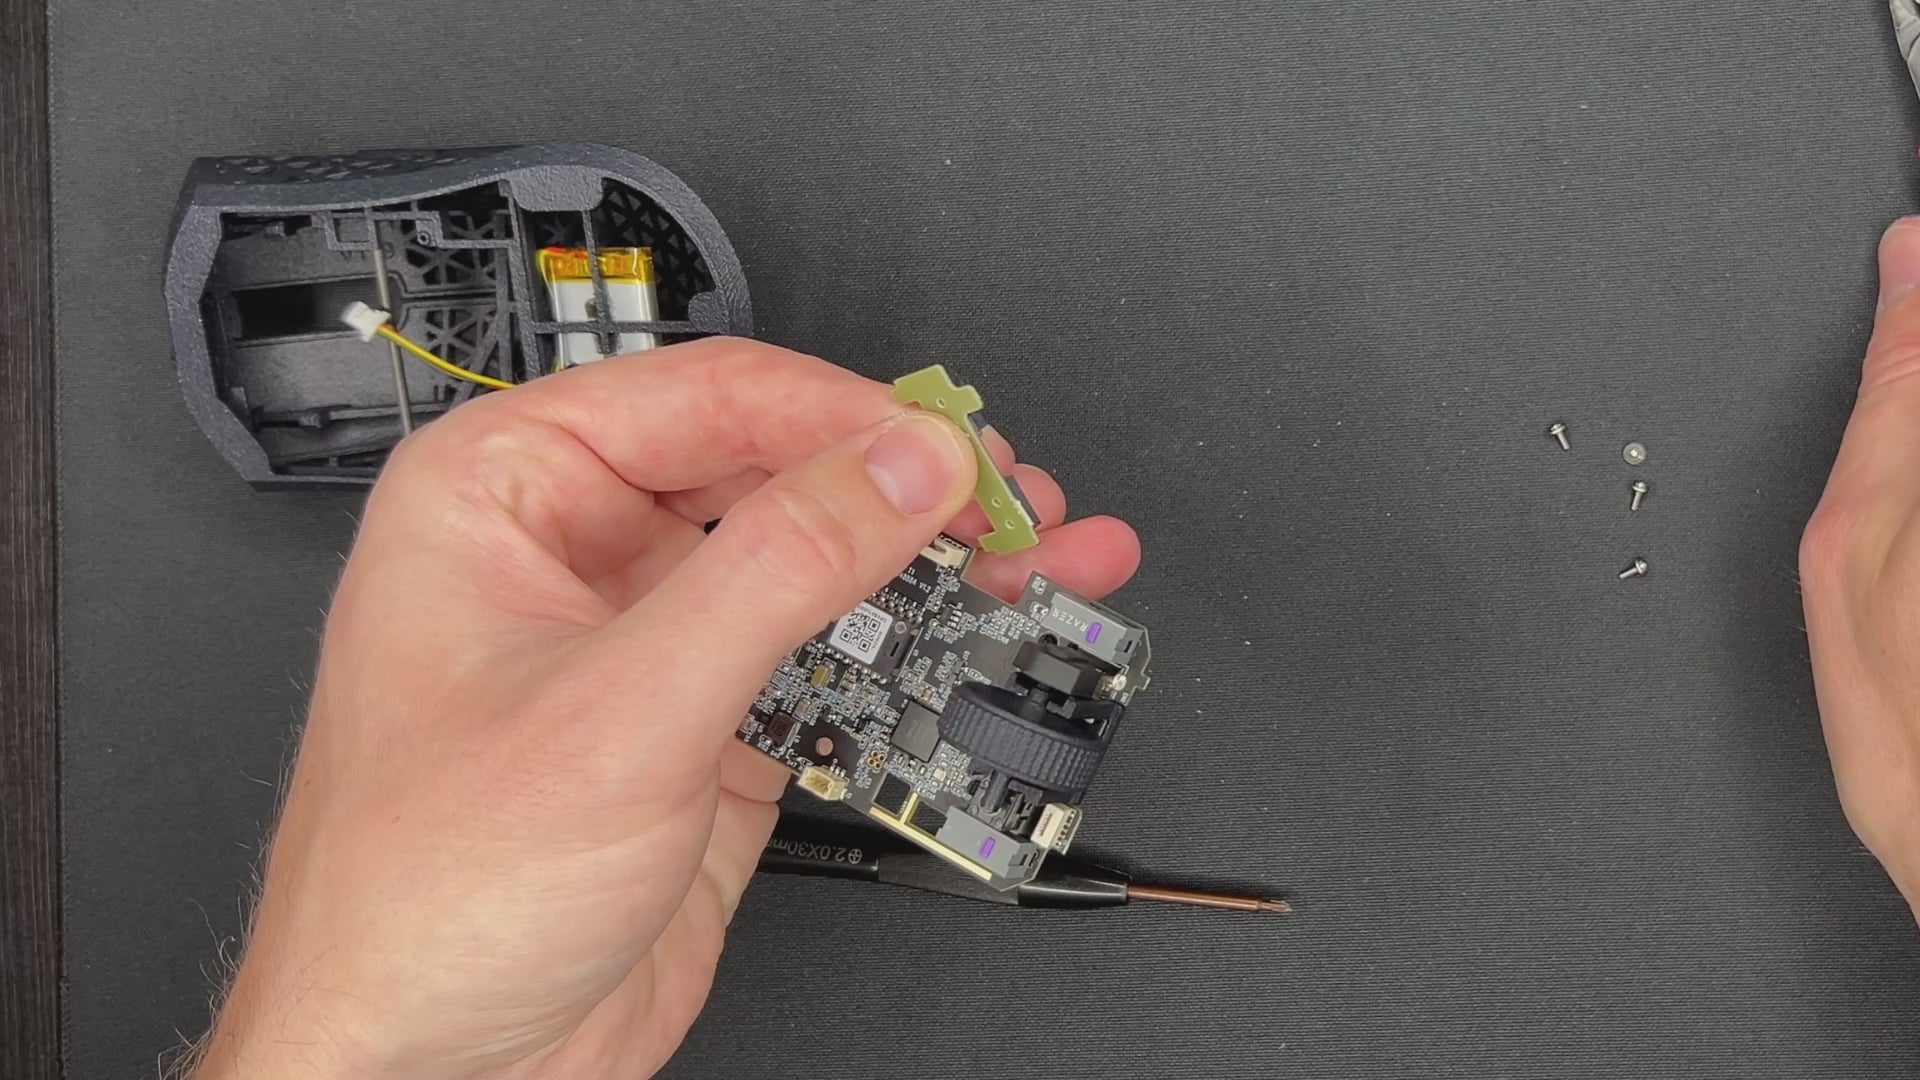
STEP 9: INSTALL THE MAIN PCB
Note: Be careful where the scrollwheel is before you push the PCB down in this step. It should not push against a mouse button.
- Start in the front.
- Slowly go around the edges and place the PCB in the frame.
- Use your screwdriver to further insert the side button PCB.
- Check if the clicks work.
- Screw the PCB to the shell.
- In the latest design version, you can add the carbon fiber rod now.
If the mouse buttons are constantly activated, it might be needed to sand the plunger that hit the micro switches a bit shorter.
STEP 9
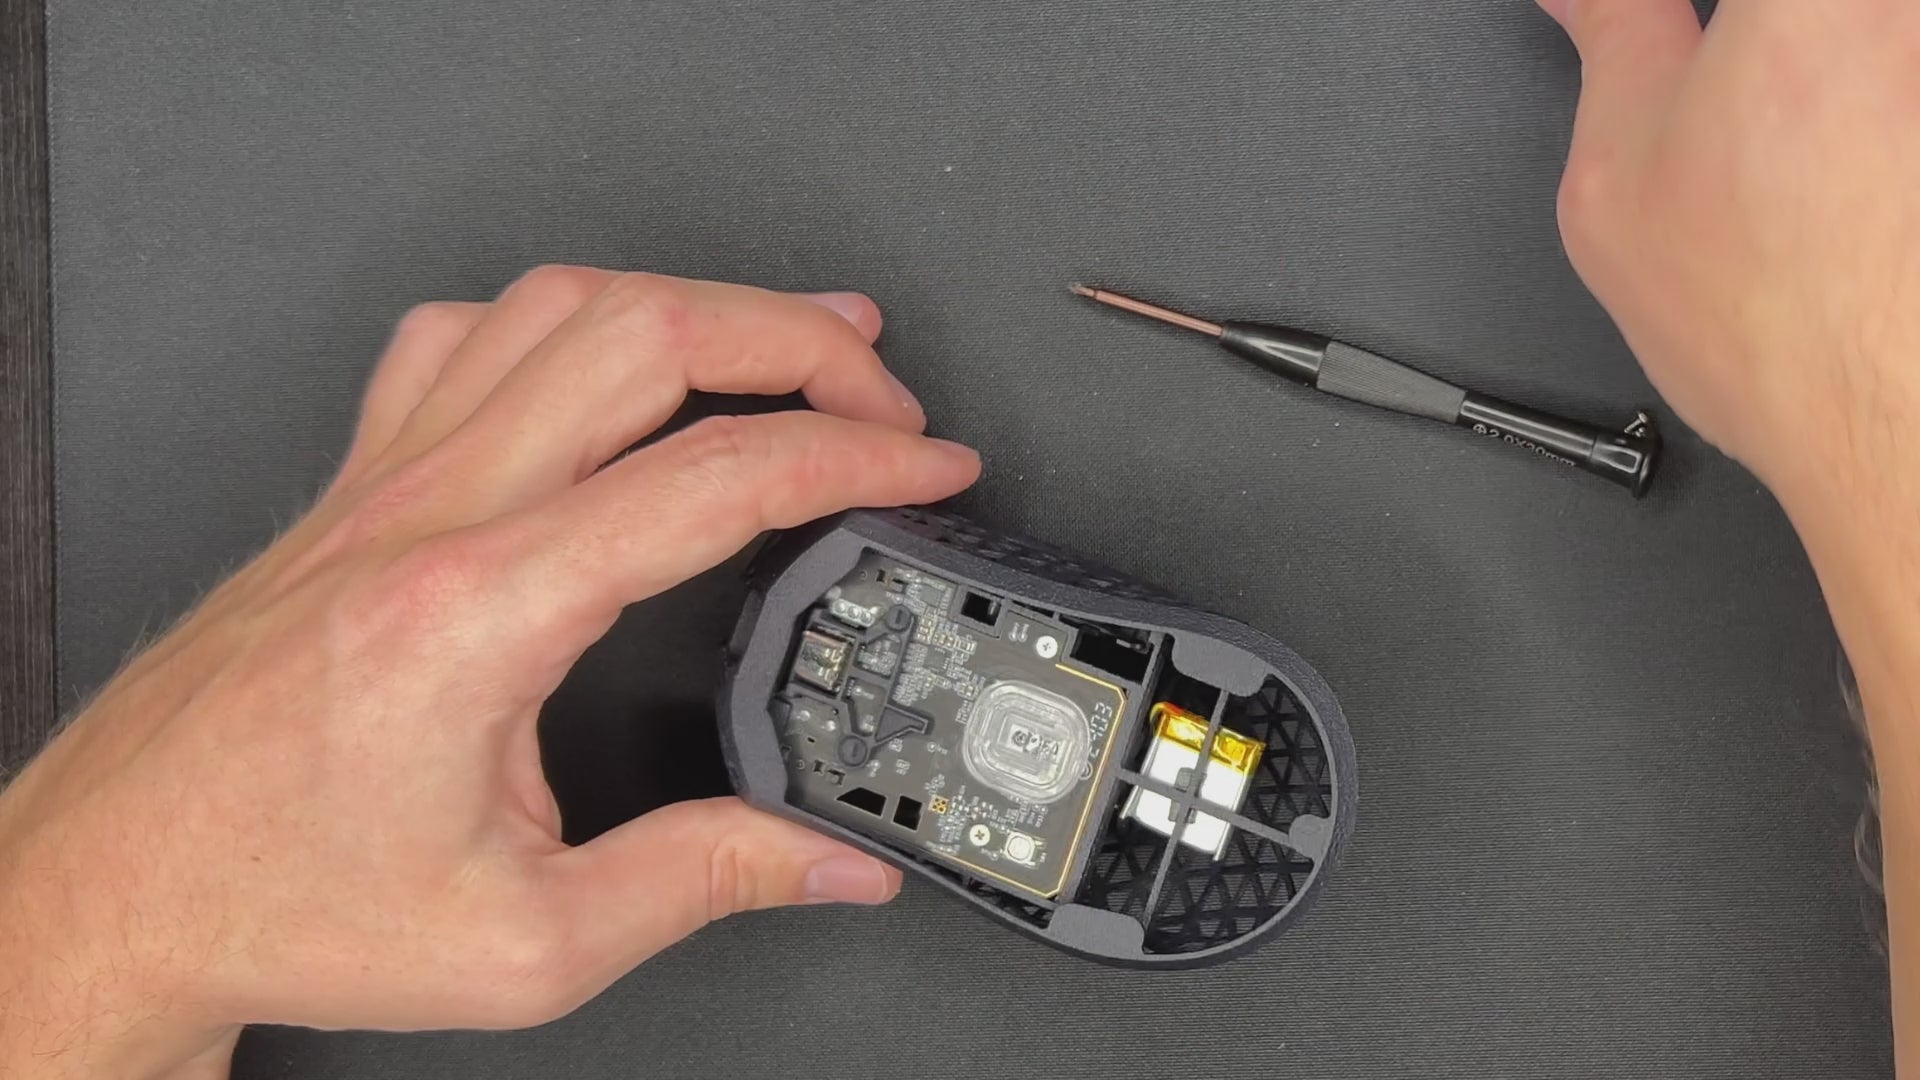
STEP 10: APPLY MOUSE FEET
- Place the mouse feet on the designated spots.
- If you are using dots or sapphire skates we recommend to place 6 skates on the mouse. Three in the front and 3 in the back.
STEP 10
FINAL CHECK
Check if all four large mouse skates touch the ground. If that is not the case it is possible that the PCB or shell got slightly bent during the disassembly/ assembly process. To fix this, it is possible to bend the mouse in to opposite direction as it's deformed. Repeat the process until all mouse skates are on the ground.
If you experience that the mouse wheel click stays activated after a click, please get in contact with support.
If you have any other problems, contact our support team at support@pmm.gg or in the live chat.
Have fun gaming!