
STEP 1: WRAP THE BATTERY
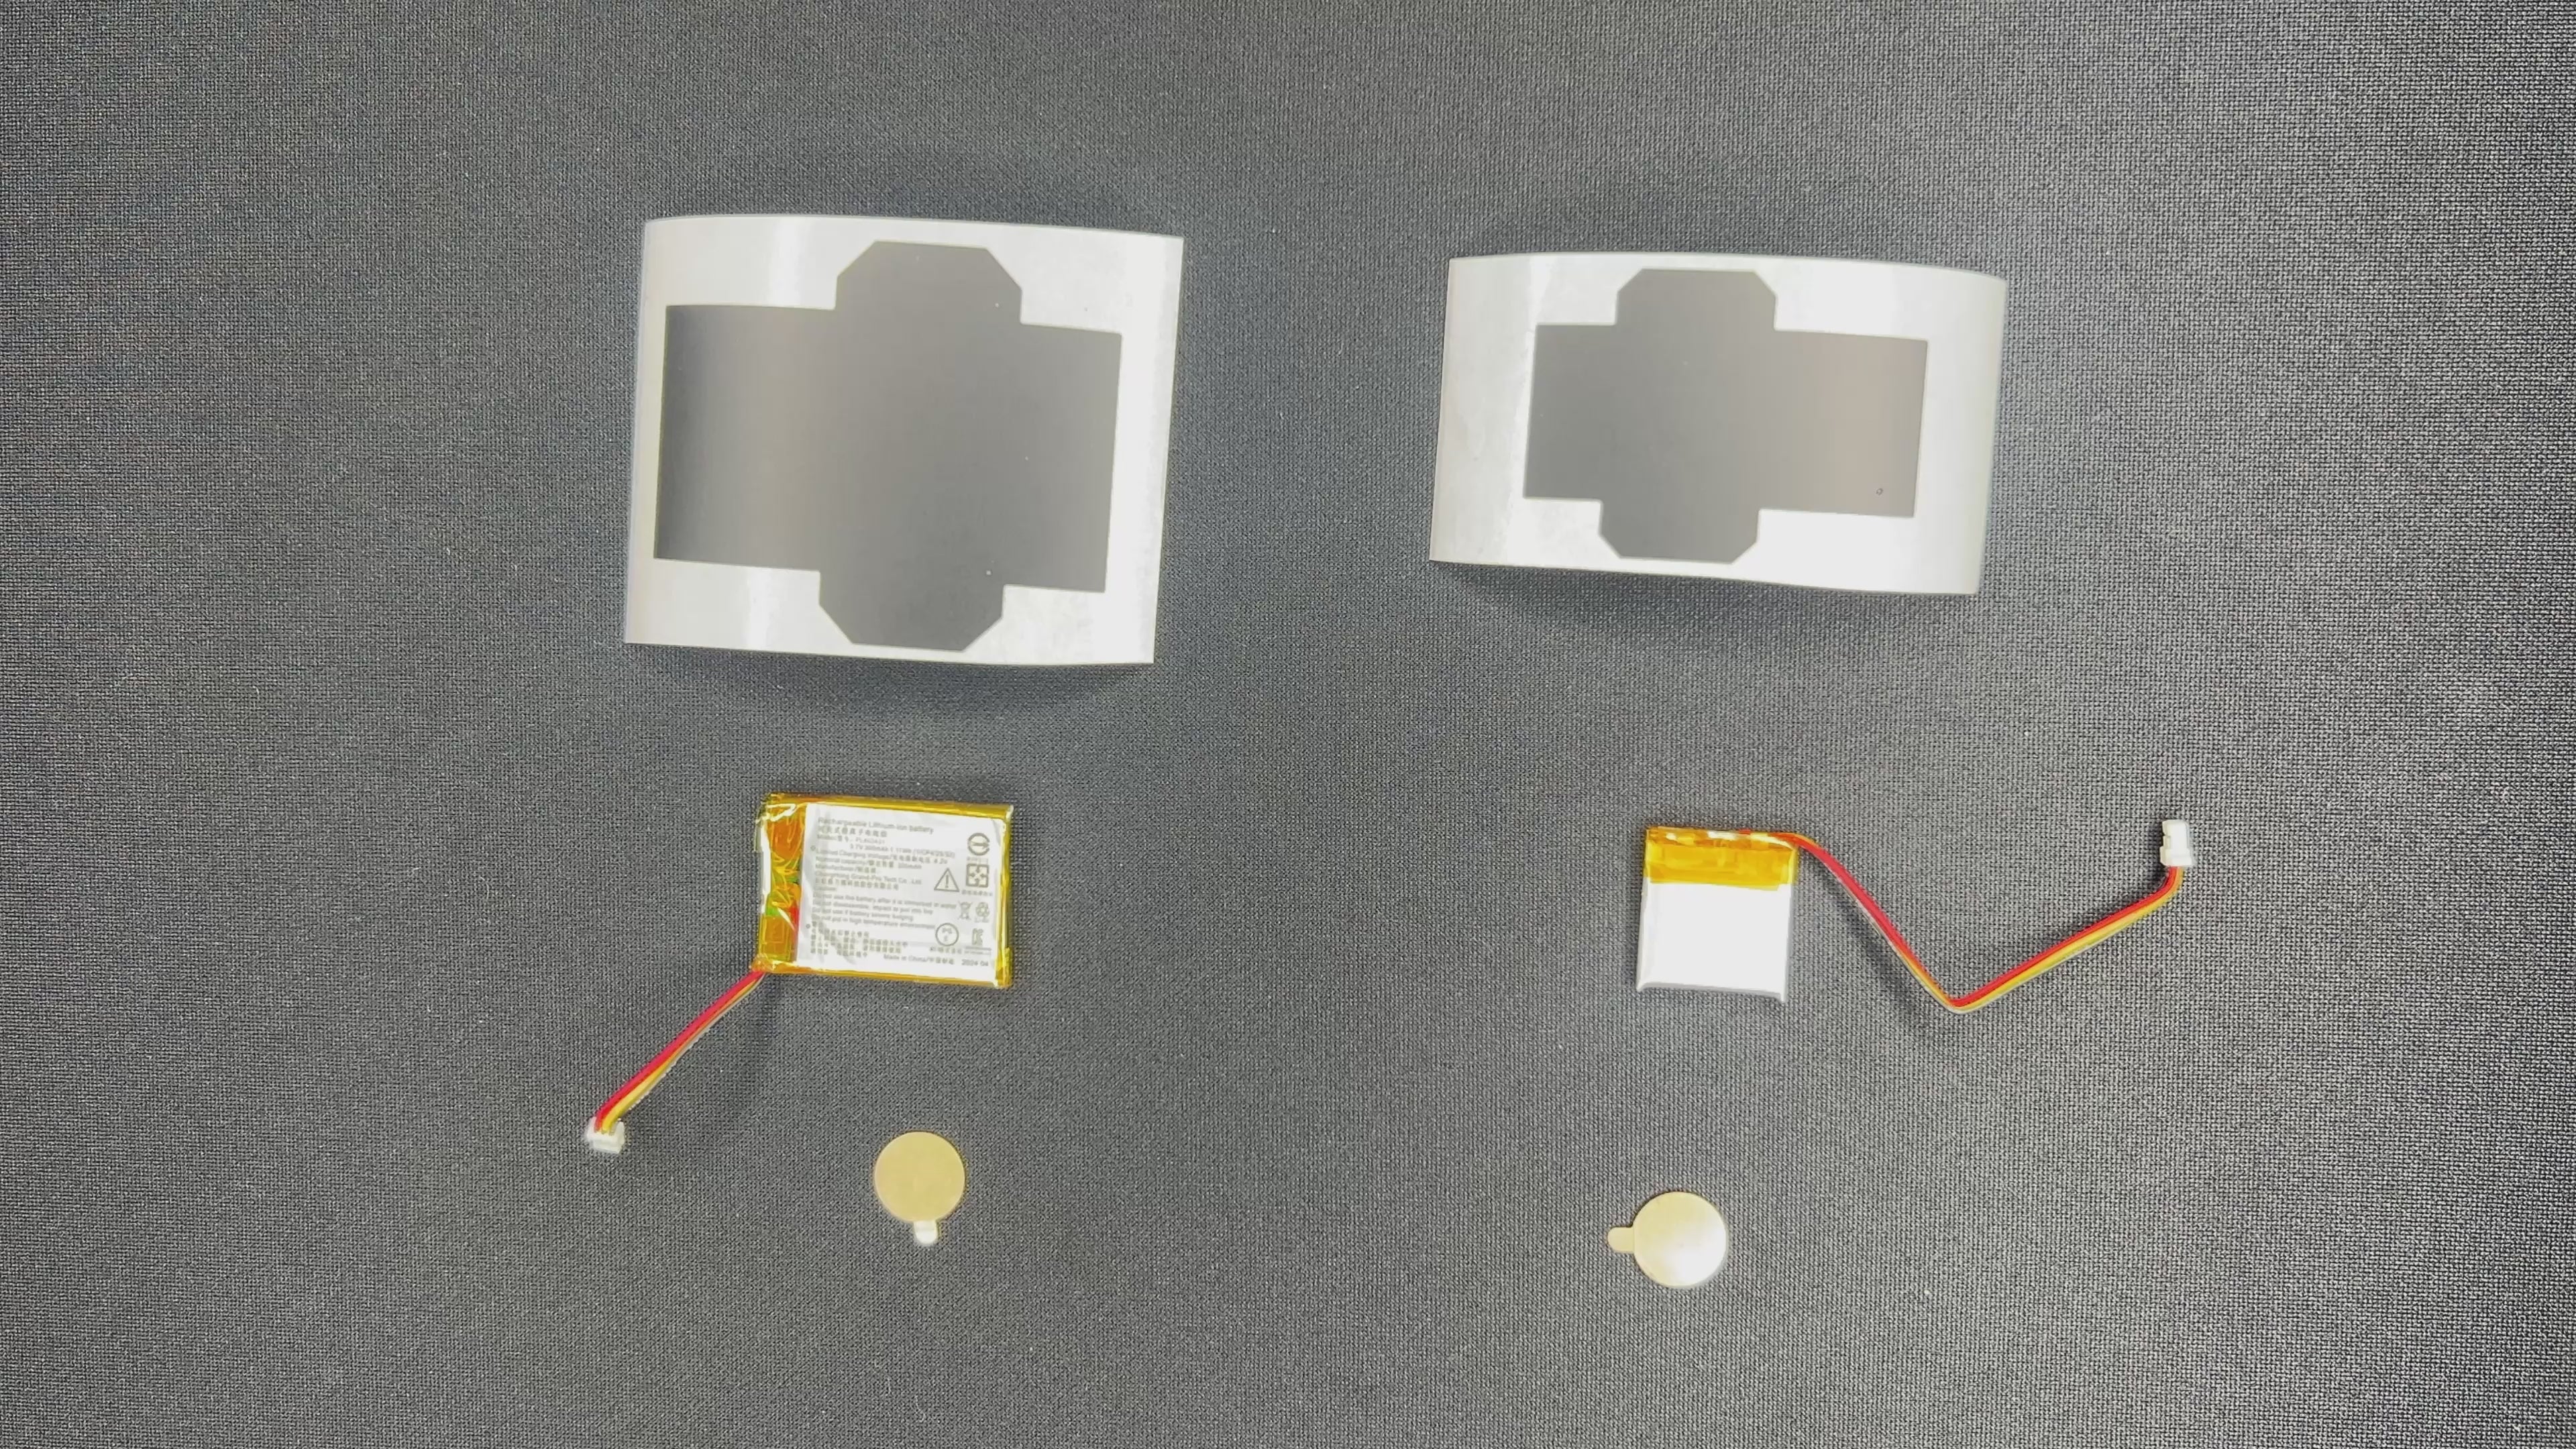
STEP 1
STEP 2: ADD THE BATTERY
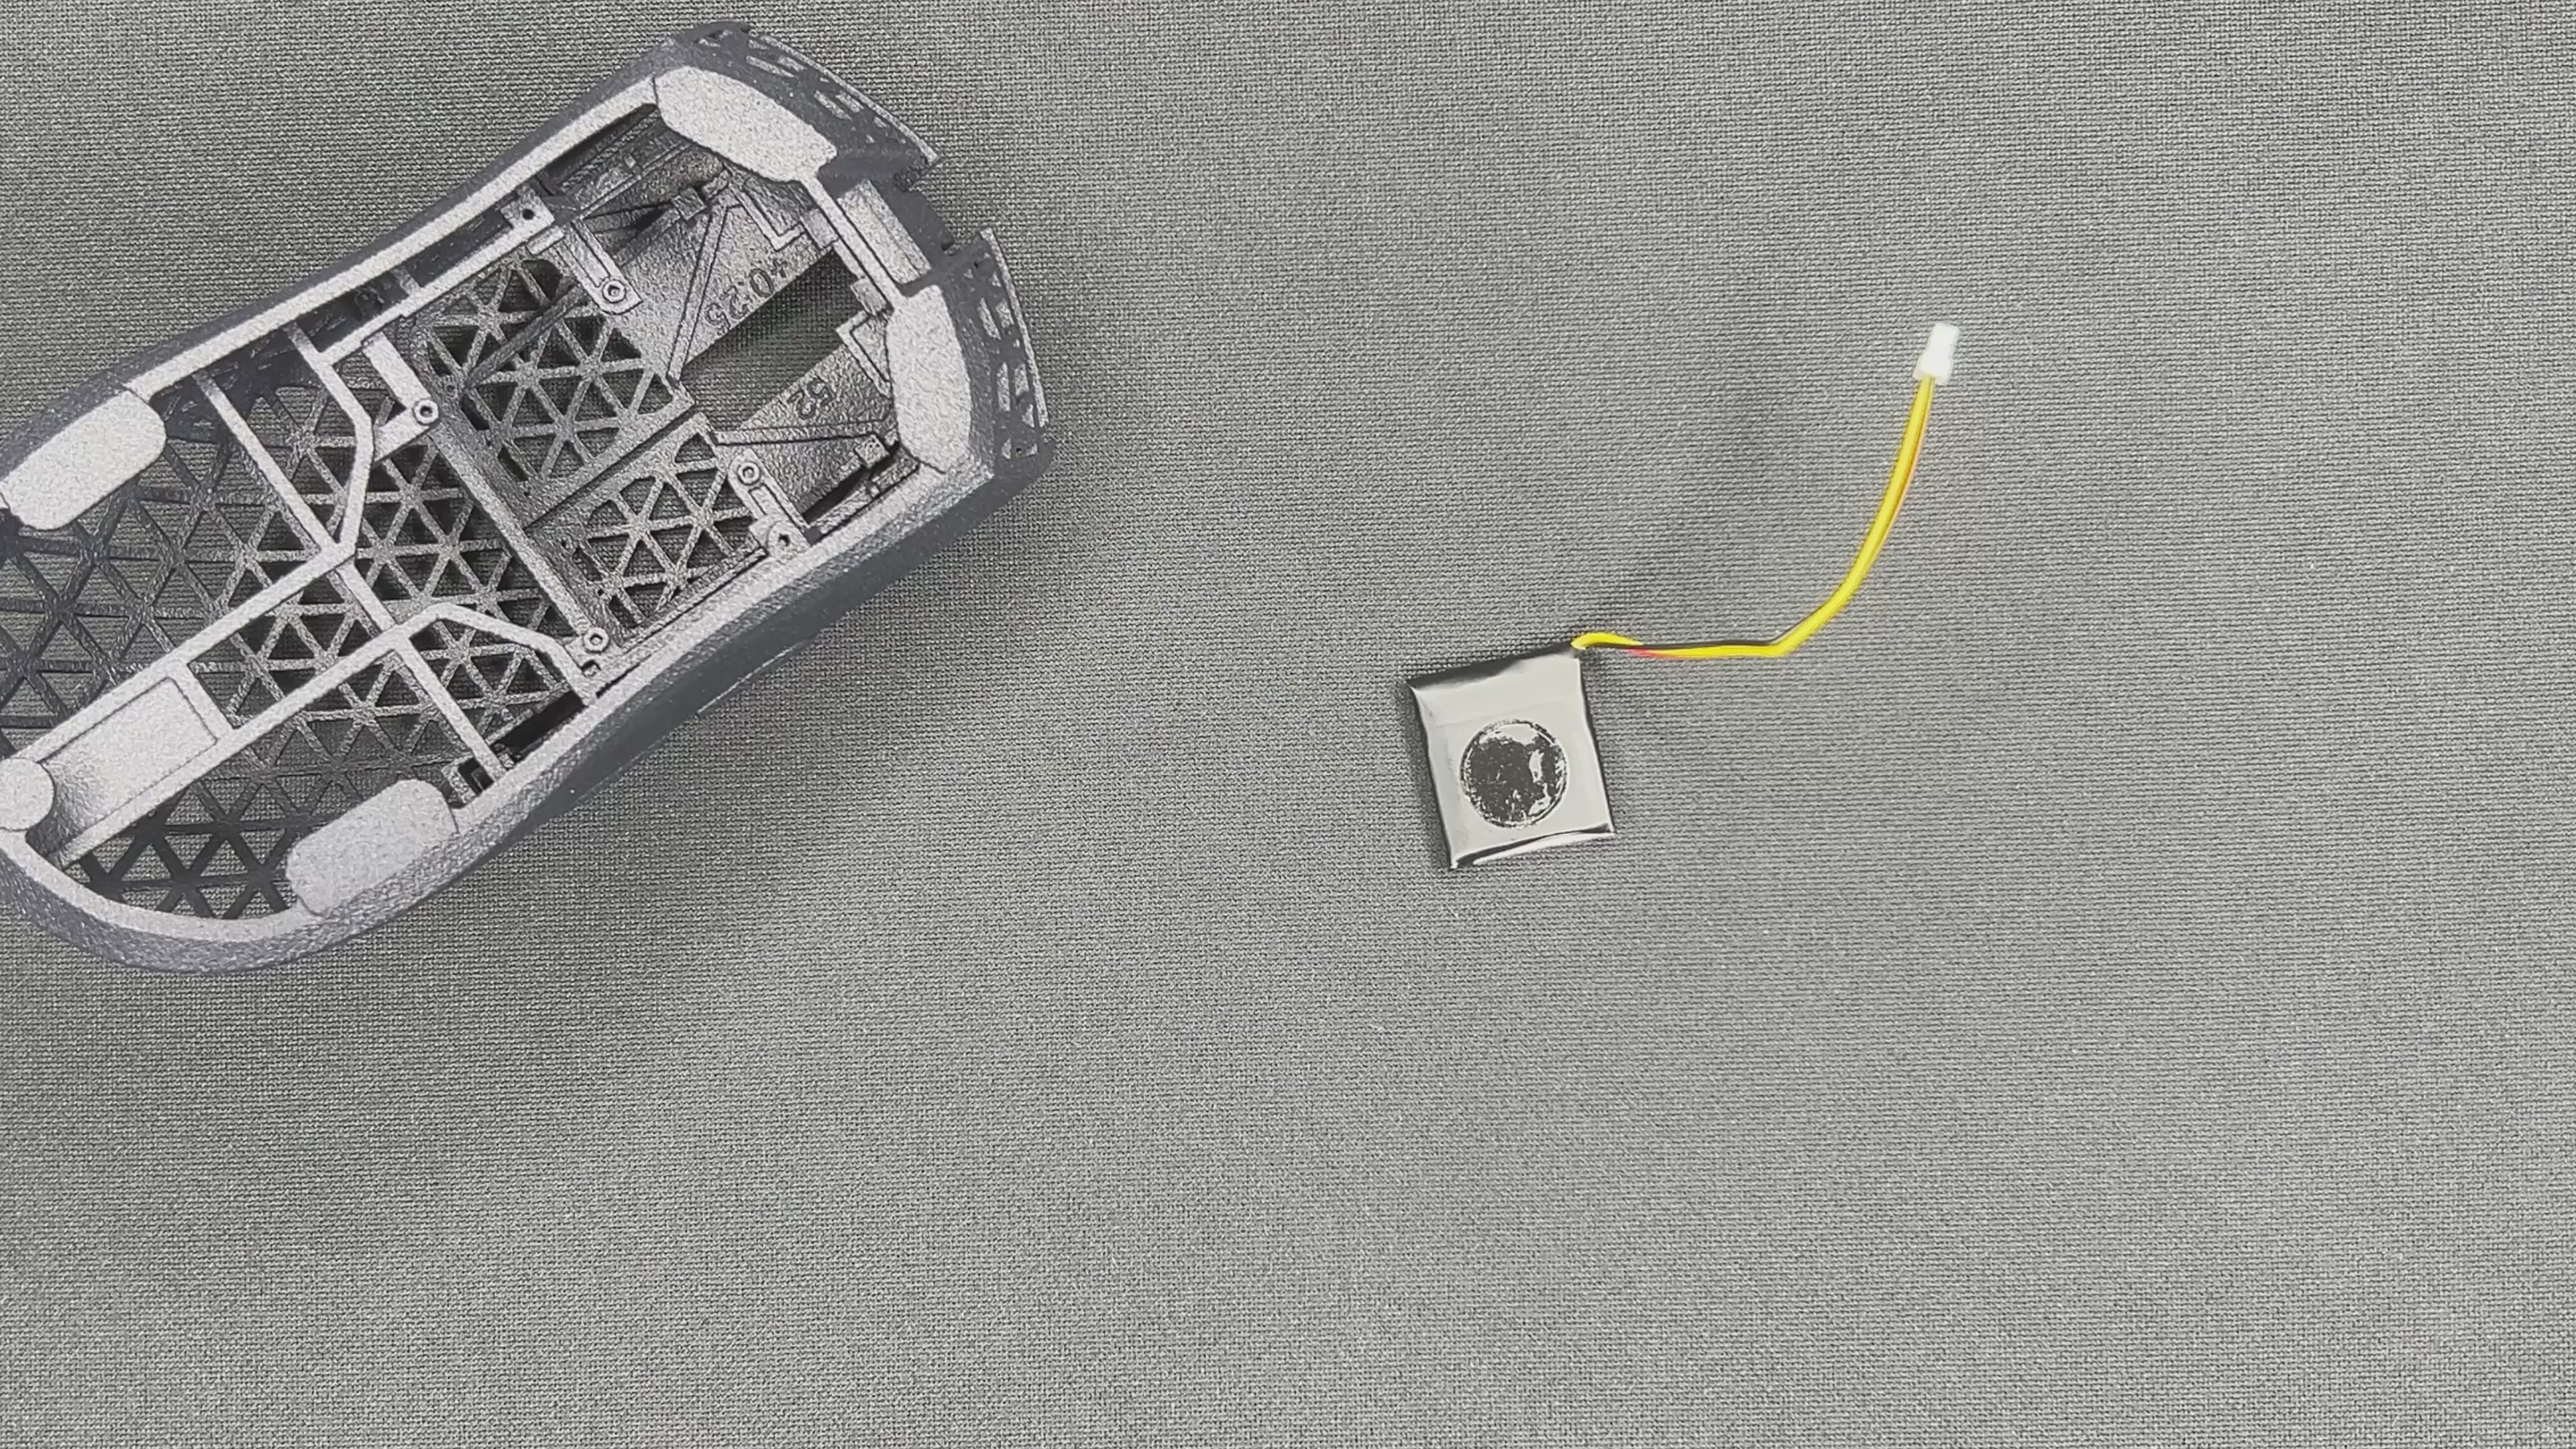
Video
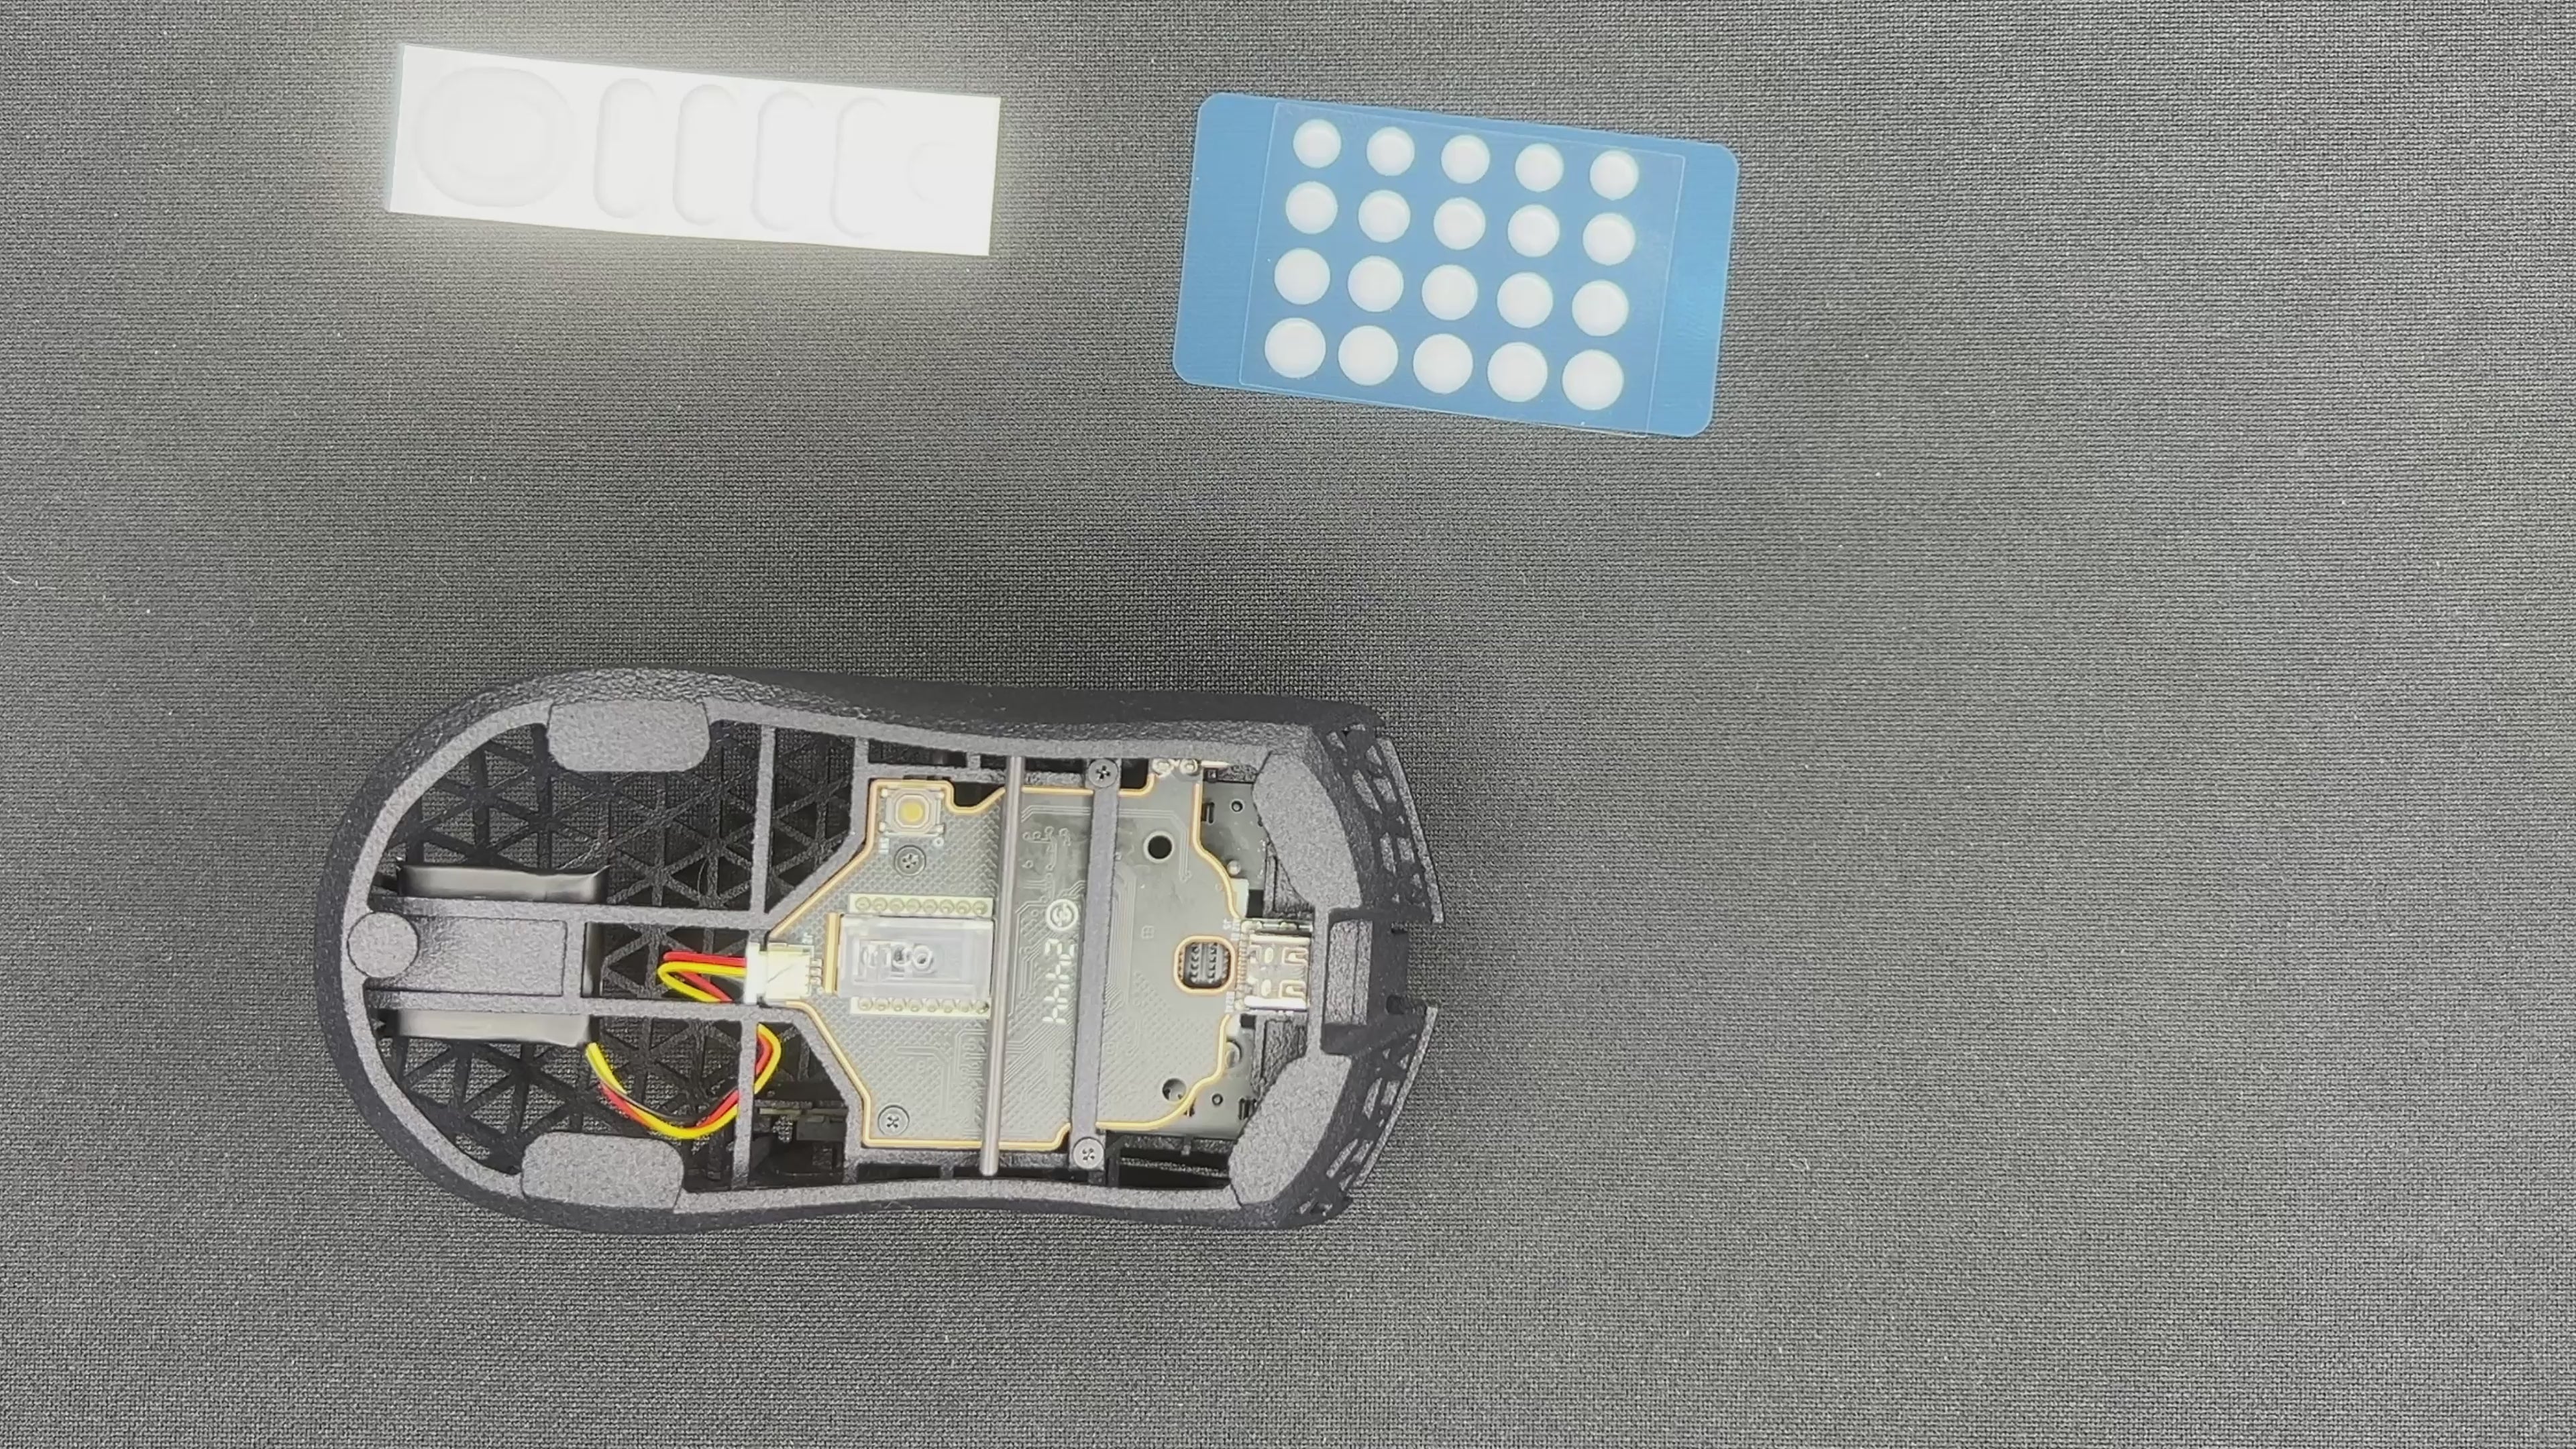
STEP 3: CALIBRATE THE MAIN CLICKS
ZEN MINI 2.0: We recommend using 2 spacers on each plunger.
STEP 3
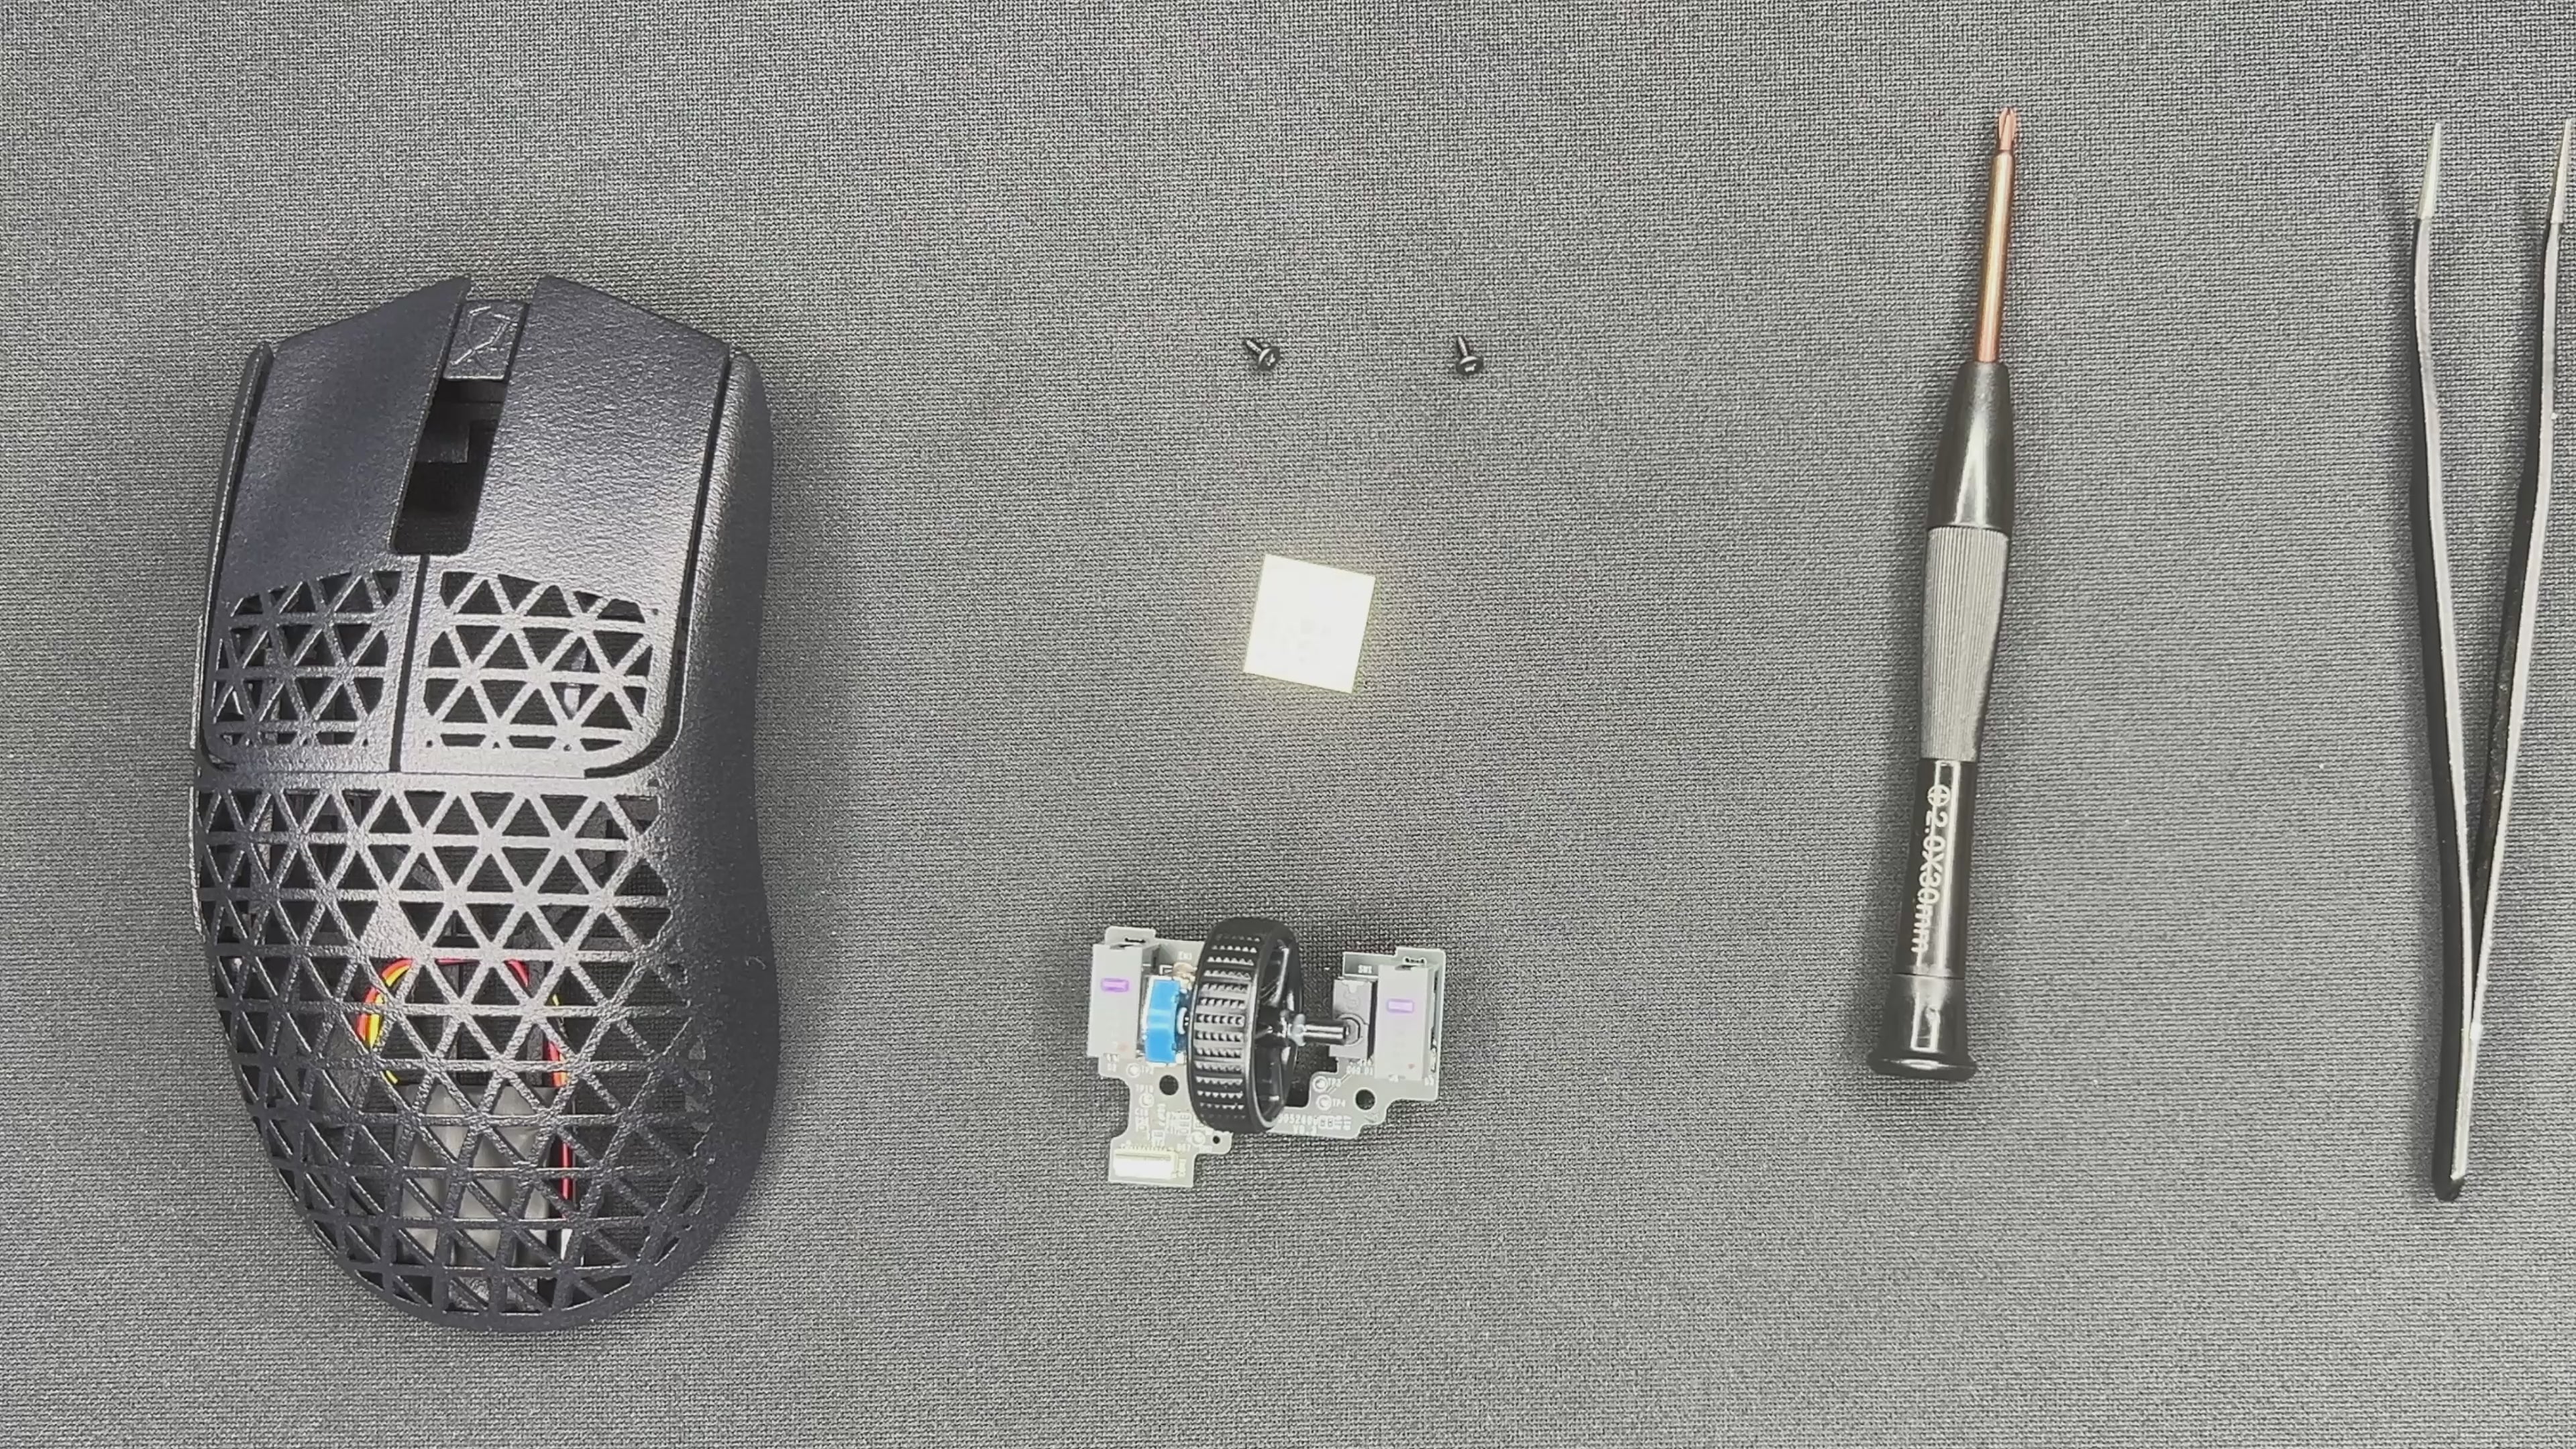
STEP 4: INSTALL THE ENCODER & SIDE BUTTON PCB
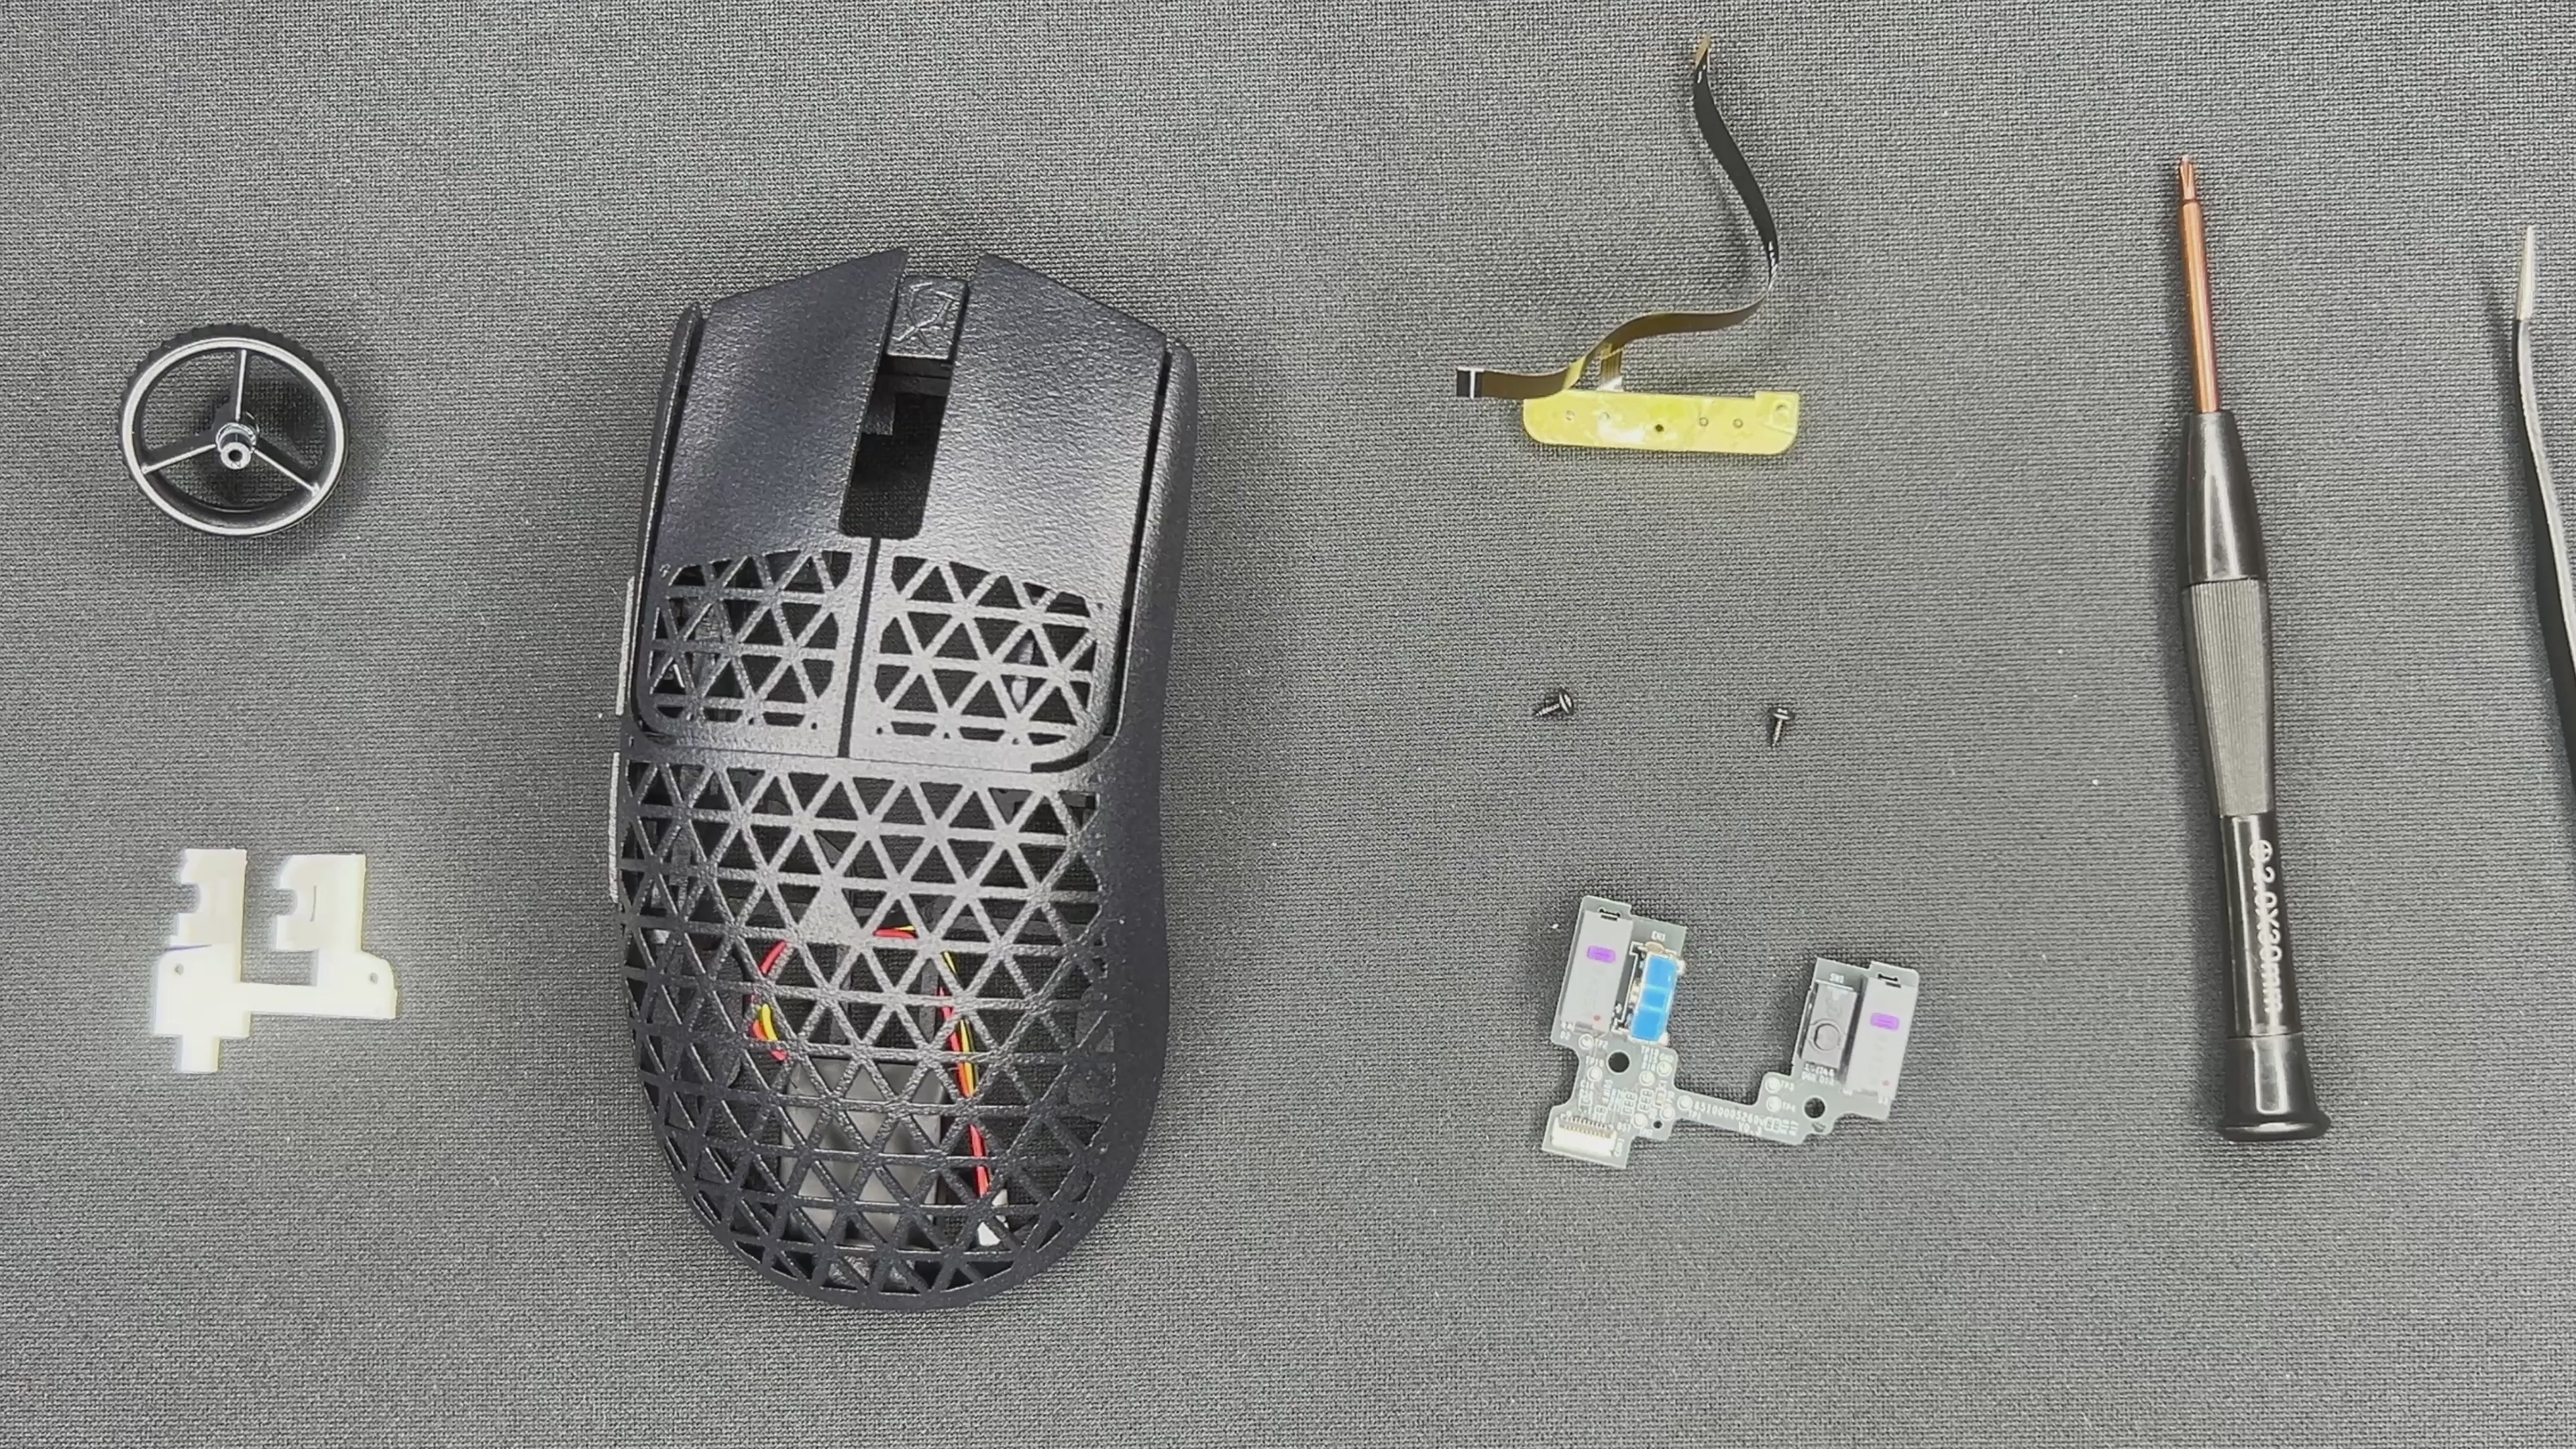
STEP 4

Sidenote: Removing the sidebutton PCB
If you want to remove the side button PCB, you can use your screwdriver in these two spots. Either push it down from the top, or push it out using that small hole in the PCB.
STEP 5: INSTALL THE CARBON FIBER ROD
STEP 5
STEP 6: INSTALL MAIN PCB
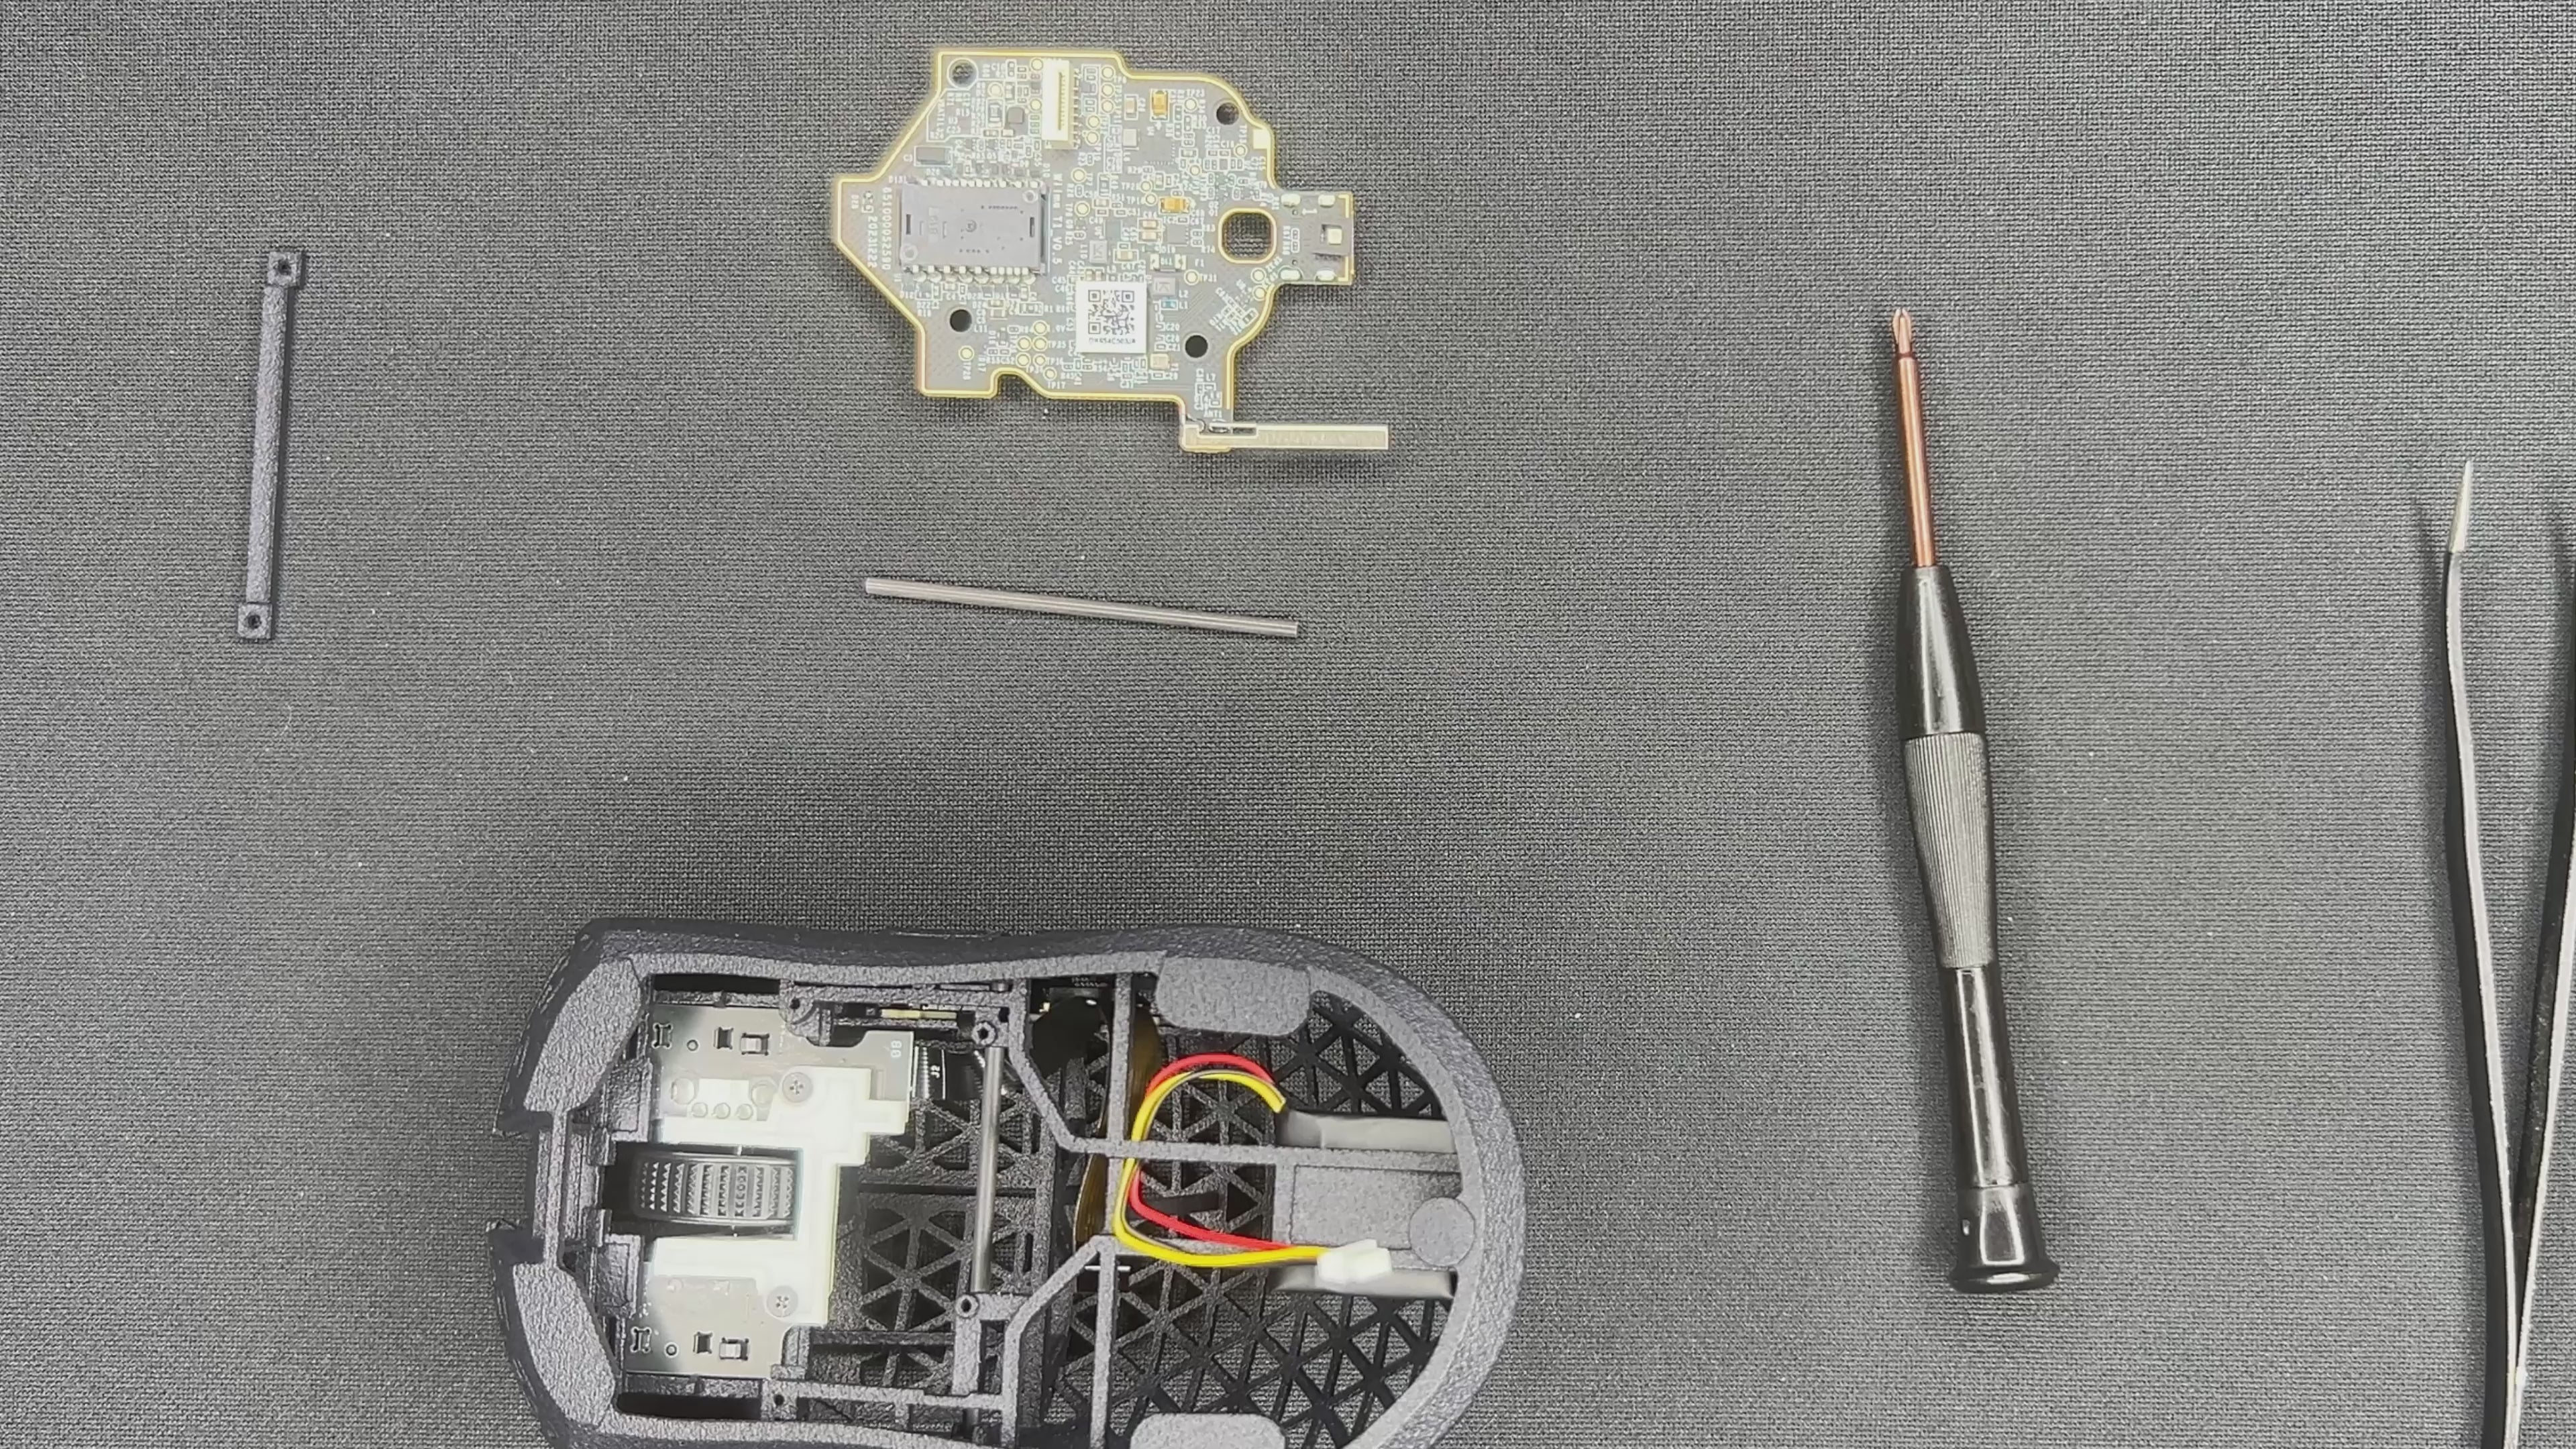
STEP 6
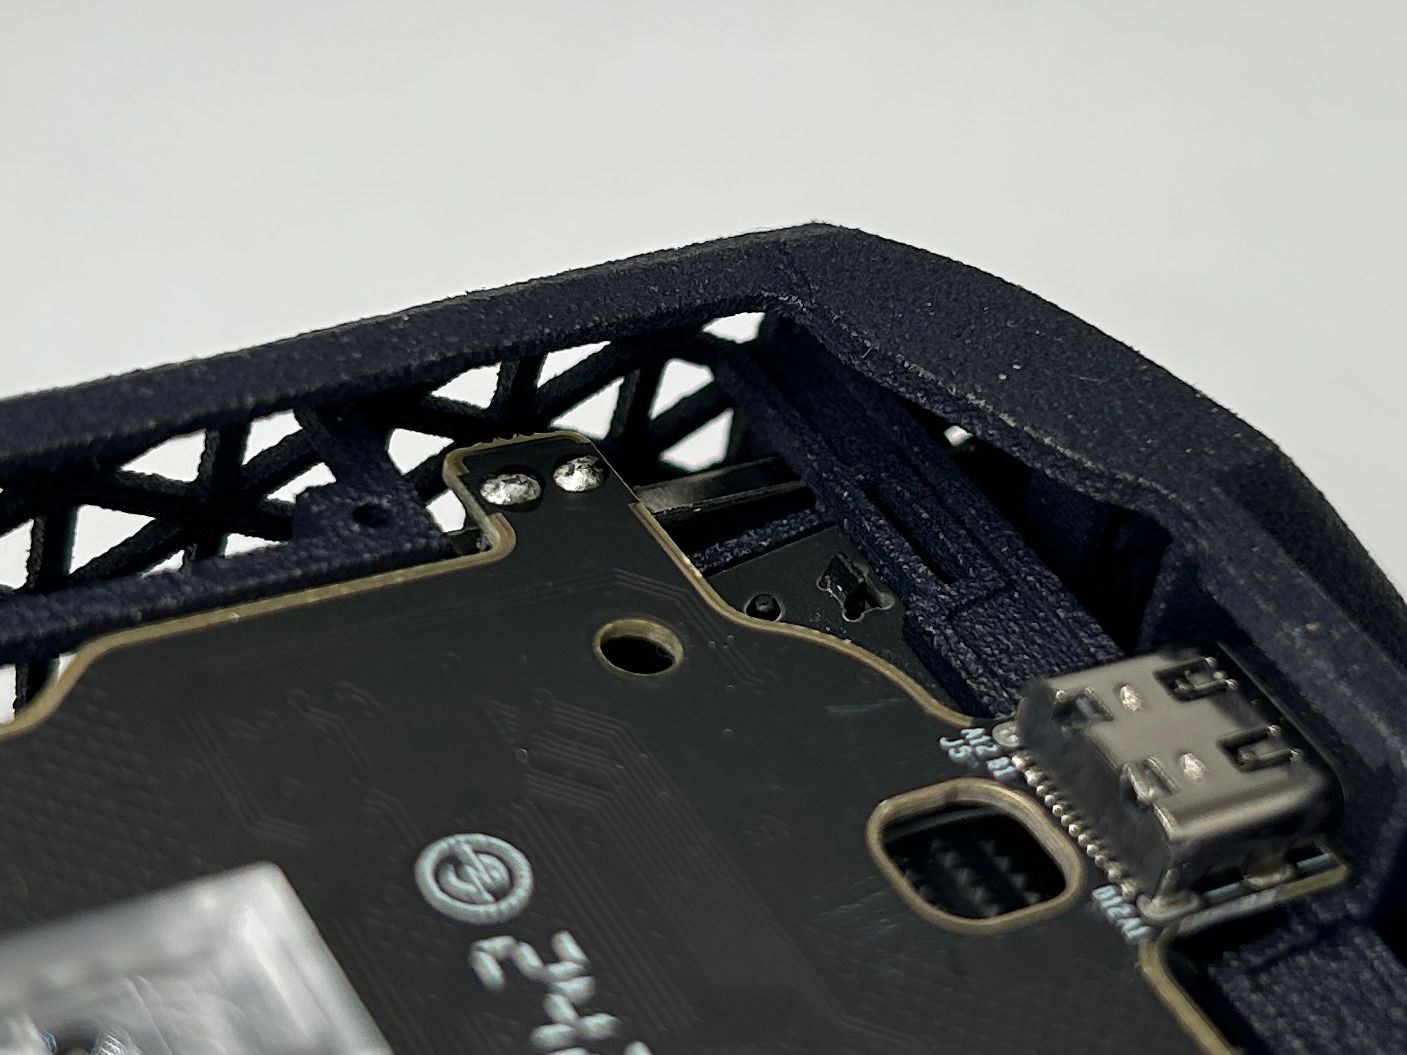
Antenna position
Before you continue, check on the antenna position.
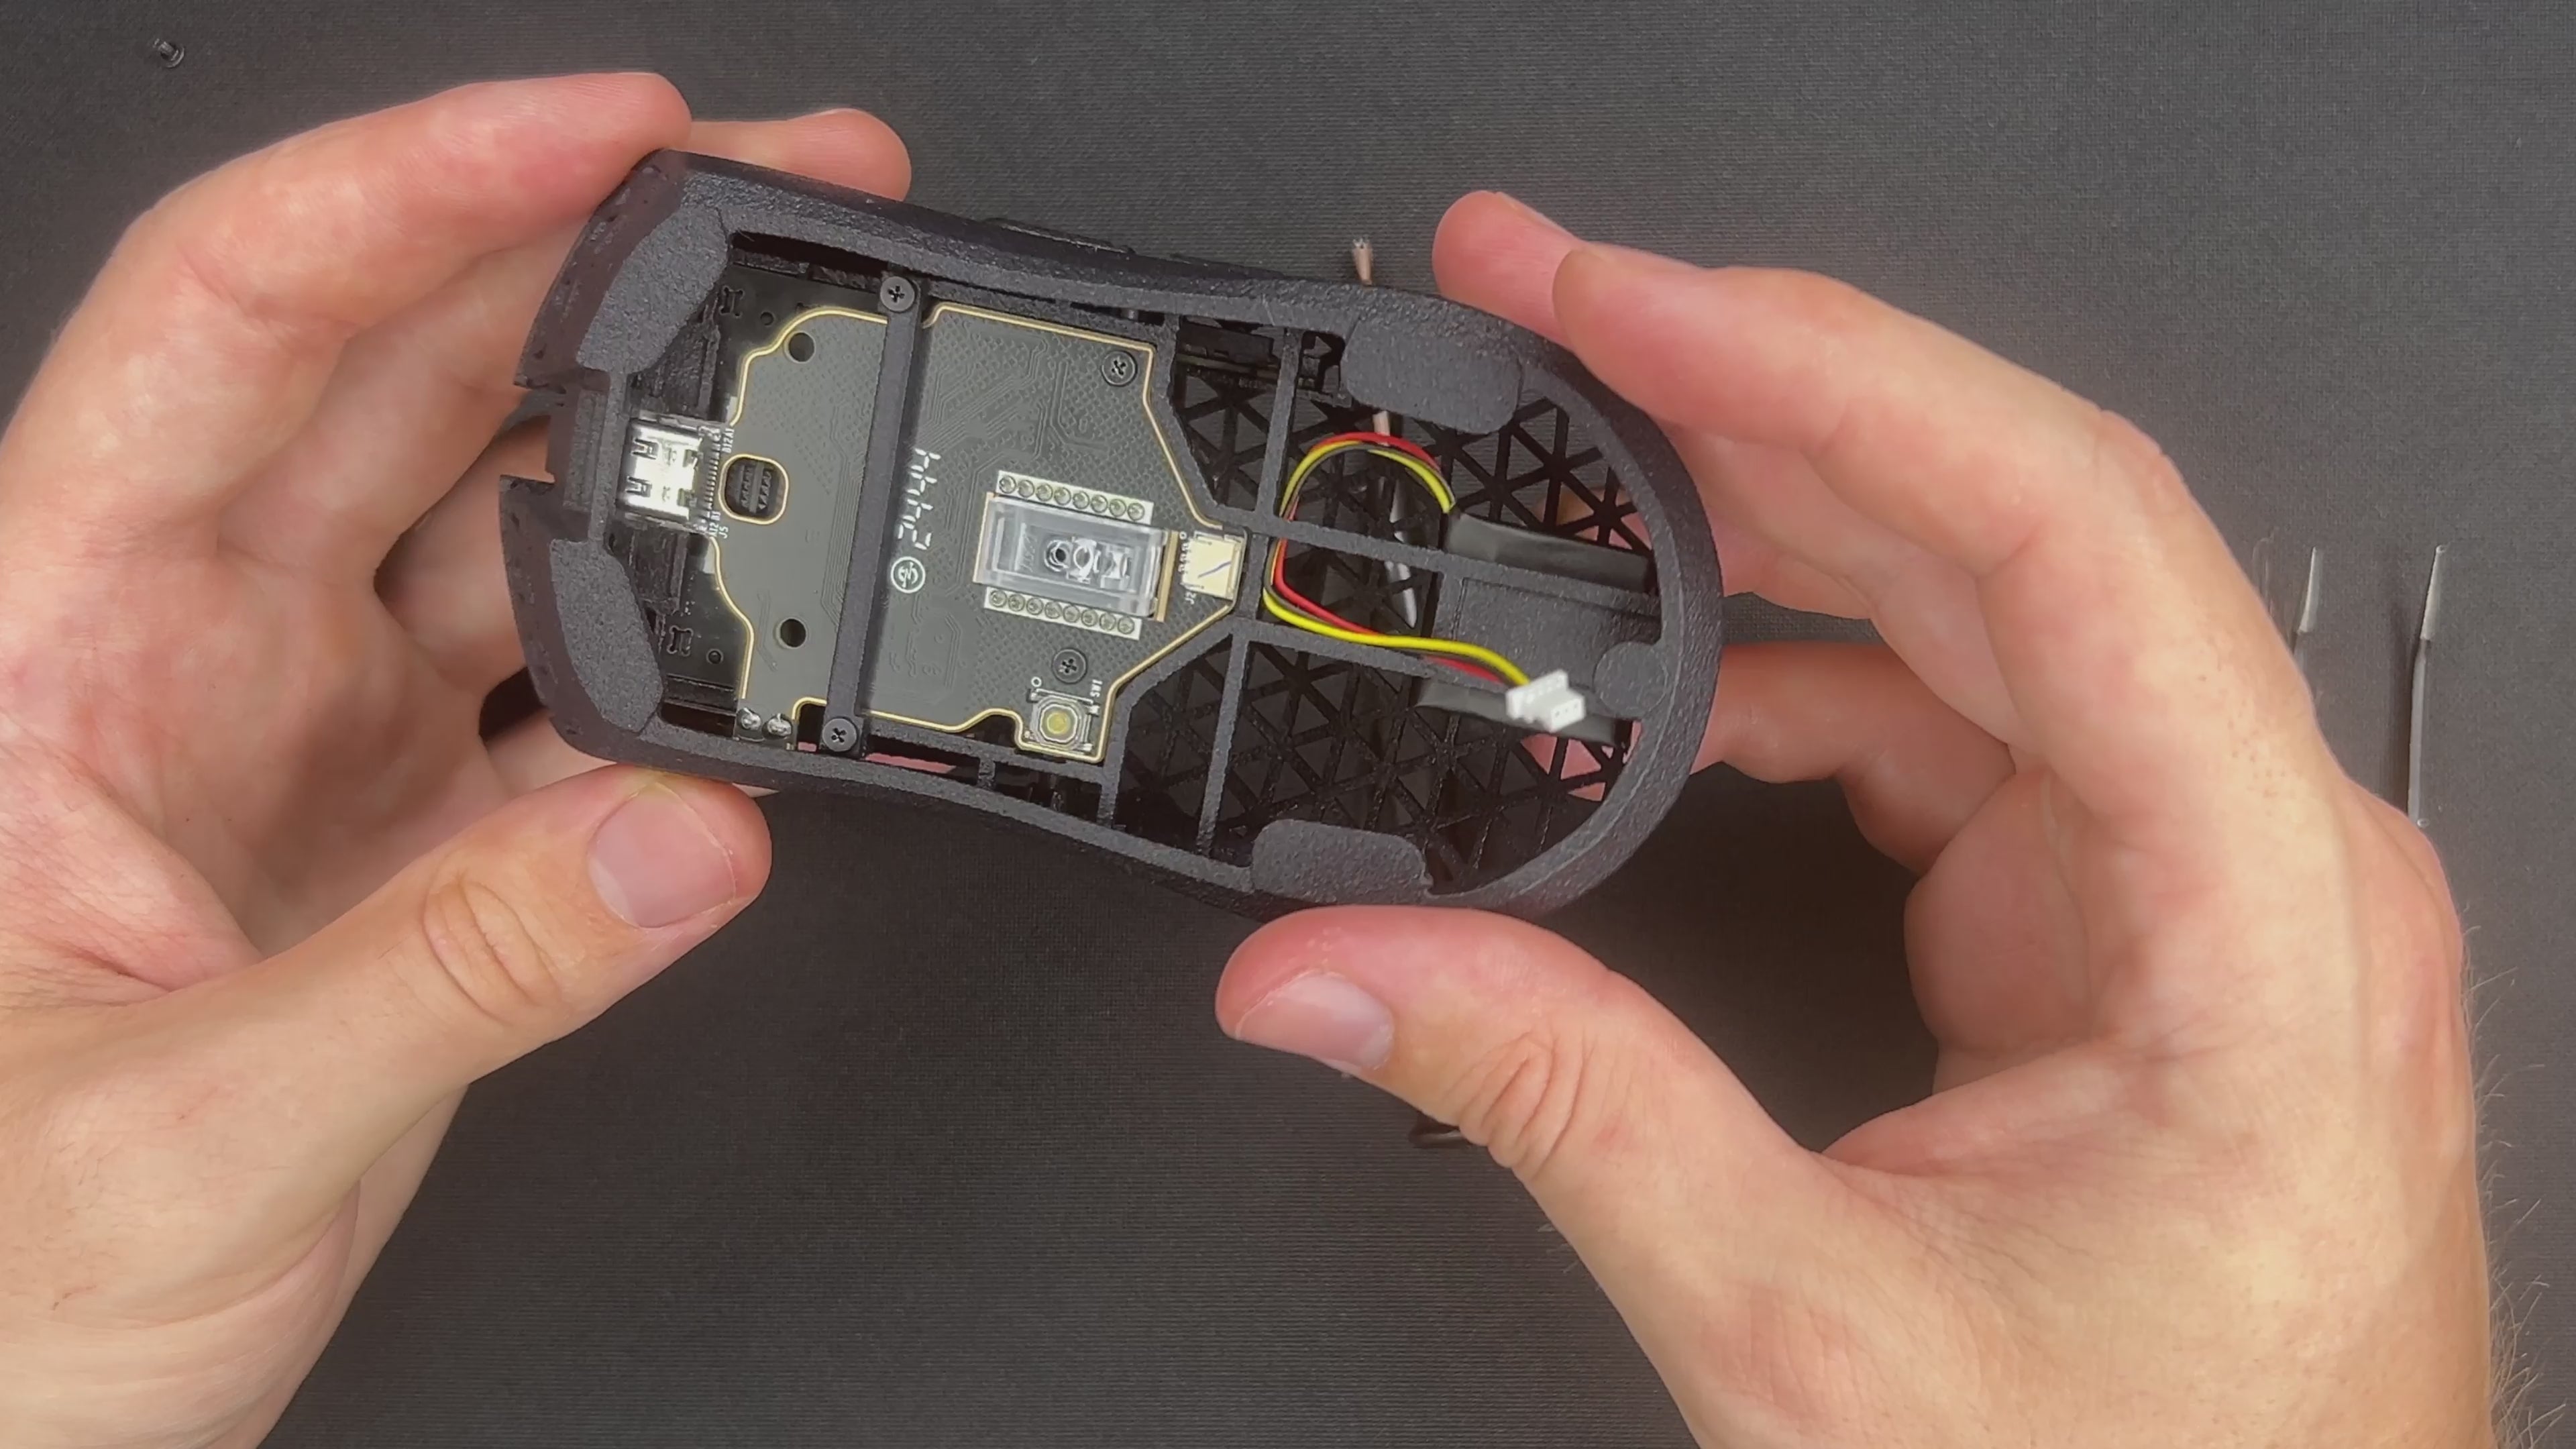
STEP 7: INSTALL BAR & SECOND CARBON FIBER ROD
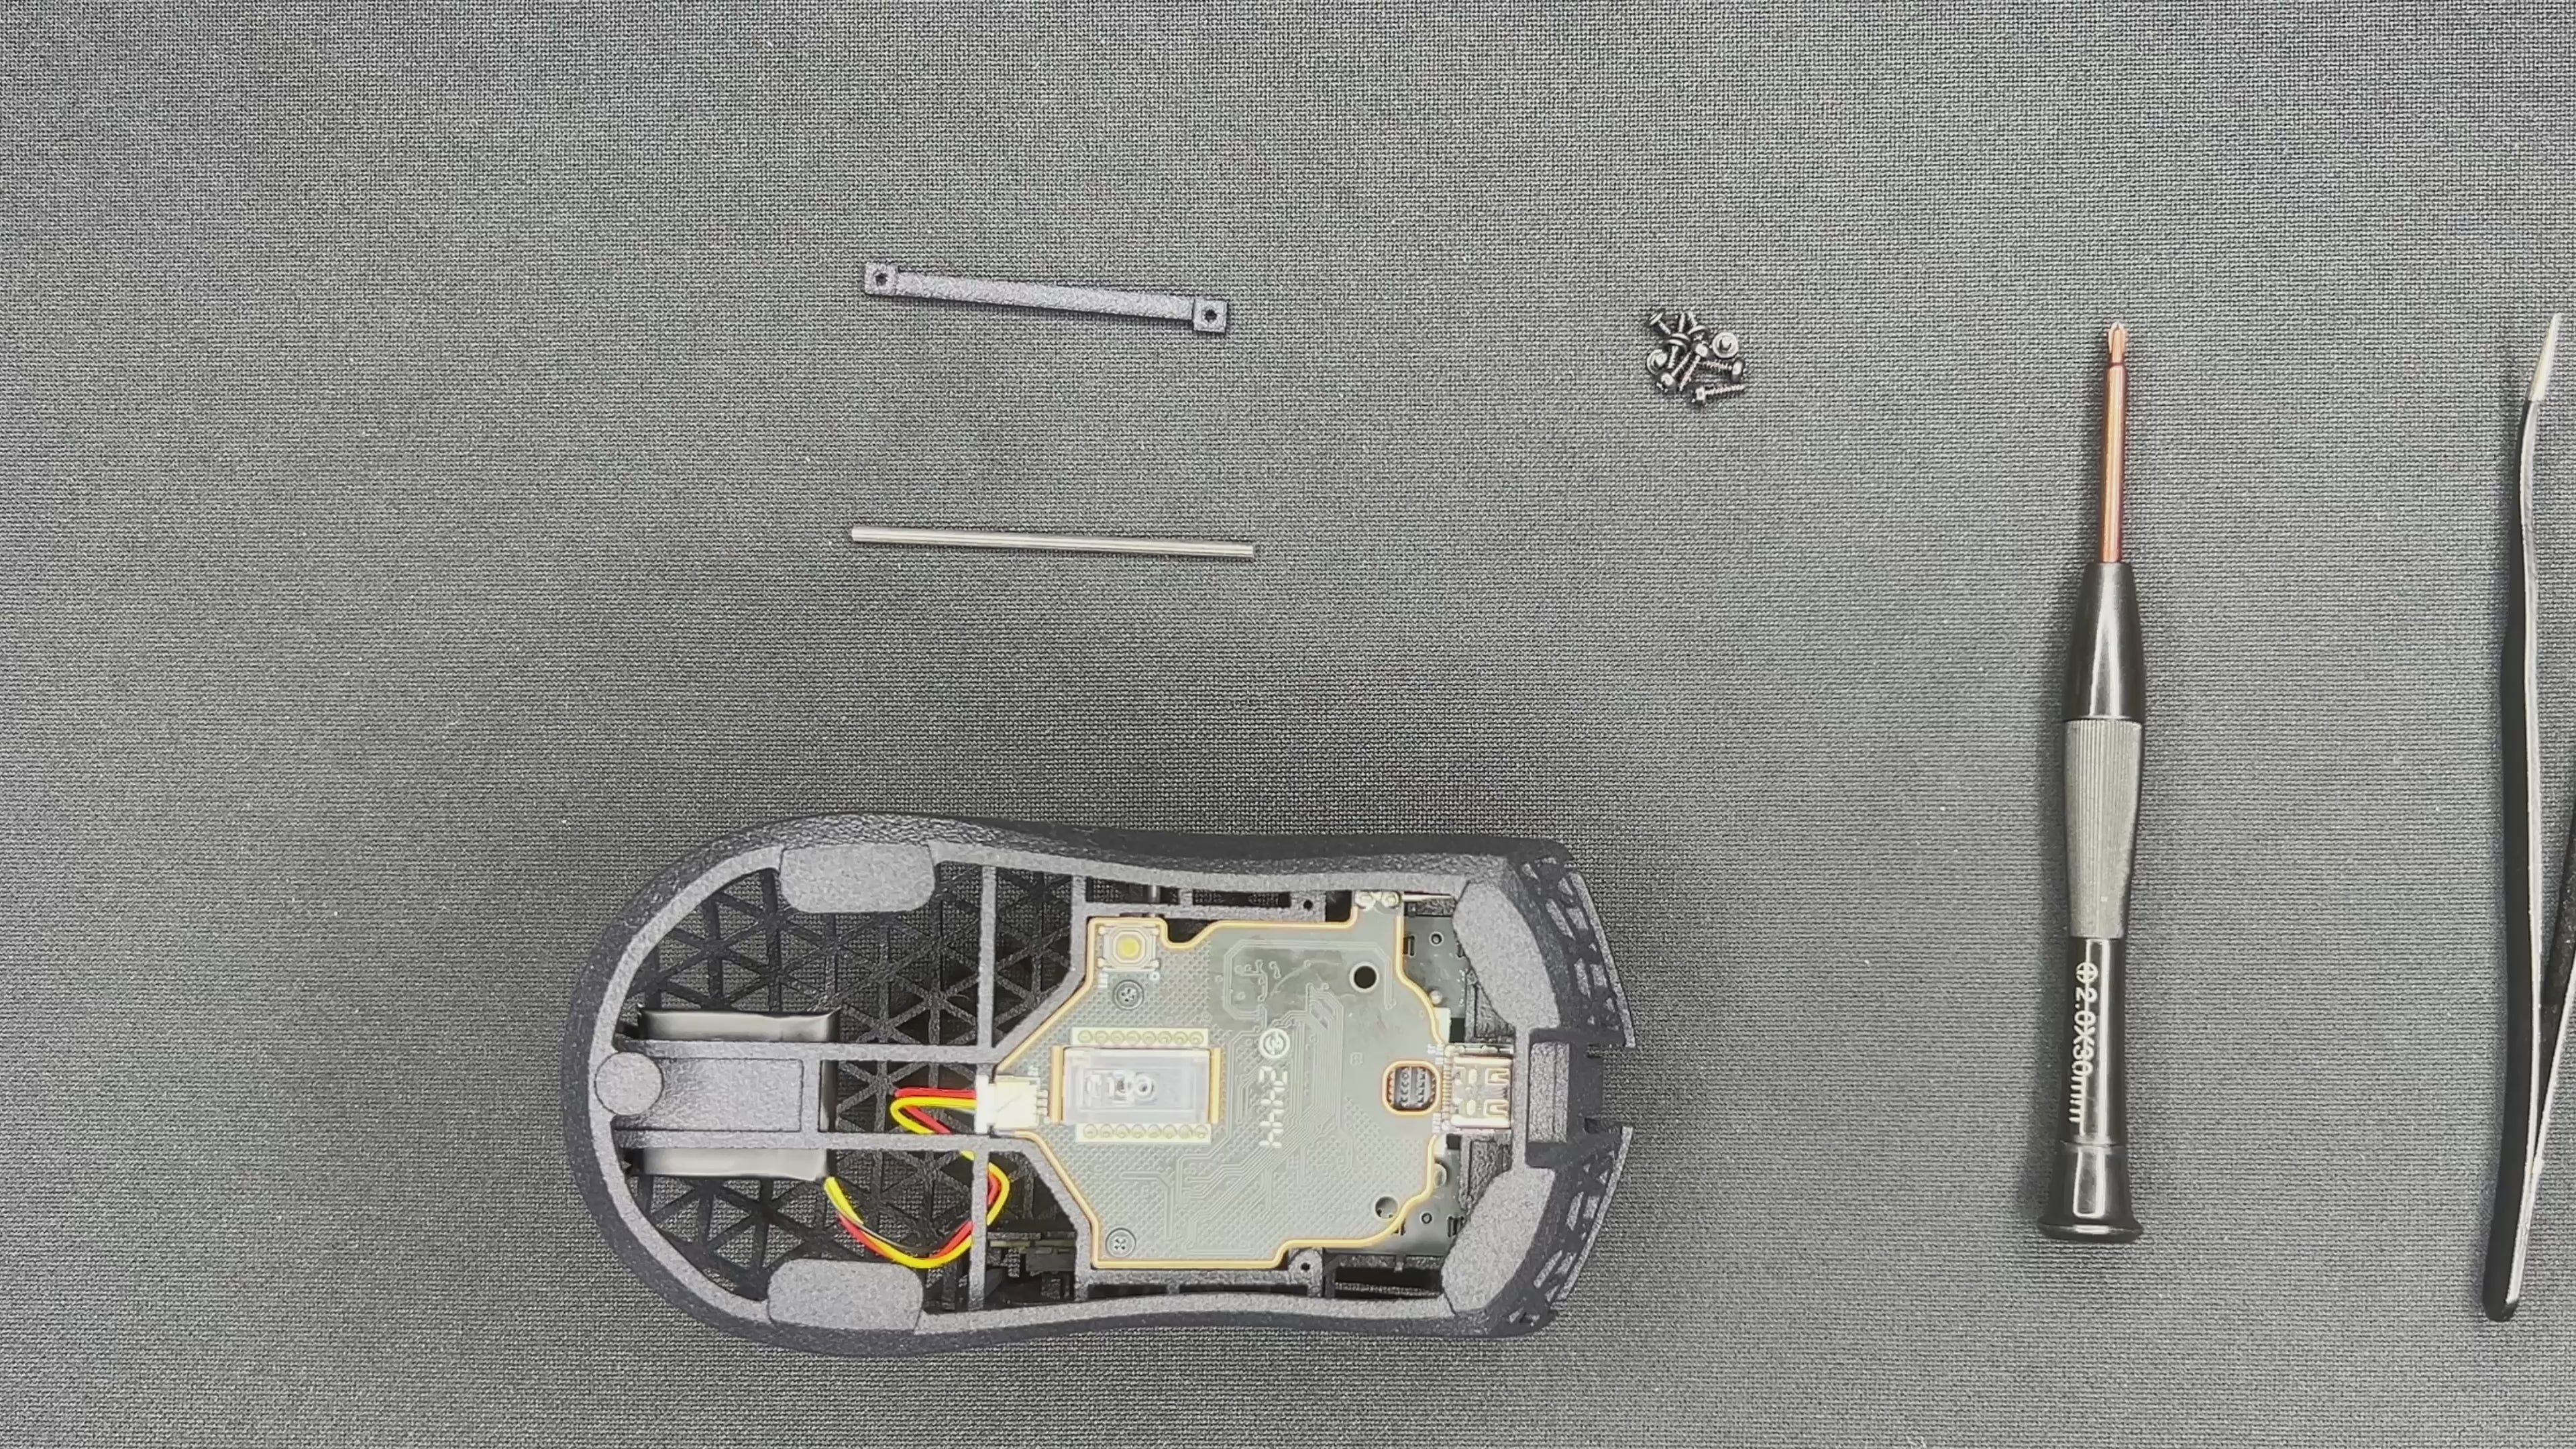
STEP 7
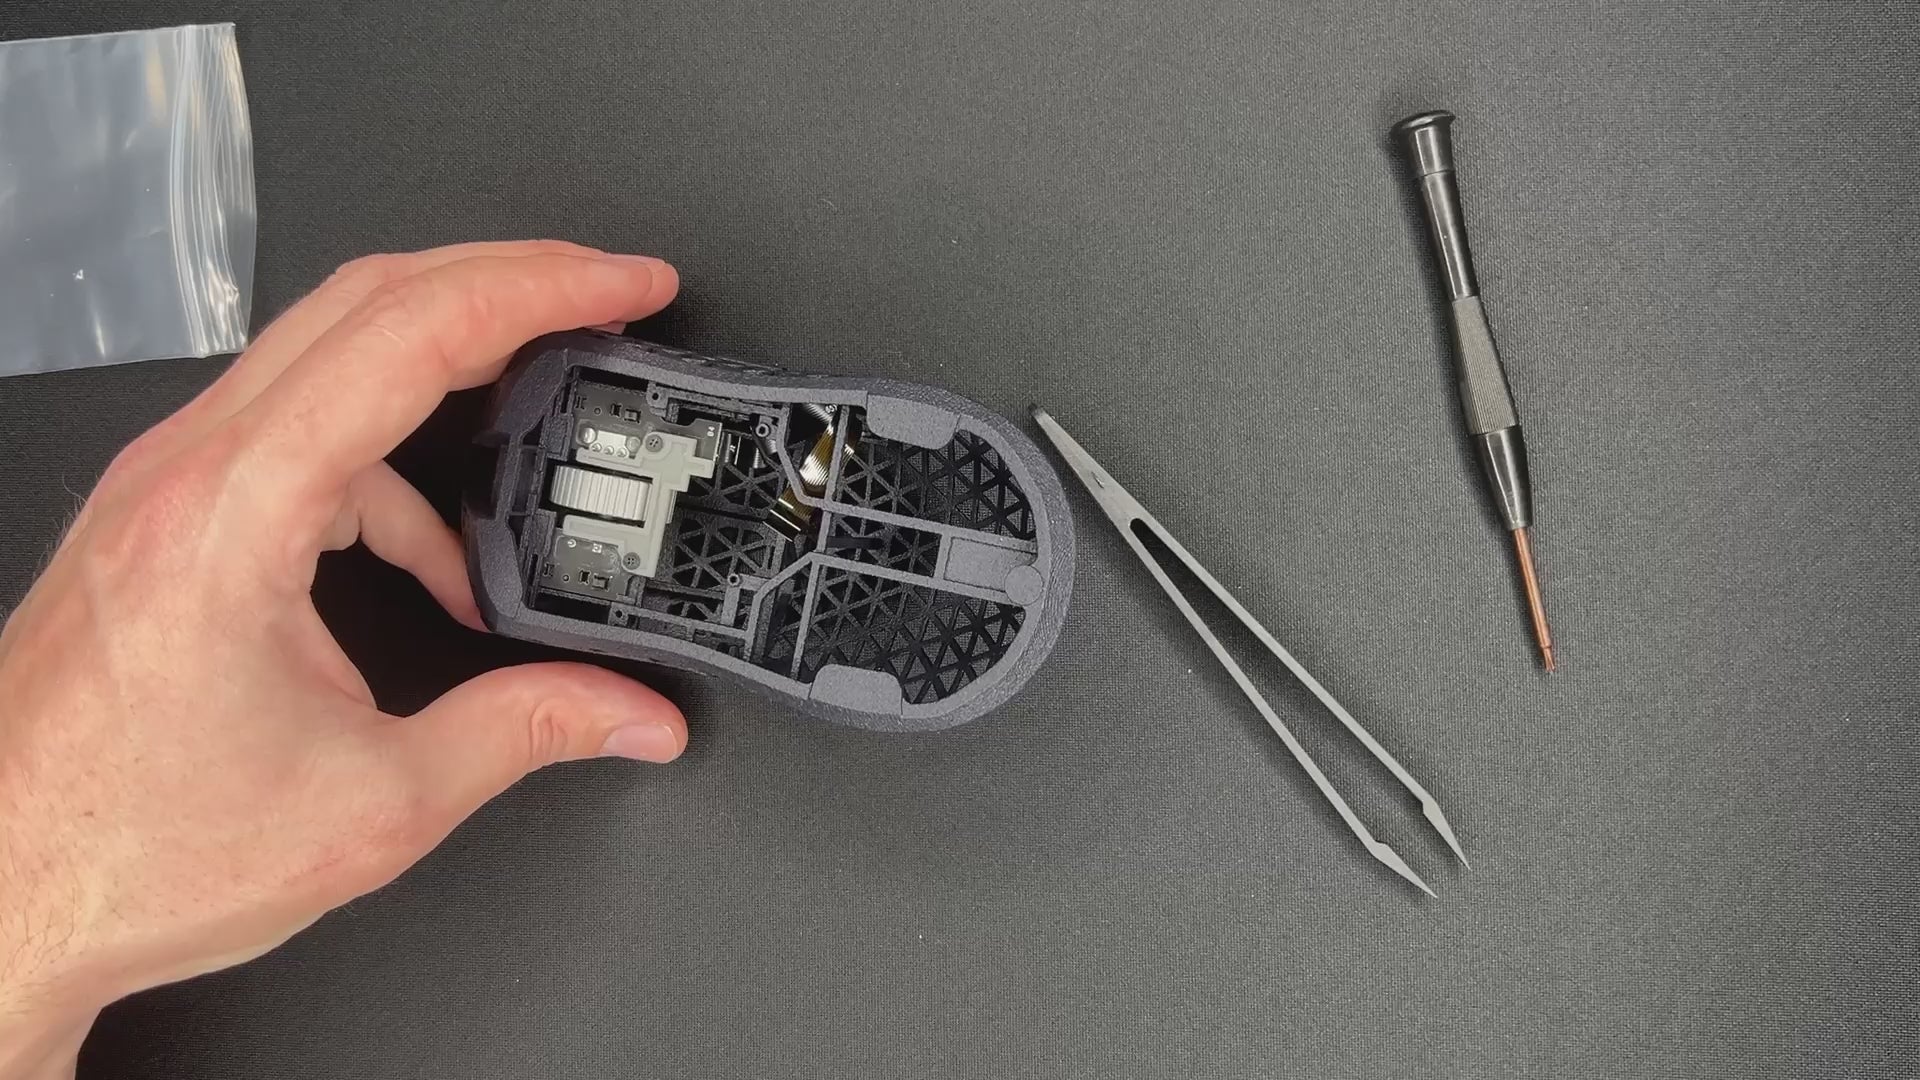
STEP 8: ADD THE BATTERY
STEP 8
STEP 9: ADD SKATES
STEP 9
YOU DID IT!
Well done.
Turn the mouse on by pressing the button for 6 seconds. The LED should turn on.
Finish by configuring your mouse with Synapse.
Apply grip tape if desired.
If you have any other problems, contact our support team at support@pmm.gg or in the live chat (Bottom left).
Have fun gaming!