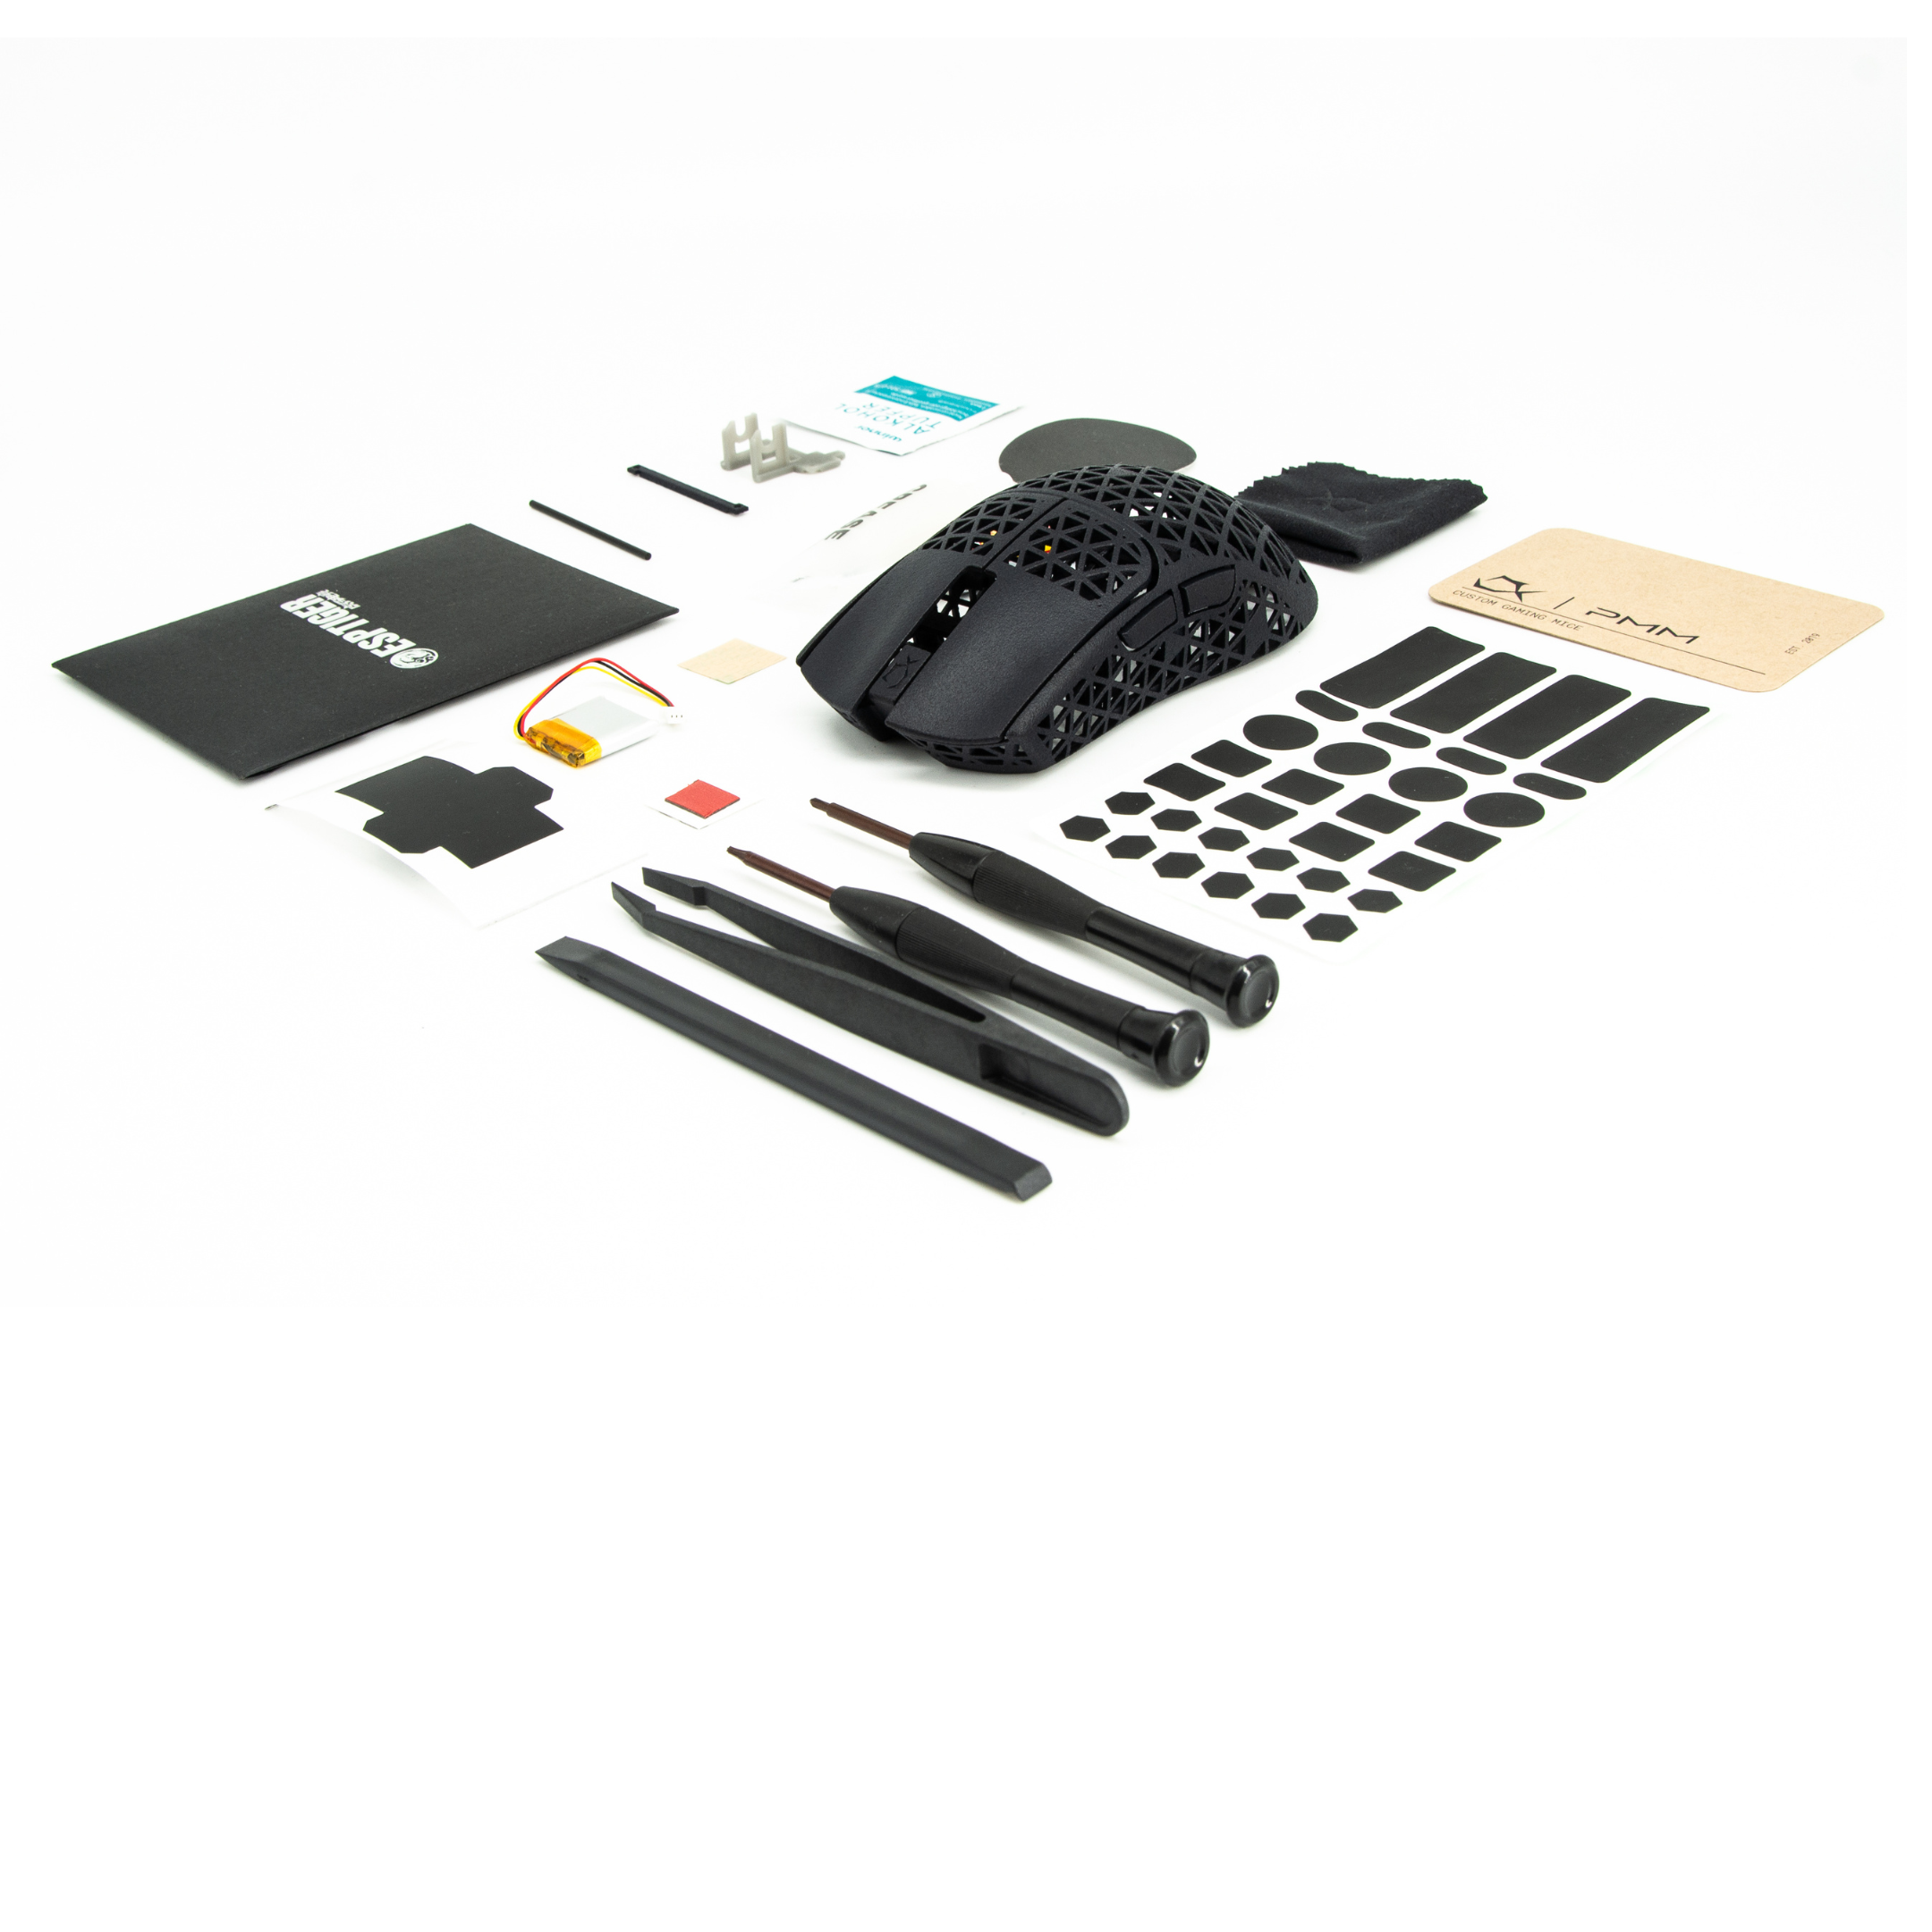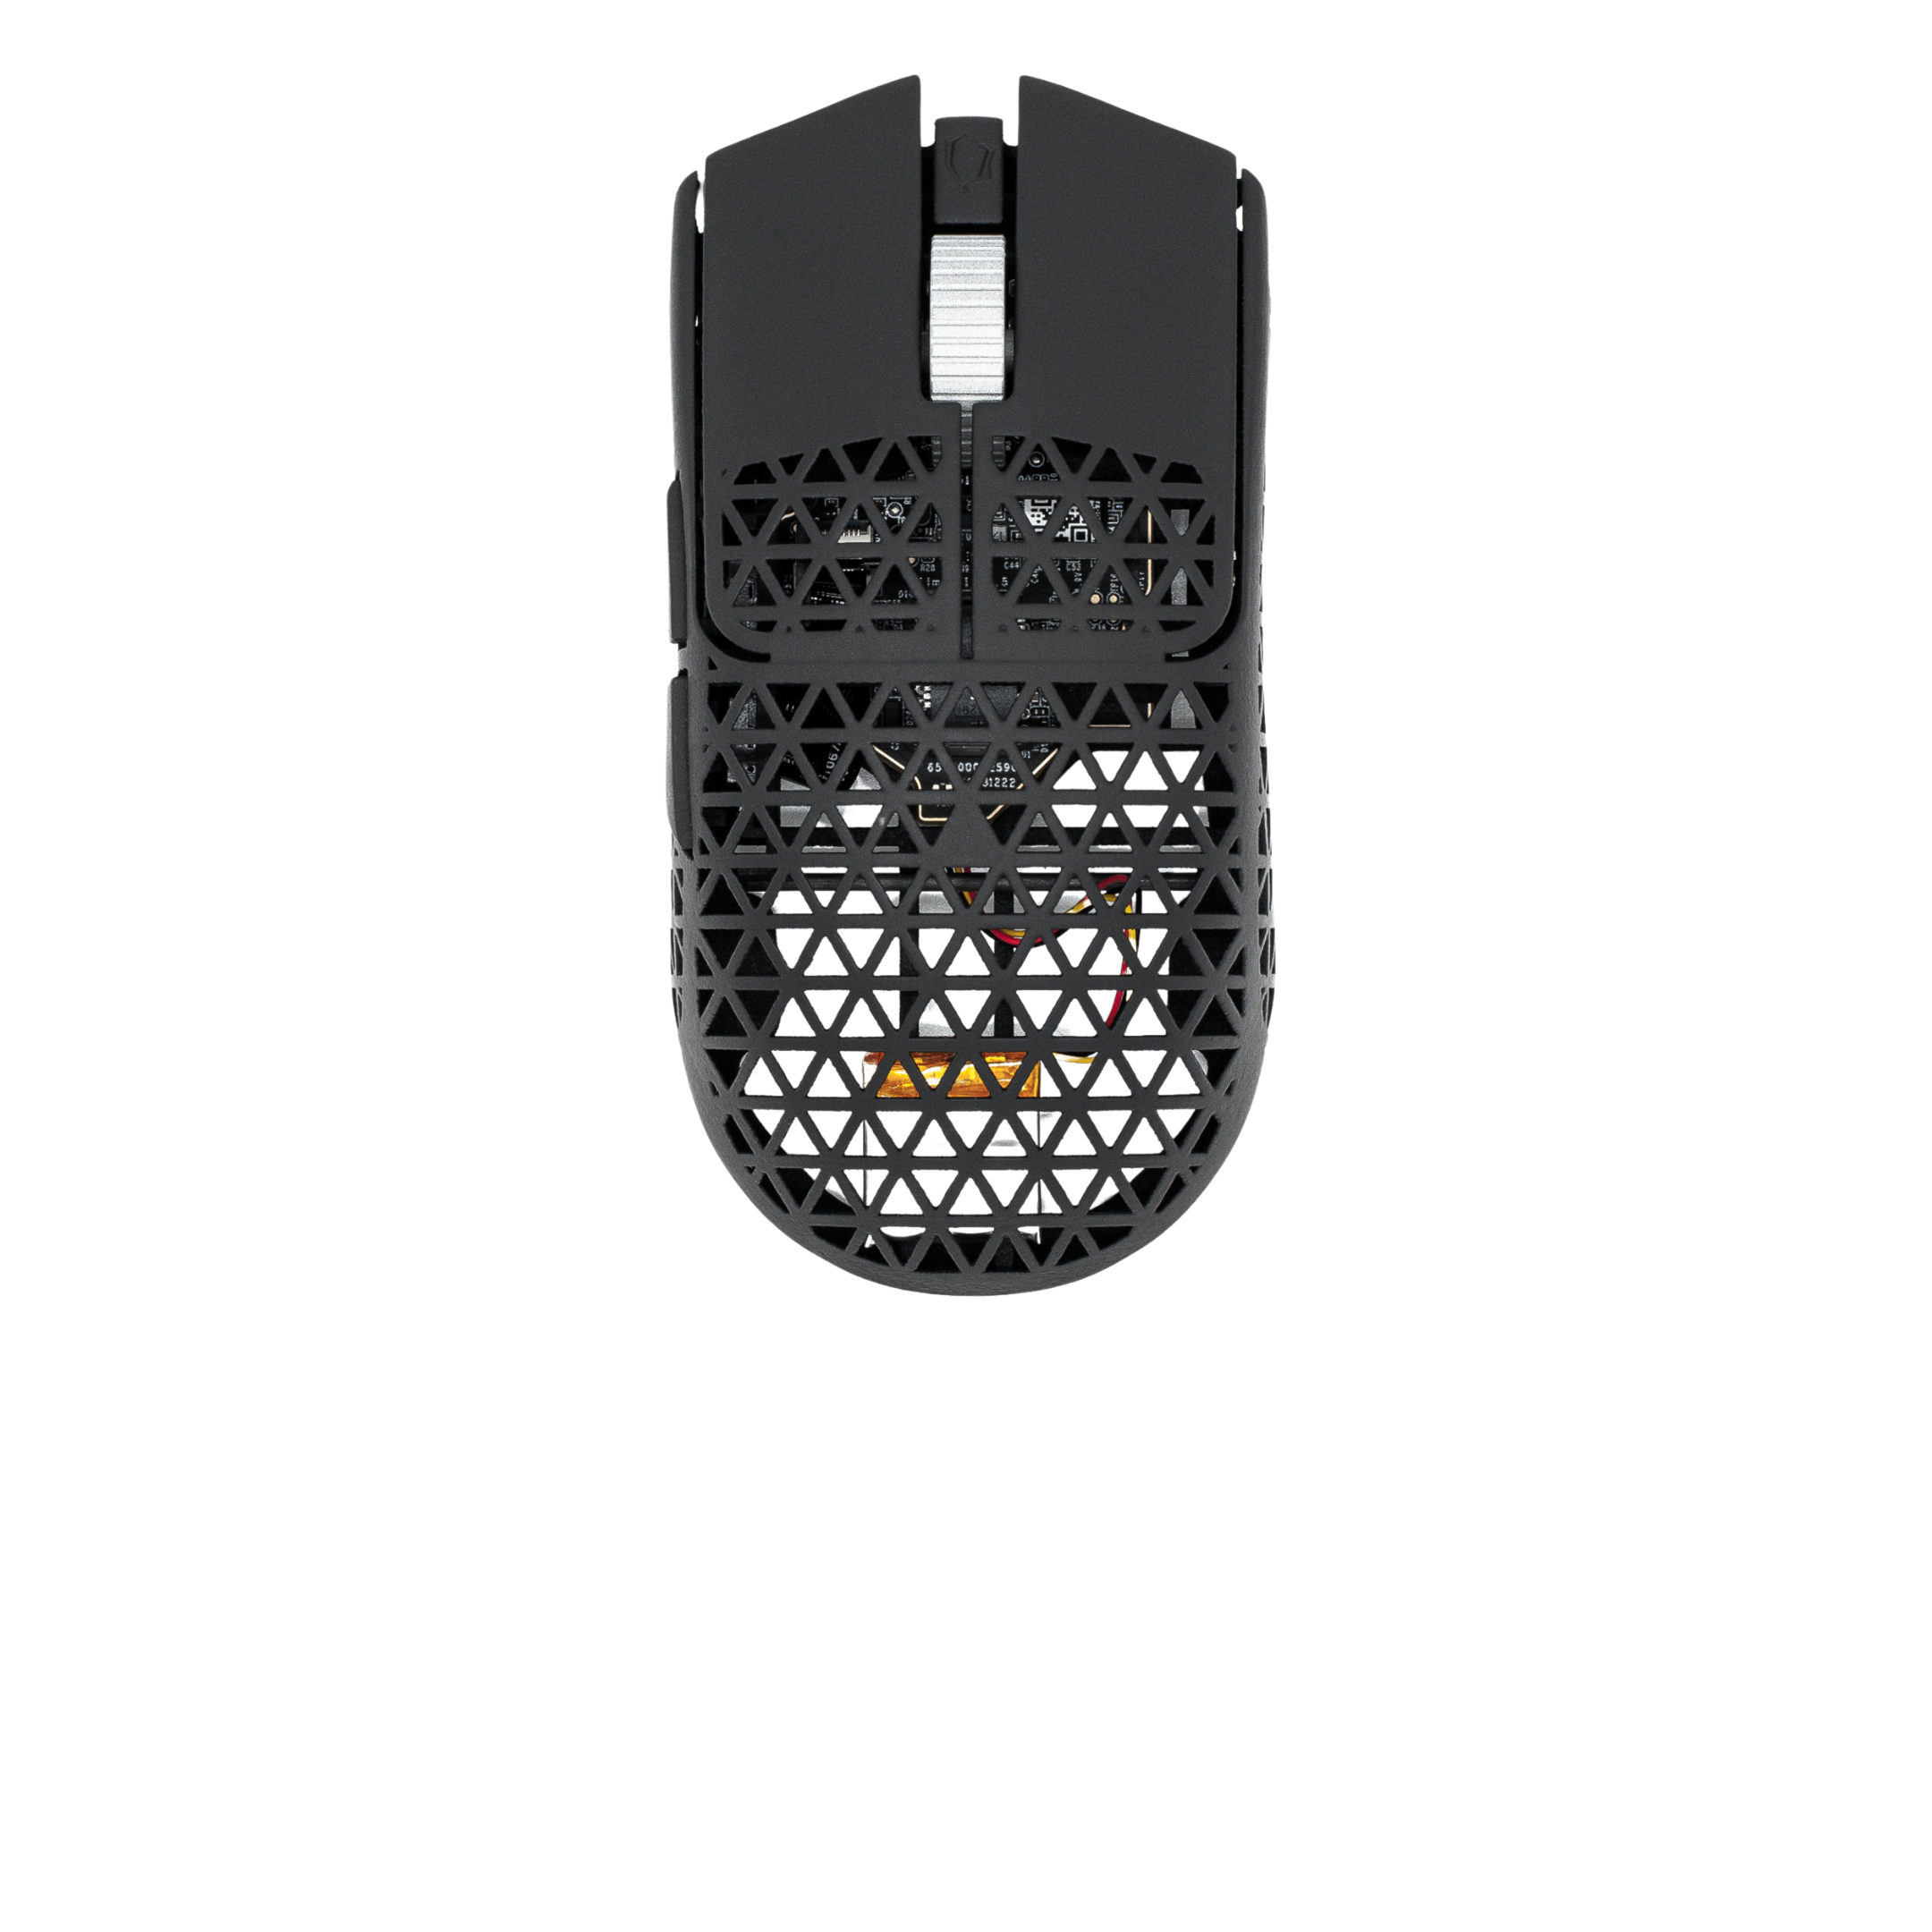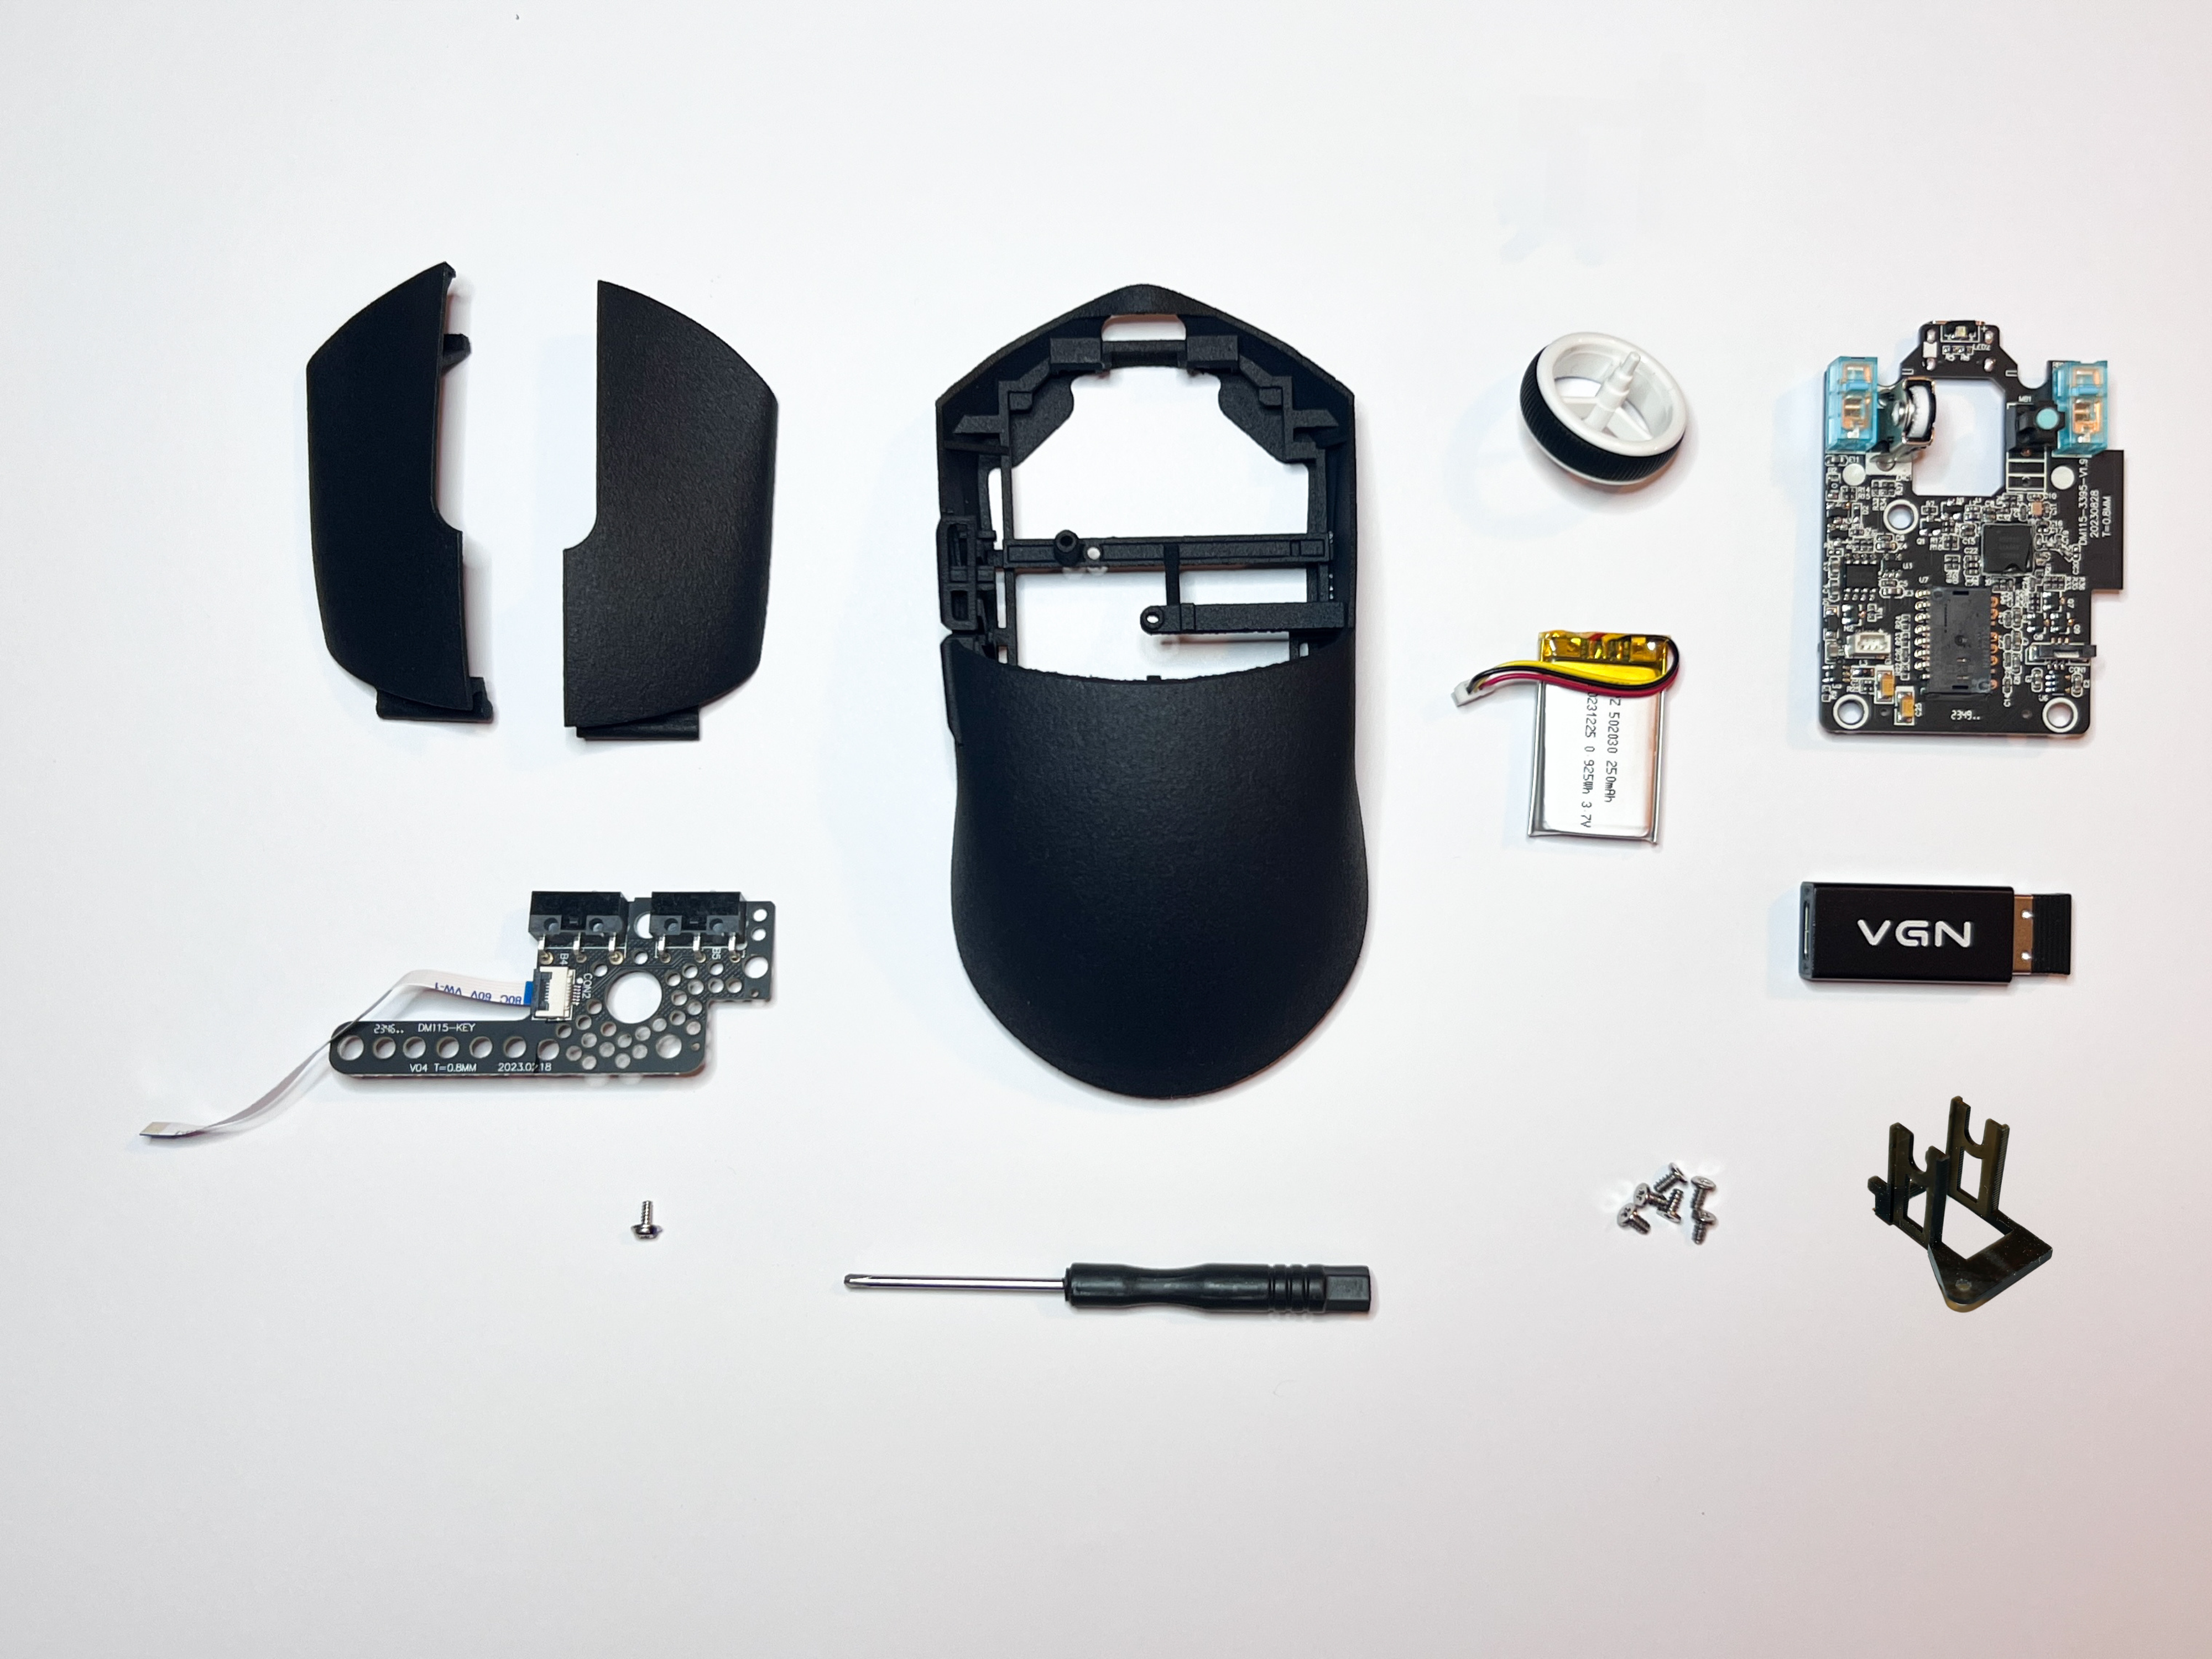
What you need
Shell, PCB, battery, mouse wheel, mouse wheel holder, side button PCB, 1 big head screw (not part of the VGN F1 Pro), 5 VGN screws (from the PCB), cross screwdriver.
[If you decide to use Japanese Omrons, the shell would need a modification since the switch plunger are higher]
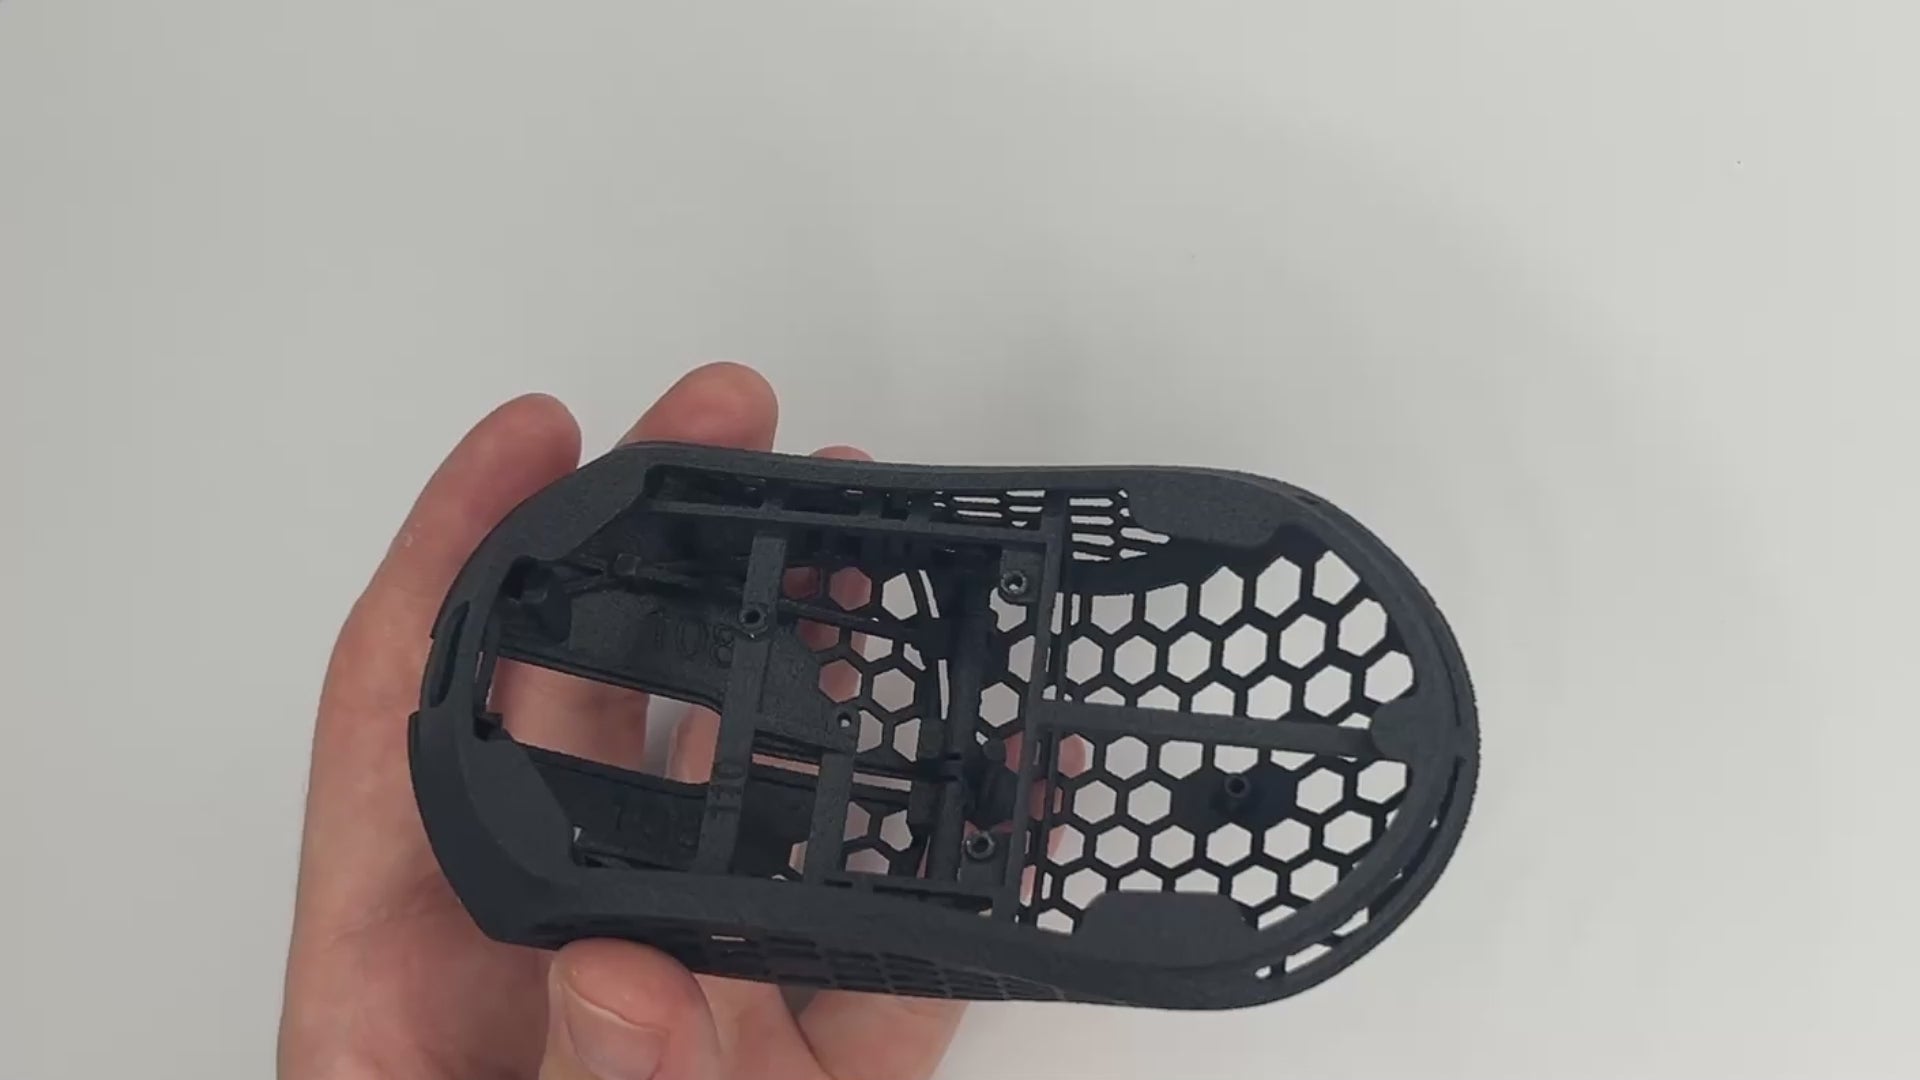
Button removal method
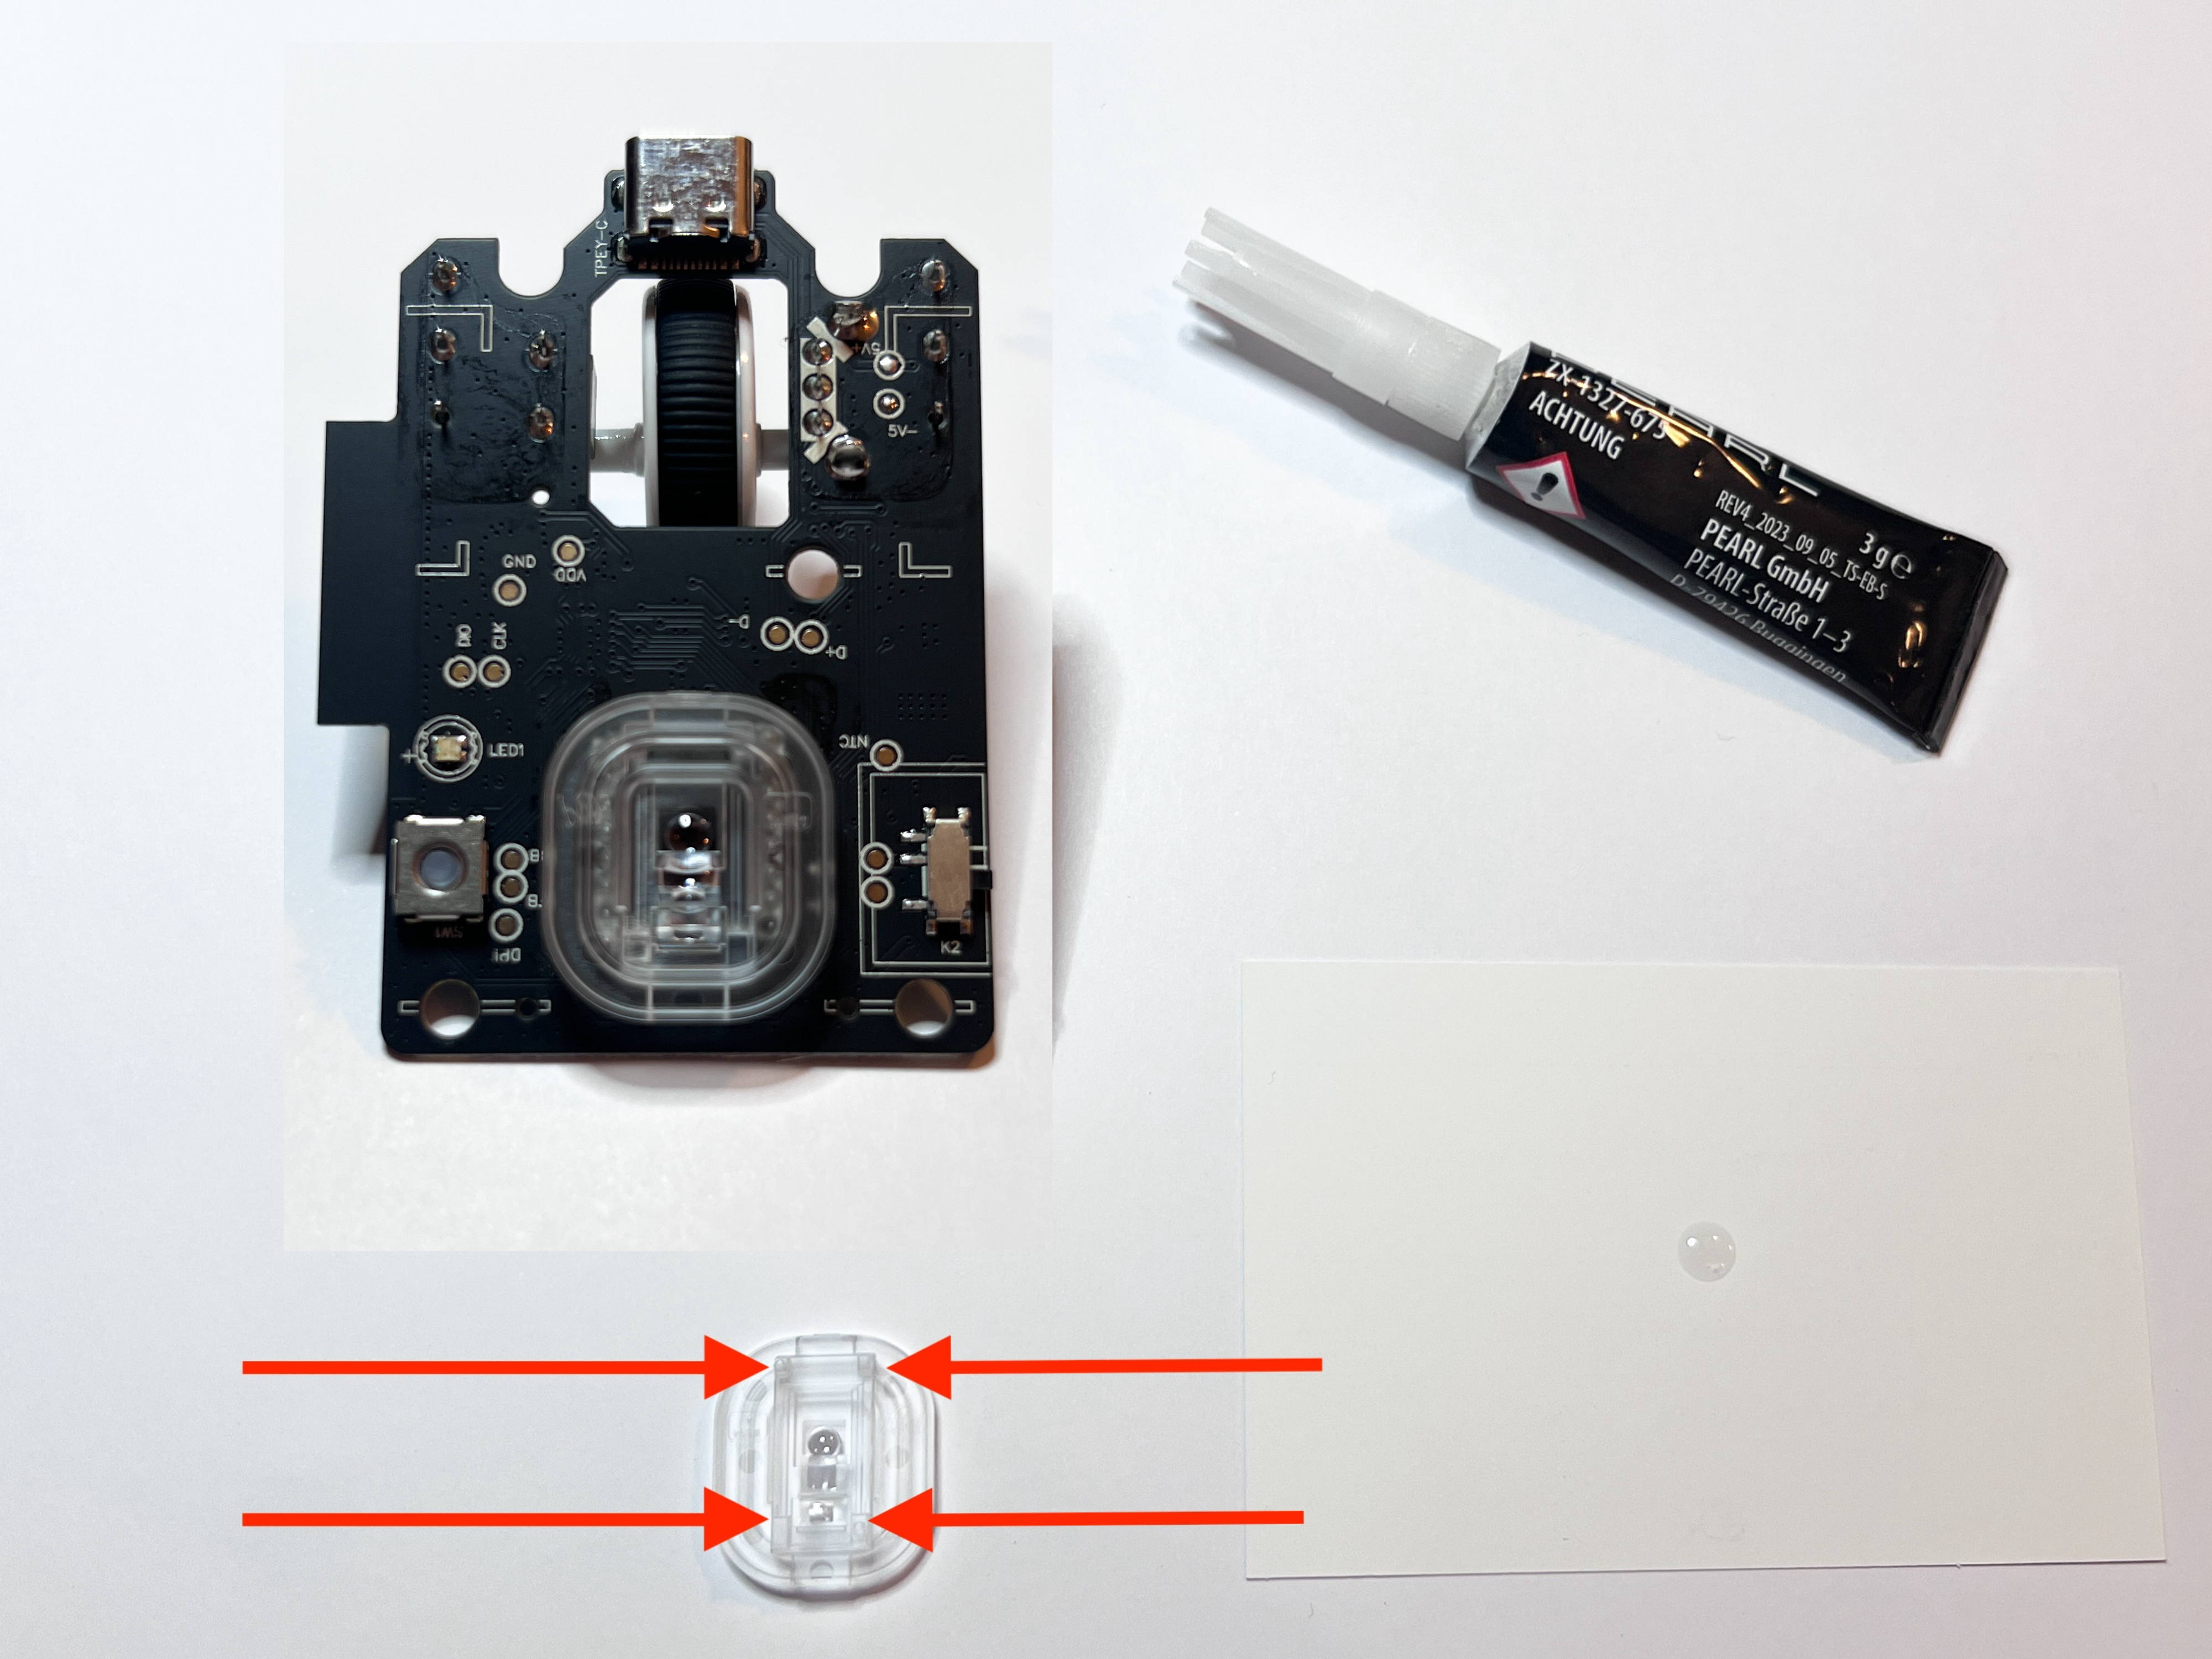
Check the sensor lens
If the sensor lens is loose, you can secure it by following these steps:
- Apply a small amount of glue to the four pins of the sensor. We recommend squeezing only a small drop of glue on a piece of paper and then dipping the 4 pins in it.
- Be careful not to use too much glue—just enough to hold the sensor in place.
- Let the glue dry for a couple of minutes after firmly pressing the lens on the PCB.
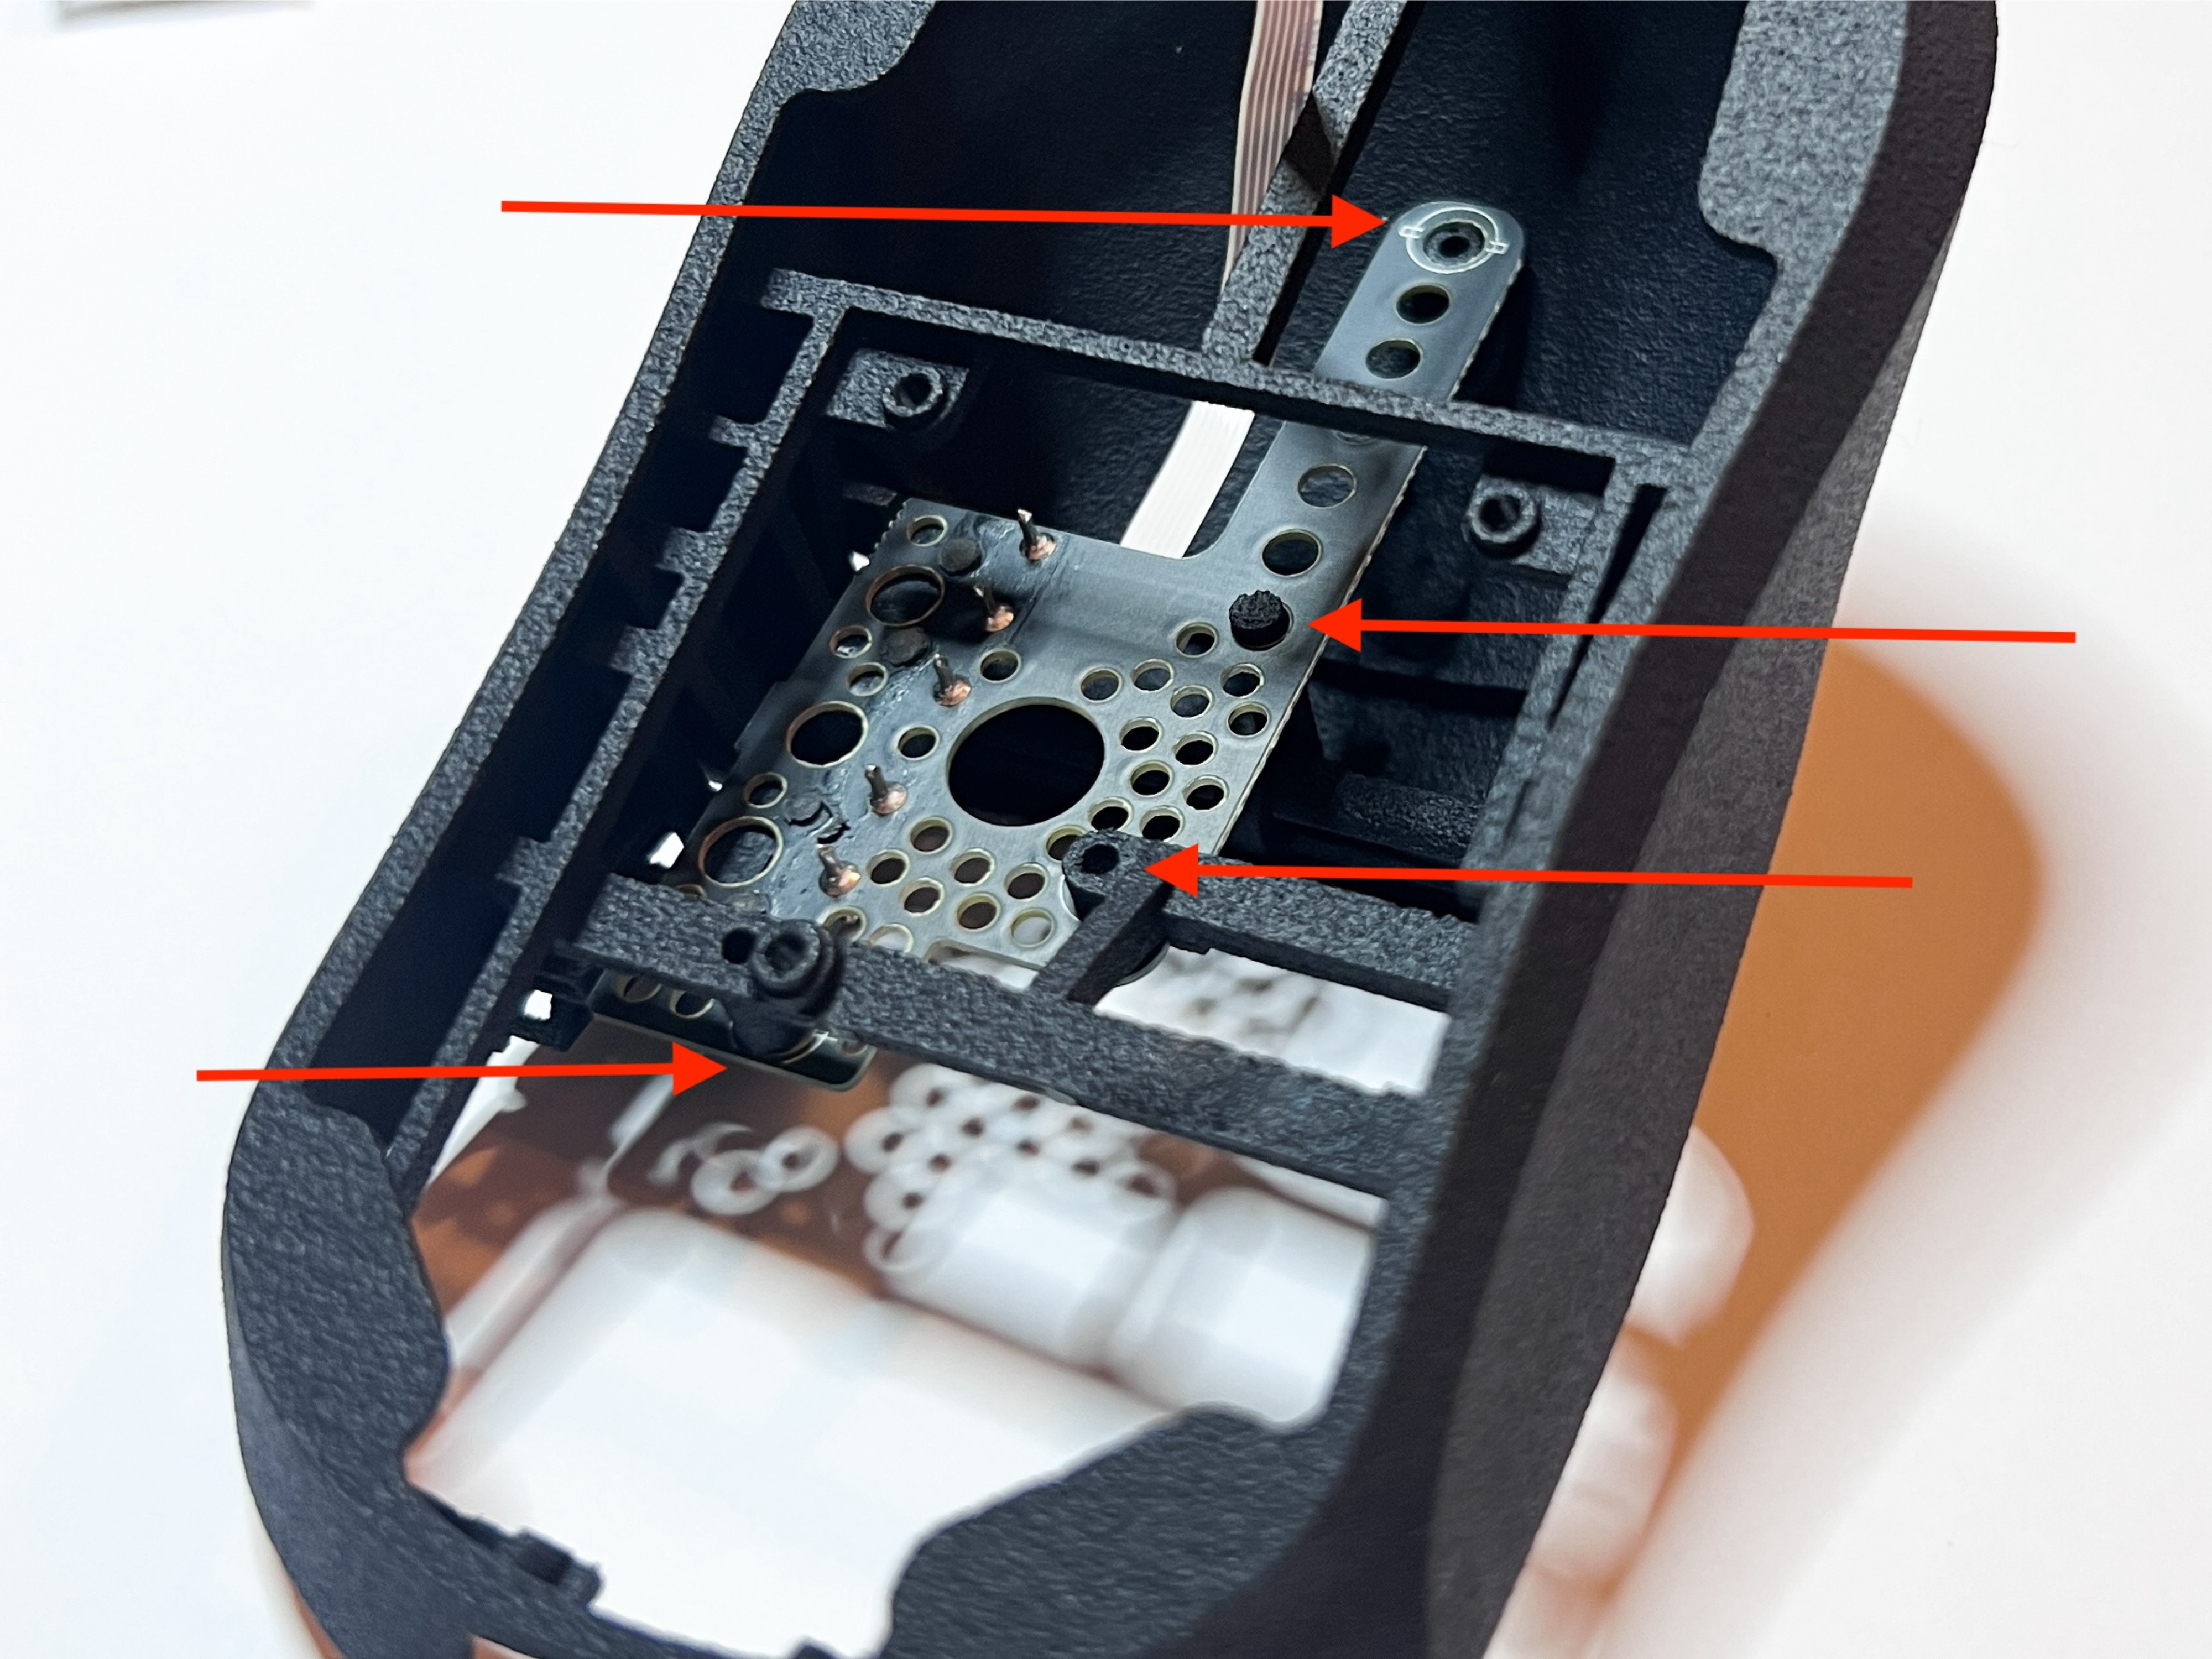
Adding the Side Button PCB
- Place the PCB into position.
- Make sure the holes on the PCB align with the mounting points.

Combining Side Button PCB and shell
Use the big head screw.
[Make sure the cable from the side button PCB is positioned as shown in the picture, so it can be easily connected later.]
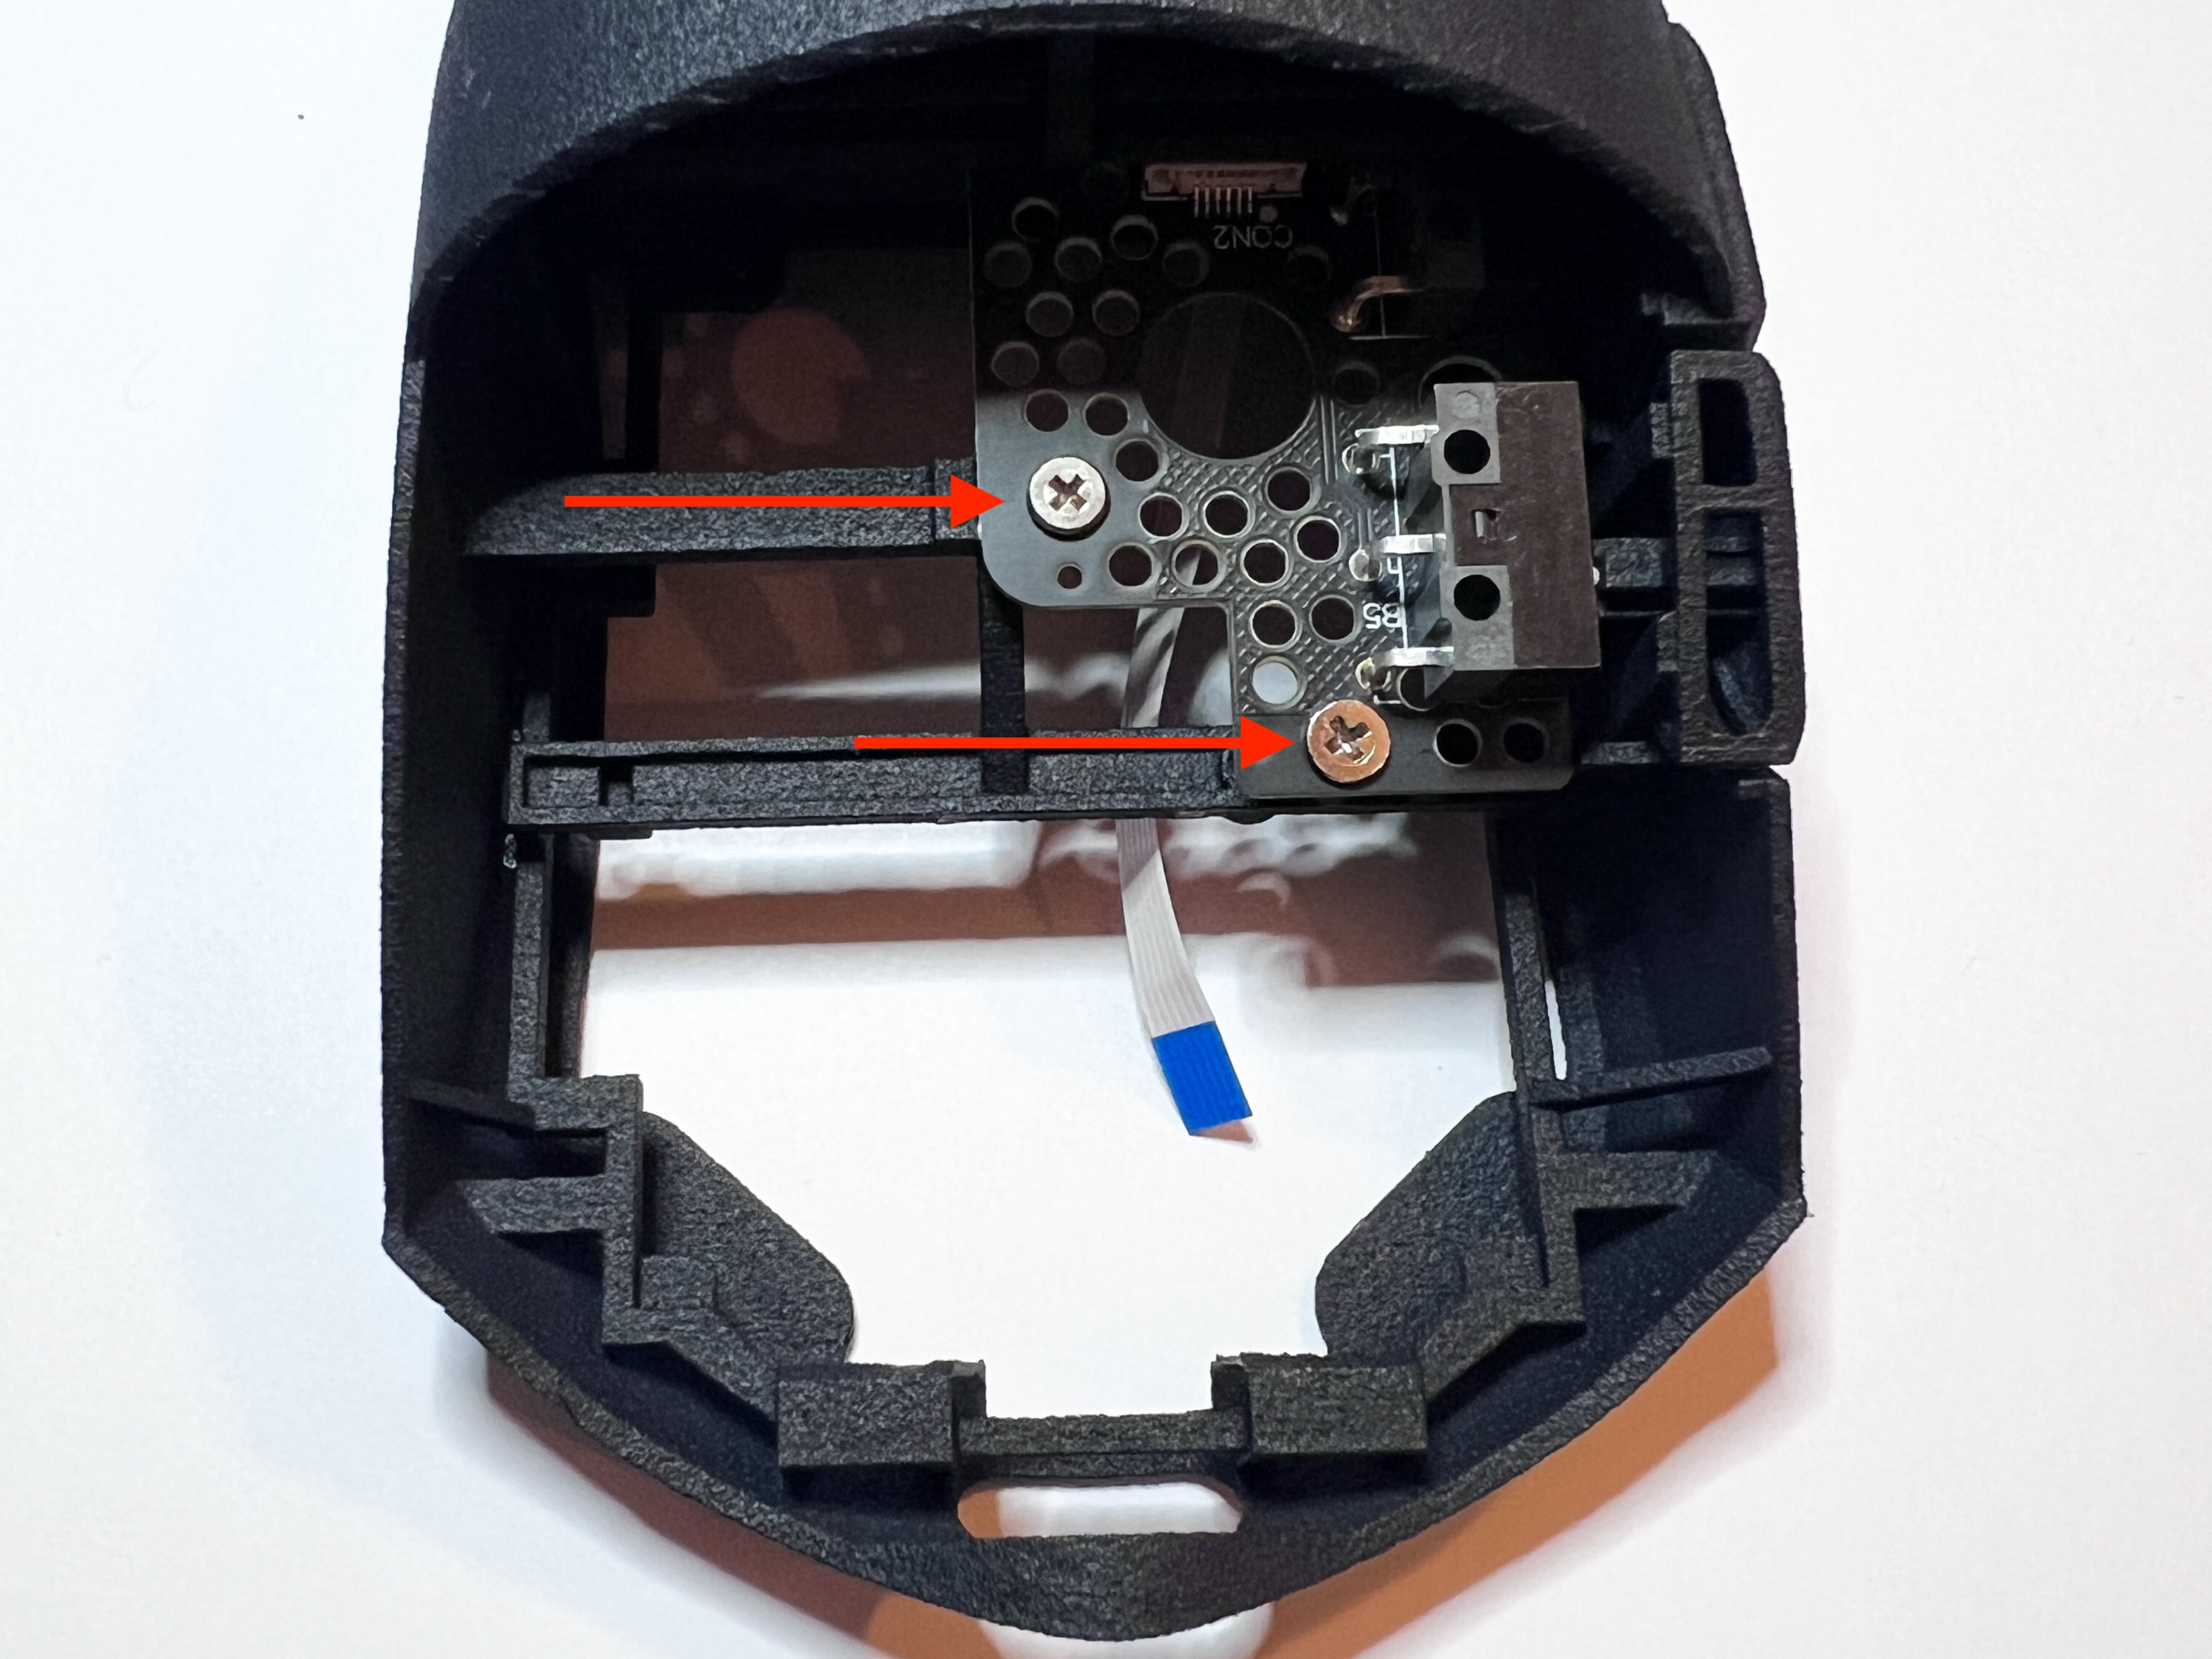
Fastening screws
Check if the click is working and continue with fastening the screw.
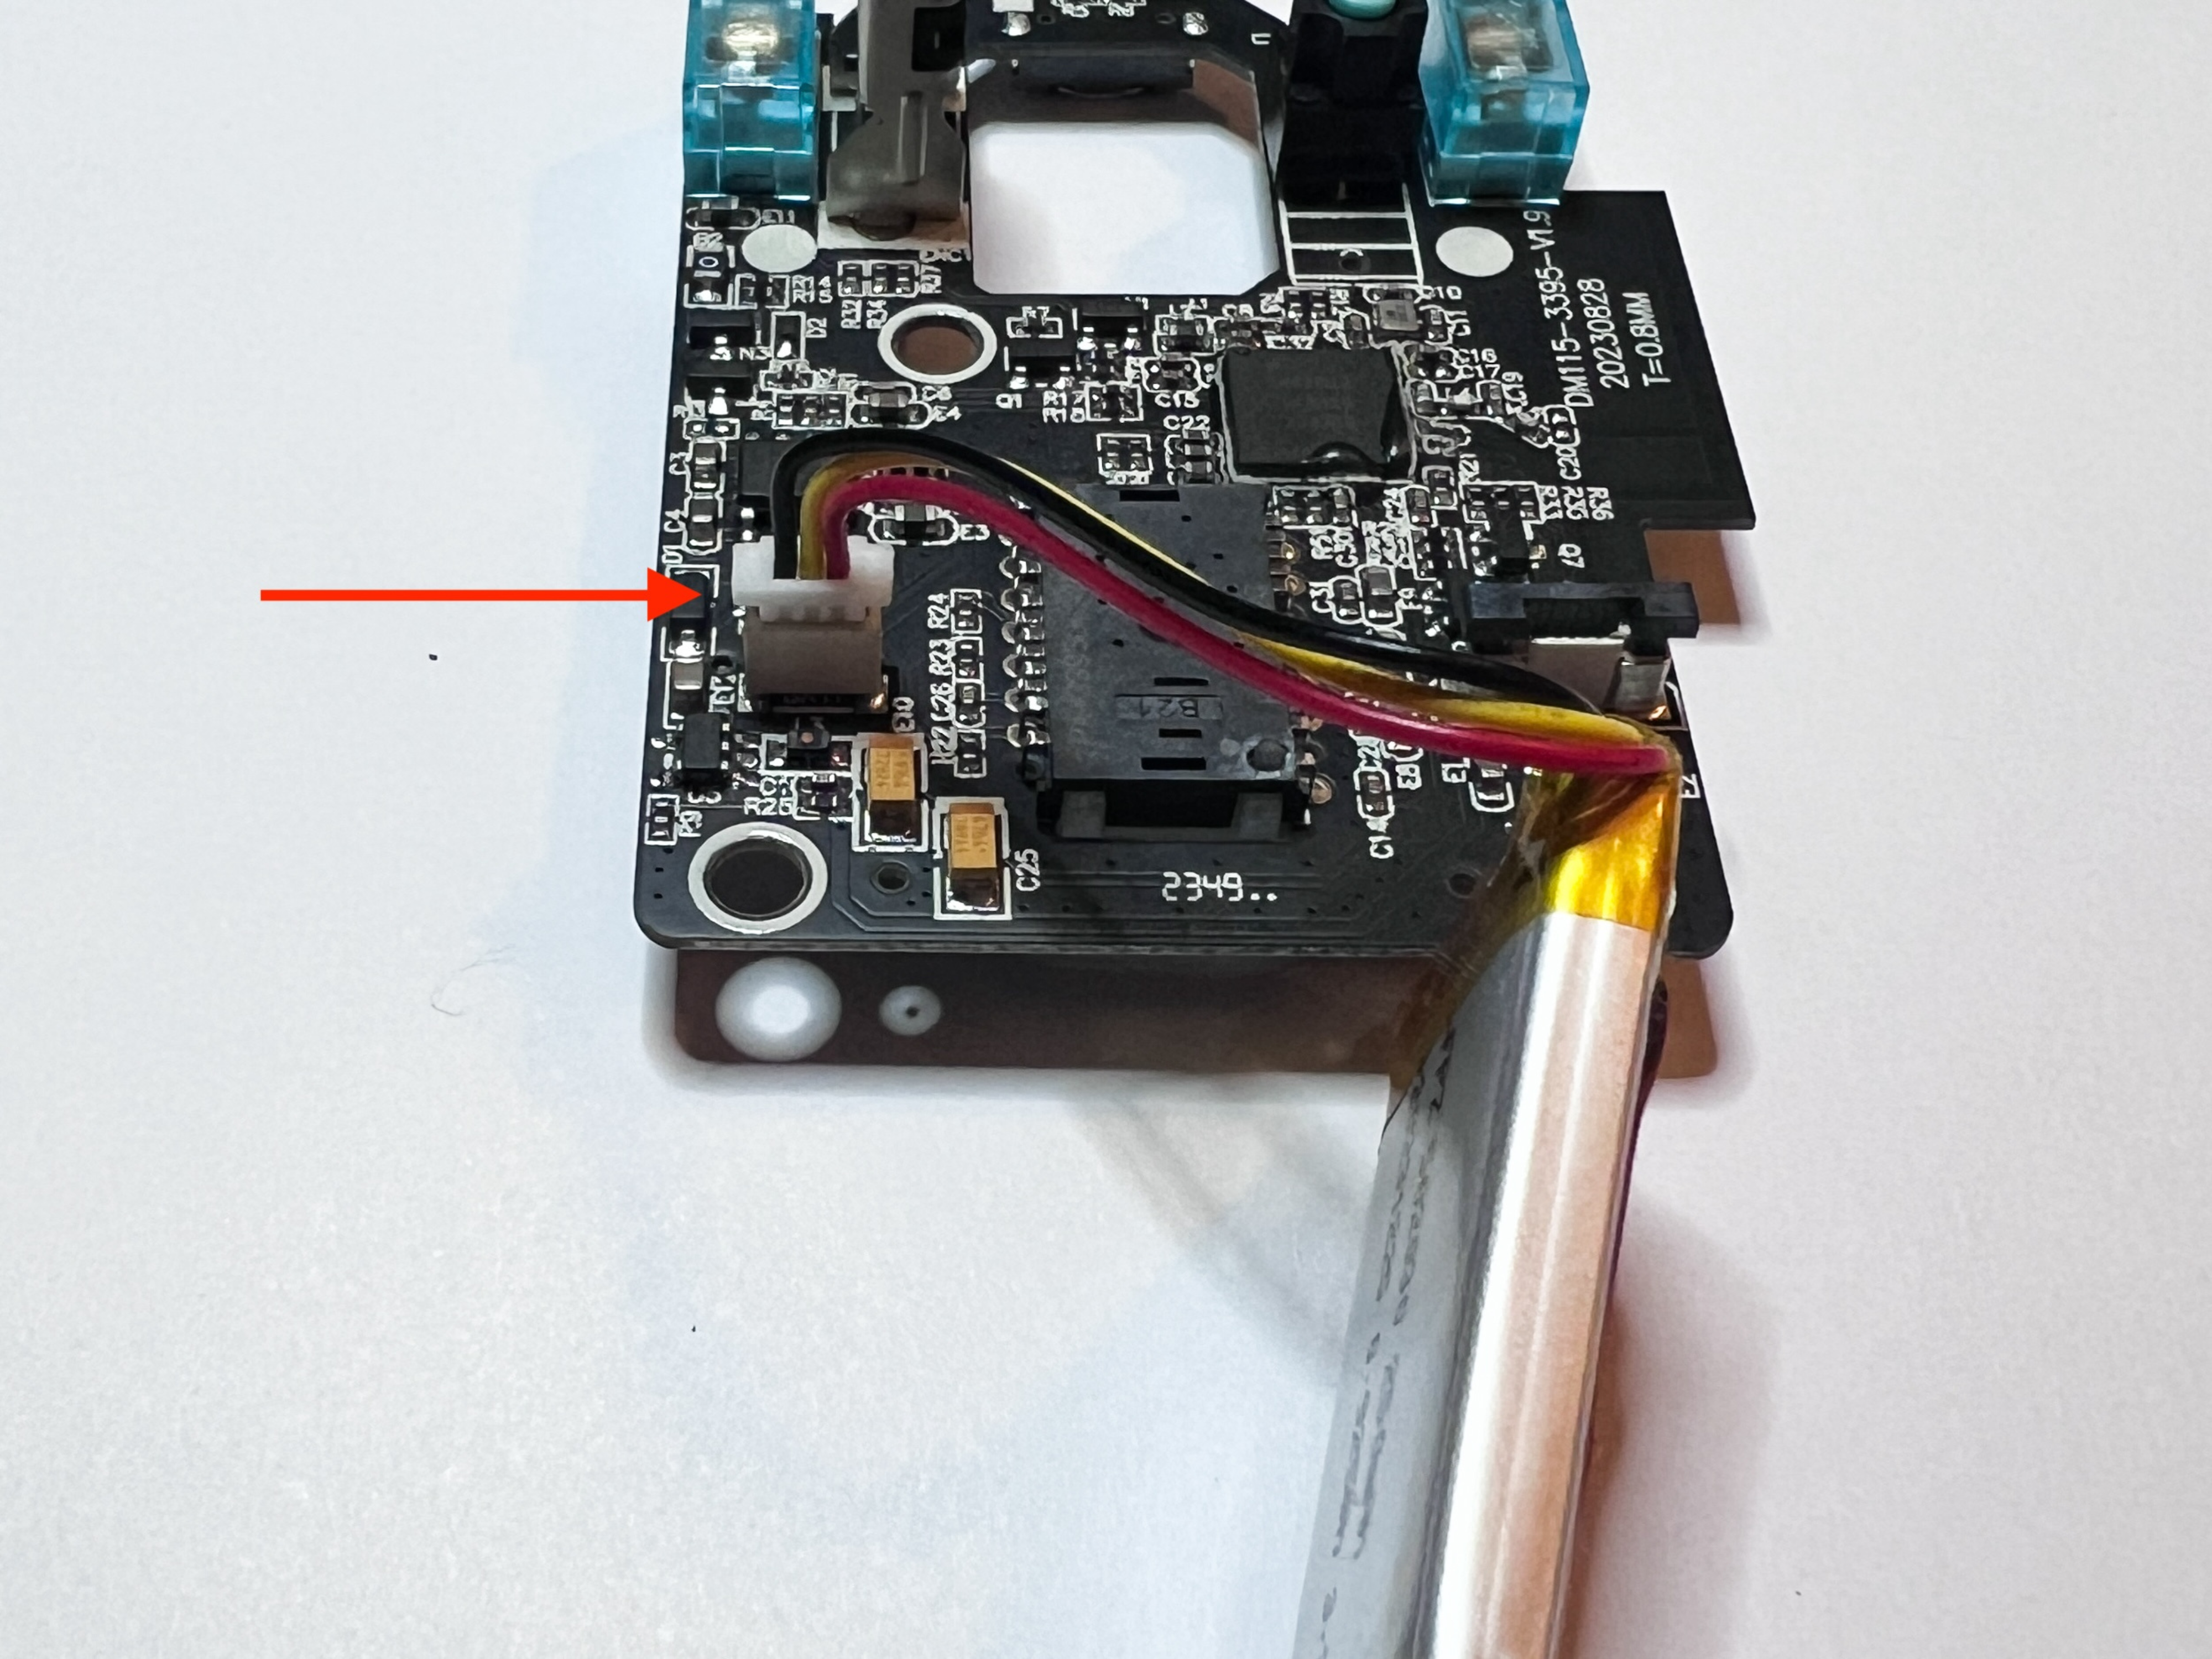
Connect the battery
Make sure to plug the battery in the right direction to the PCB.
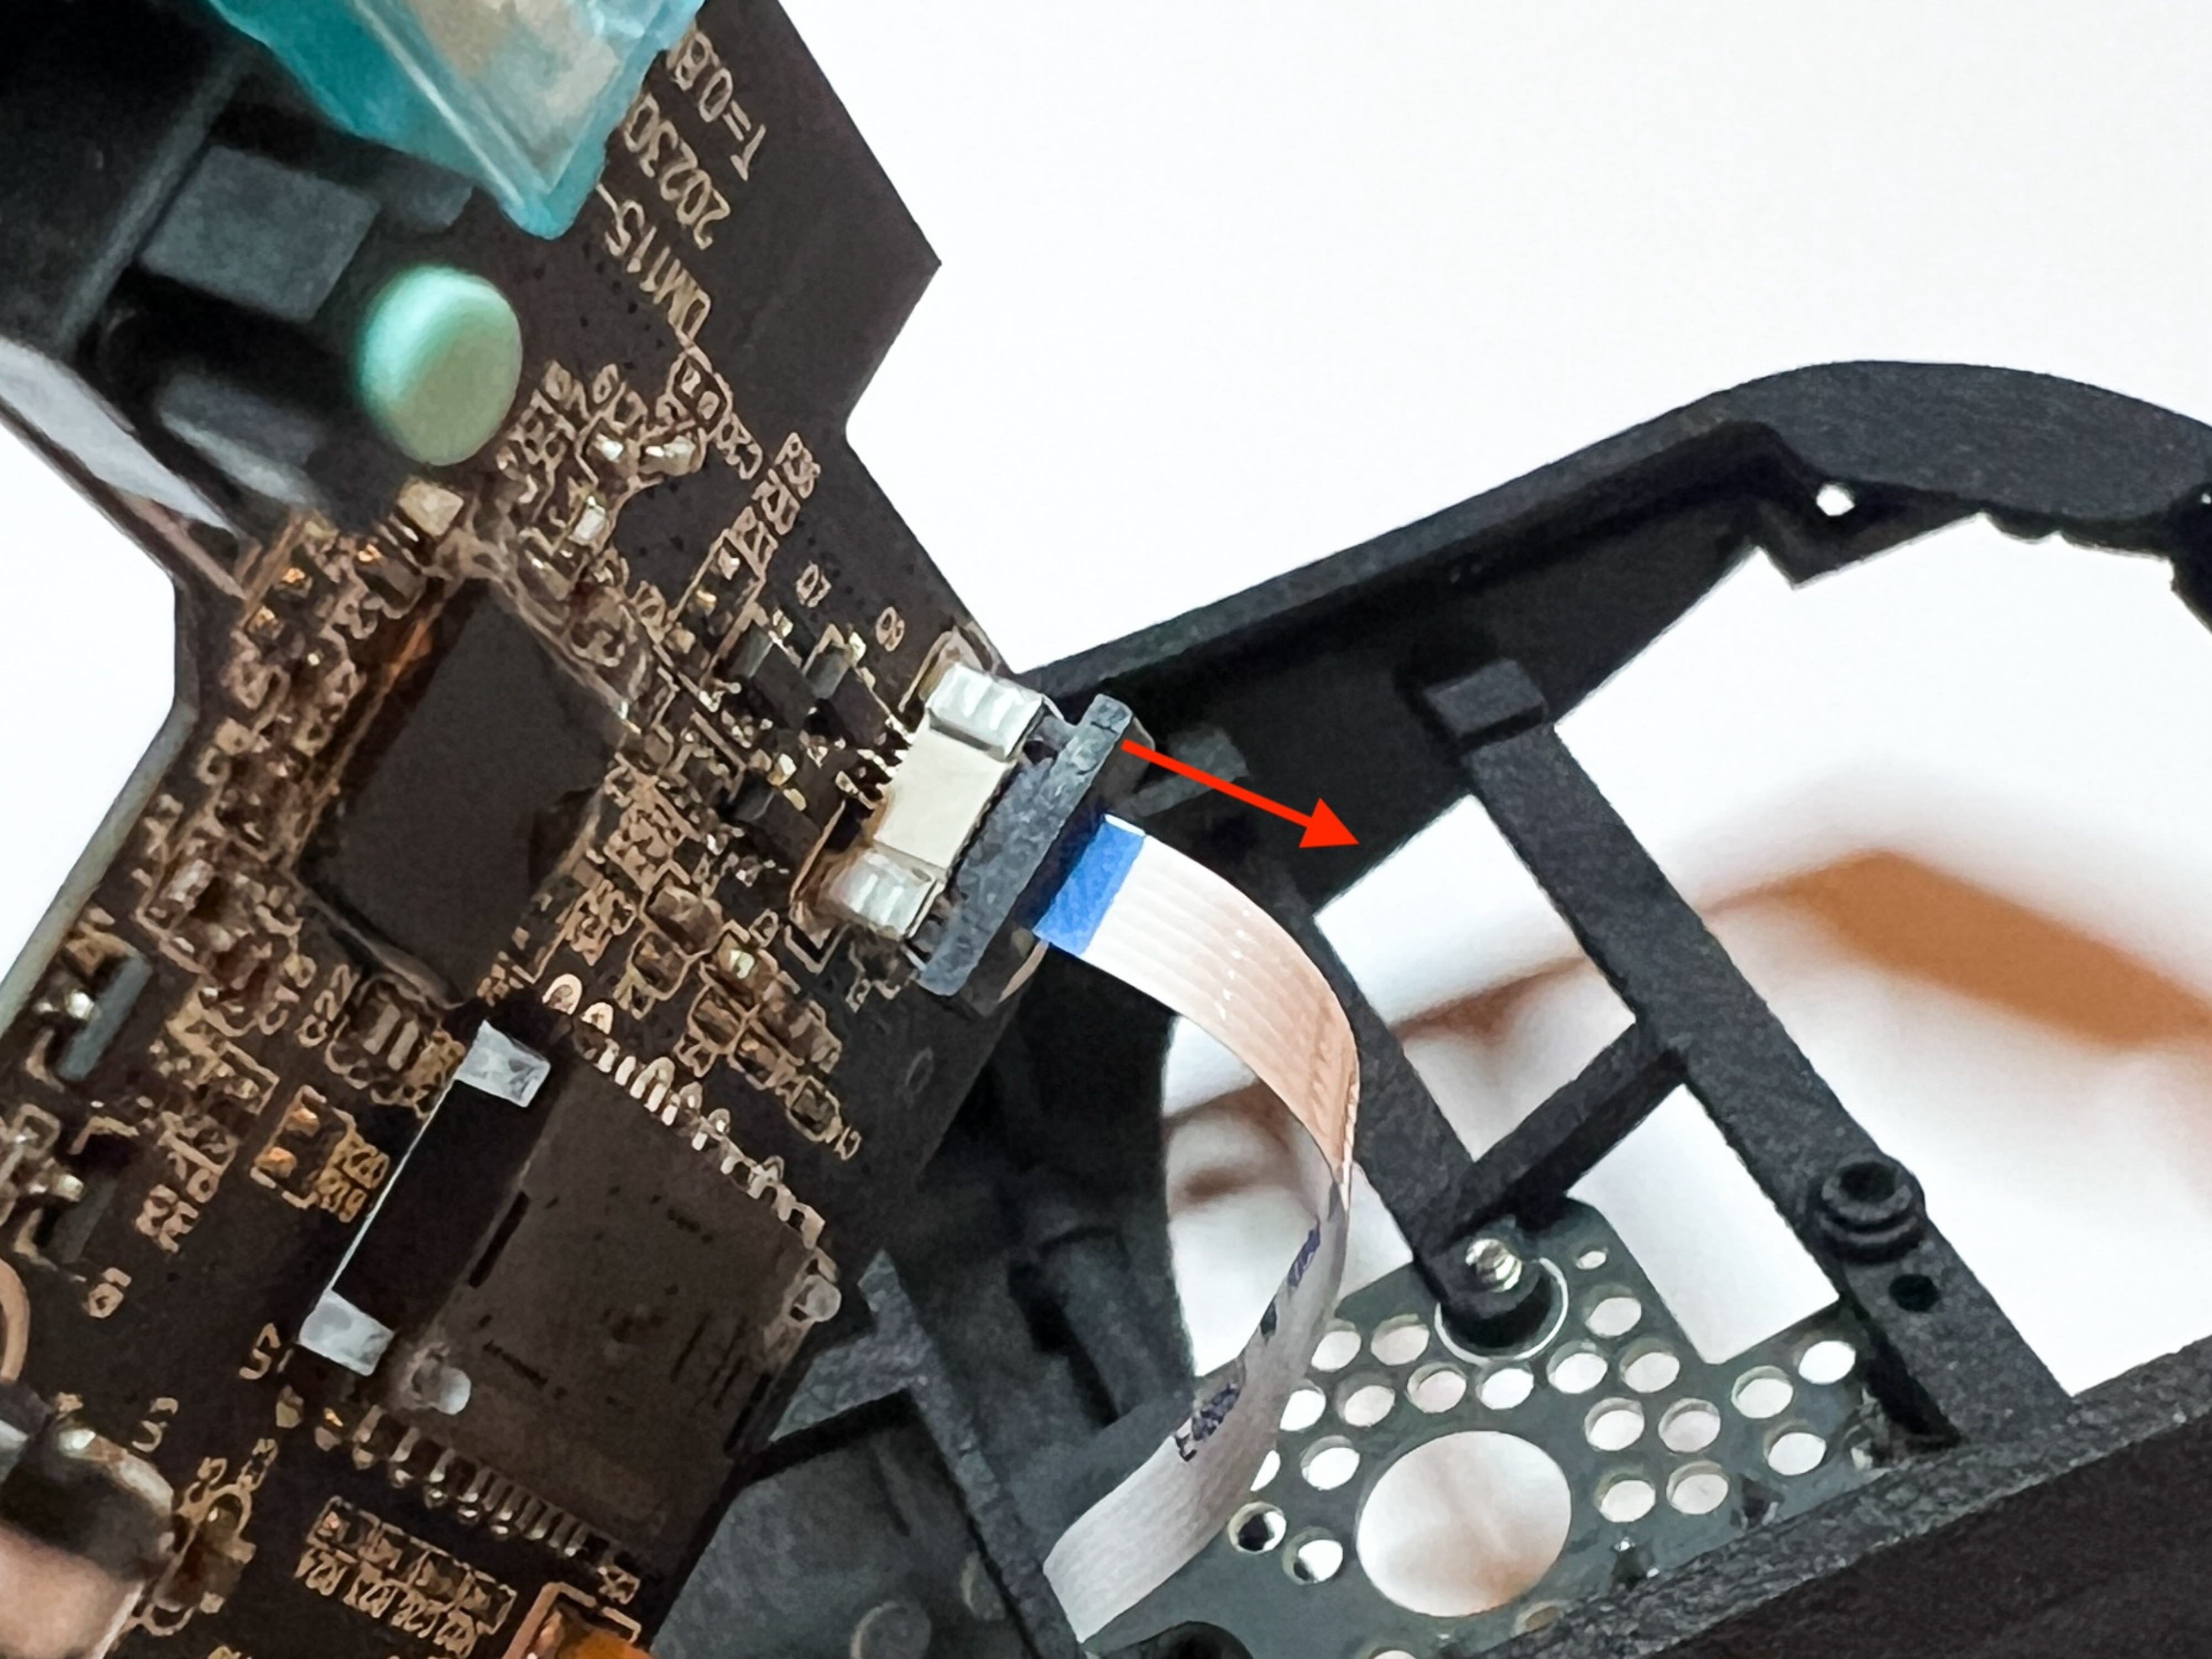
Connect the side button PCB
Pull up the black part of the connector and carefully insert the cable.
Ensure the cable is in the correct orientation—imagine how it should lay flat without twisting once the PCB is fully installed.
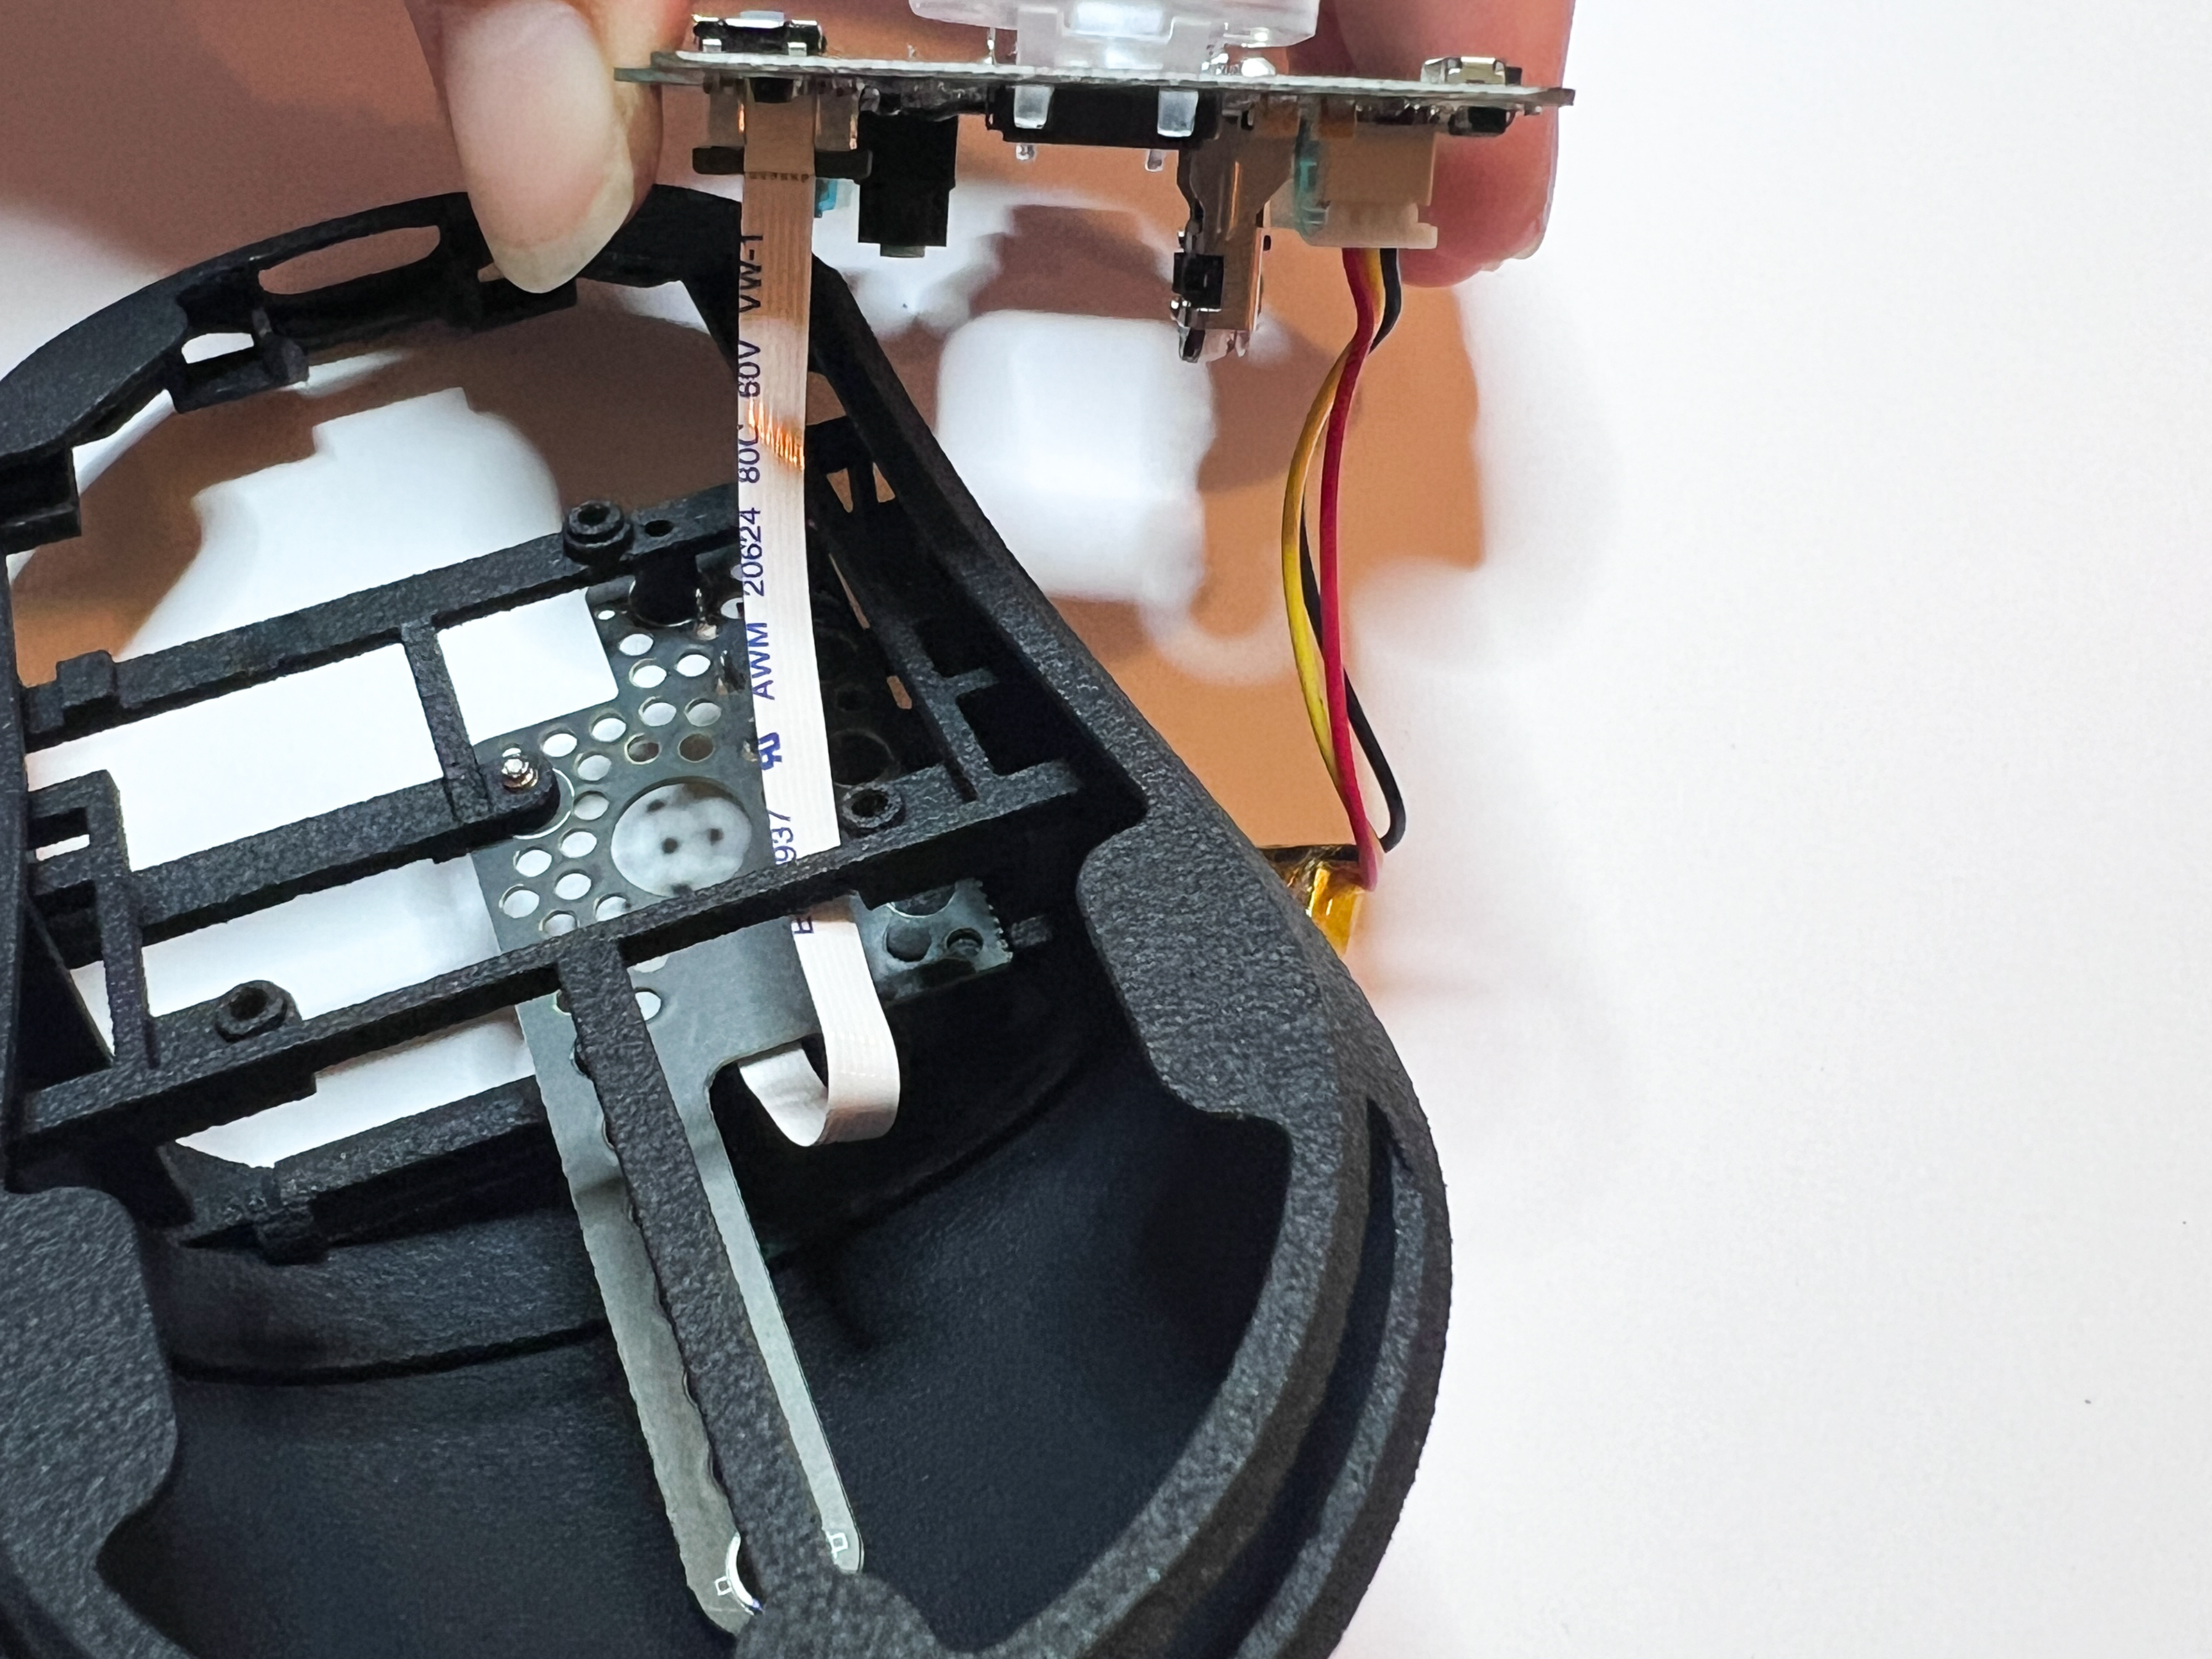
Installation of the PCB
Check the cables and start placing the PCB to into the shell. The PCB has to sit on top of the front PCB holder.
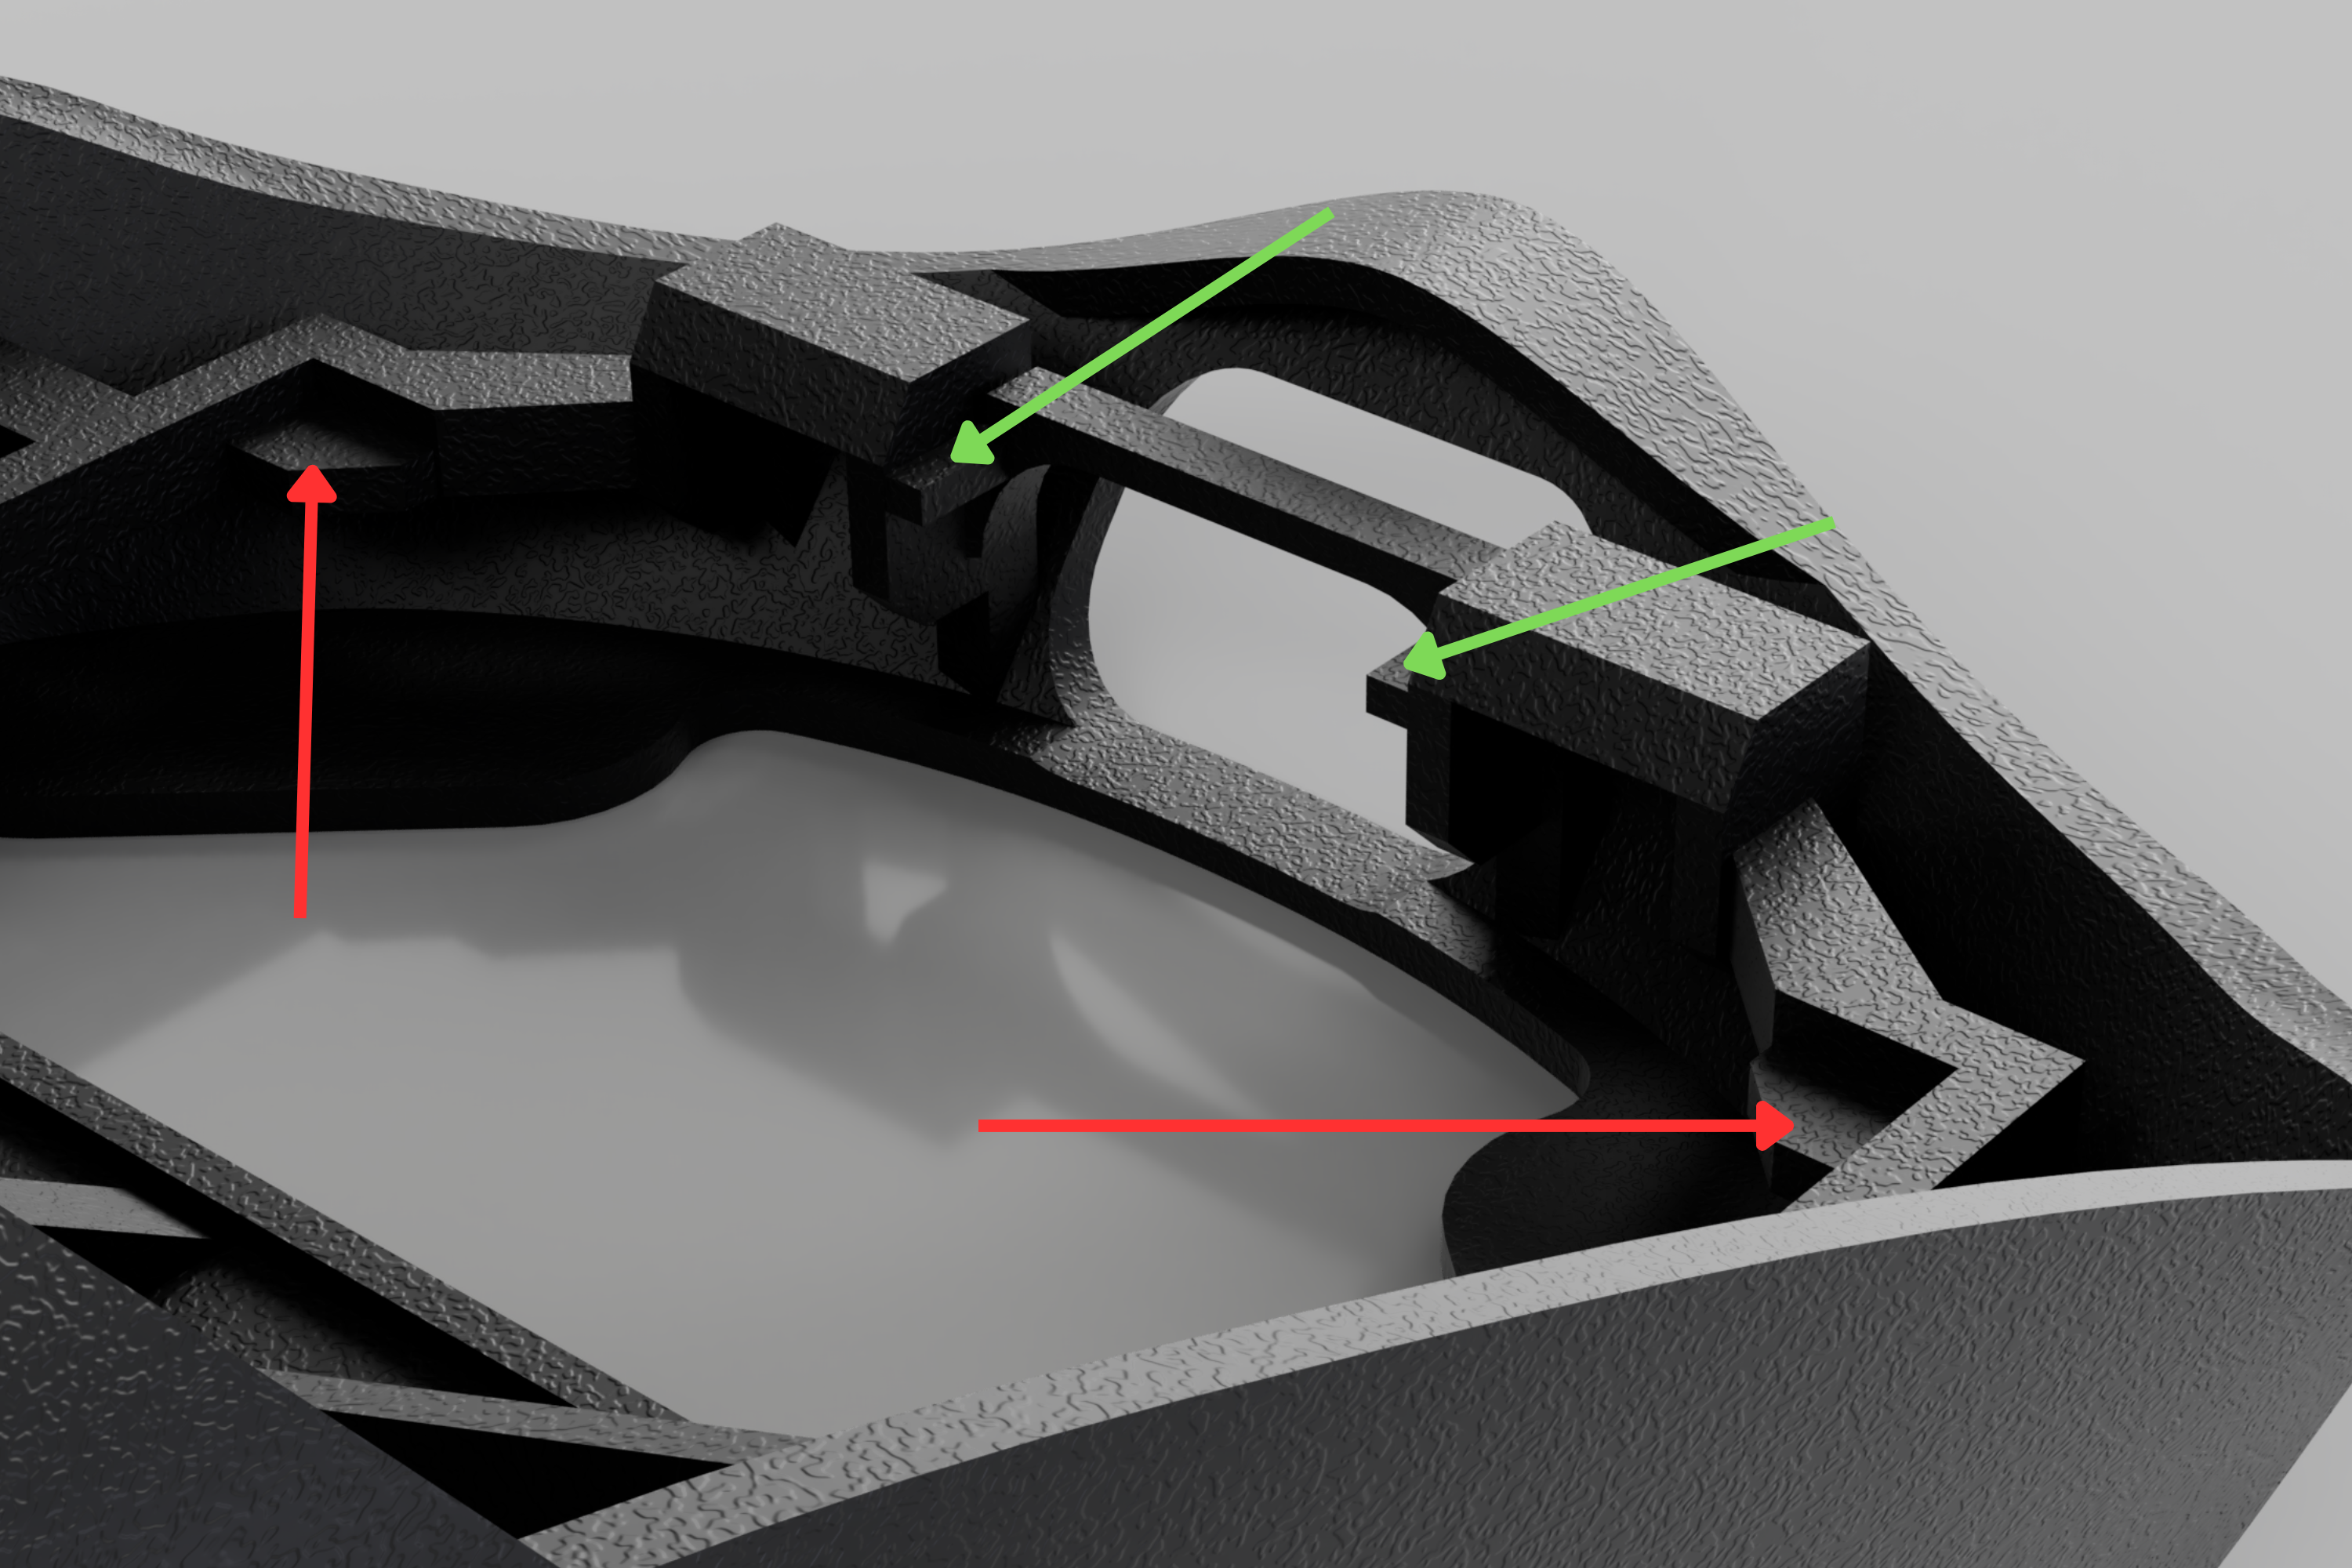
PCB position
The PCB should be placed on top of the platforms in the front (red) and under those two pins above the hole for the USB-C socket (green).
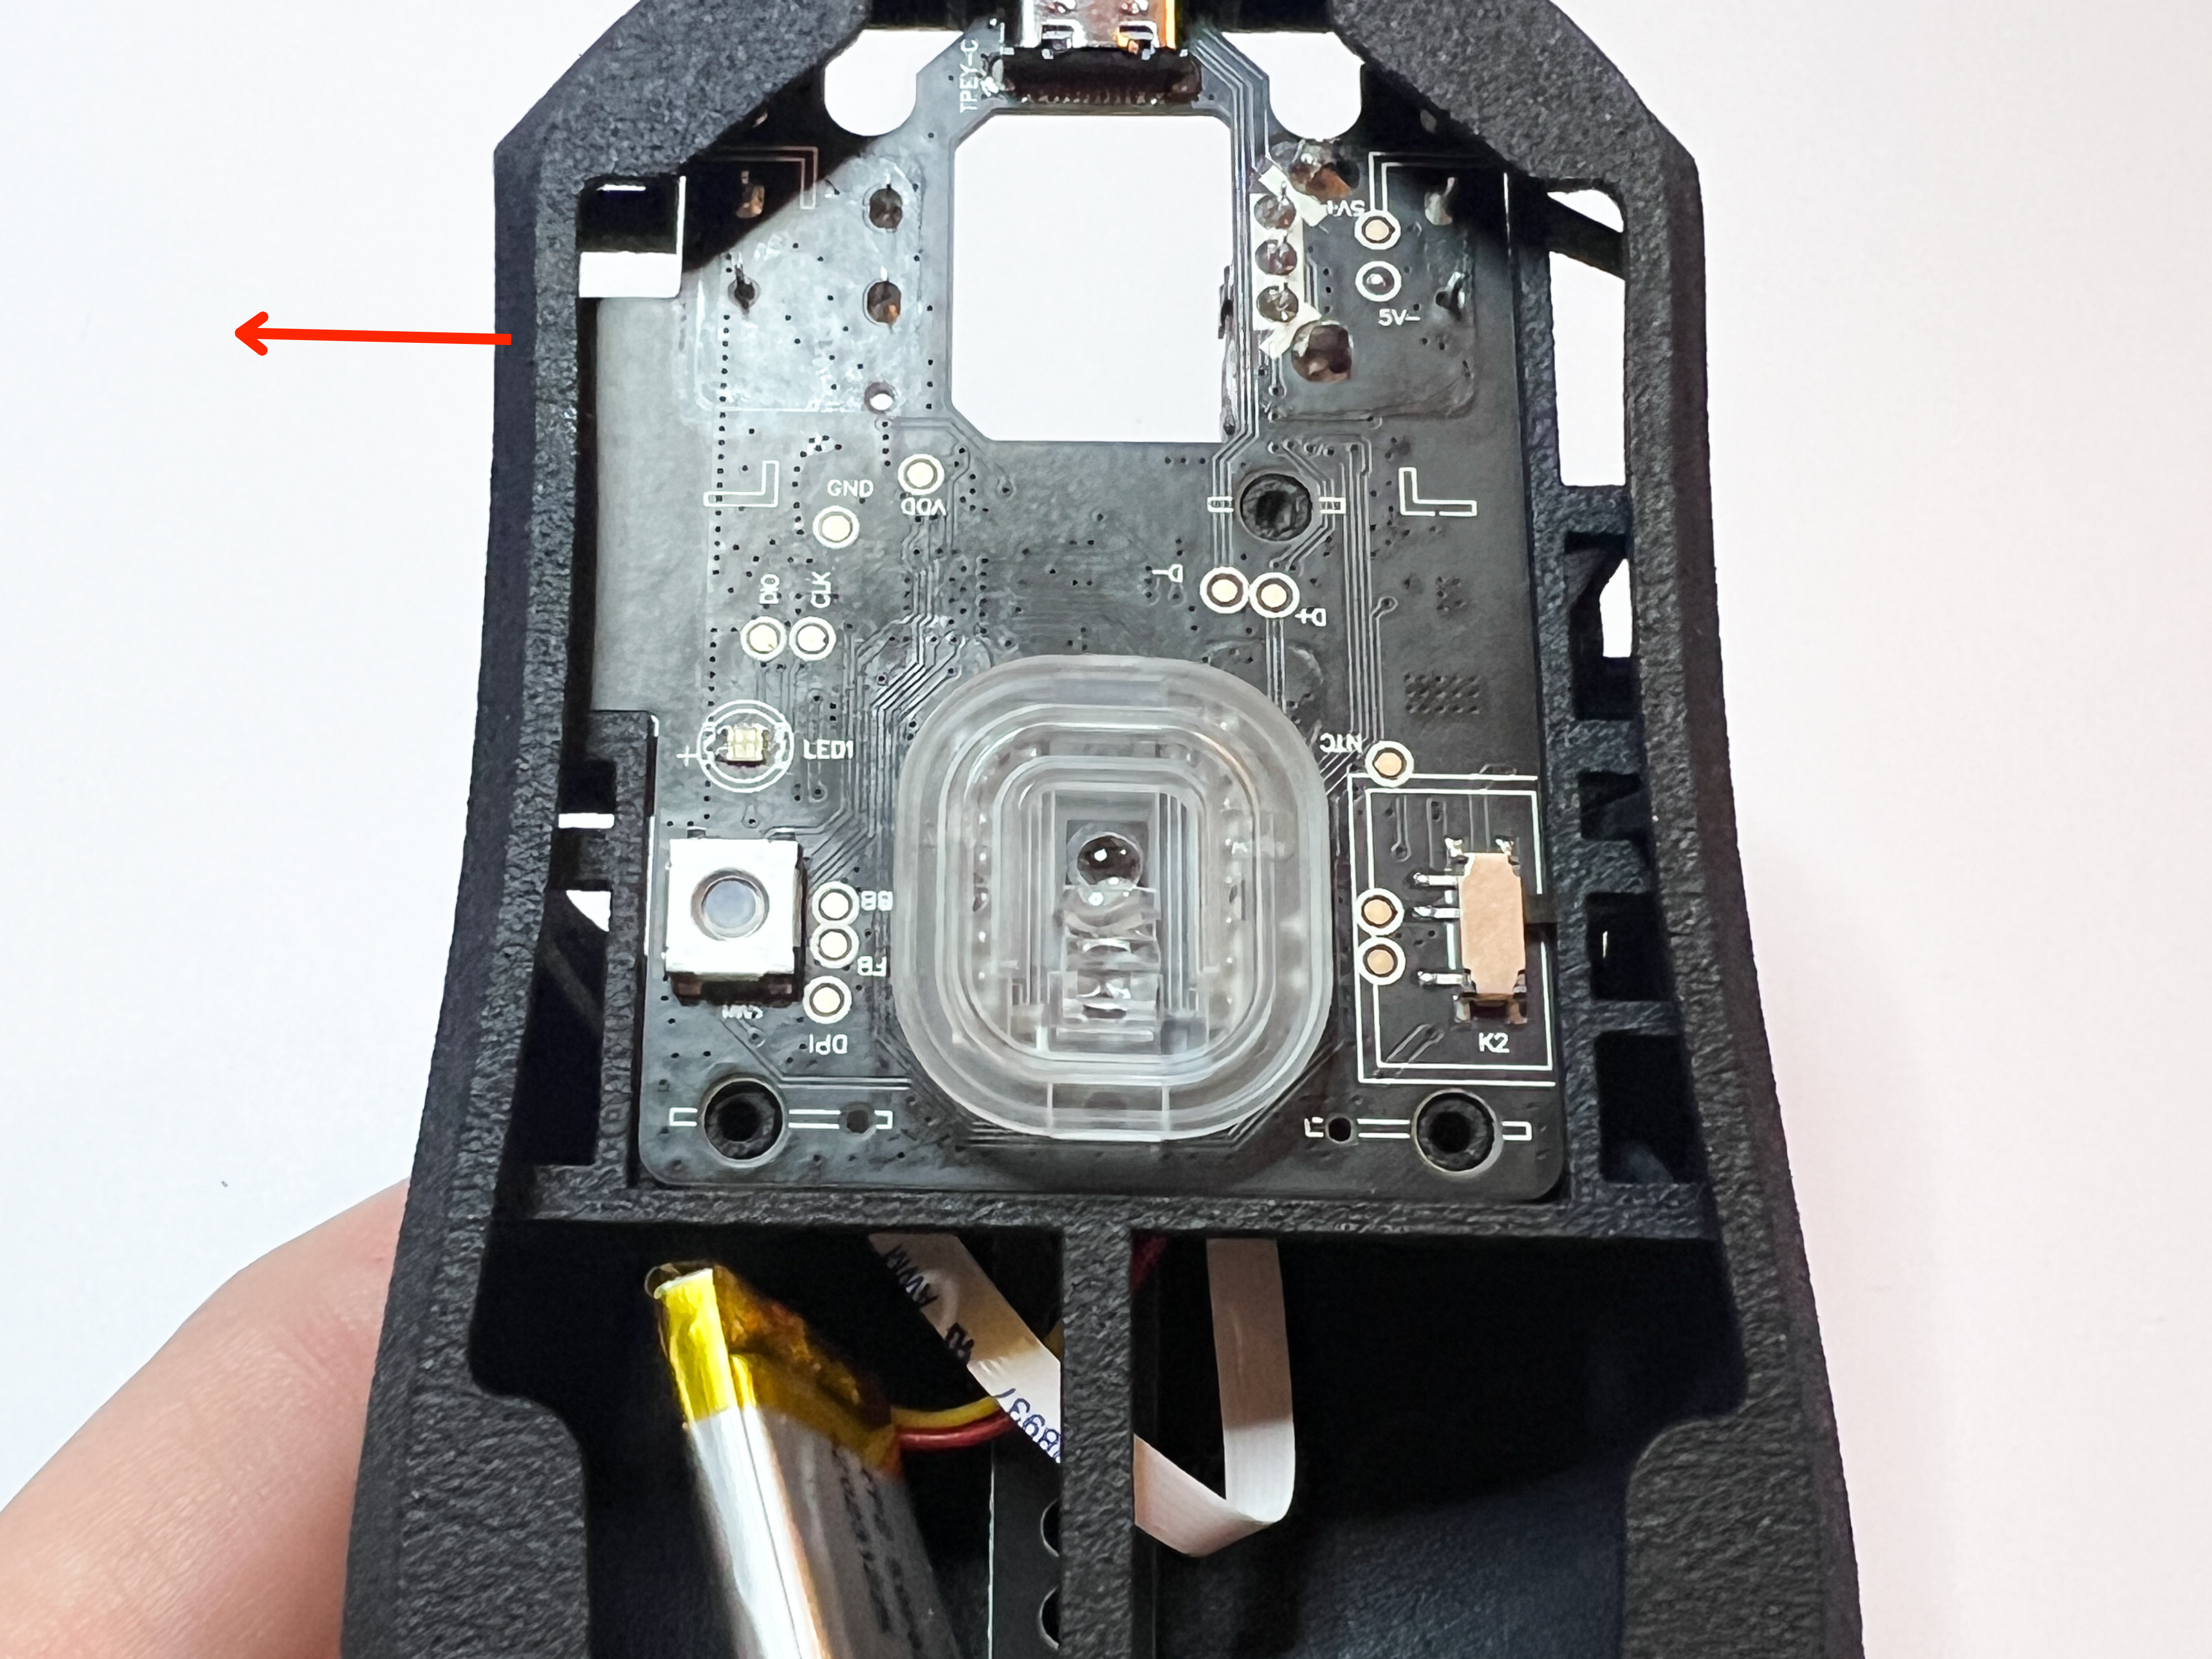
Installation of the PCB
It might be necessary to gently bend the shell a tiny bit to the left.
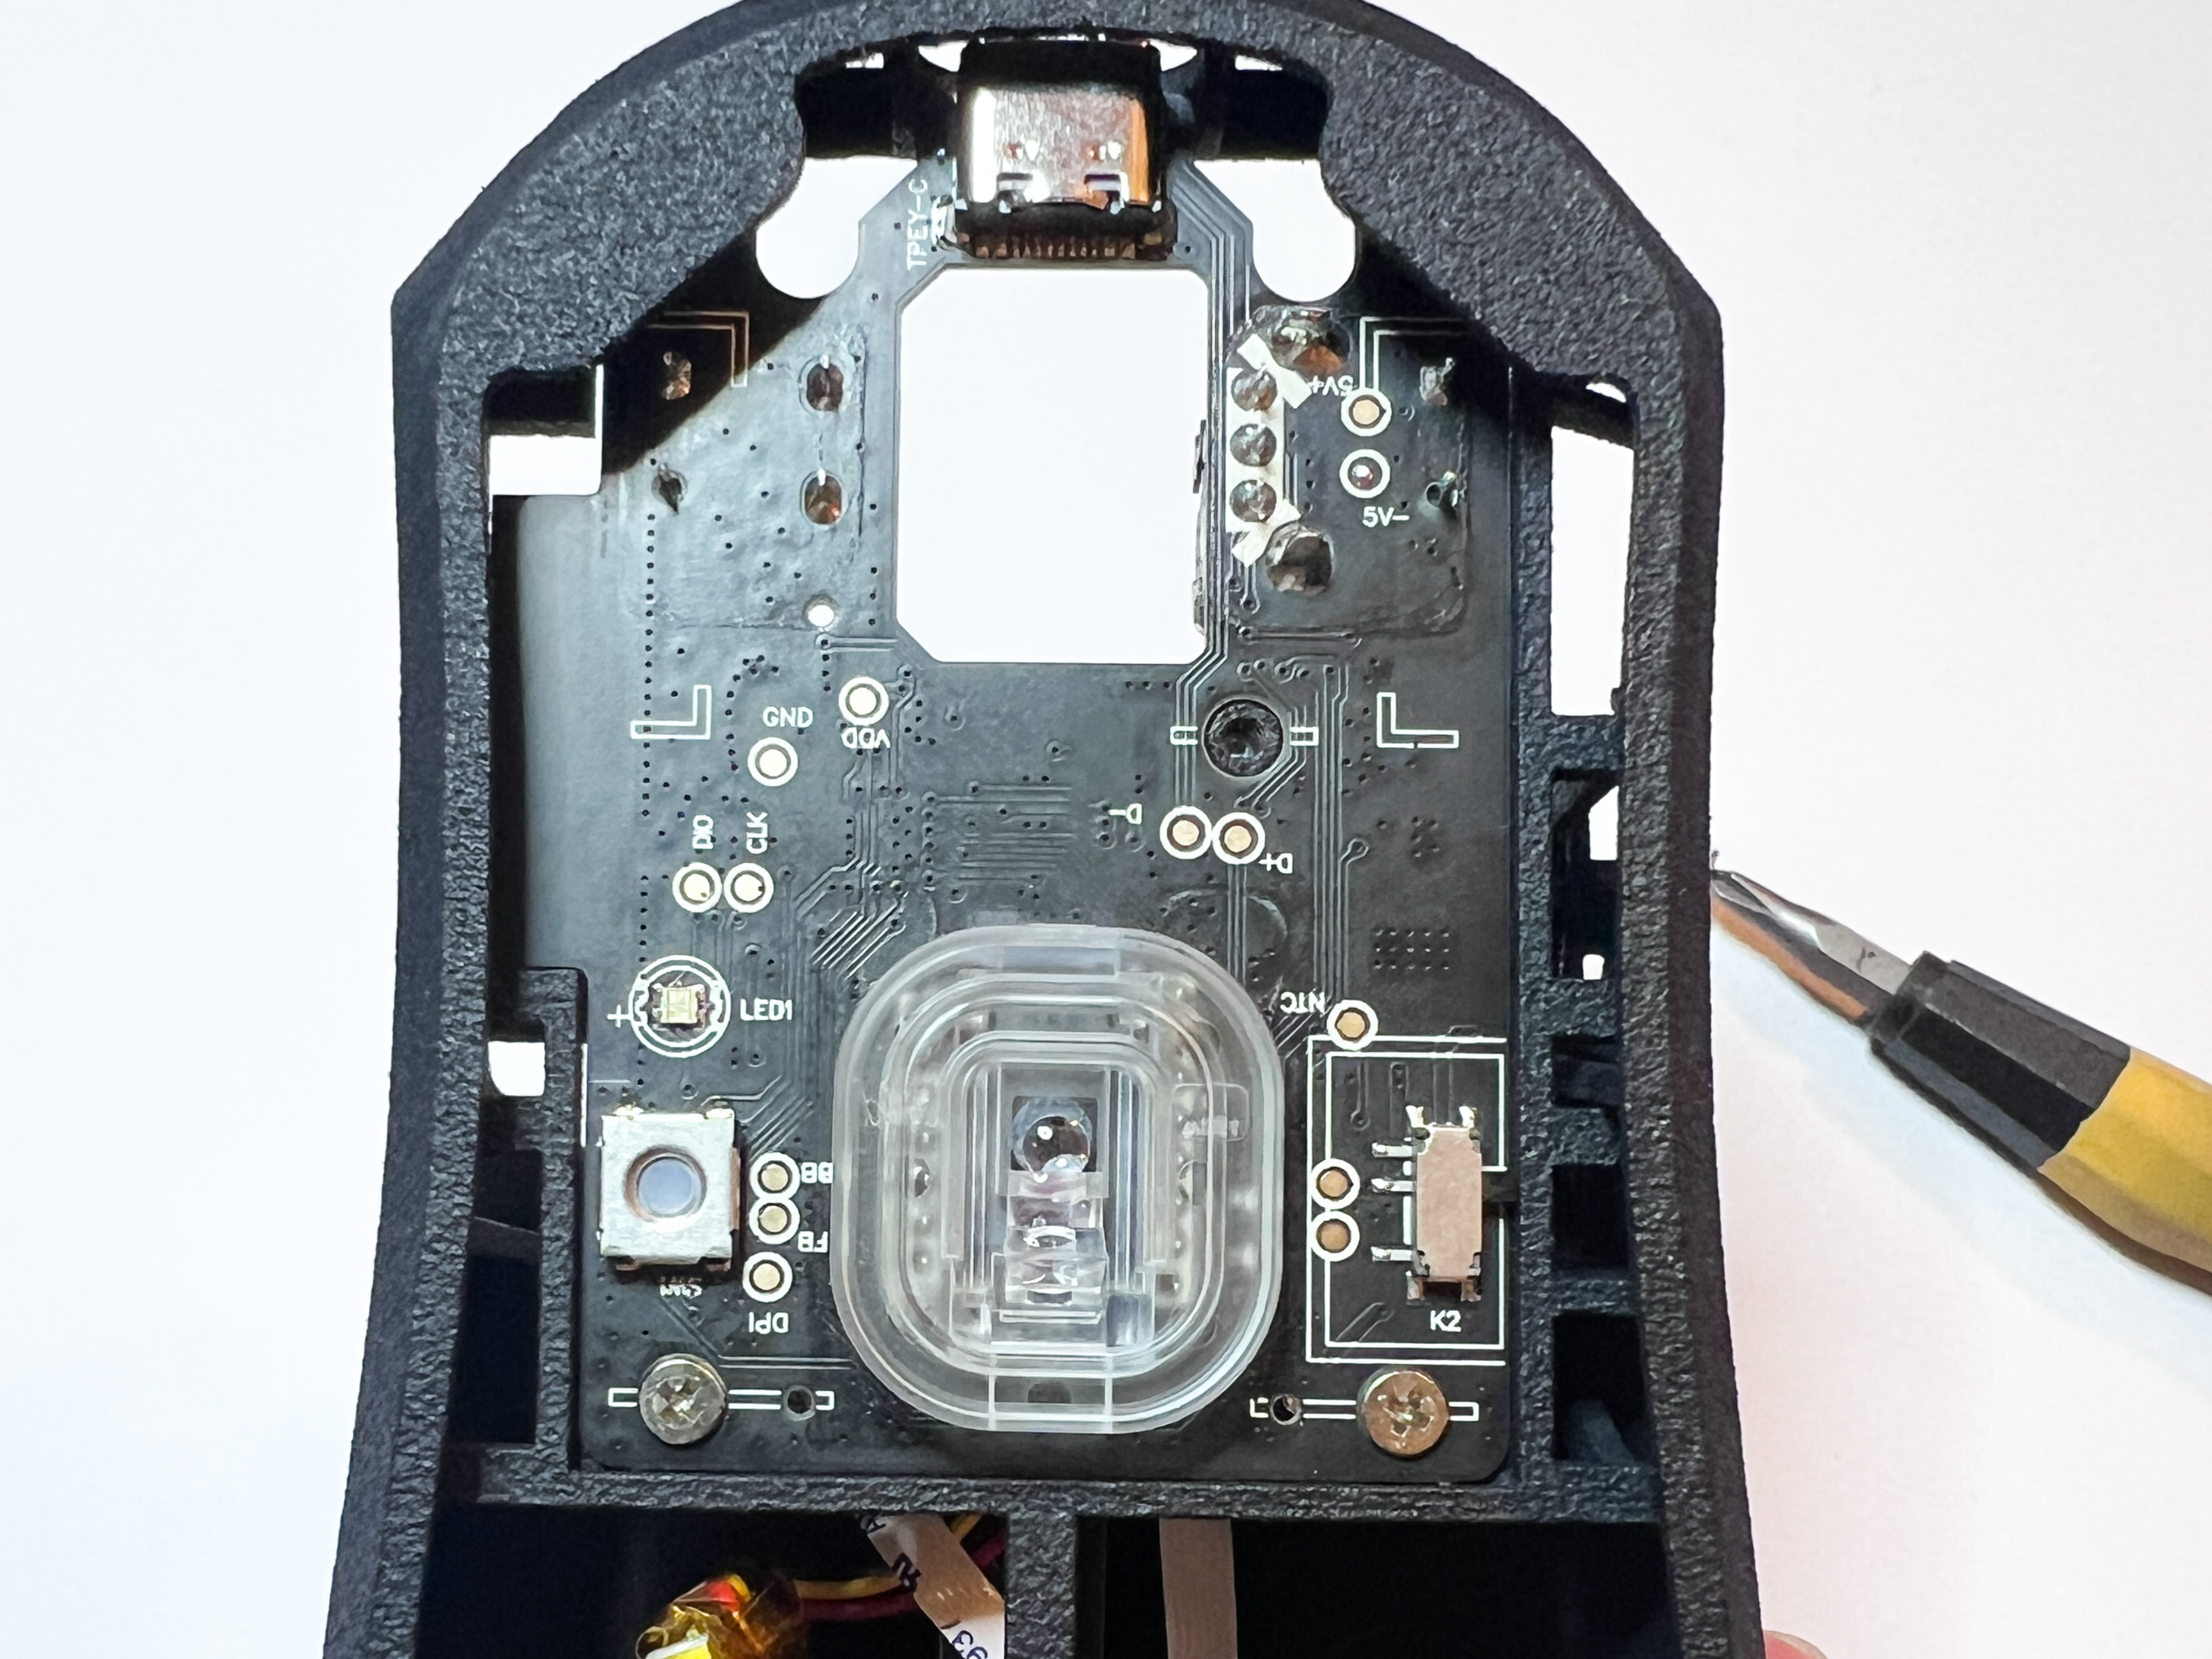
Installation of the PCB
Screw in the screws but leave out the one on the top for now.
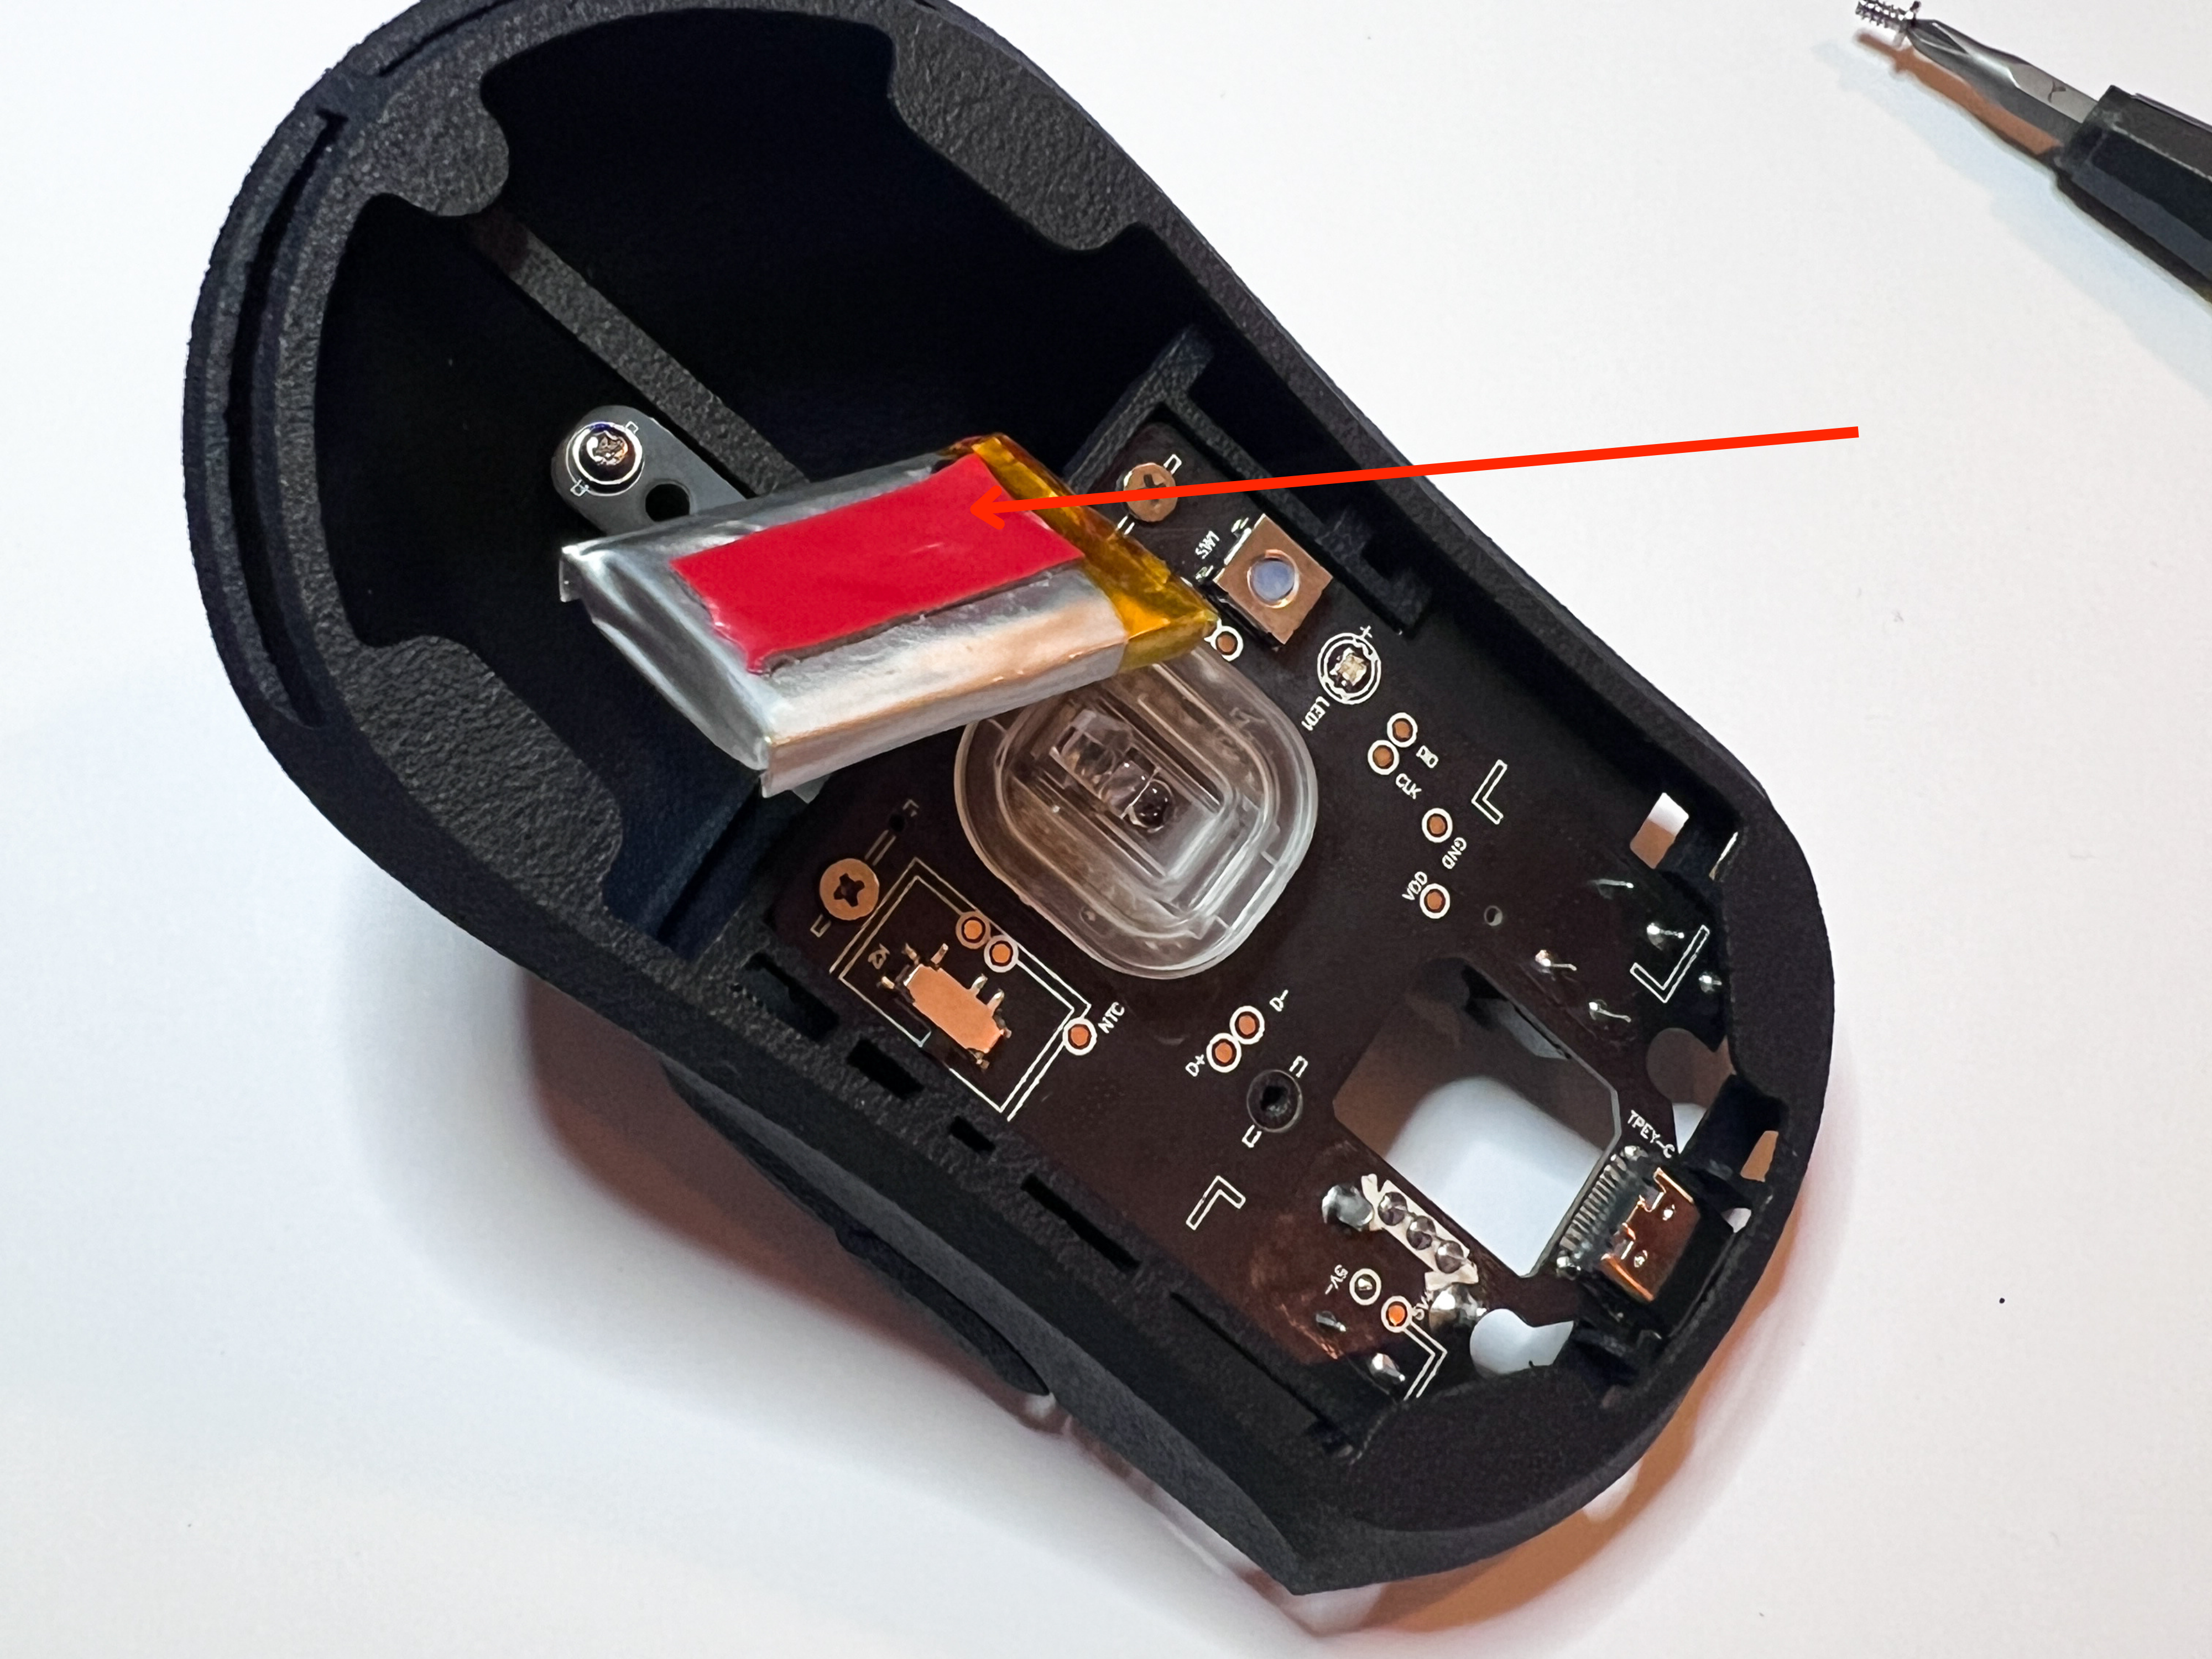
Adding the battery
Remove the film.
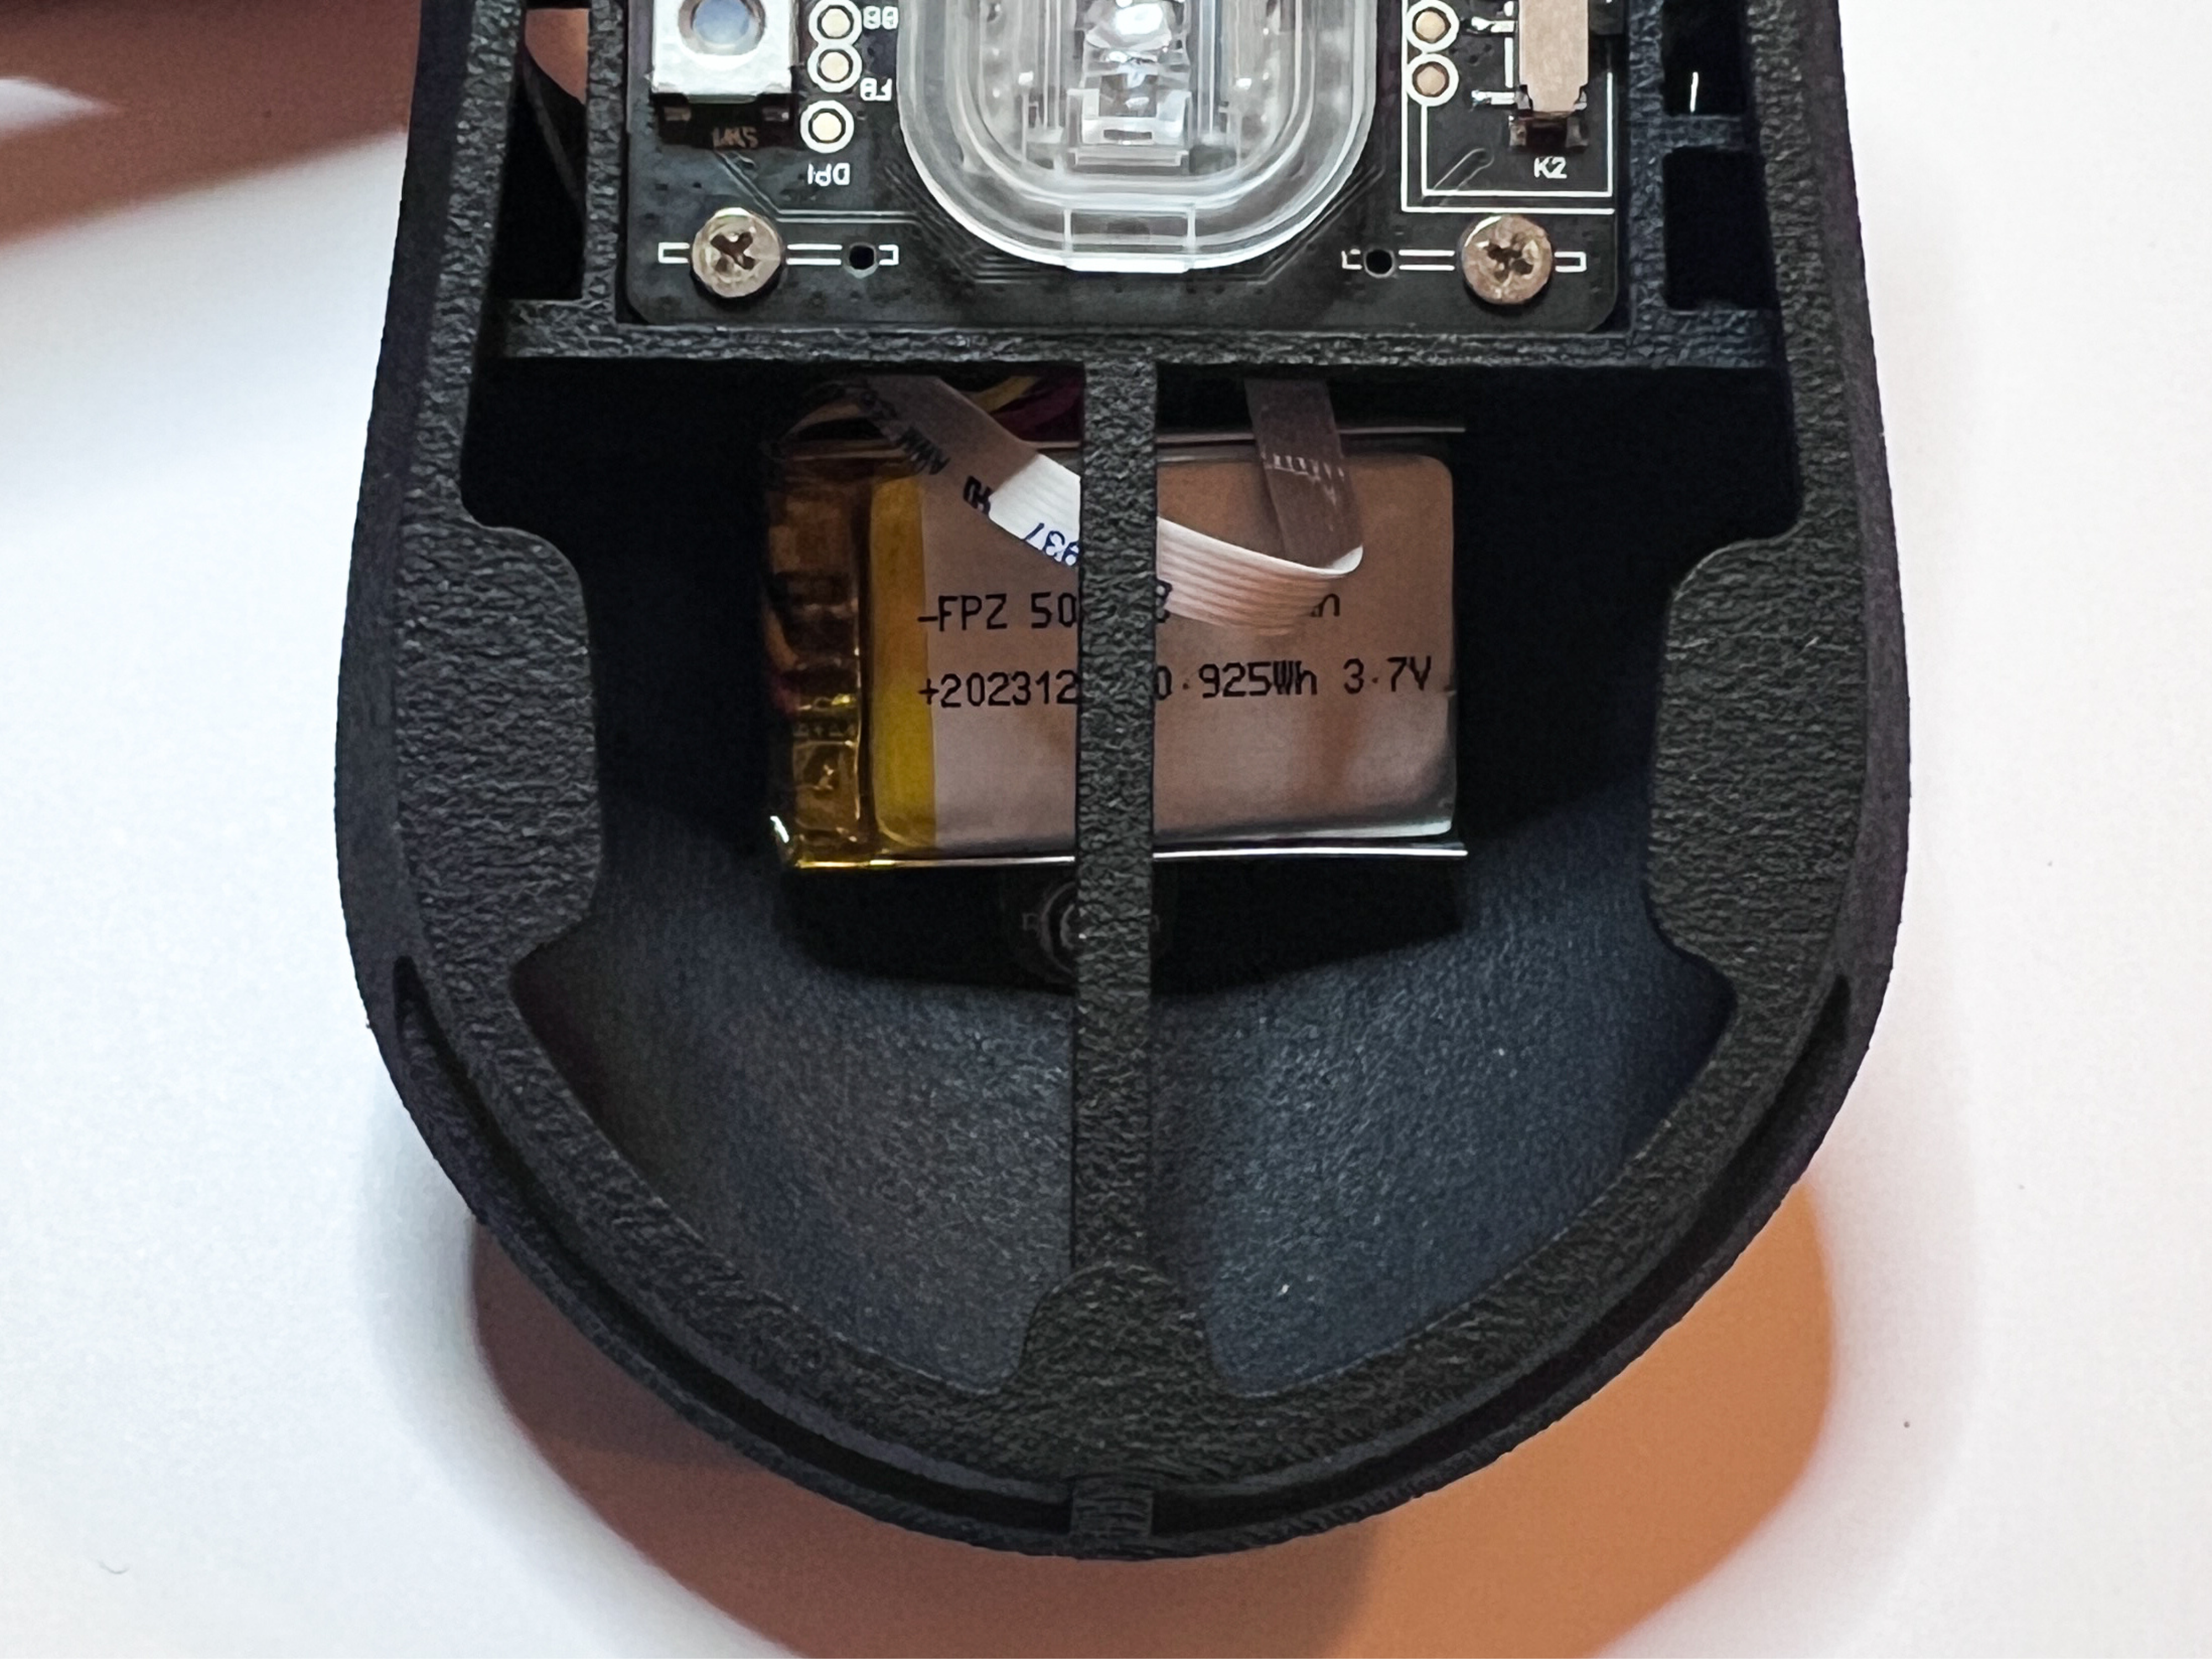
Adding the battery
Press the battery onto the side button PCB. If it doesn't stick well, we recommend either adding additional double sided tape or taking the PCB out again and placing the battery on the PCB sensor.
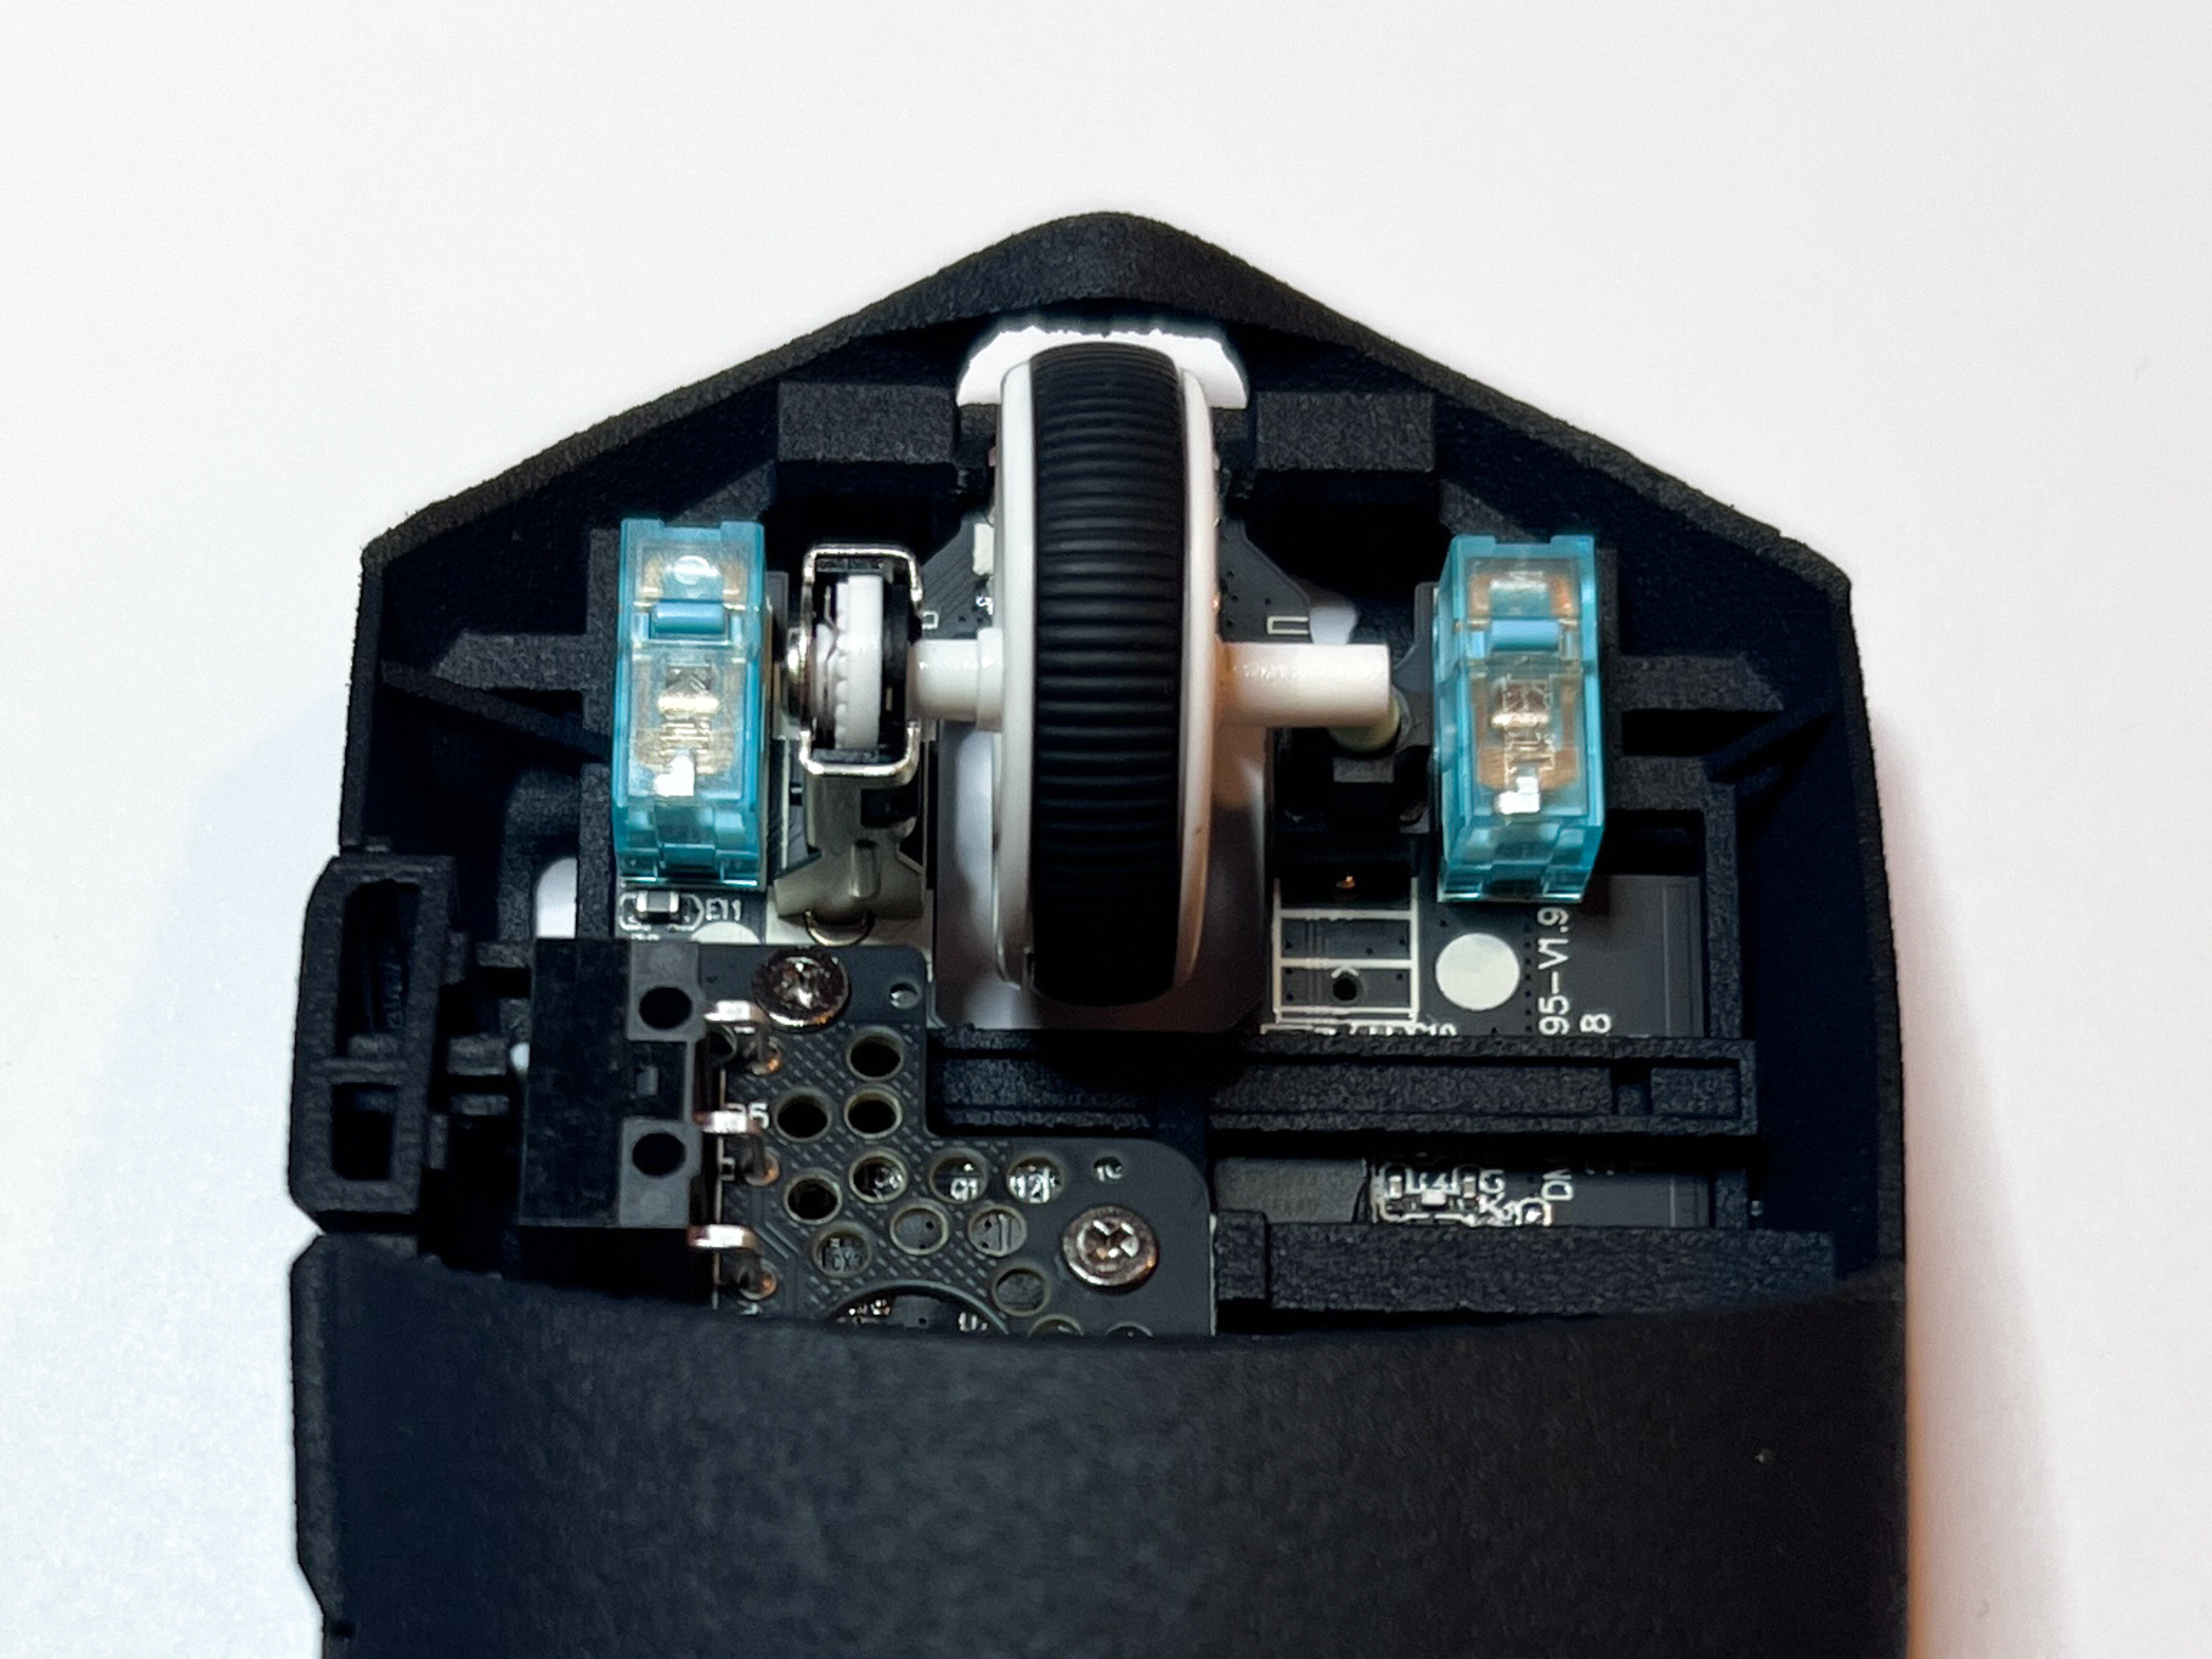
Add the mouse wheel
Press the pin of the wheel gently into the encoder

Adding the mouse wheel holder
Add the mouse wheel holder to the PCB. It should click over the PCB in the front.
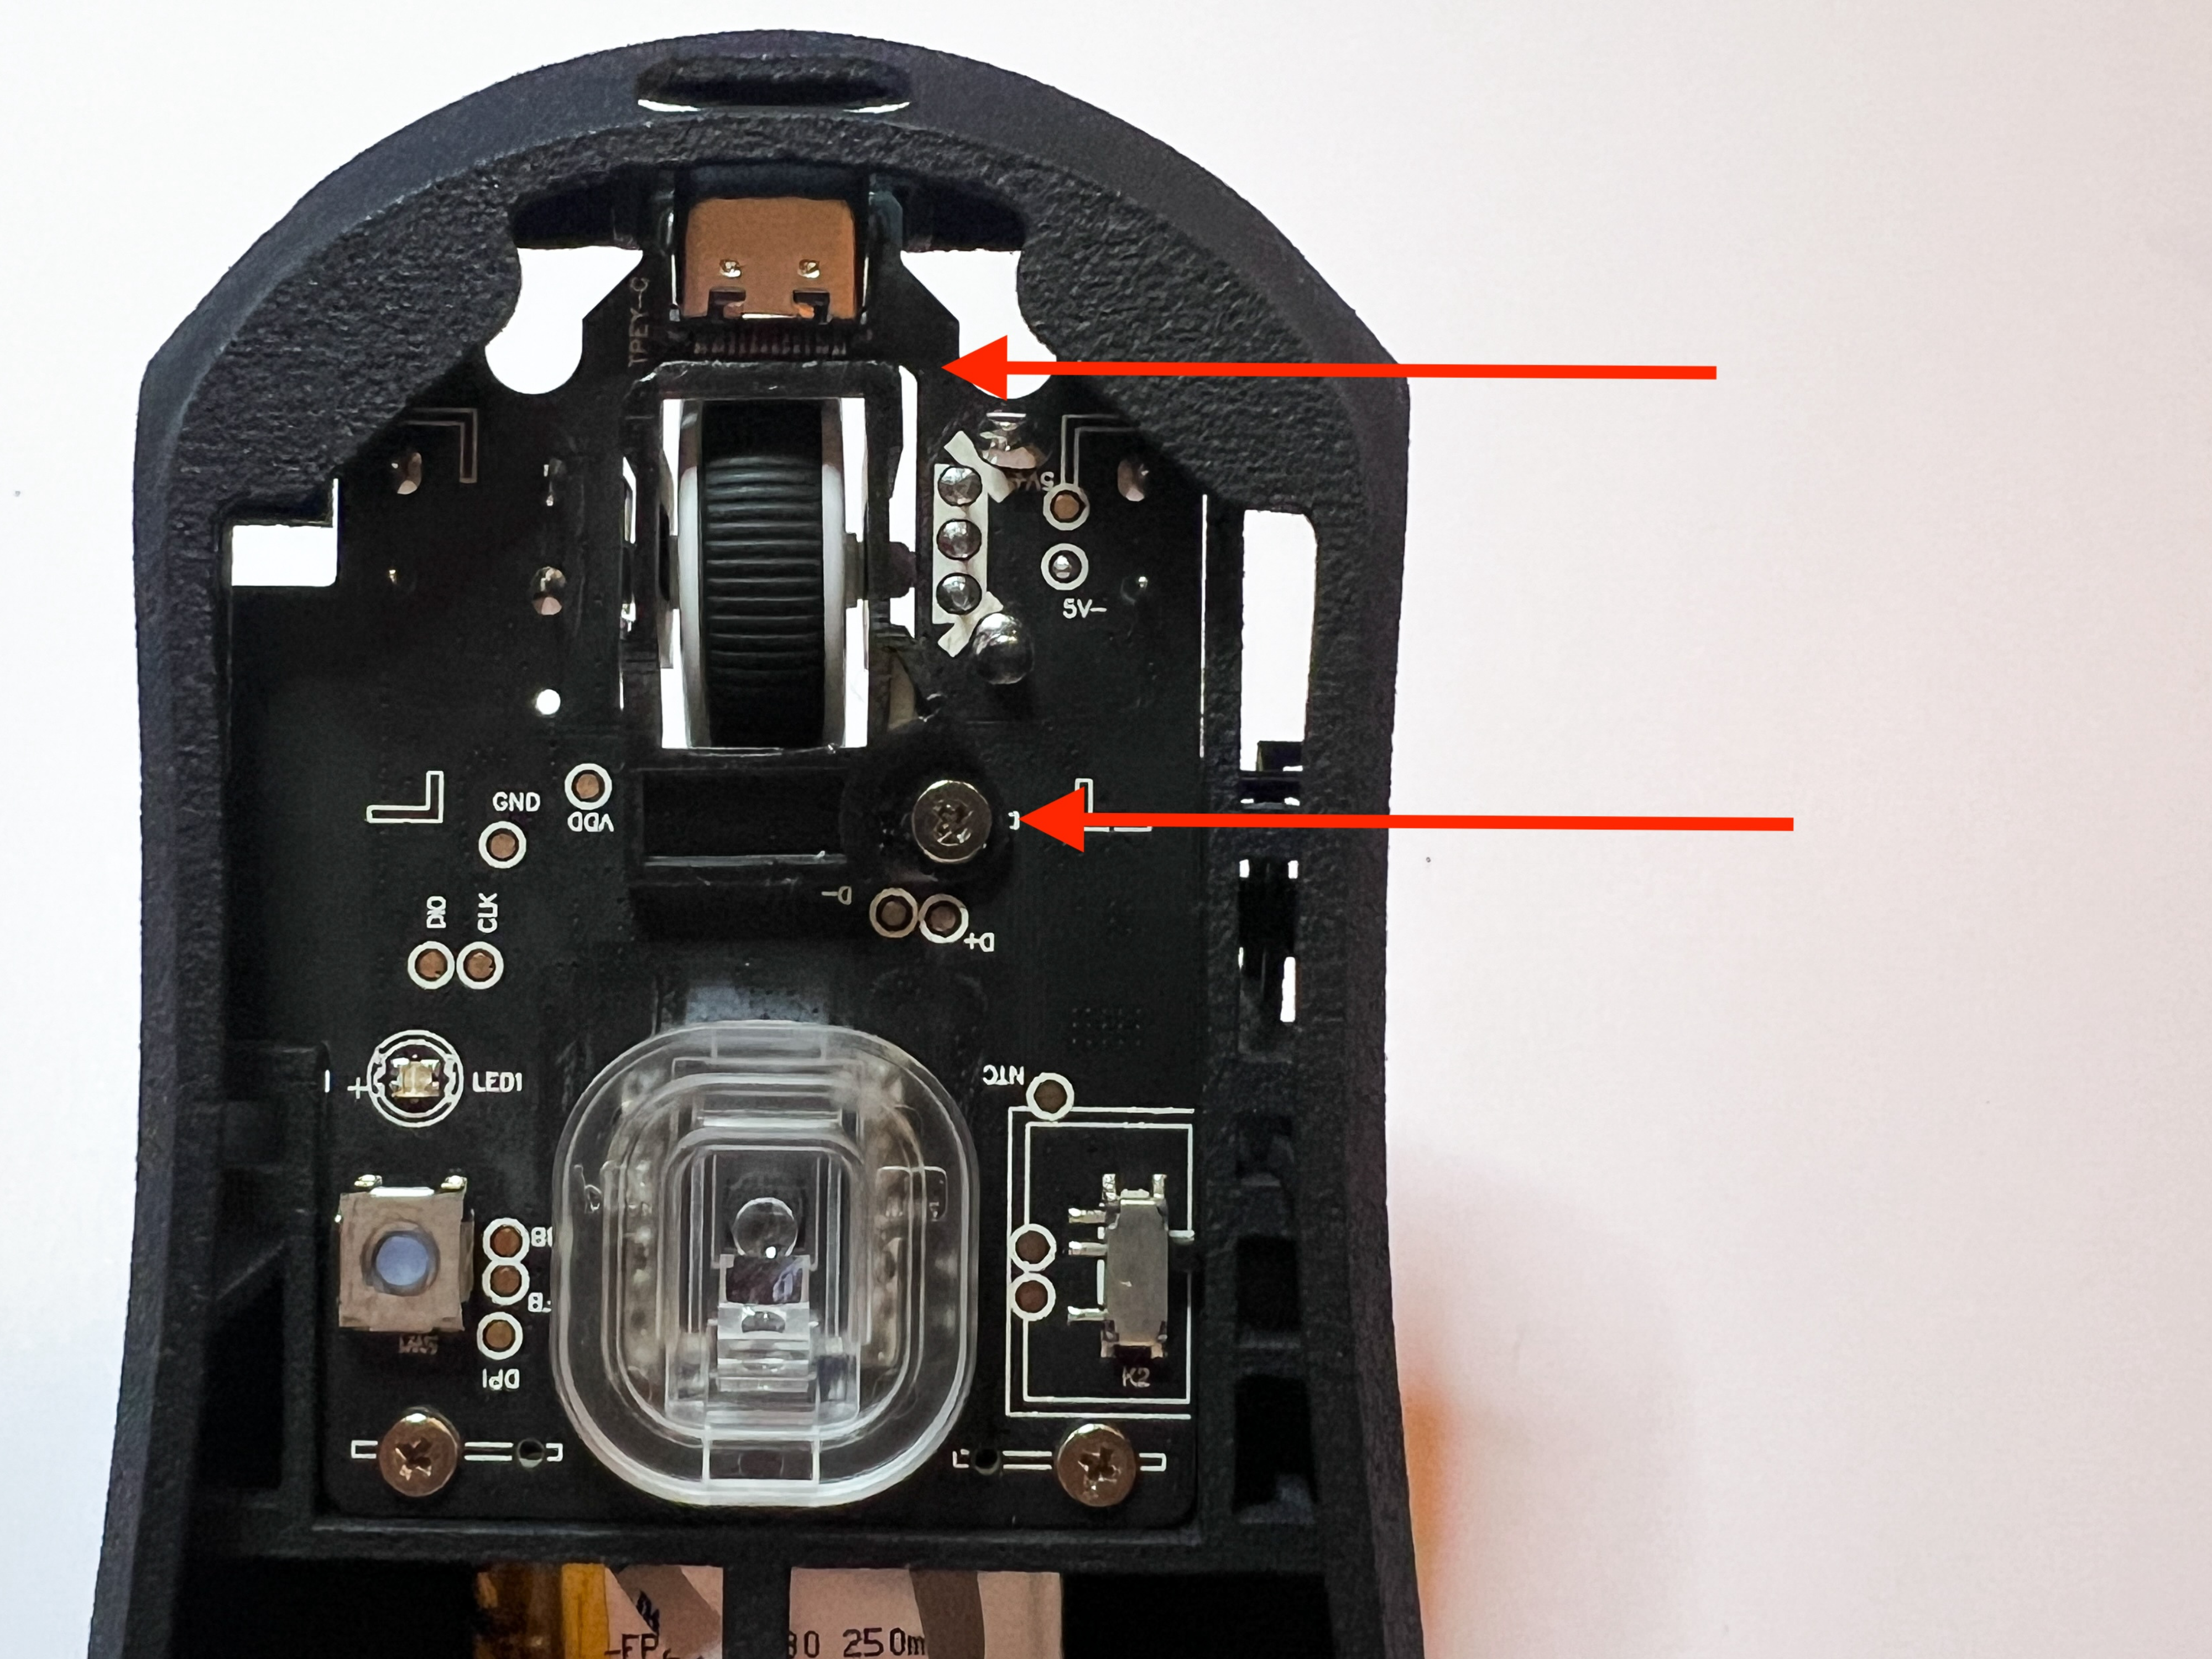
Adding the mouse wheel holder
Check if everything is aligned and screw in the screw.
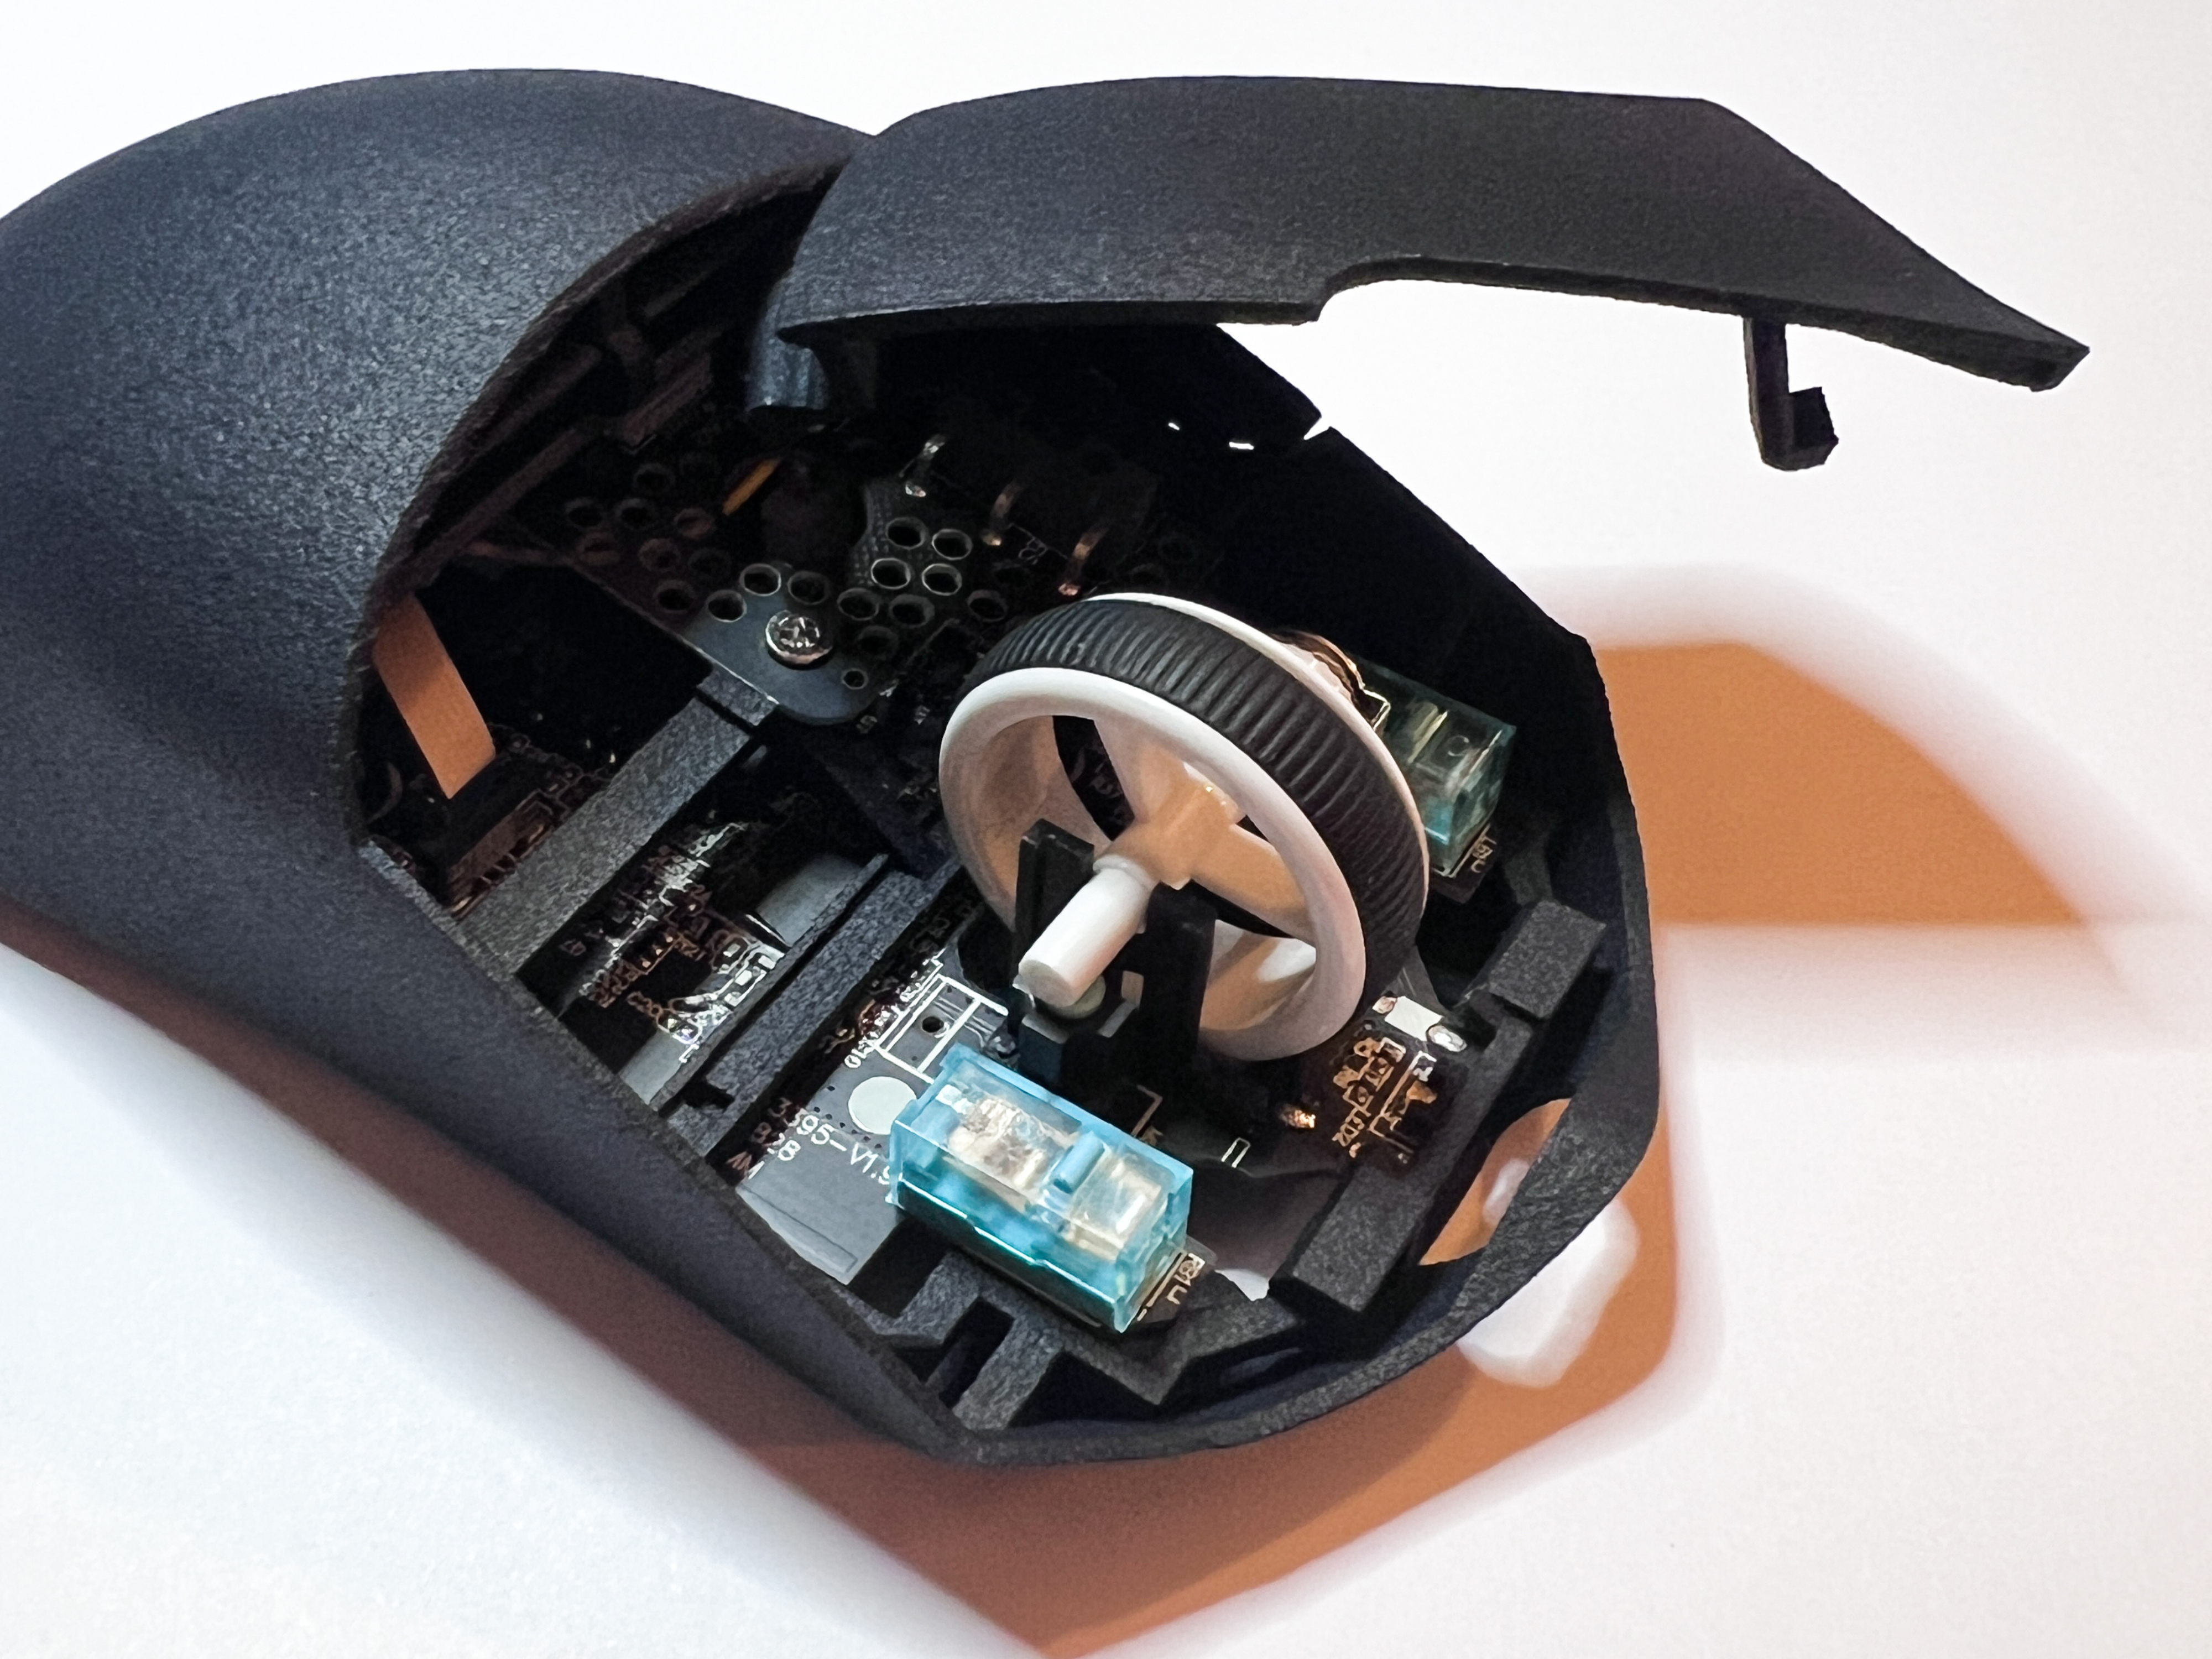
Add the mouse buttons
Slide the mouse button into the mouse button holder rather then simply pushing it in. This reduces the chance of any damage.
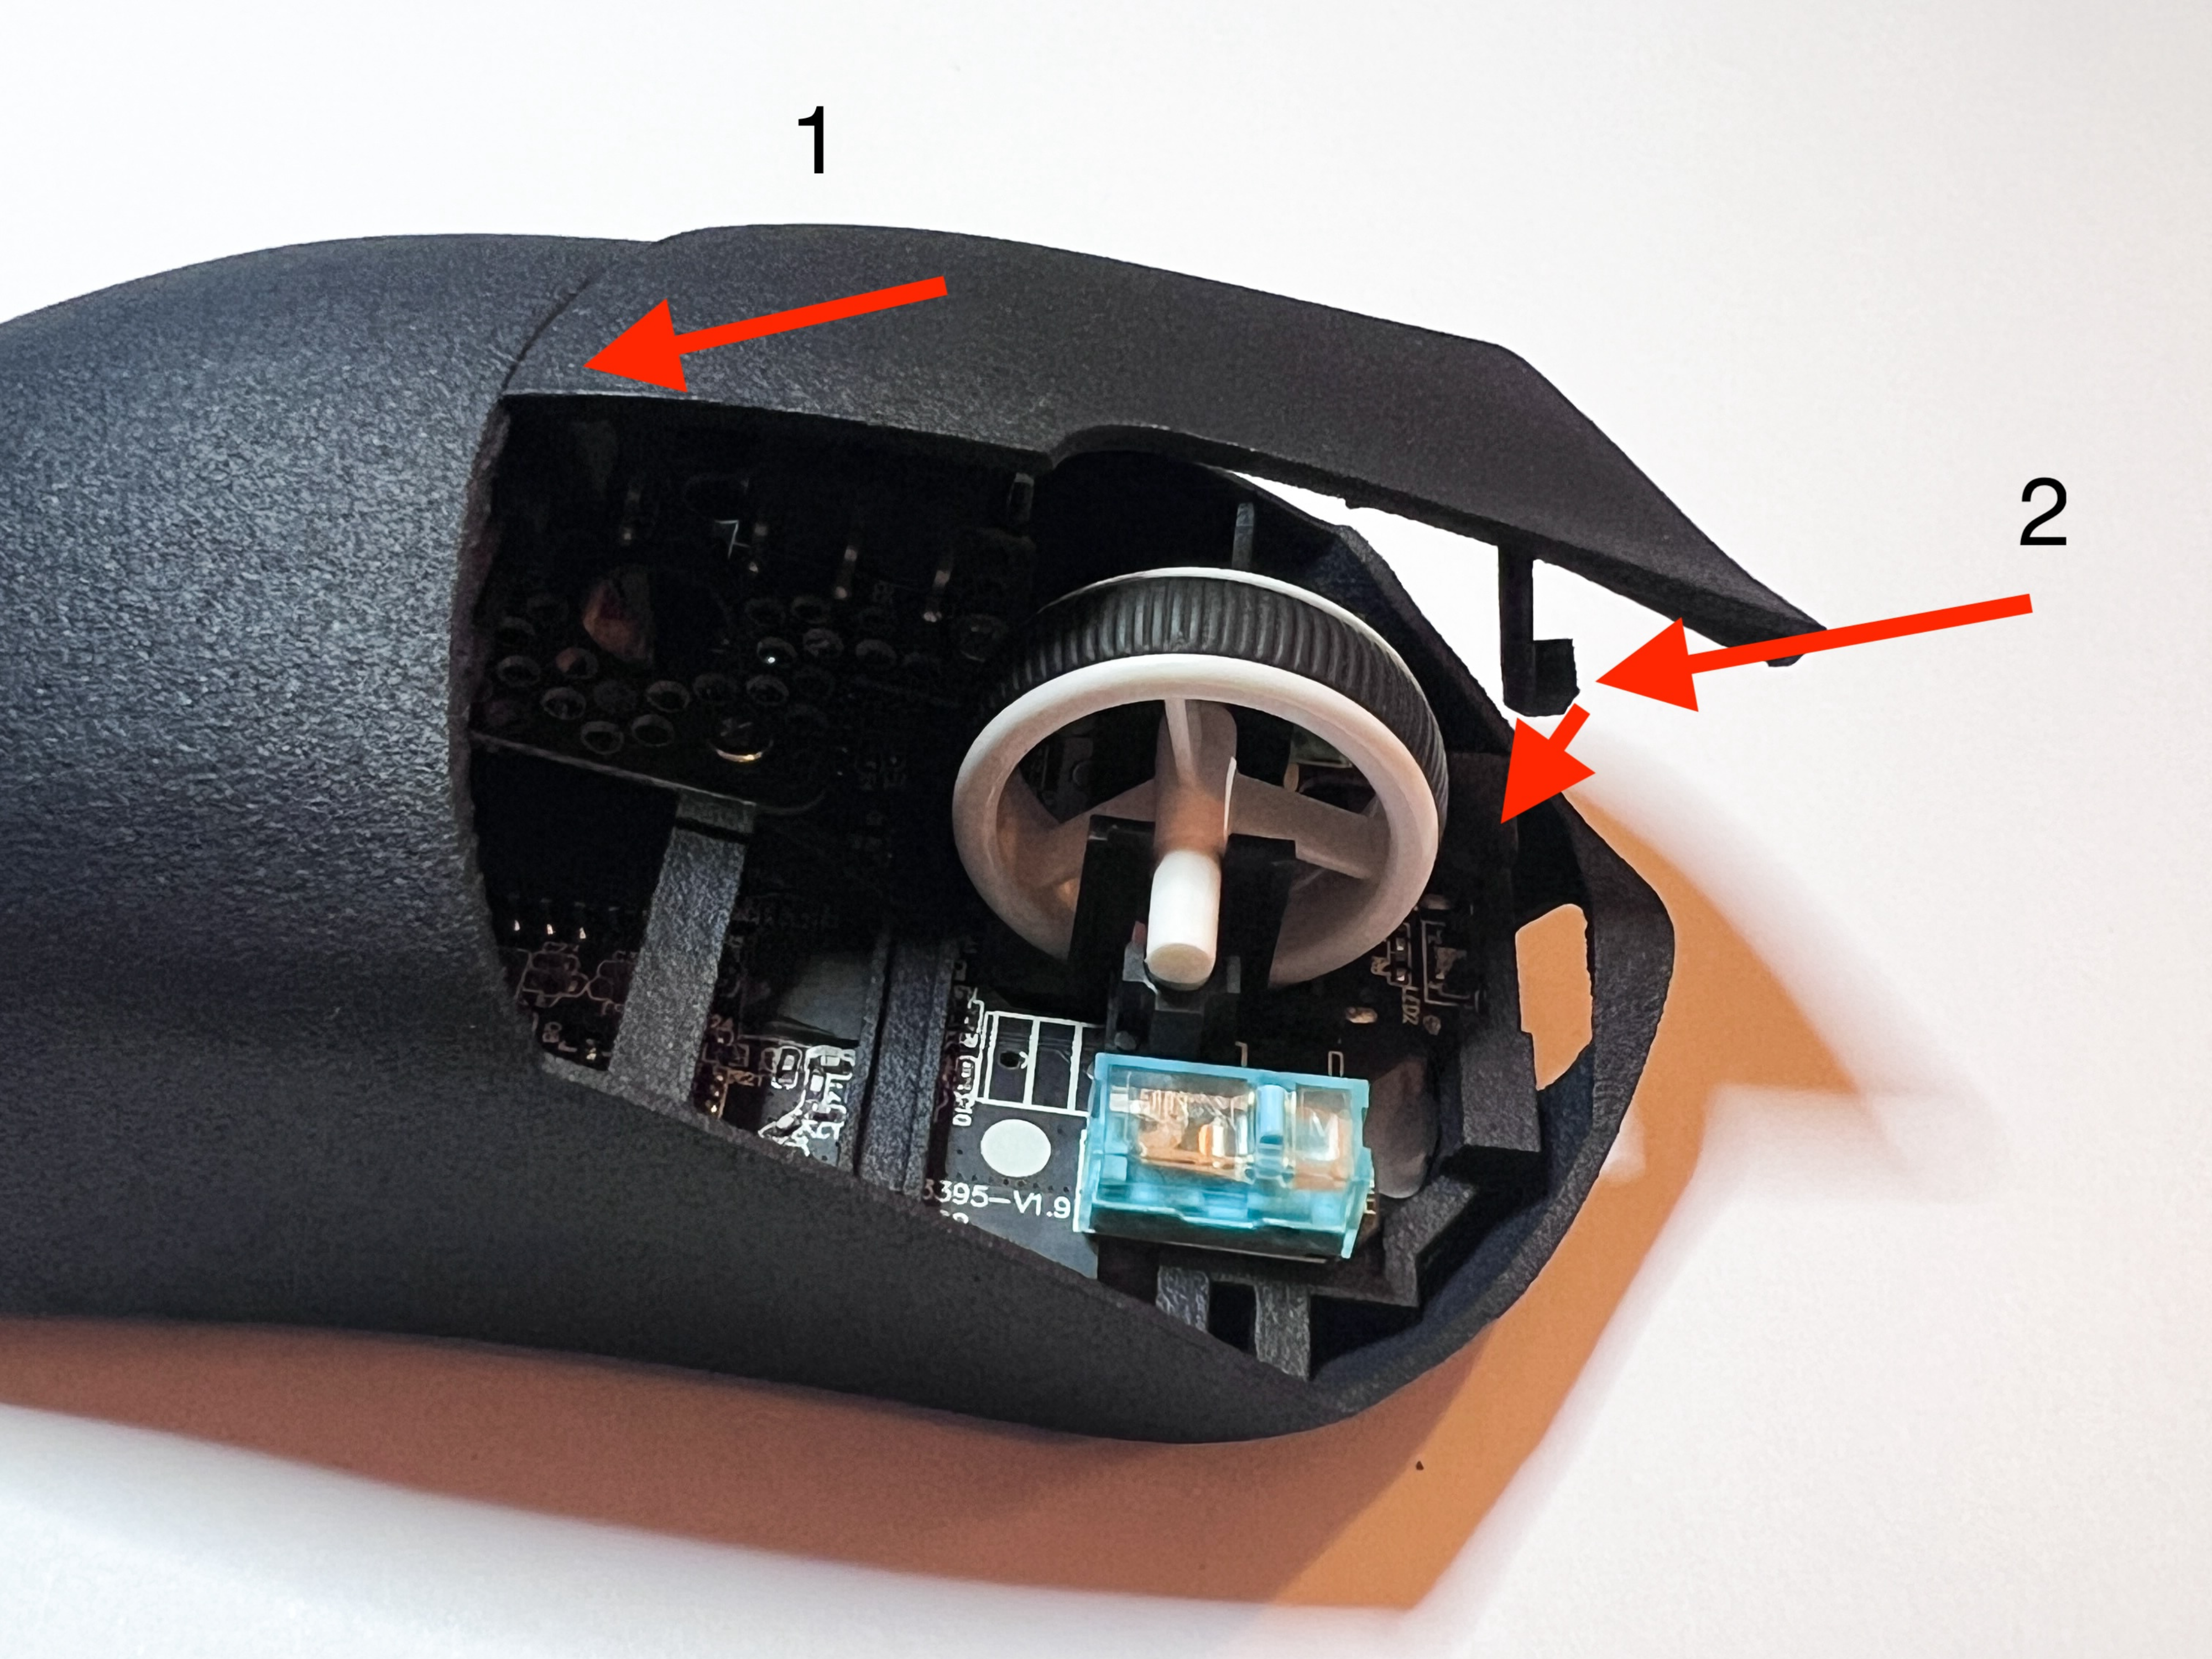
Add the mouse buttons
Move the button to the center. It should be clicked in. Dont worry you can adjust the button later to fit perfectly.
Guide the button to the right, the top holder of the calibration system needs to get past the bottom holder [small arrow].
If the button is installed correctly the plunger should be aligned with the switch.
Repeat process with the other mouse button.
In case there is too much pre-travel, please contact support@pmm.gg for help.
The video at the end of the instructions helps with removing and inserting the mouse buttons
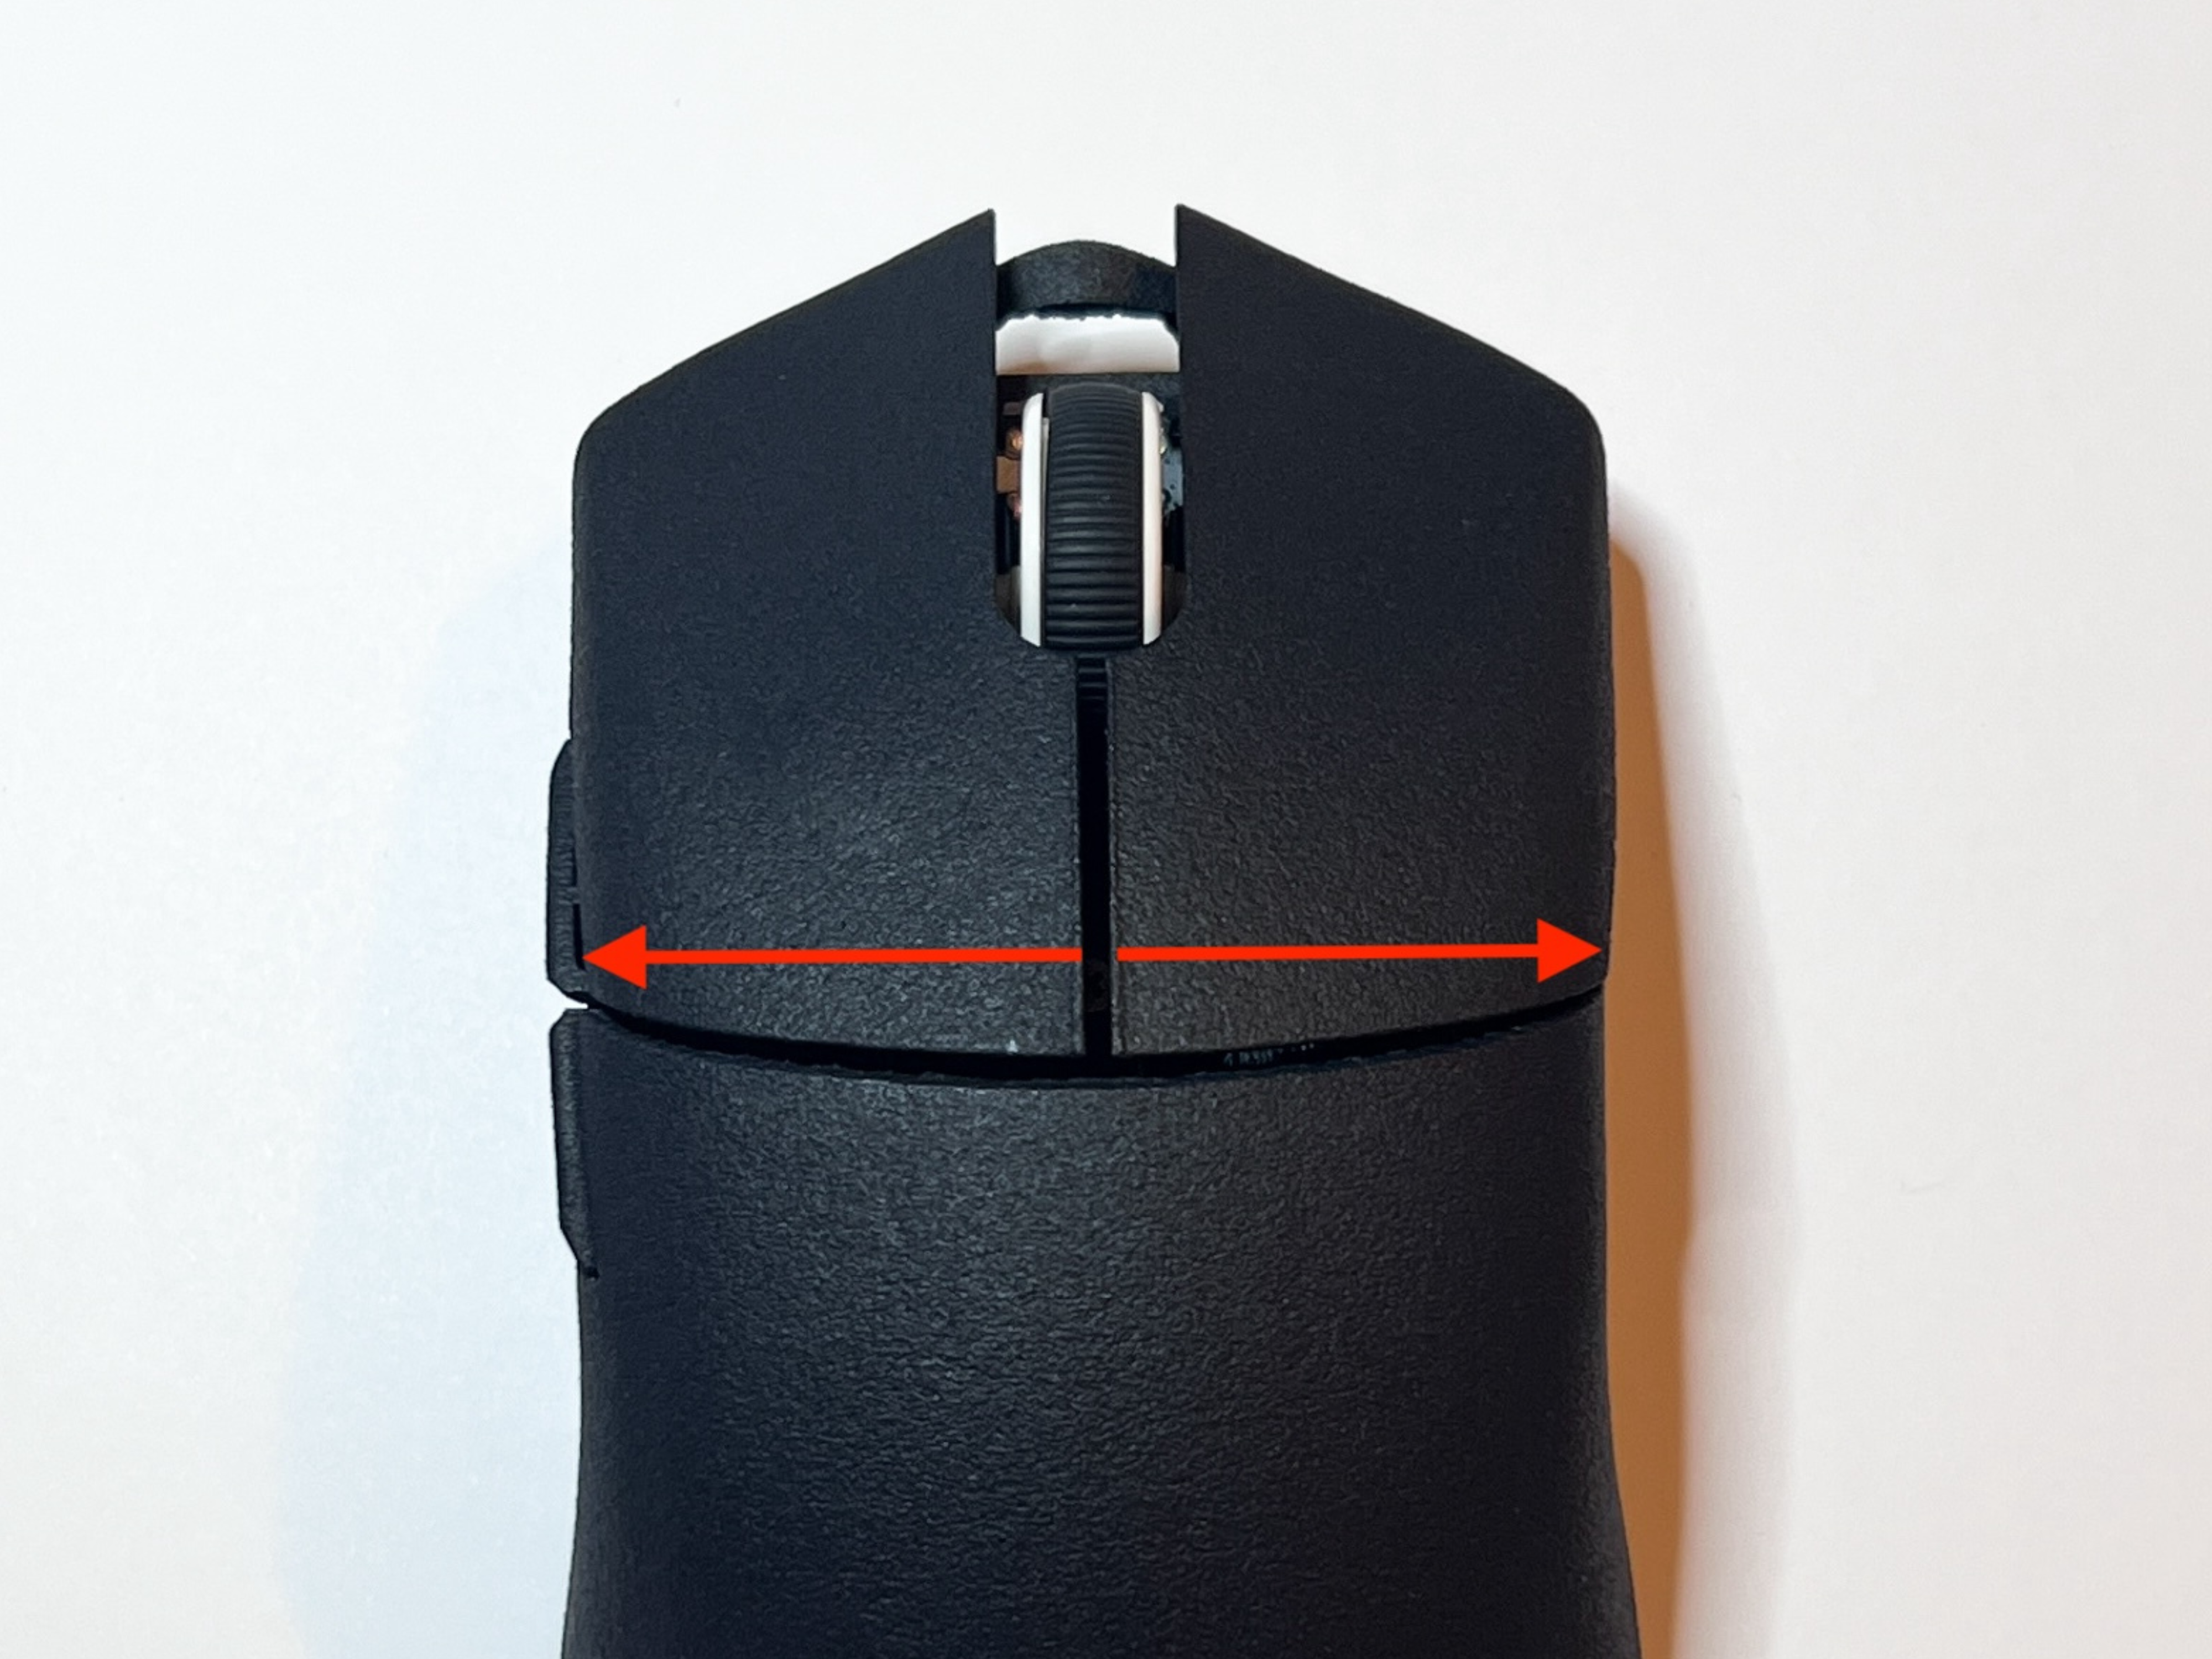
Final Mouse button check
Move the mouse buttons outside. Check the click.
If you want to take out the mouse buttons to adjust the Pre- or Post-travel, check out the video at the end of the instructions.
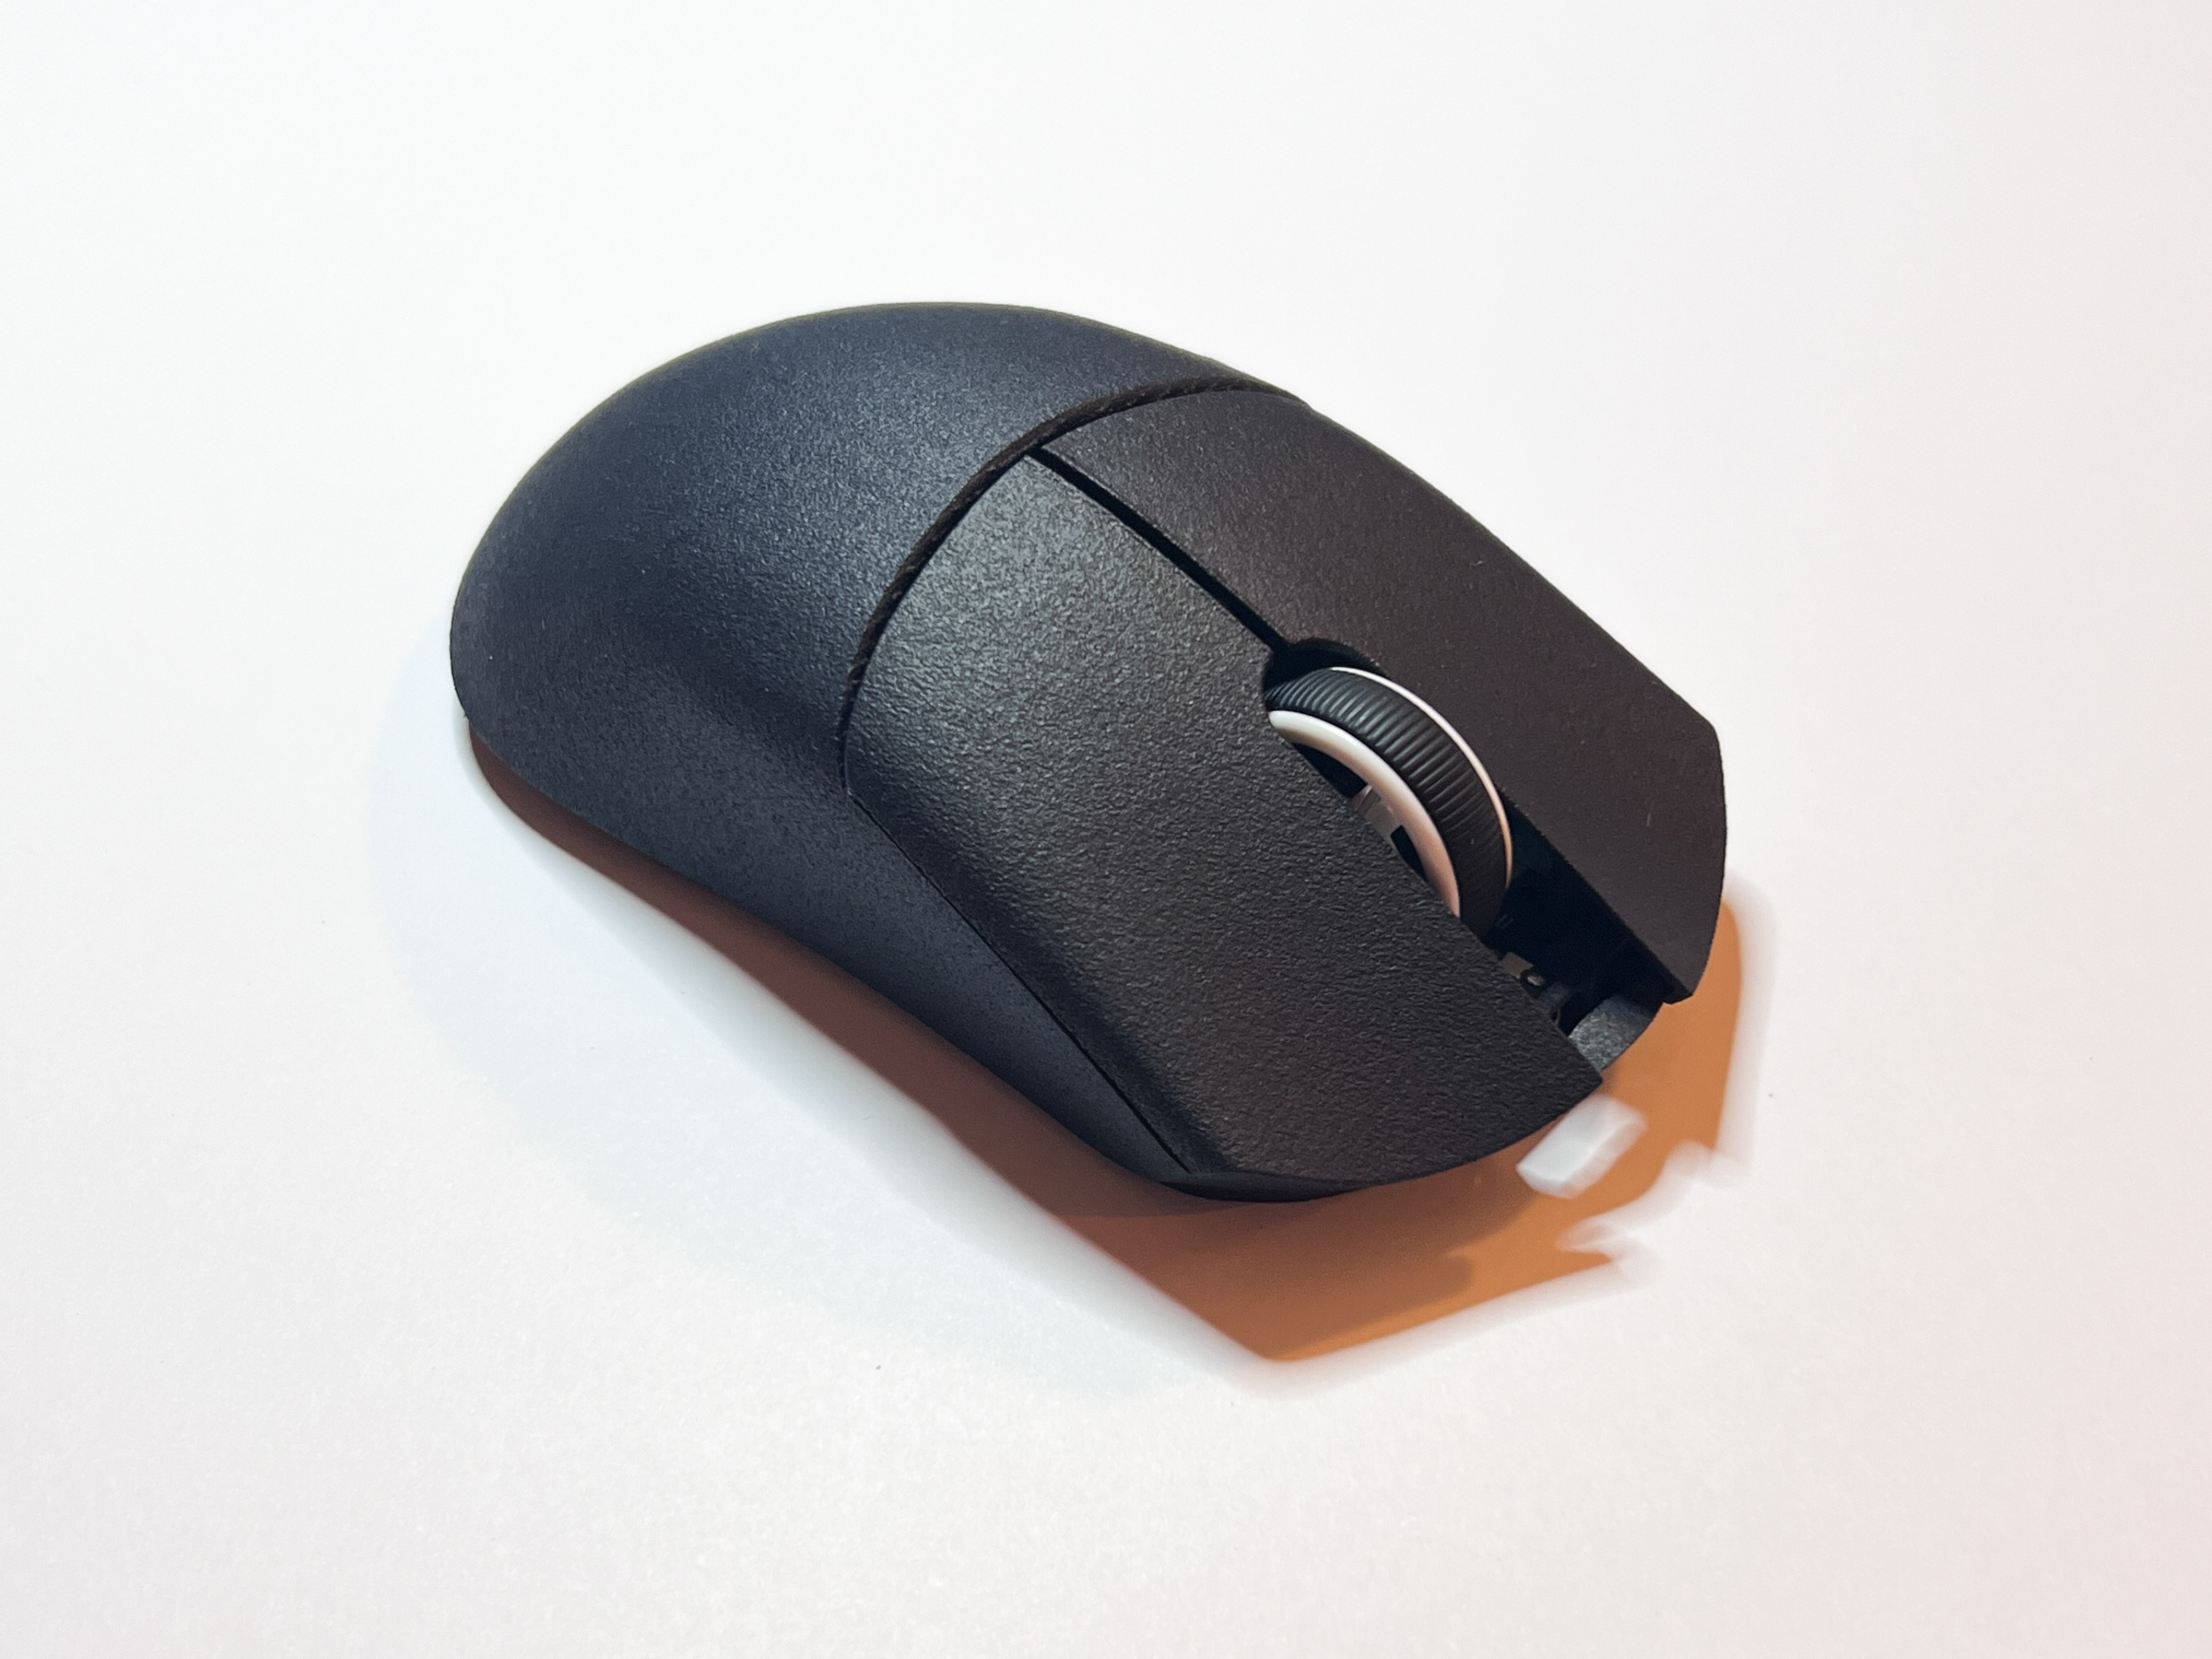
Final check
Check if the mouse wobbles when placed on a flat surface. Slight bending of the mouse fixes that. Don't worry, he material won't break that easily.
You can install VGN HUB to change the DPI etc
https://vgnlab.com/pages/vgn-hub
Add either G305 shaped or dot skates.
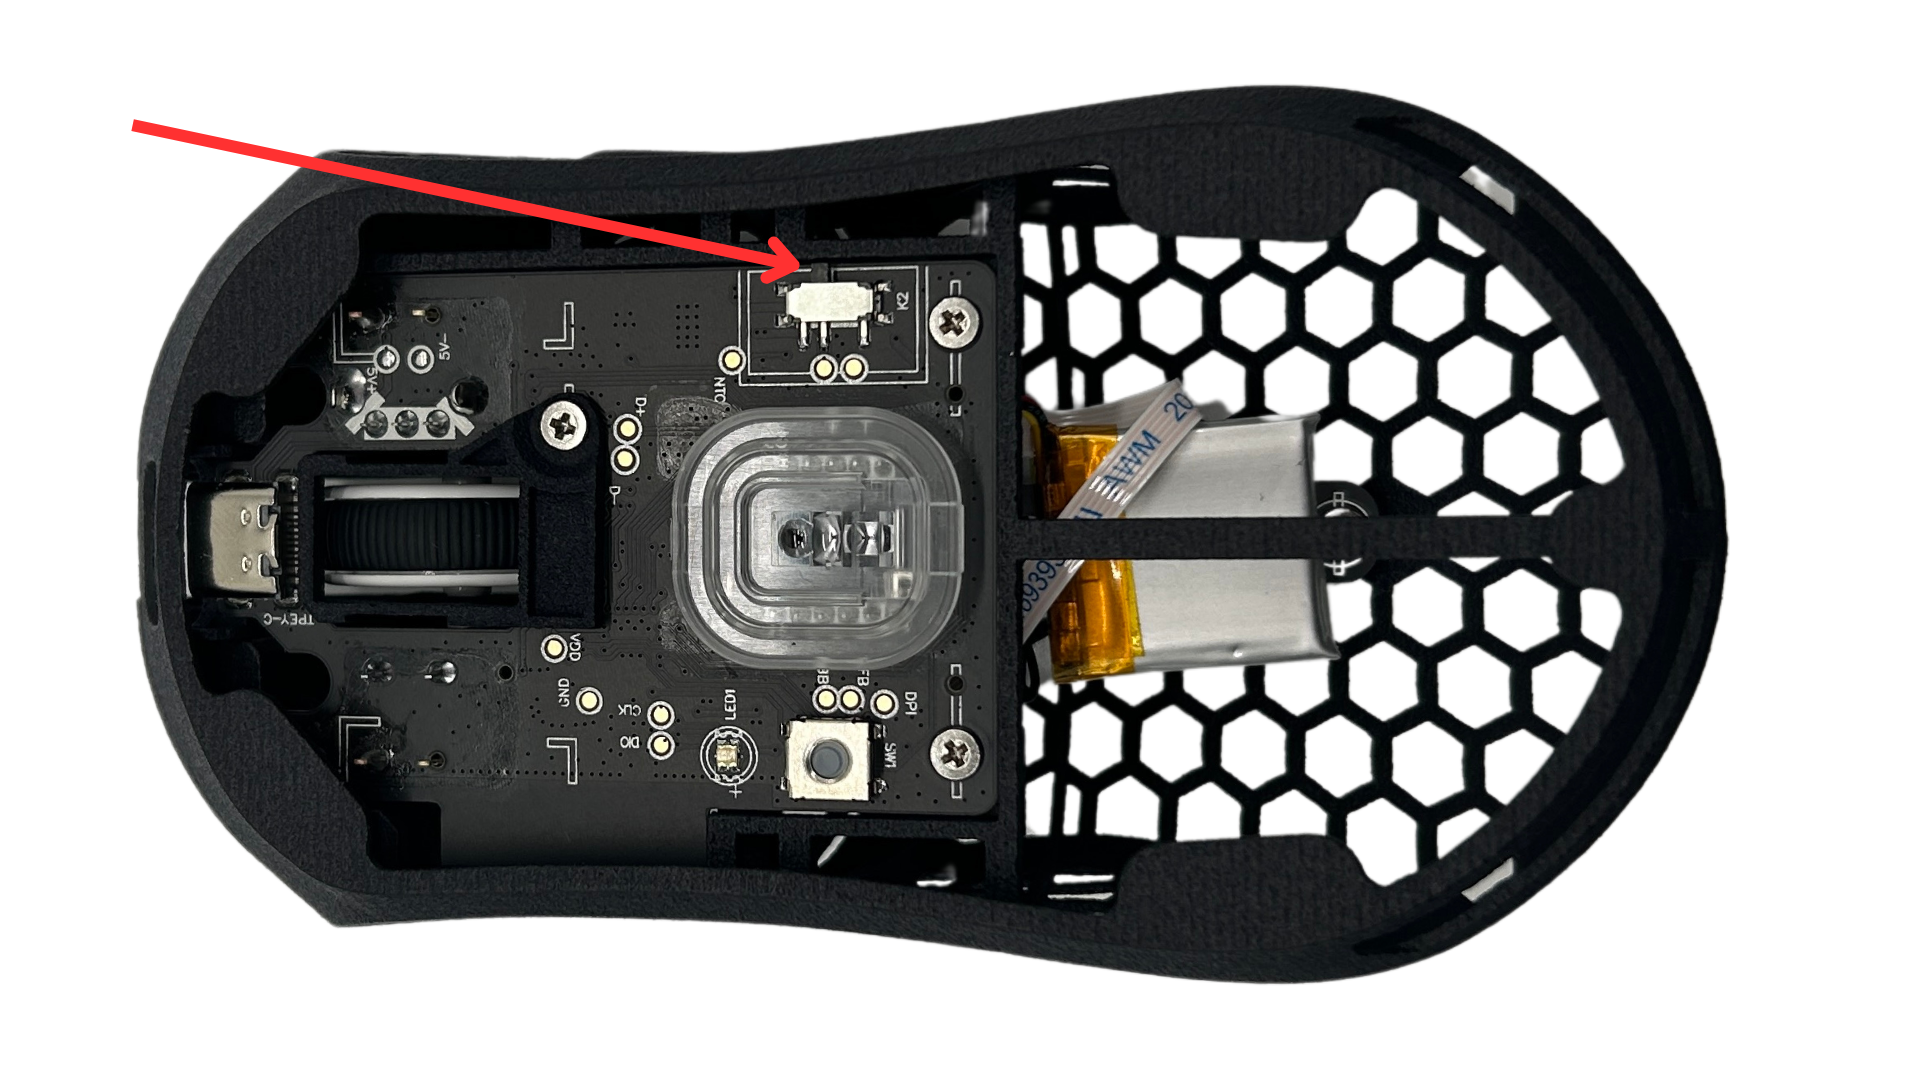
Turn on the mouse
Push the pin towards the mouse wheel. The LED should turn on.
Have fun with your new toy!

