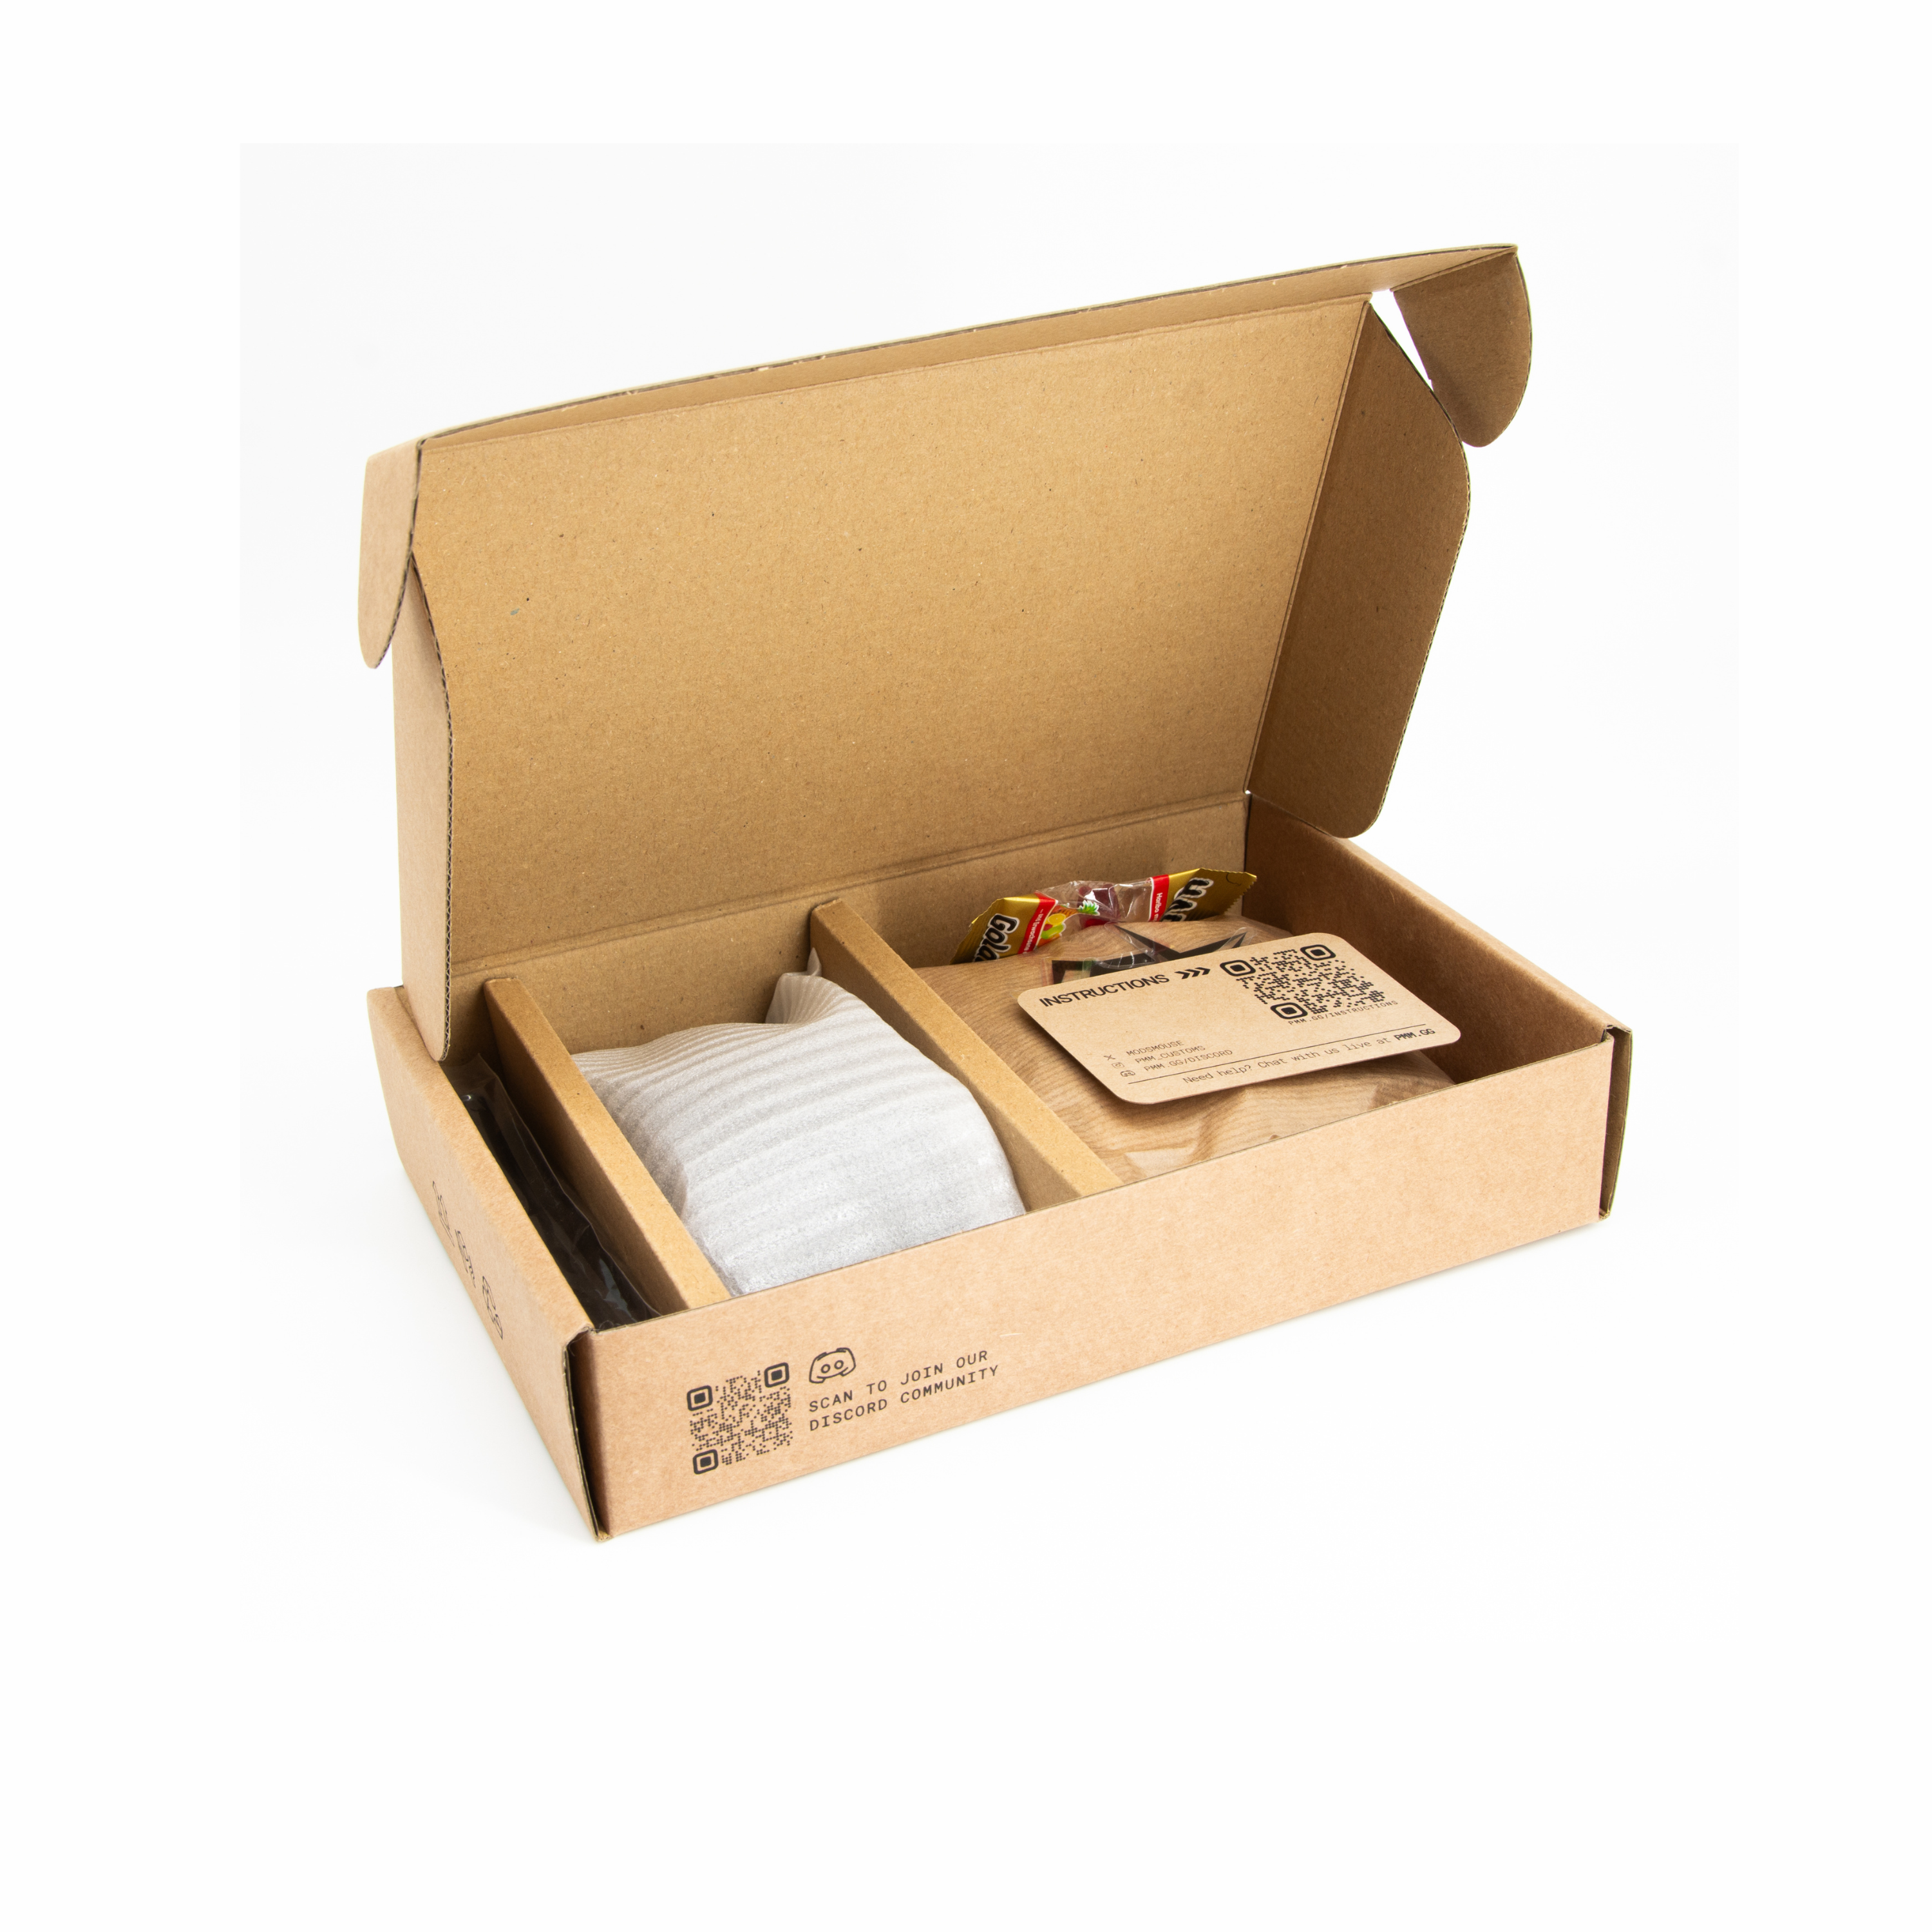
Instructions
You need a Torx T6 and Phillips PH00 screwdriver. Proceed at your own risk. You can damage the ribbon cable.
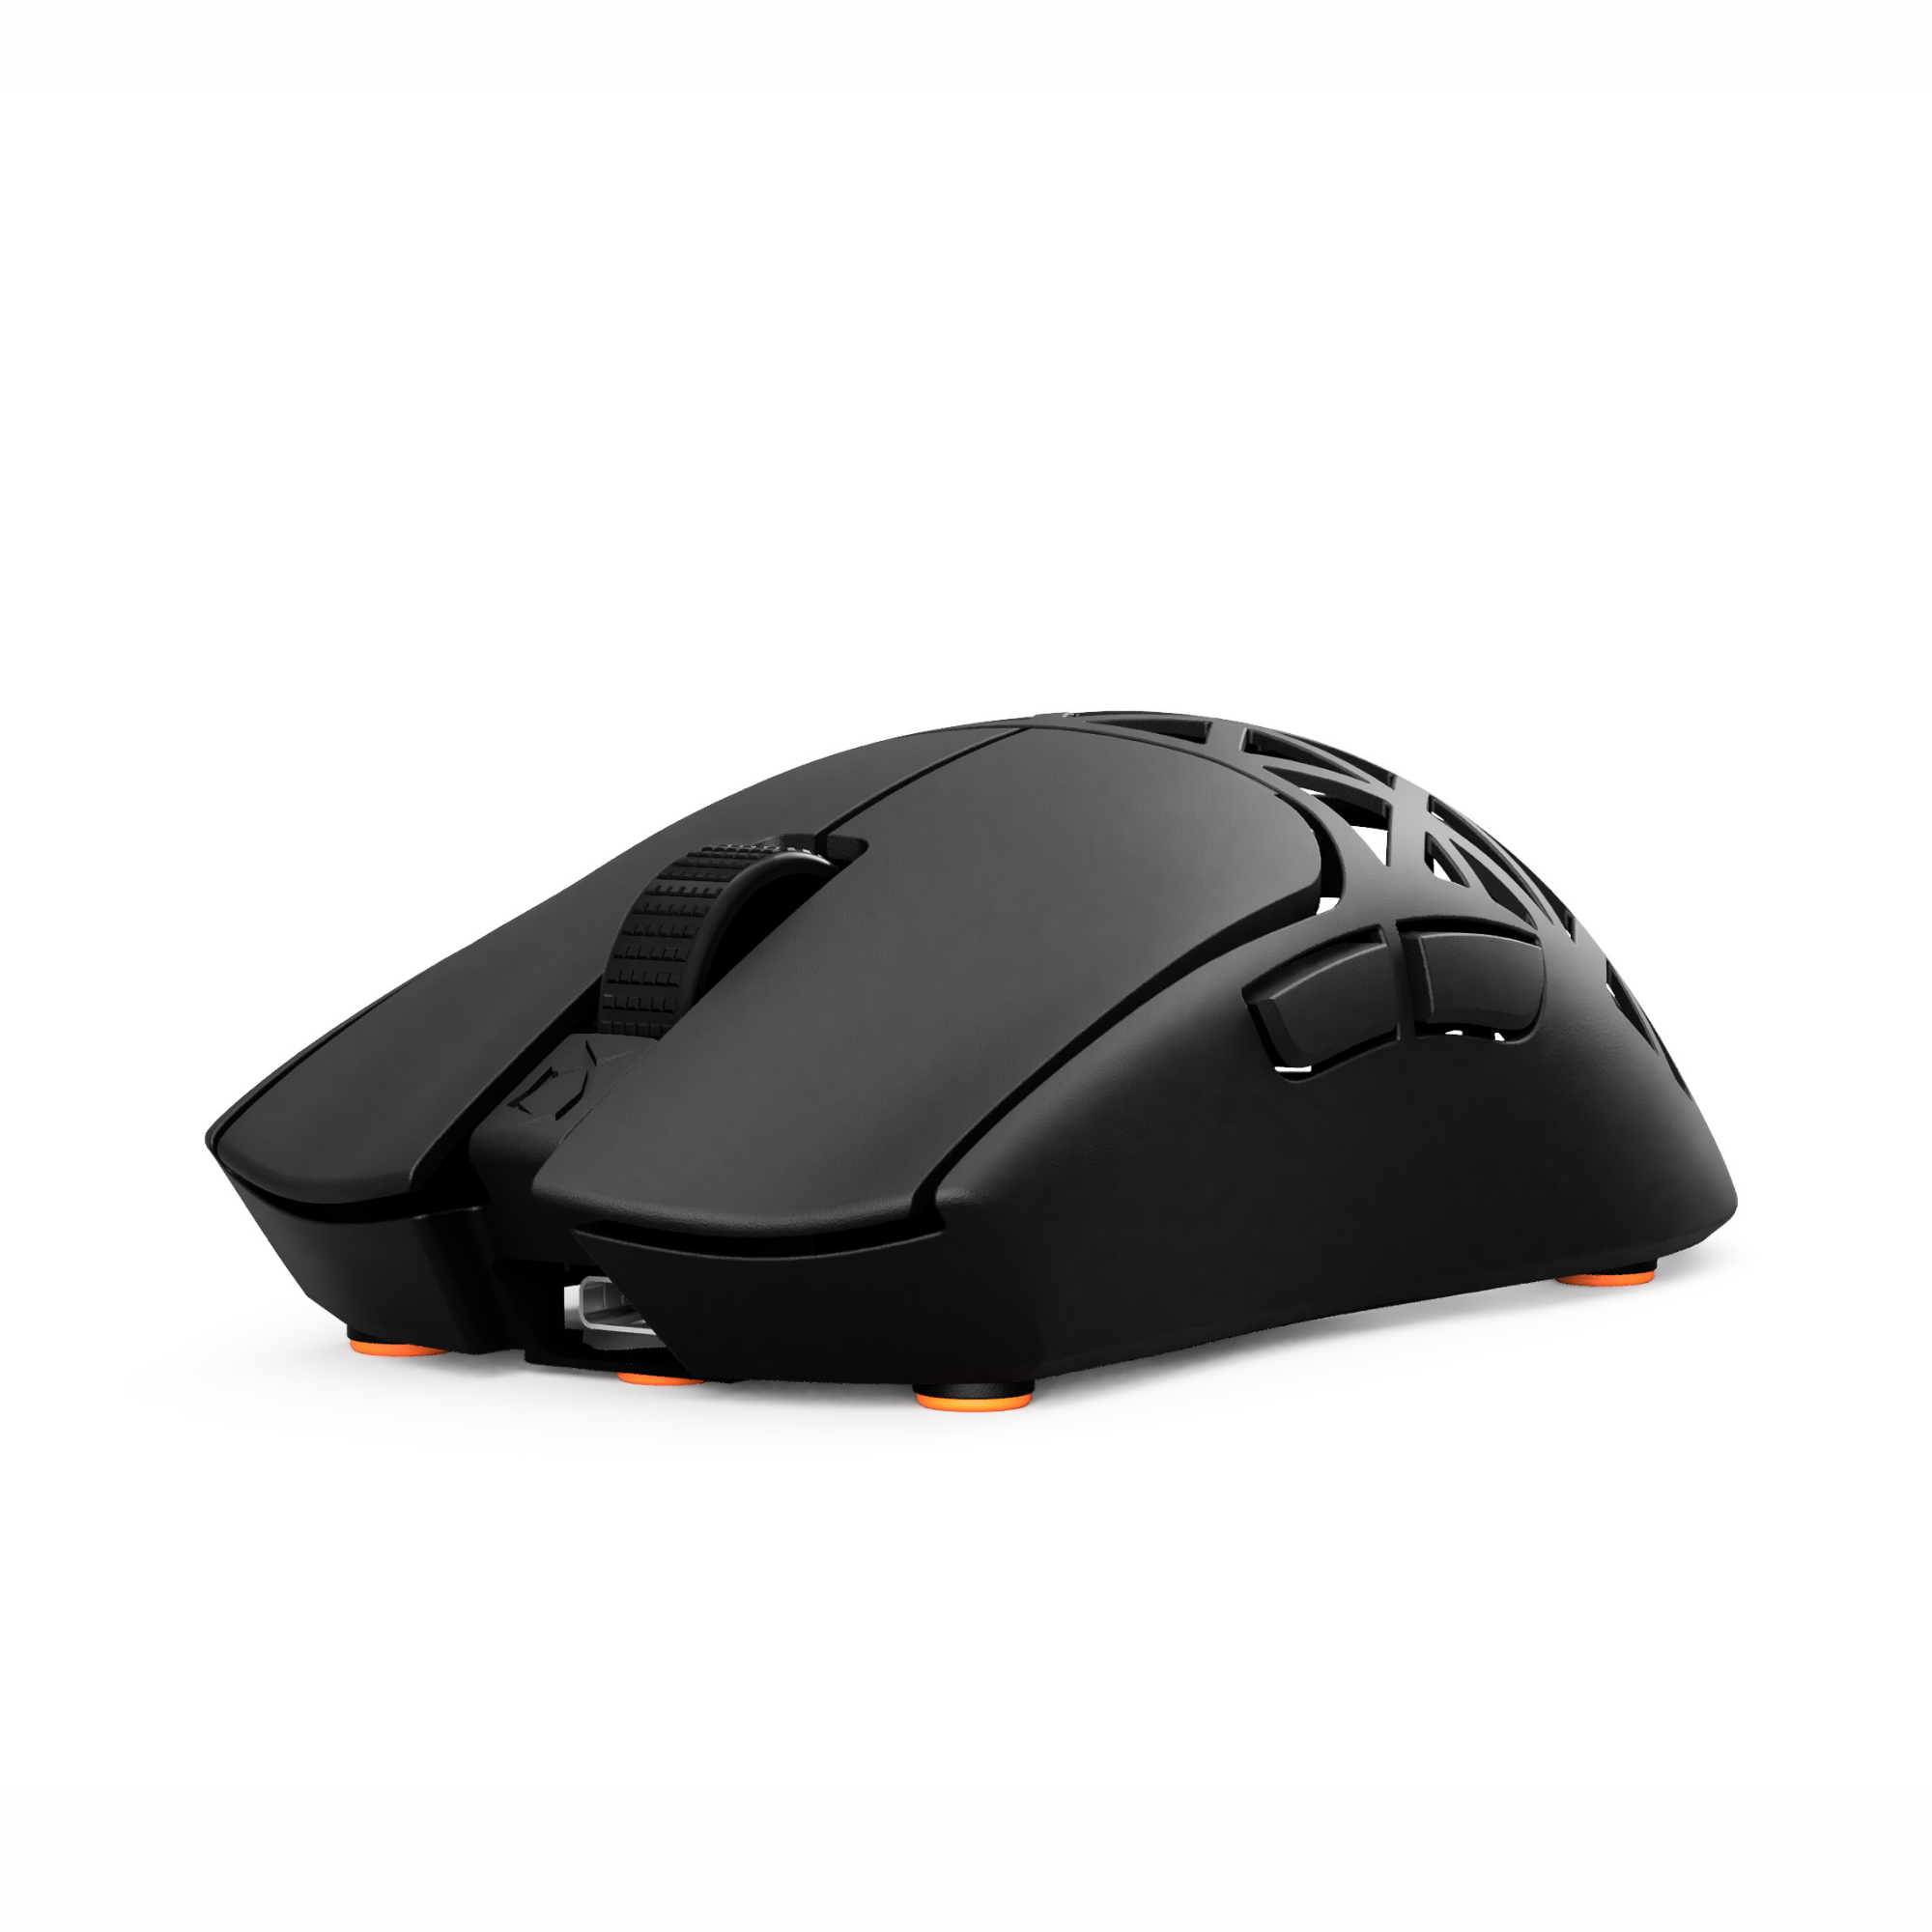
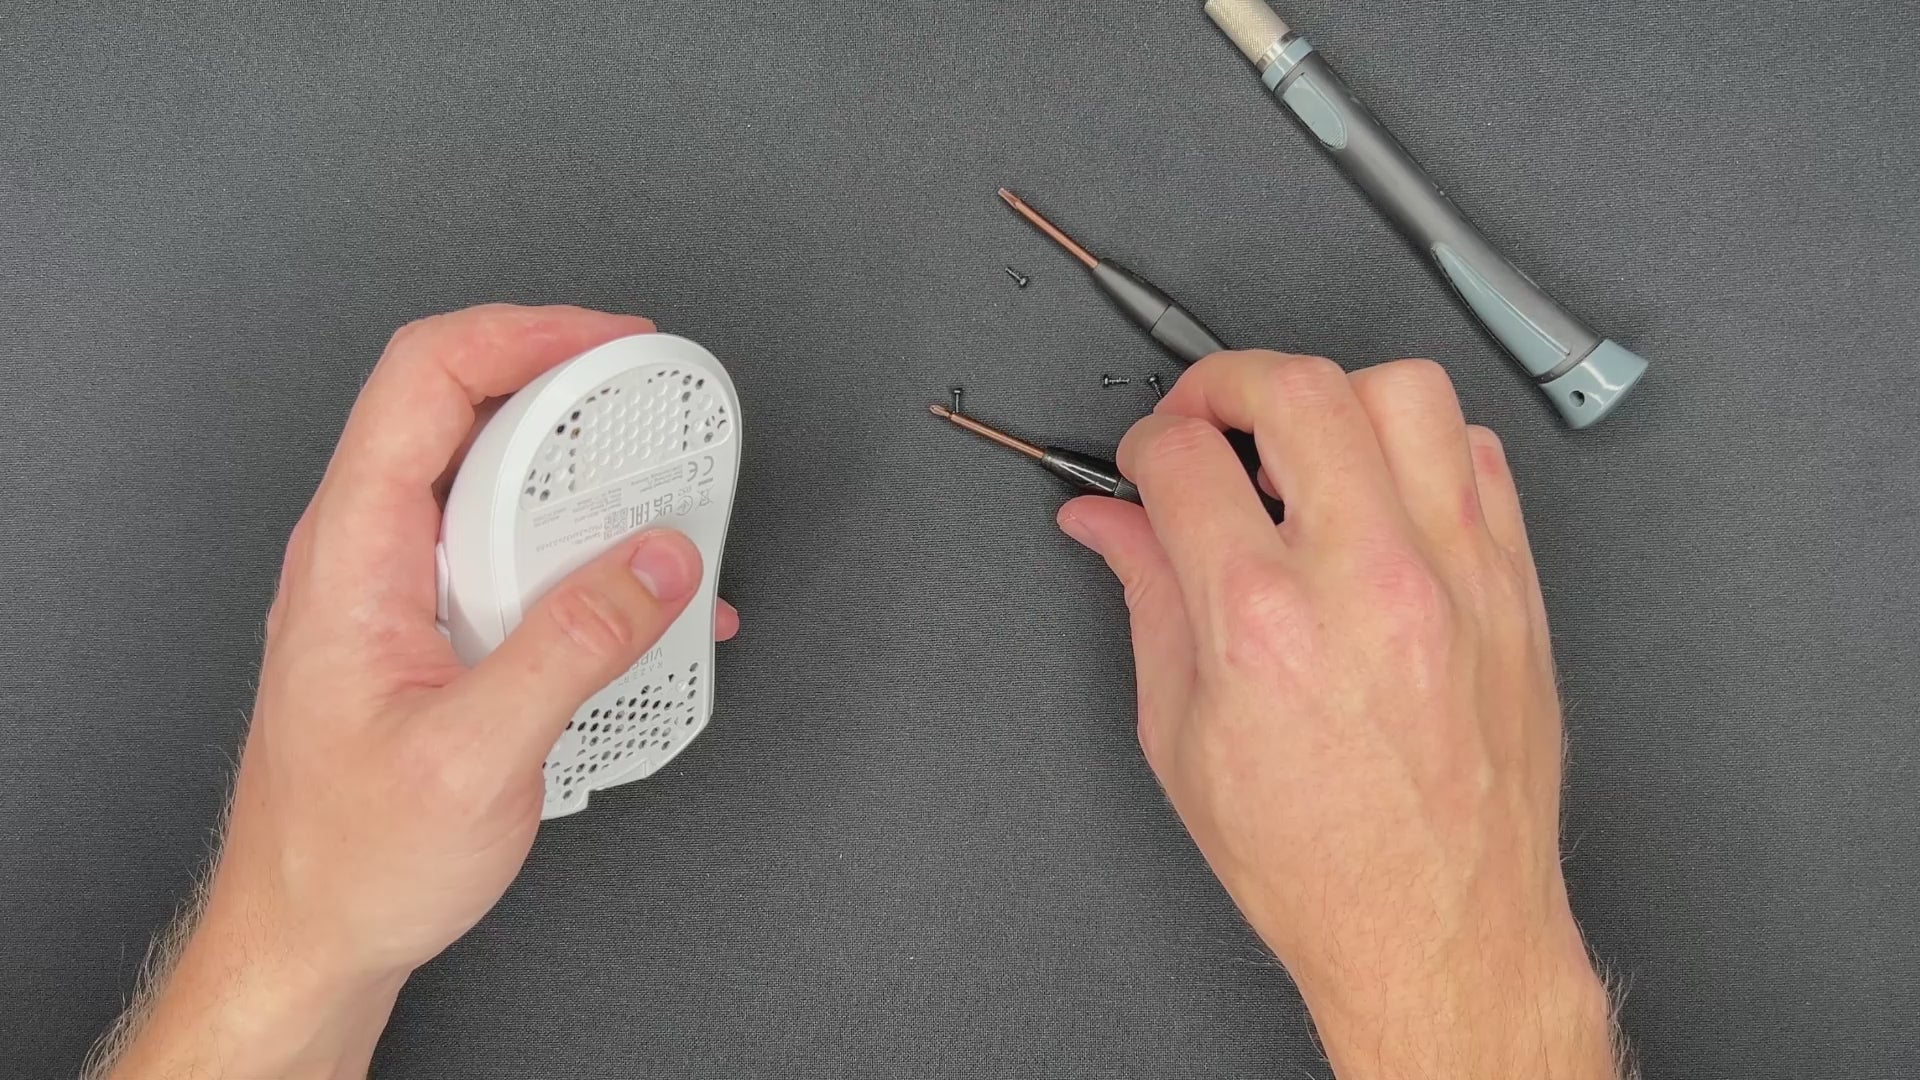
STEP 1: REMOVE THE MOUSE FEET & SCREWS
- Use a plastic pry tool or the cross screwdriver to carefully remove the PTFE mouse feet. This will expose the hidden screws beneath them.
- Unscrew all visible screws using a Torx T6 screwdriver.

STEP 1
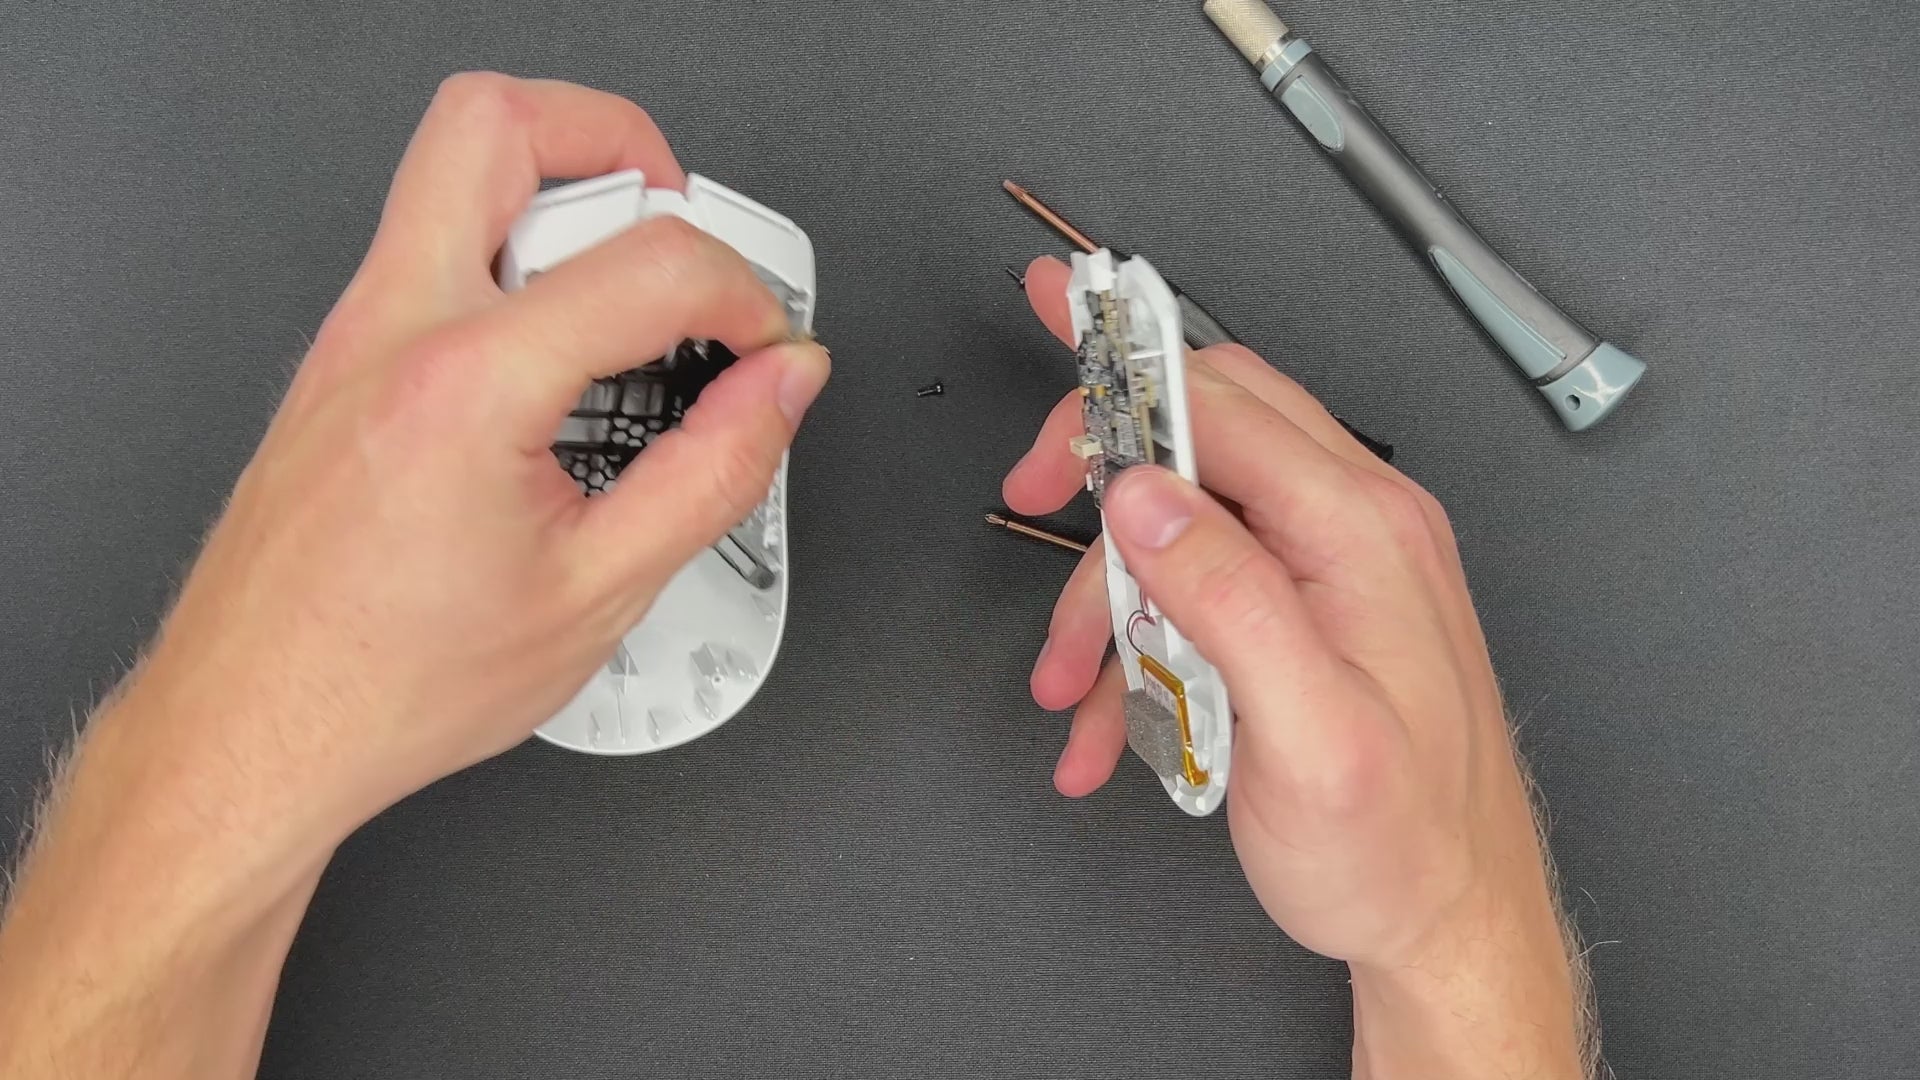
STEP 2: OPENING THE MOUSE SHELL
BEFORE YOU OPEN THE MOUSE: Be careful at this point. Both shells are connected with a ribbon cable.
- Insert a plastic pry tool, the screwdriver or your nails into the seam between the top and bottom shells.
- Gently work around the edges, unclipping the internal latches.
- Slowly lift the top shell but do not fully remove it yet, cables are attached to the PCB.
- Locate and carefully unplug any ribbon that links the top shell to the bottom PCB.
STEP 2
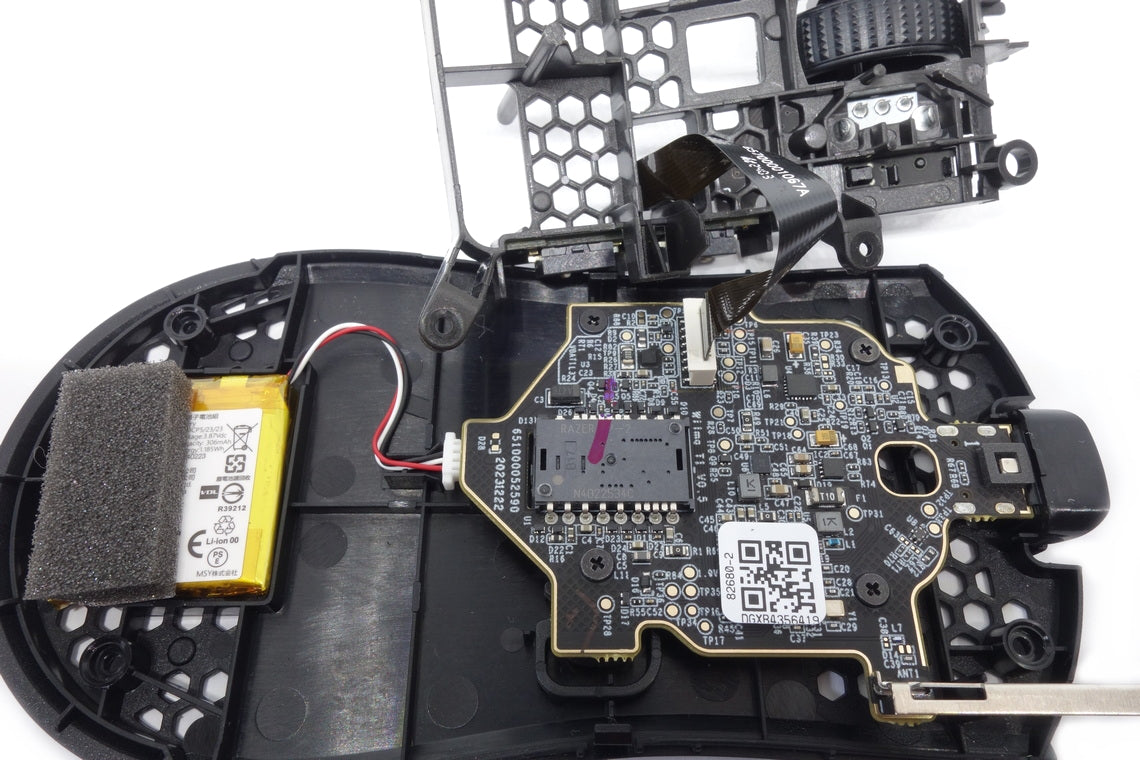
STEP 3: DISCONNECT MAIN PCB
- Use the cross screwdriver to unscrew the PCB.
- Put the main PCB aside.
- Disconnect the battery from the PCB.
STEP 3
STEP 4: REMOVE THE BATTERY
- Unplug the battery if you haven't done so far.
- Slowly start to take out the battery. The bottom shell is fragile. Be careful if you want to use it again.
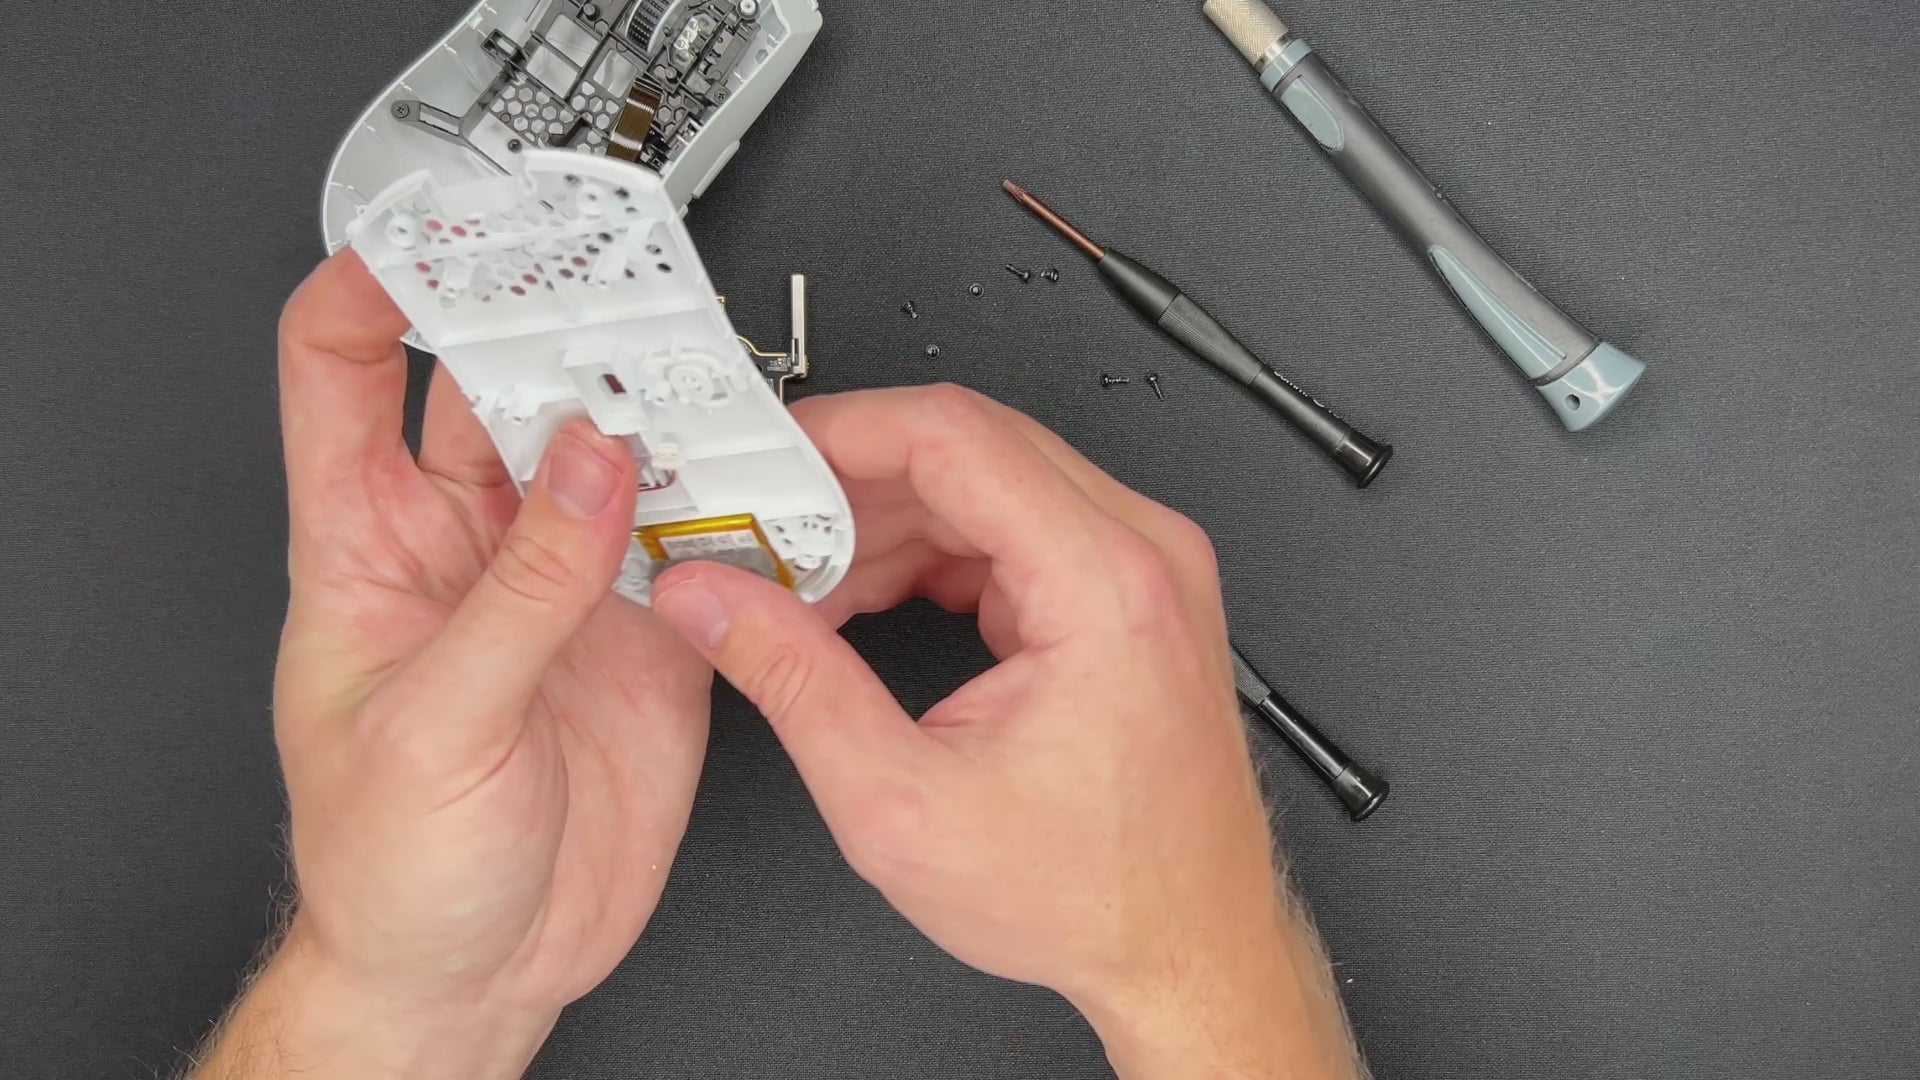
STEP 4
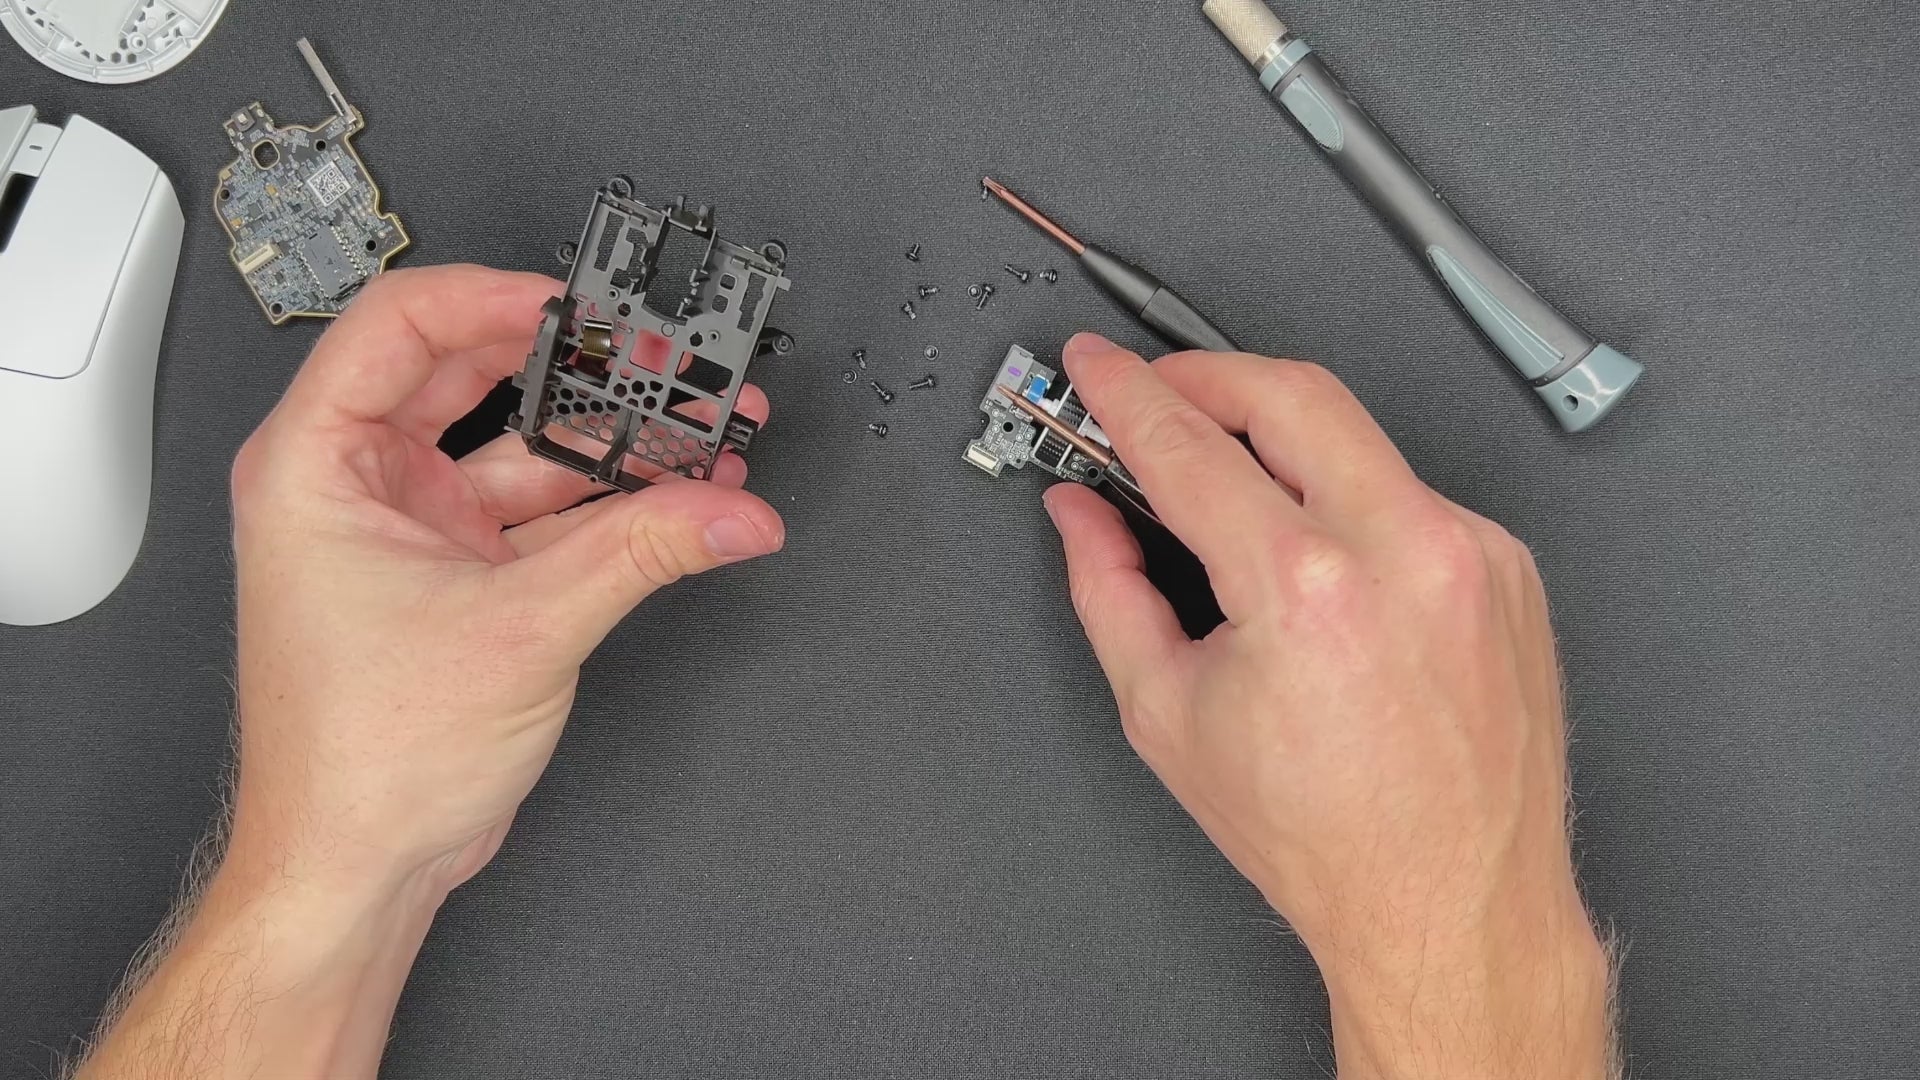
STEP 5: REMOVE THE MOUSE WHEEL PCB
- Unscrew all screws and lever out the inner frame.
- You will find the mouse wheel PCB on top.
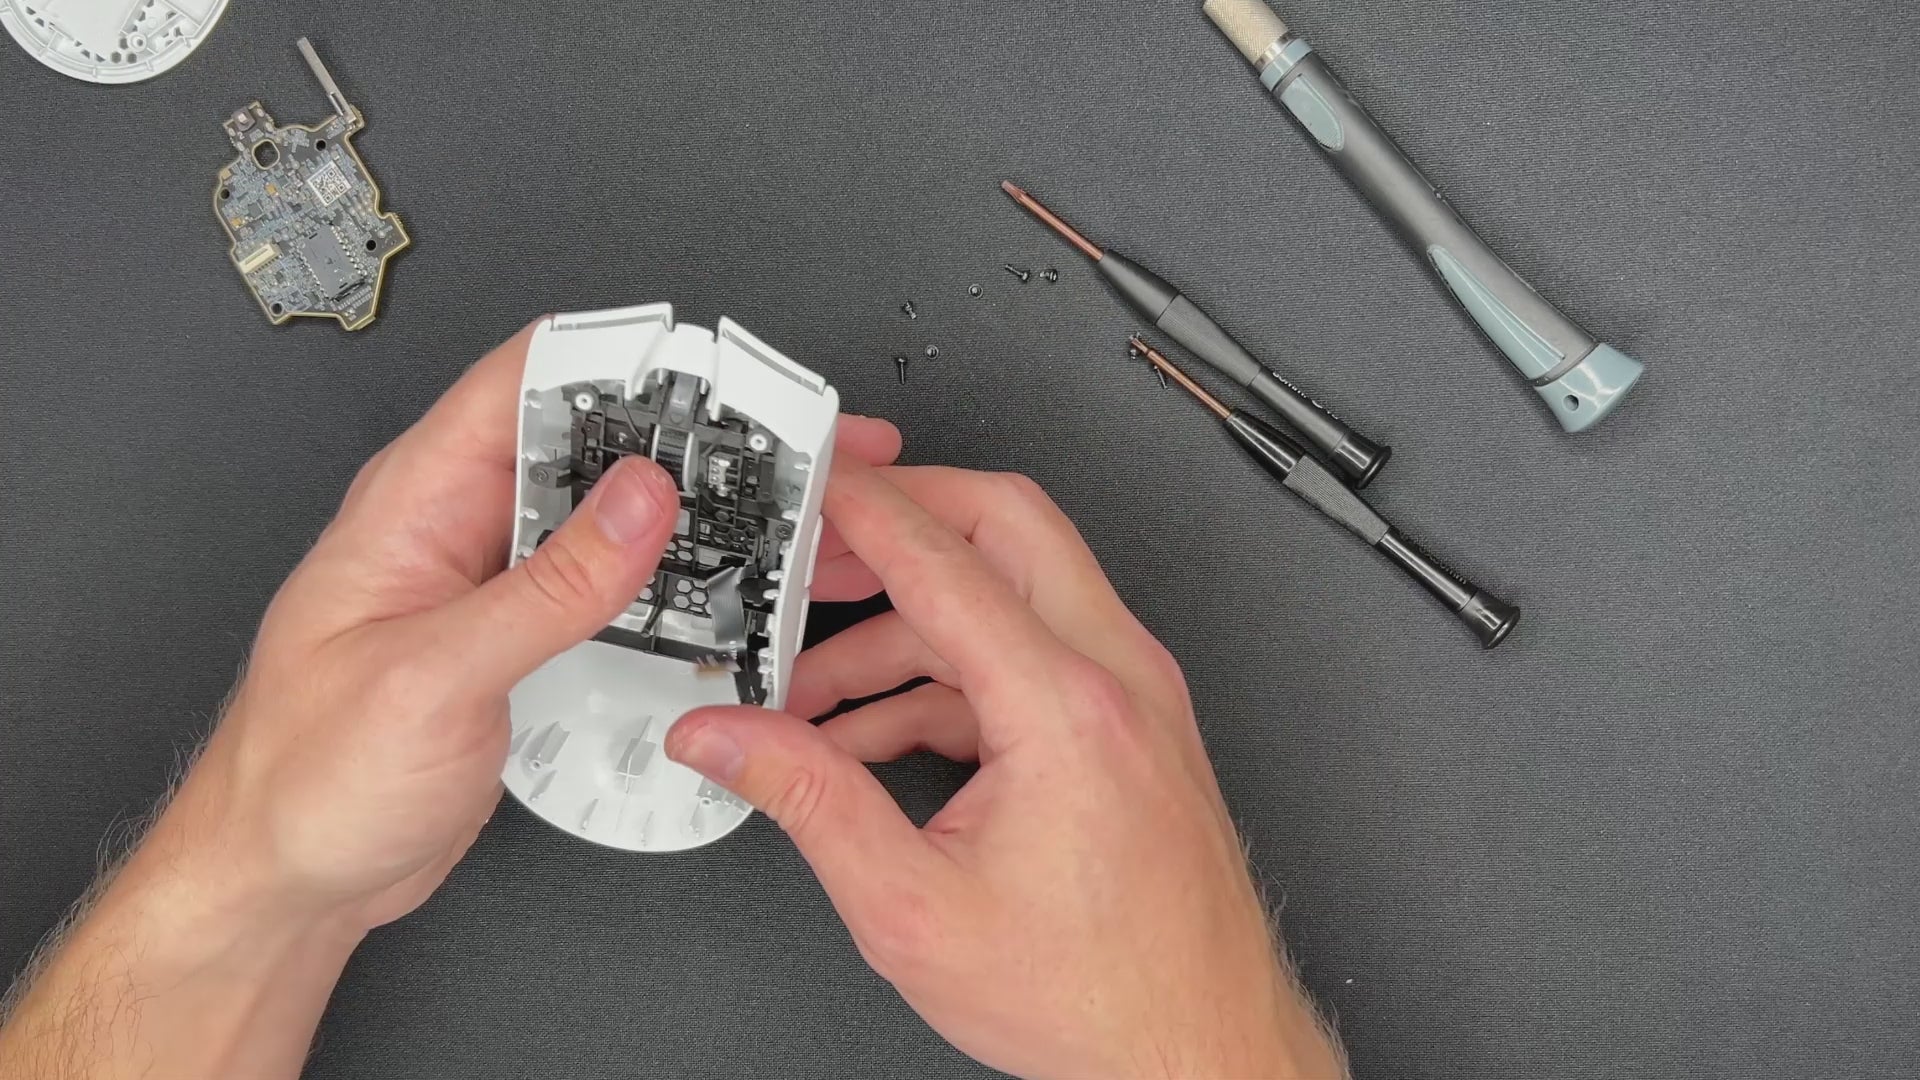
STEP 5
STEP 6: DISCONNECT THE MOUSE WHEEL PCB
- Open the cable connector. Push the black lock upwards using your fingernail and pull the ribbon cable out with care.
- Push the mouse wheel PCB from behind and take it out.

STEP 6
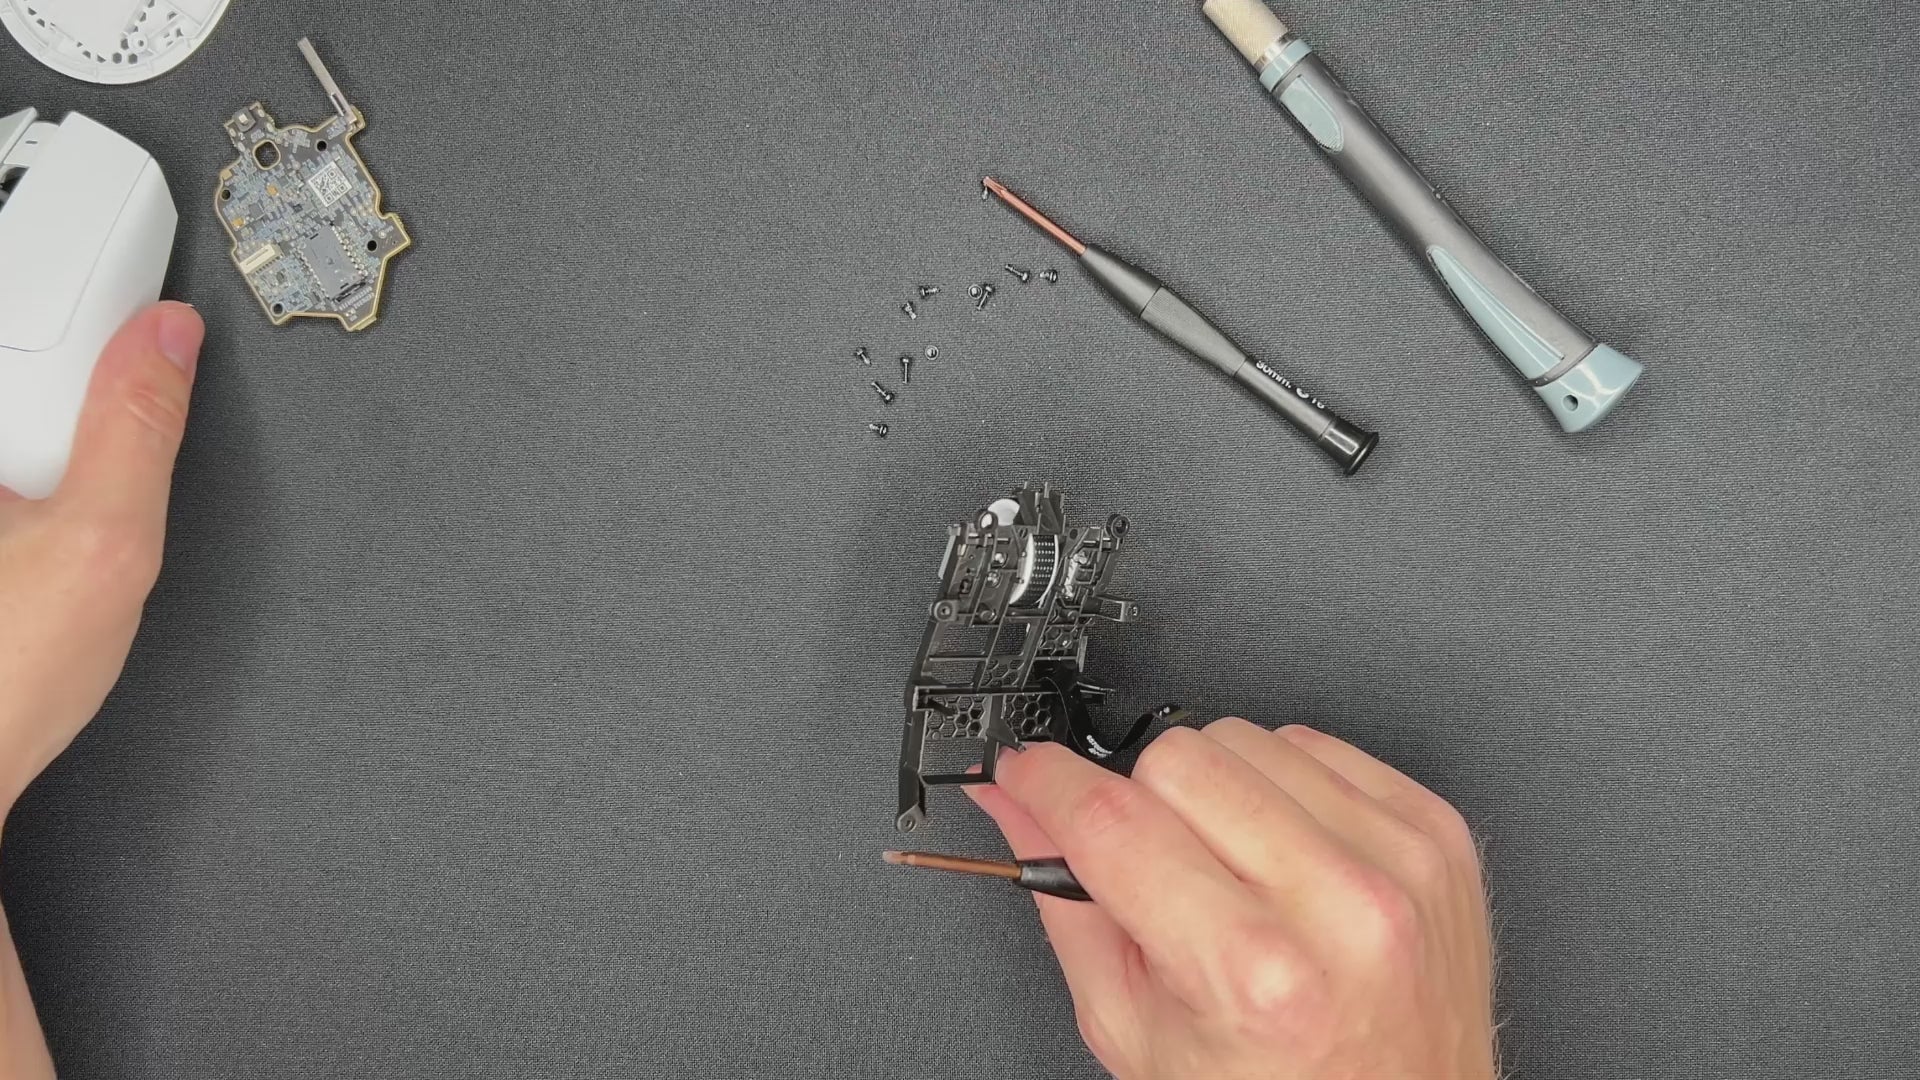
STEP 7: REMOVE THE SIDE BUTTON PCB
- You can use your screwdriver or, better, a sharp knife like an Xacto knife or anything sharp you have at home. Next, twist it. Do it slowly! The ribbon cable is fragile.
STEP 7
STEP 8: REMOVE THE LAST SCREWS
- Unscrew with the cross screwdriver.
STEP 8
YOU DID IT!
Well done.
ALL COMPONENTS
- Main PCB
- Side Button PCB with ribbon cable
- Mouse Wheel PCB
- Mouse Wheel
- 306mAh battery
- T6 screw [4]
- Pointy long screws [4]
- Small screws [6]