PRE-BUILT
INSTRUCTIONS
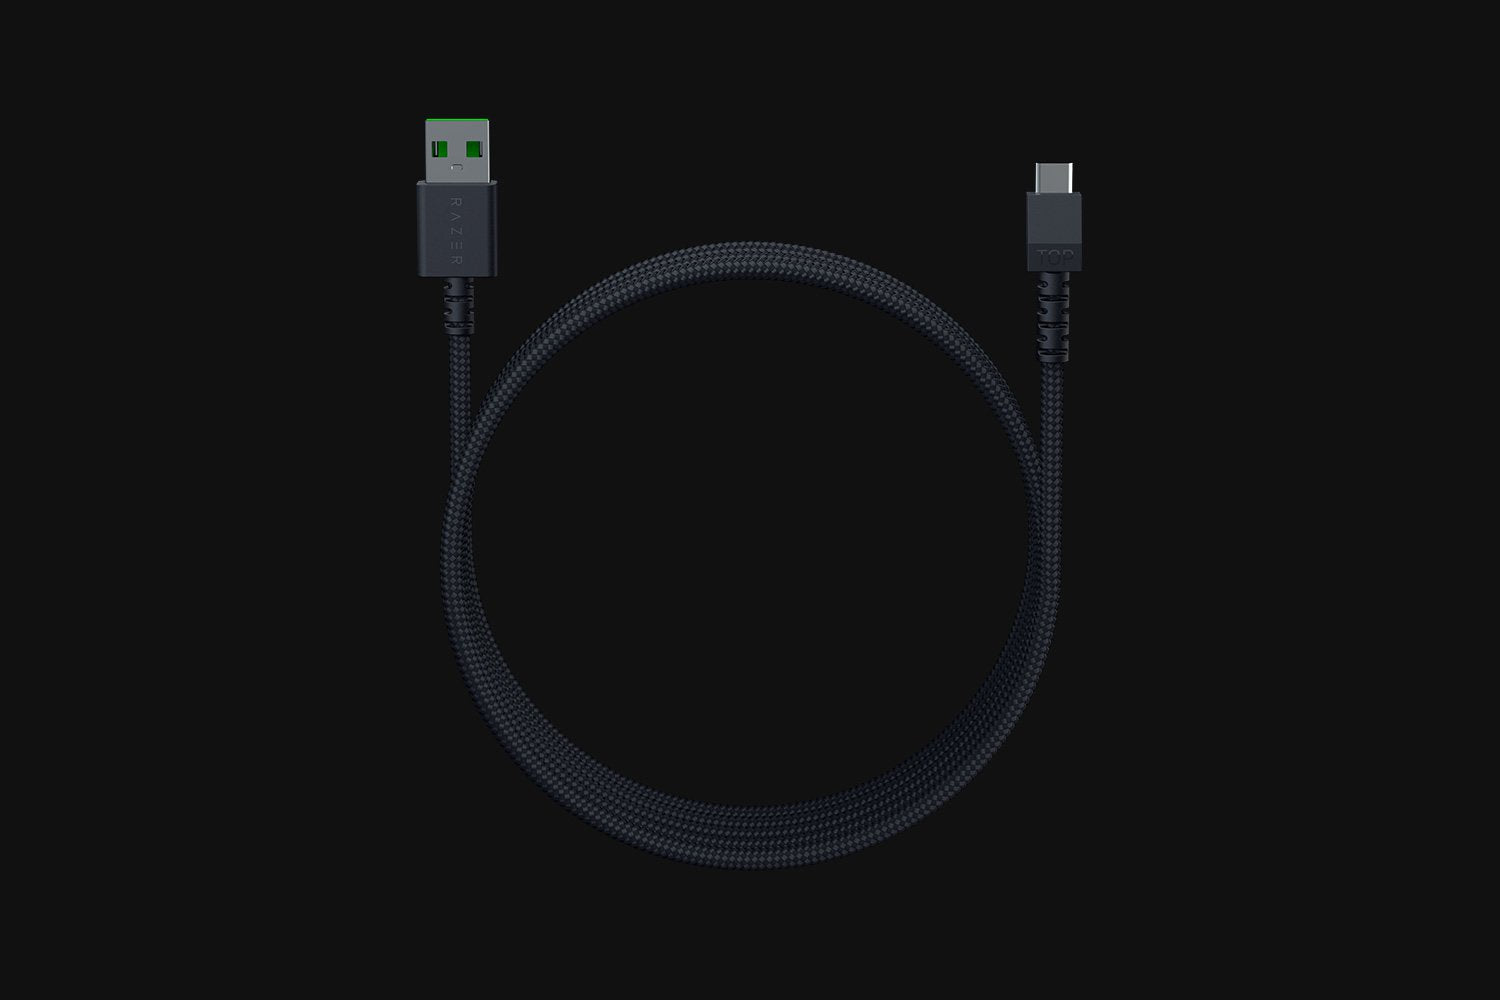
Charge your PRE-BUILT
Attach the USB-C charger to your mouse. The LED on the PCB should blink green.
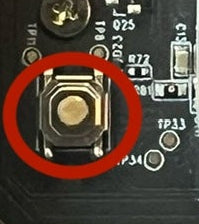
Turning On Your Razer PRE-BUILT
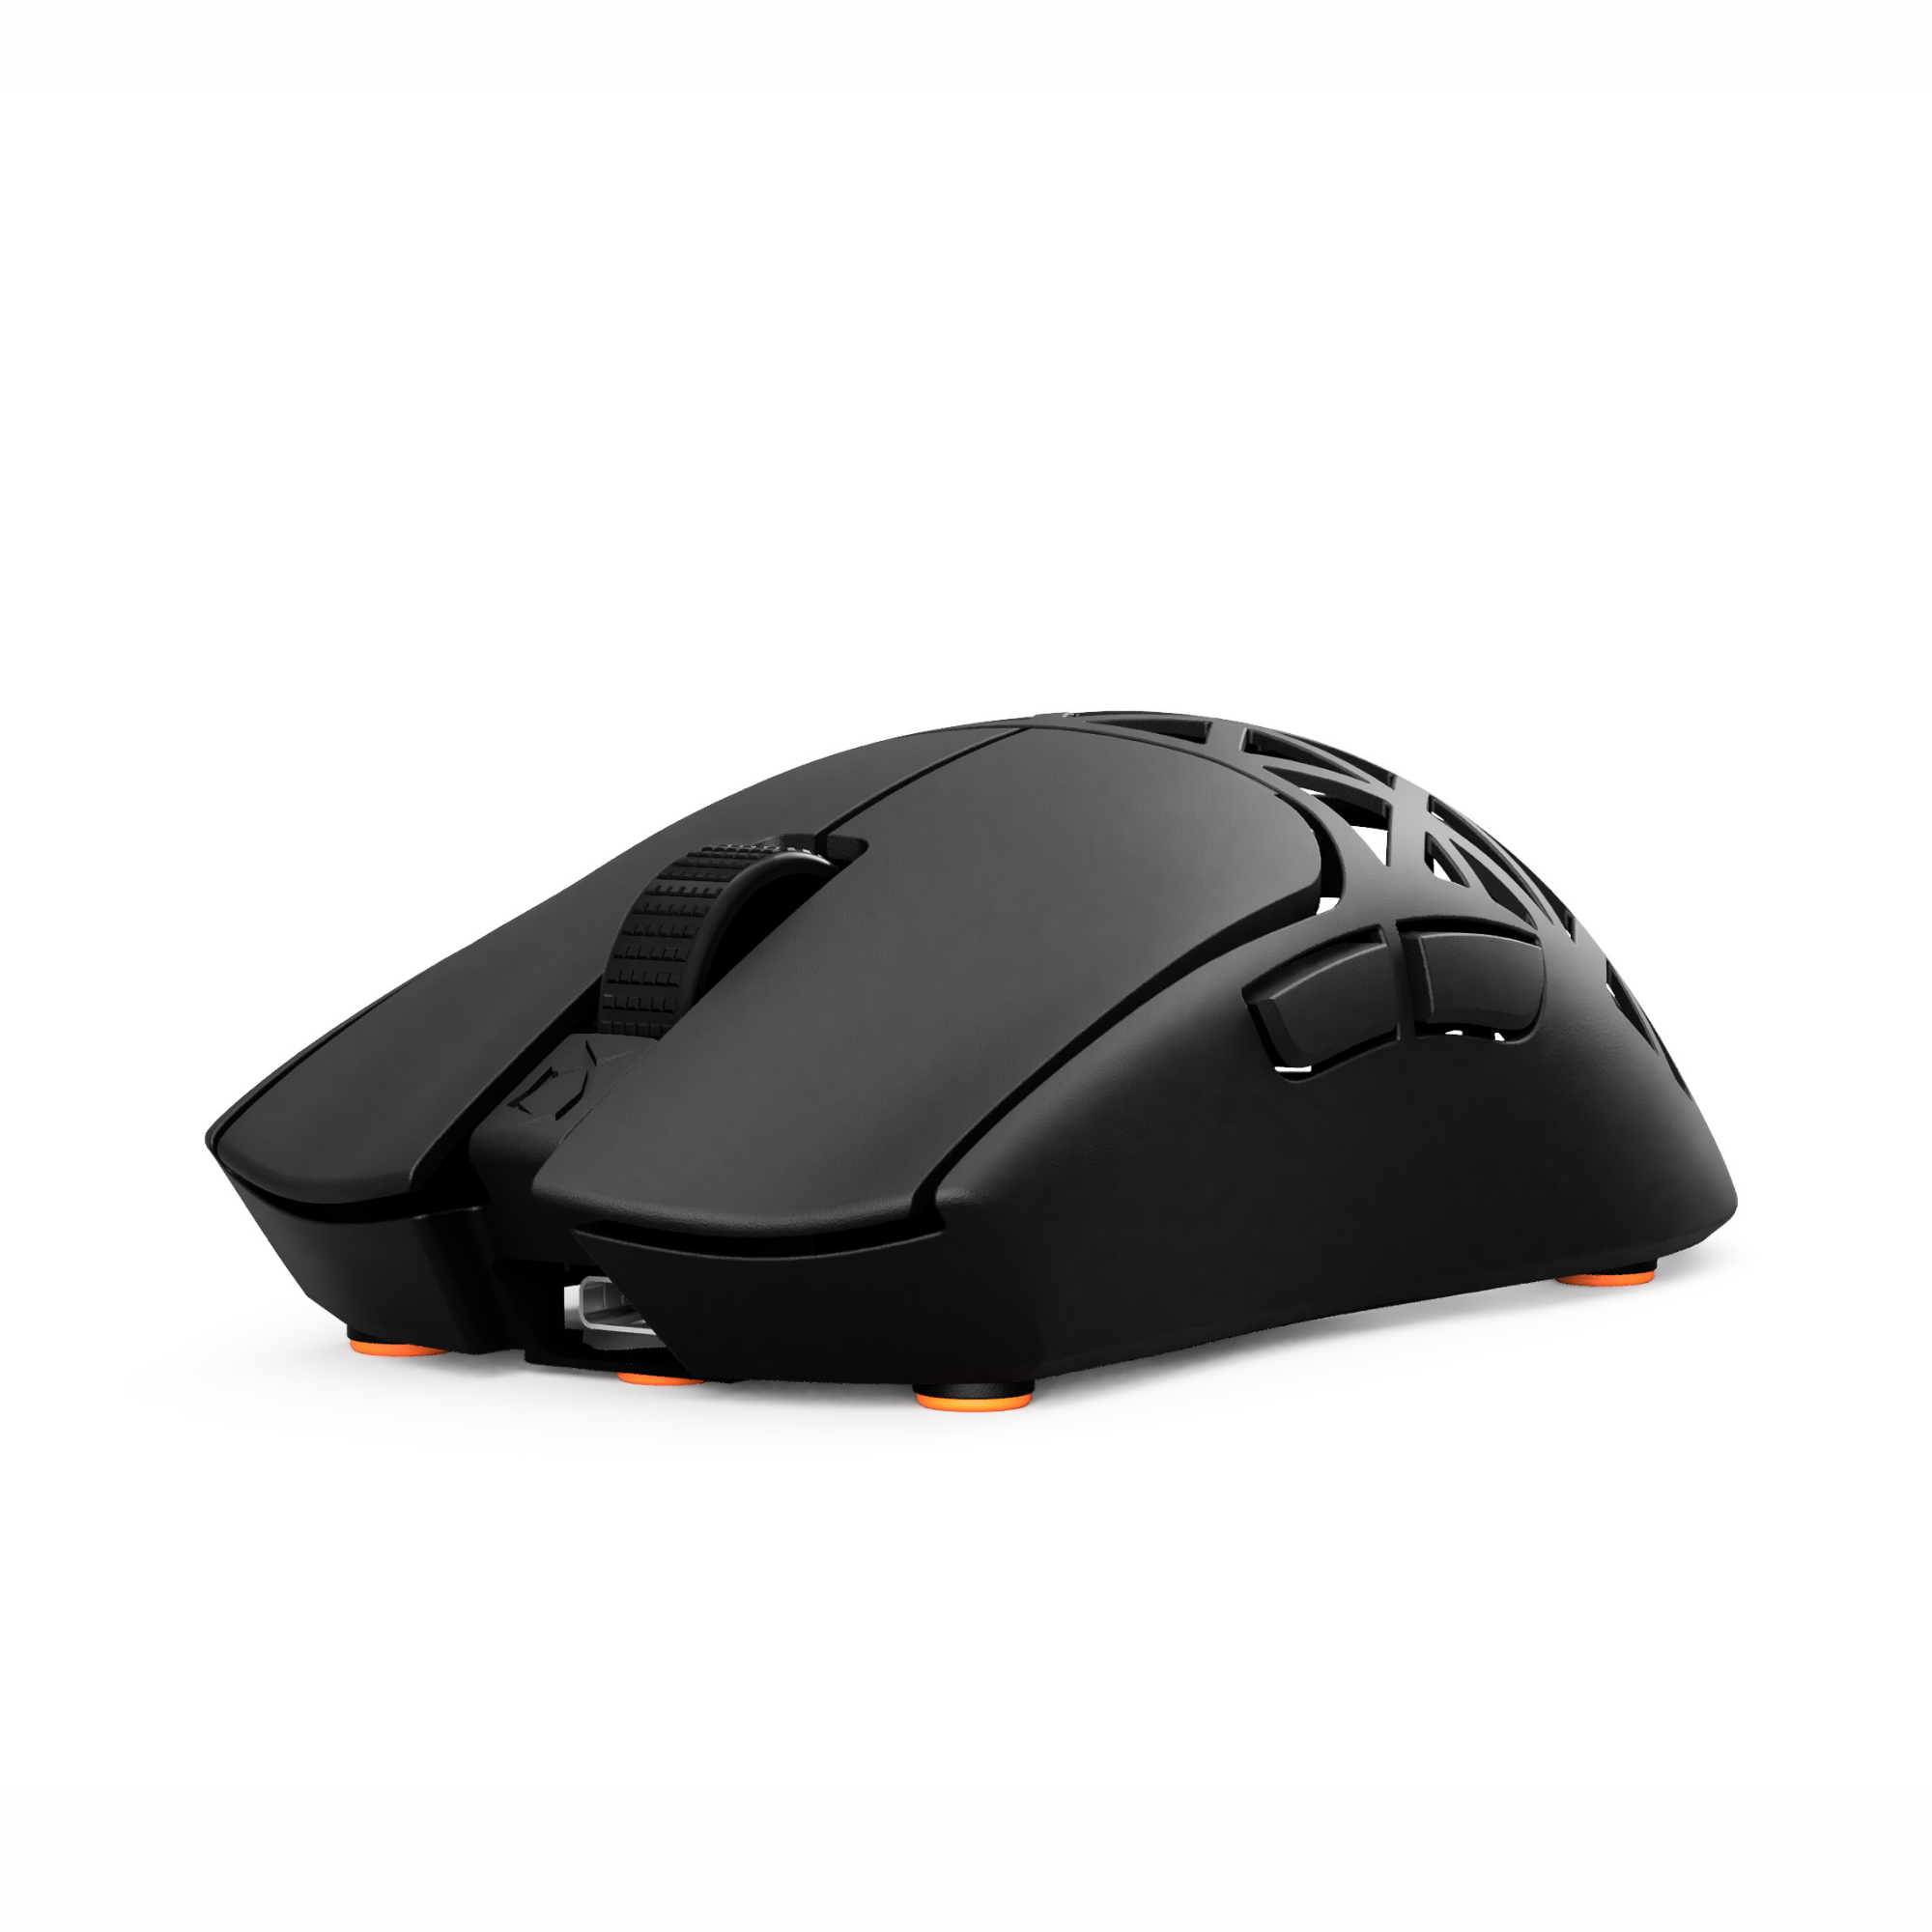
Push the button for at least 5 seconds turns the mouse on. The blue LED indicates that. The on/off switch looks different on solid models.
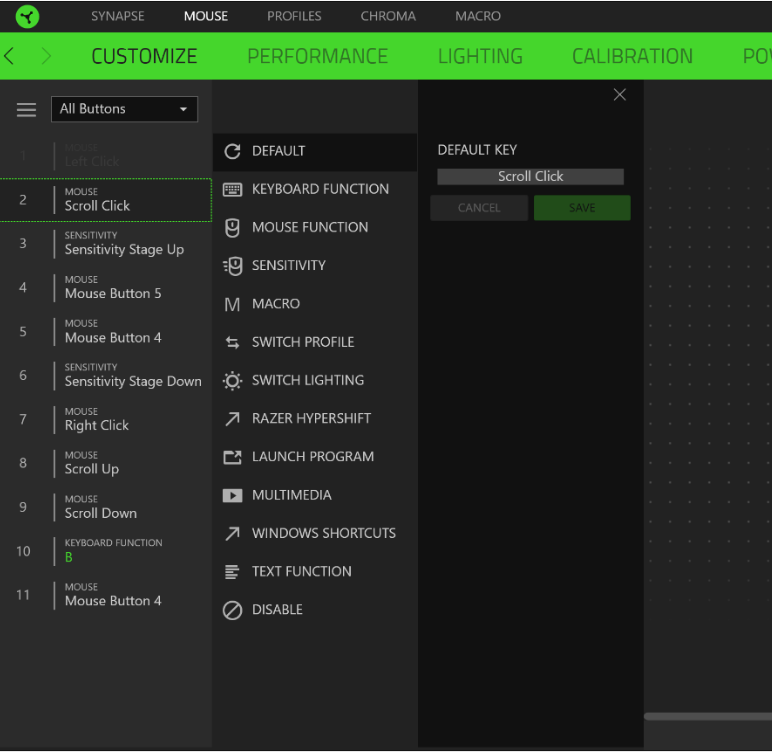
Razer Synapse
1. Make sure your Razer device is connected to the USB port of your computer.
2. Install Razer Synapse 3 when prompted* or download the installer from razer.com/synapse.
3. Create your Razer ID or log into Razer Synapse 3 with an existing account.
If you are using Sapphire skates, make sure to adjust the LOD settings to high. Otherwise there might be tracking issues since they are a bit thicker.
Razer SynapseNeed help?
Read our FAQ or contact our support team