[1] Logitech Superlight disassembly: https://youtu.be/EFX2QzyvuS8?t=135
Be super careful with the orange flat cable removal at: 13:50. These break easily.

[1.1] Screws
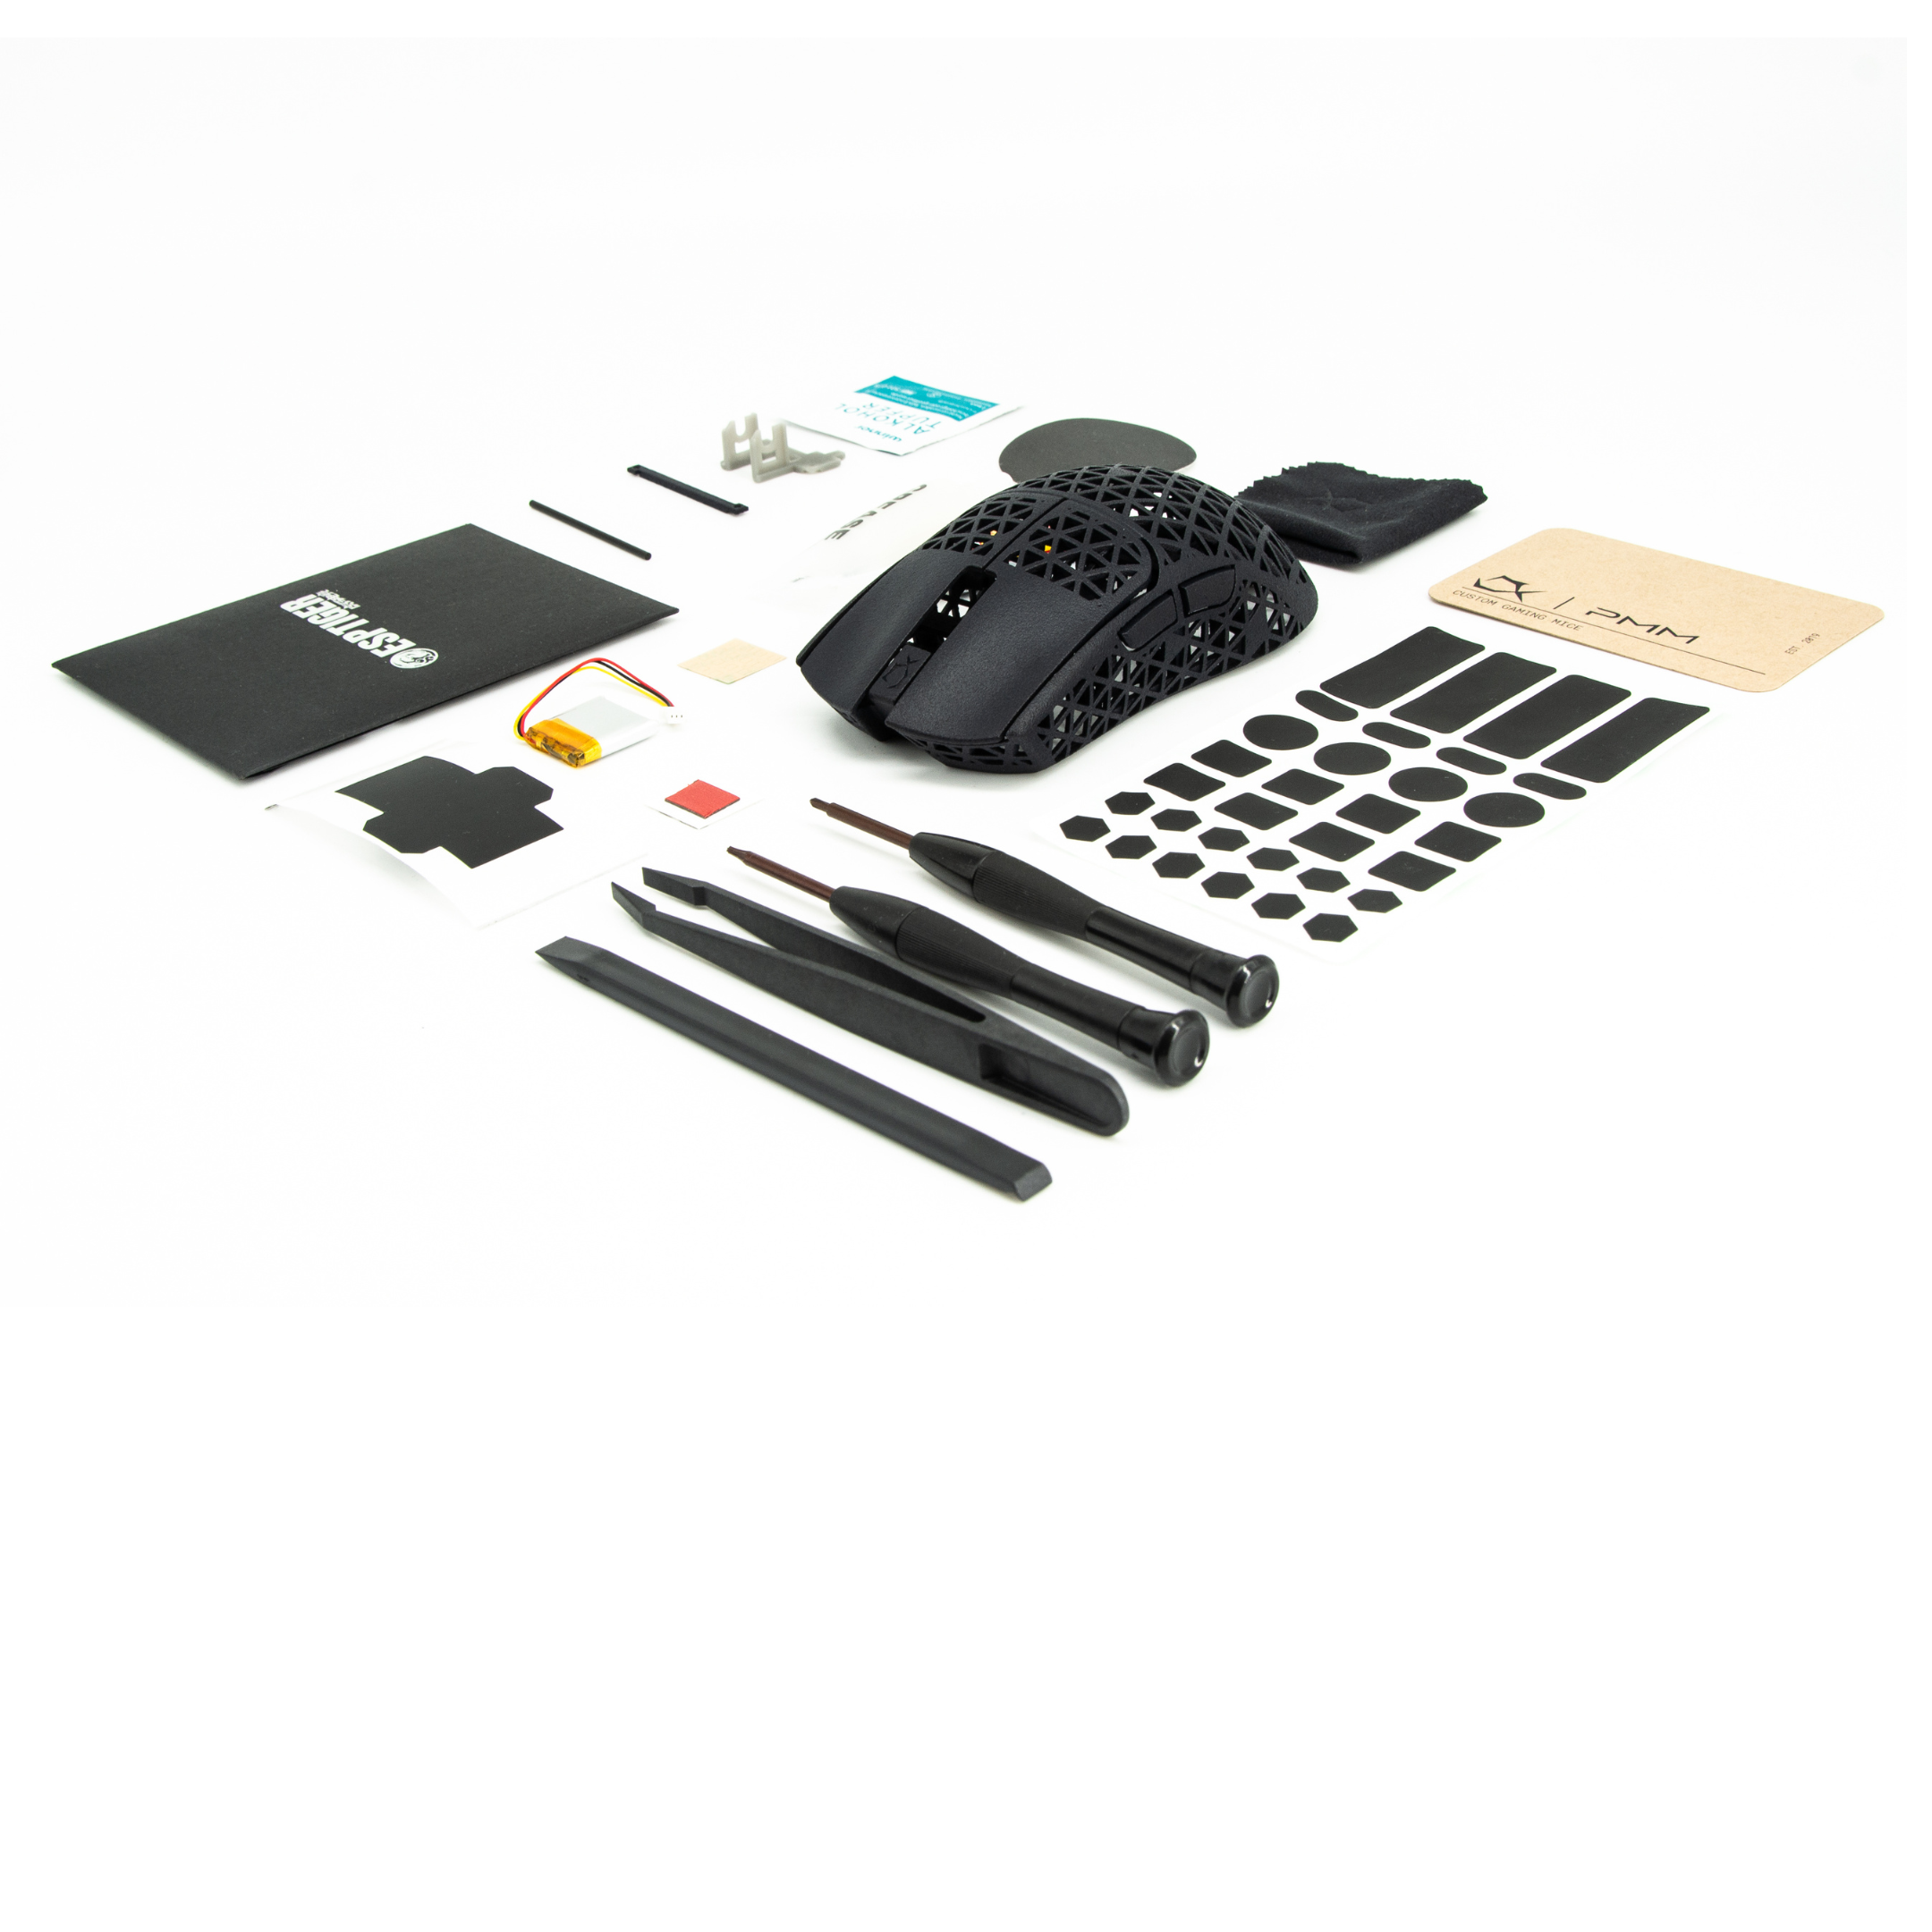
"big head screws", "Small head - short screws" and "Small head - long screws"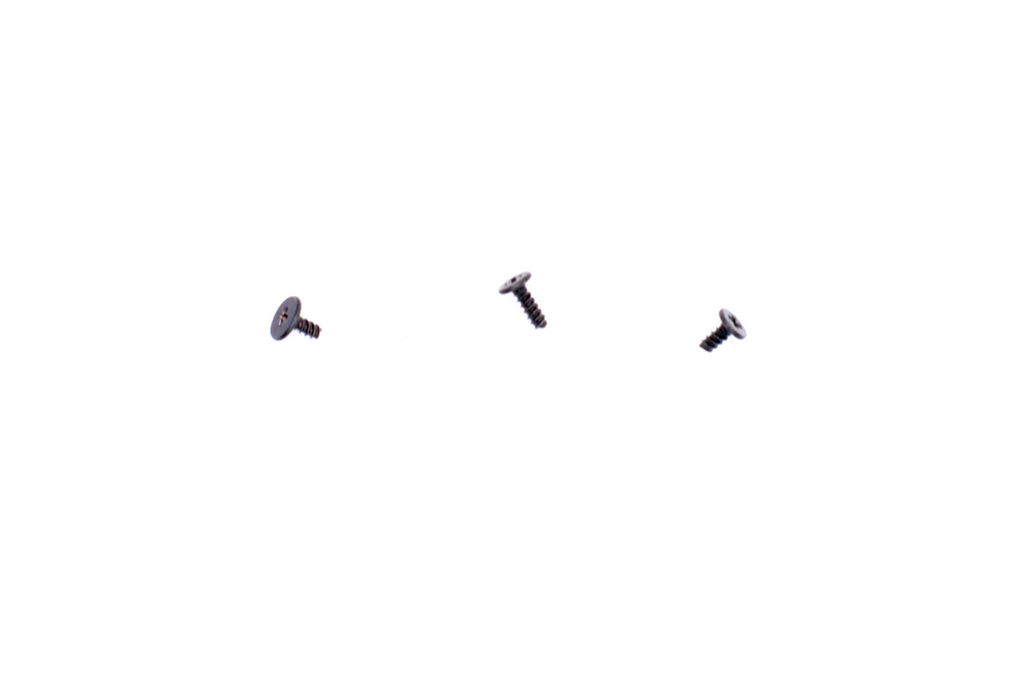

[2] Stick the orange cable on the bottom shell so that the glue doesn't get dirty.

[3] Cut the on/off switch as shown on the picture. It won't fit otherwise.

[4] Add the on/off switch to the bottom shell. The off-center middle piece should face the outside of the shell.
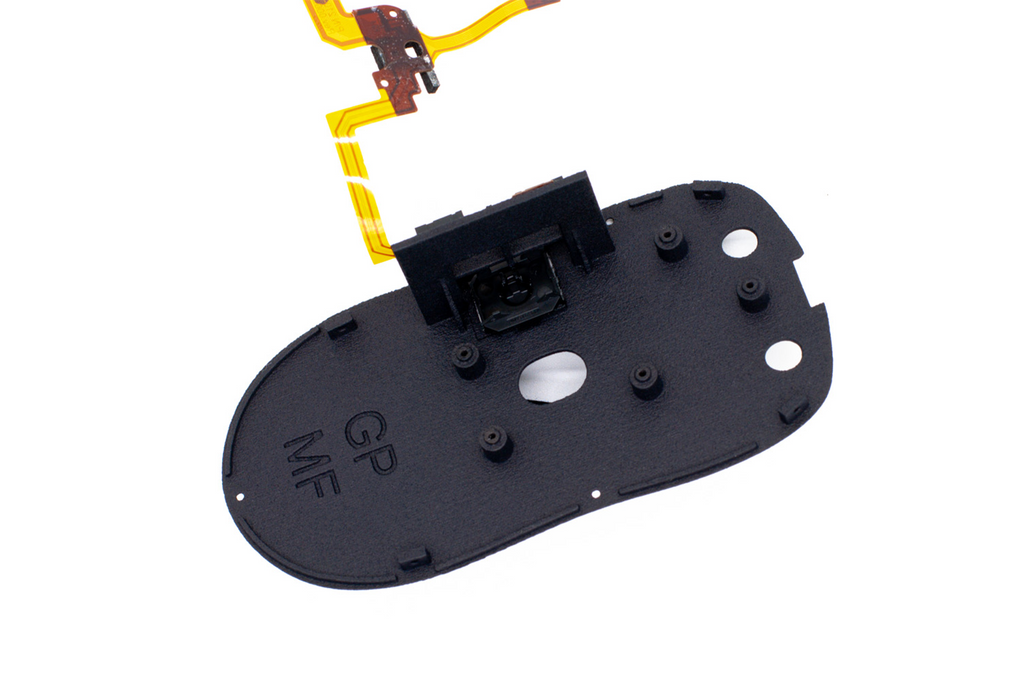
[5] Stick the battery on top of the sensor as shown on the picture. It shouldn't be too close to the scrollwheel - it will rub against it. Add the main PCB and fasten it with "big head screws". Other screws available: "Small head - short screws" and "Small head - long screws". Coming up with creative names is one of PMM's strengths.


[6] Plug in the orange cable in both PCBs as shown on the picture. It is possible to solder new switches before that but it is not recommended since it's easy to break the solder pads rendering the PCB useless.

[7] Add "Bid head screws" to all 4 screwholes as shown in the picture. Screw them all the way in but stop once feeling resistance. Pushing the "hooks" out of the way might be necessary.

[8] Push the "hooks" back in place. This forms the tensioning system making it possible to adjust the pre-travel.
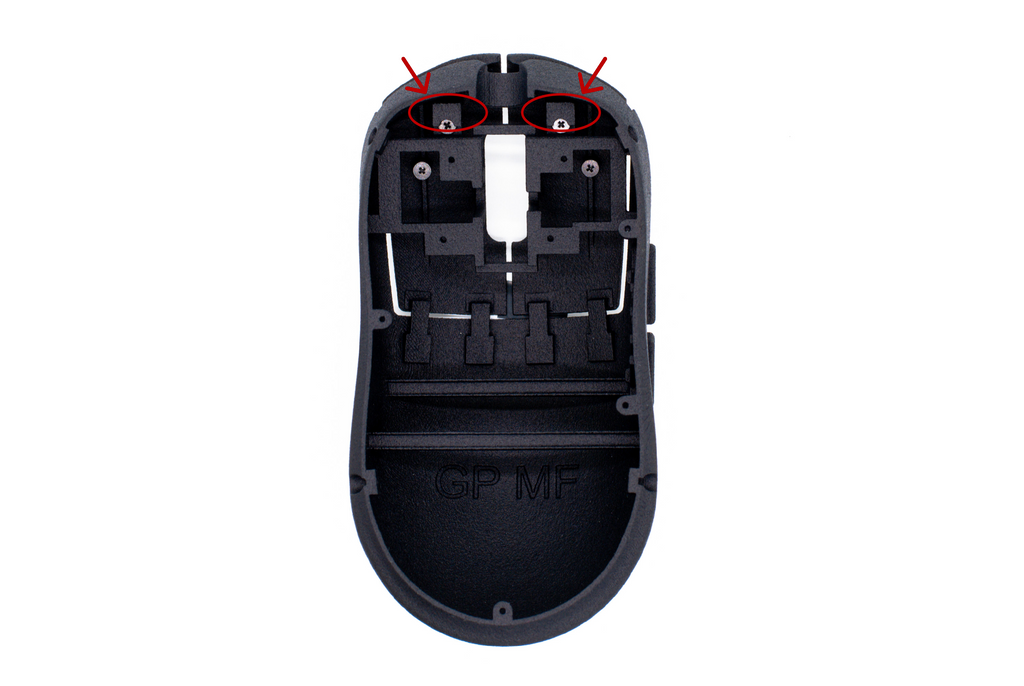
[9] Add the scrollwheel PCB to the top shell. Manovering the scrollwheel through the holder is a bit tricky - you can do it! Fasten it with 4 "Small head - Short screws".

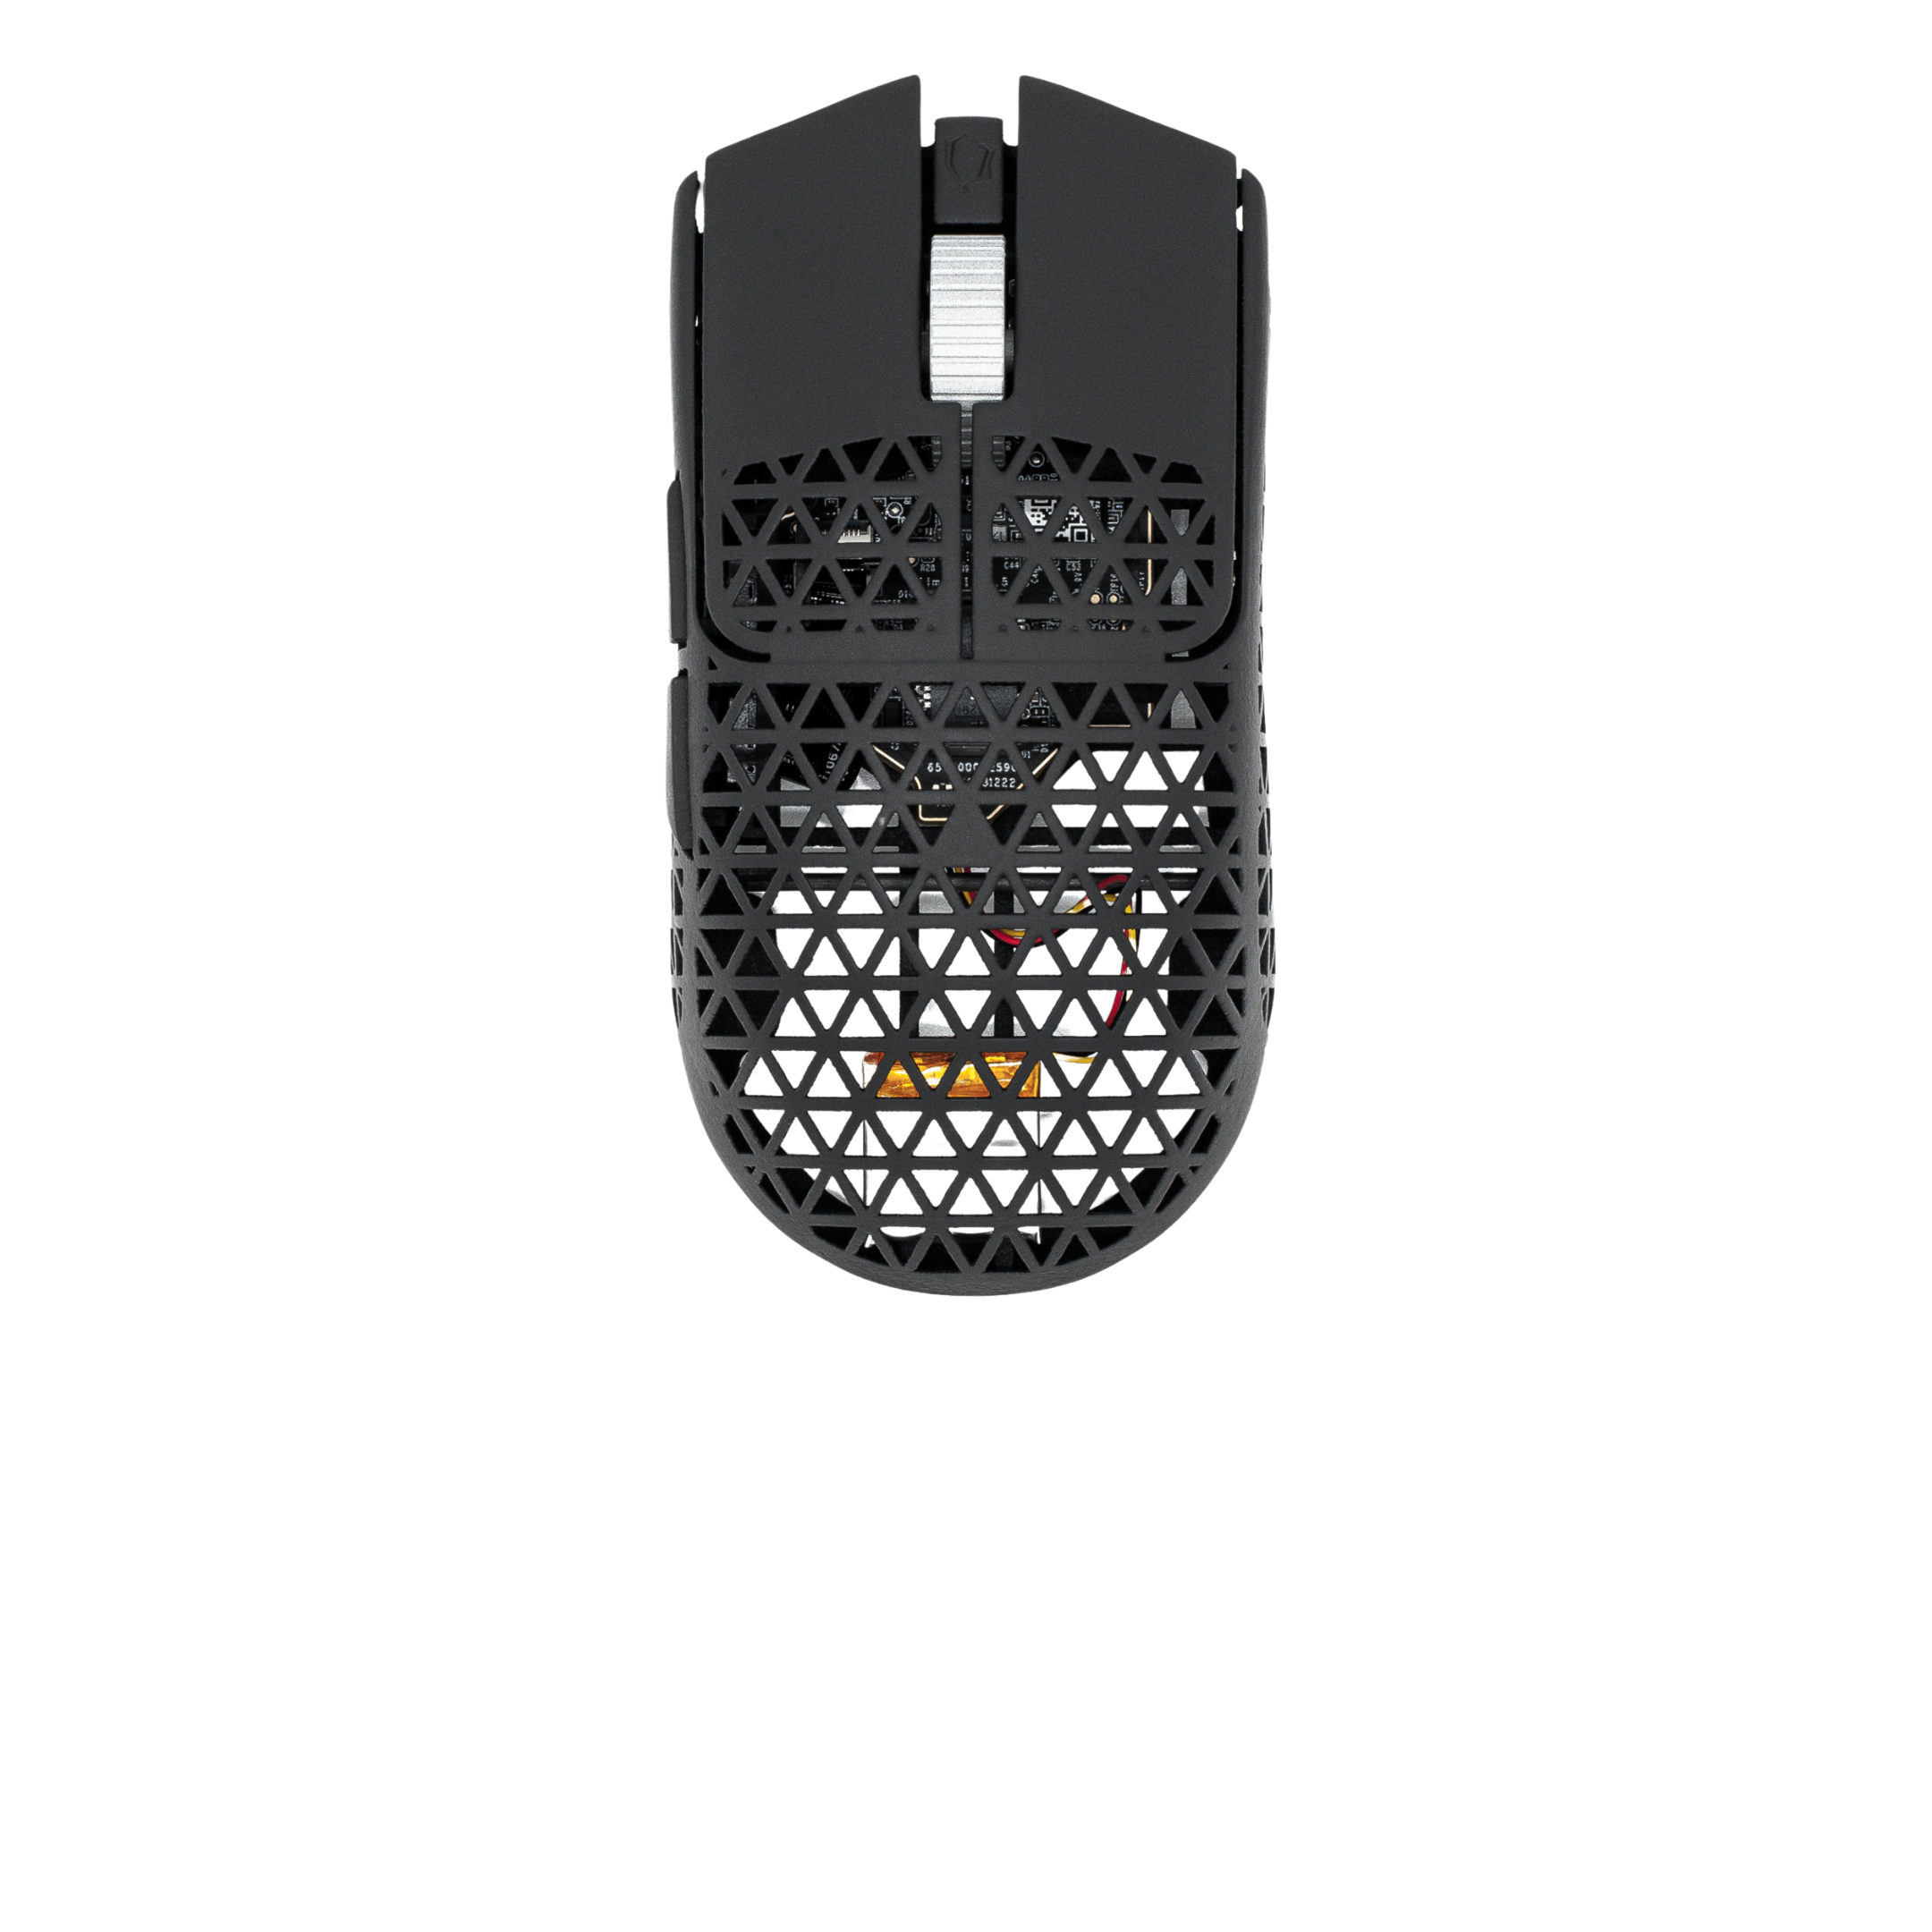
[10] Add the top shell to the bottom shell - starting from the front left [Looking at the bottom of the mouse] is the easiest. Fasten with "Small head - Long screws". Check if you have enough post-travel on LMB and RMB. If not, open the mouse back up, unscrew the Scrollwheel PCB, take it off and unscrew the screw in the mouse button half a turn to the left to extend it.
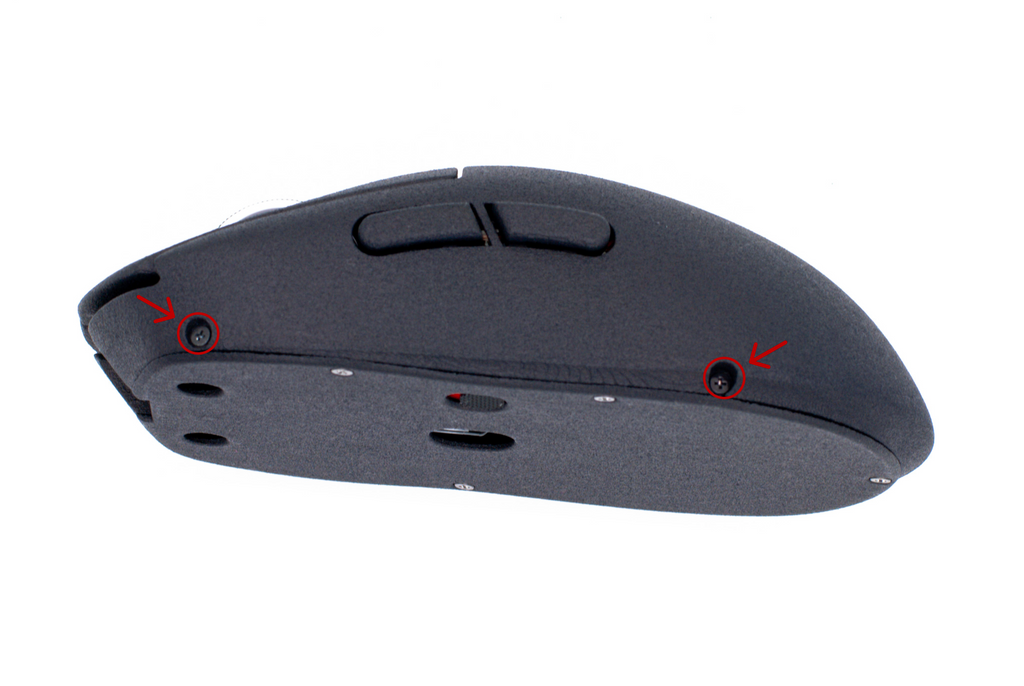
[11] If all is good, add "Small head - Short screws" in the bottom.
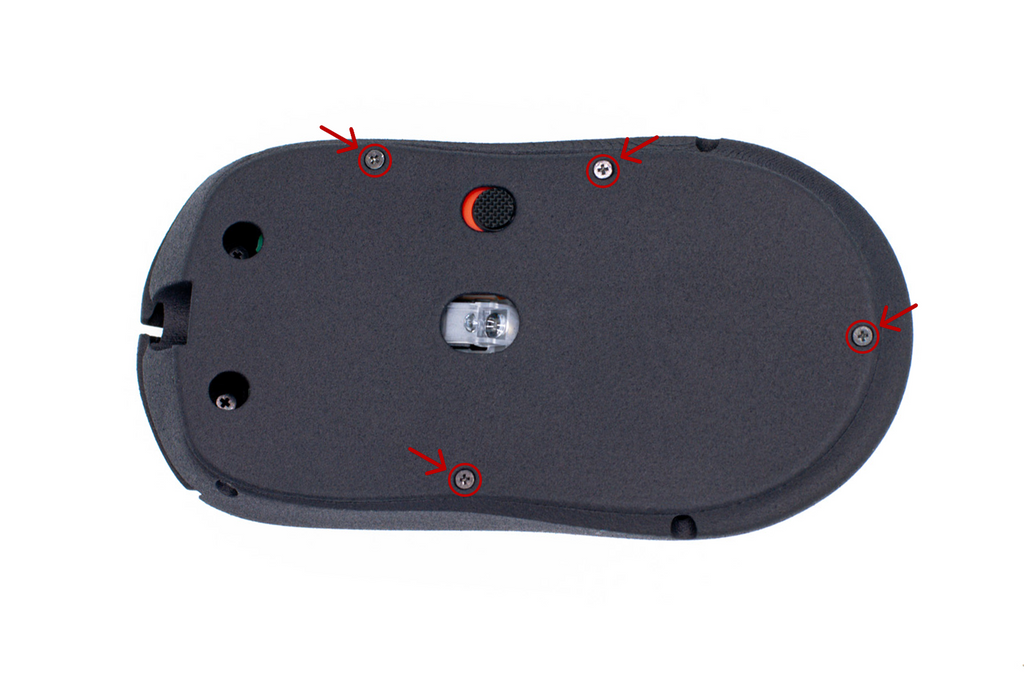
[12] Add mouse feet and the magnetic charging adapter in the front.

[13] Contact Support for questions: pmm.gg/support or ask the PMM community on discord: https://discord.com/invite/6z22p5Y3fW
