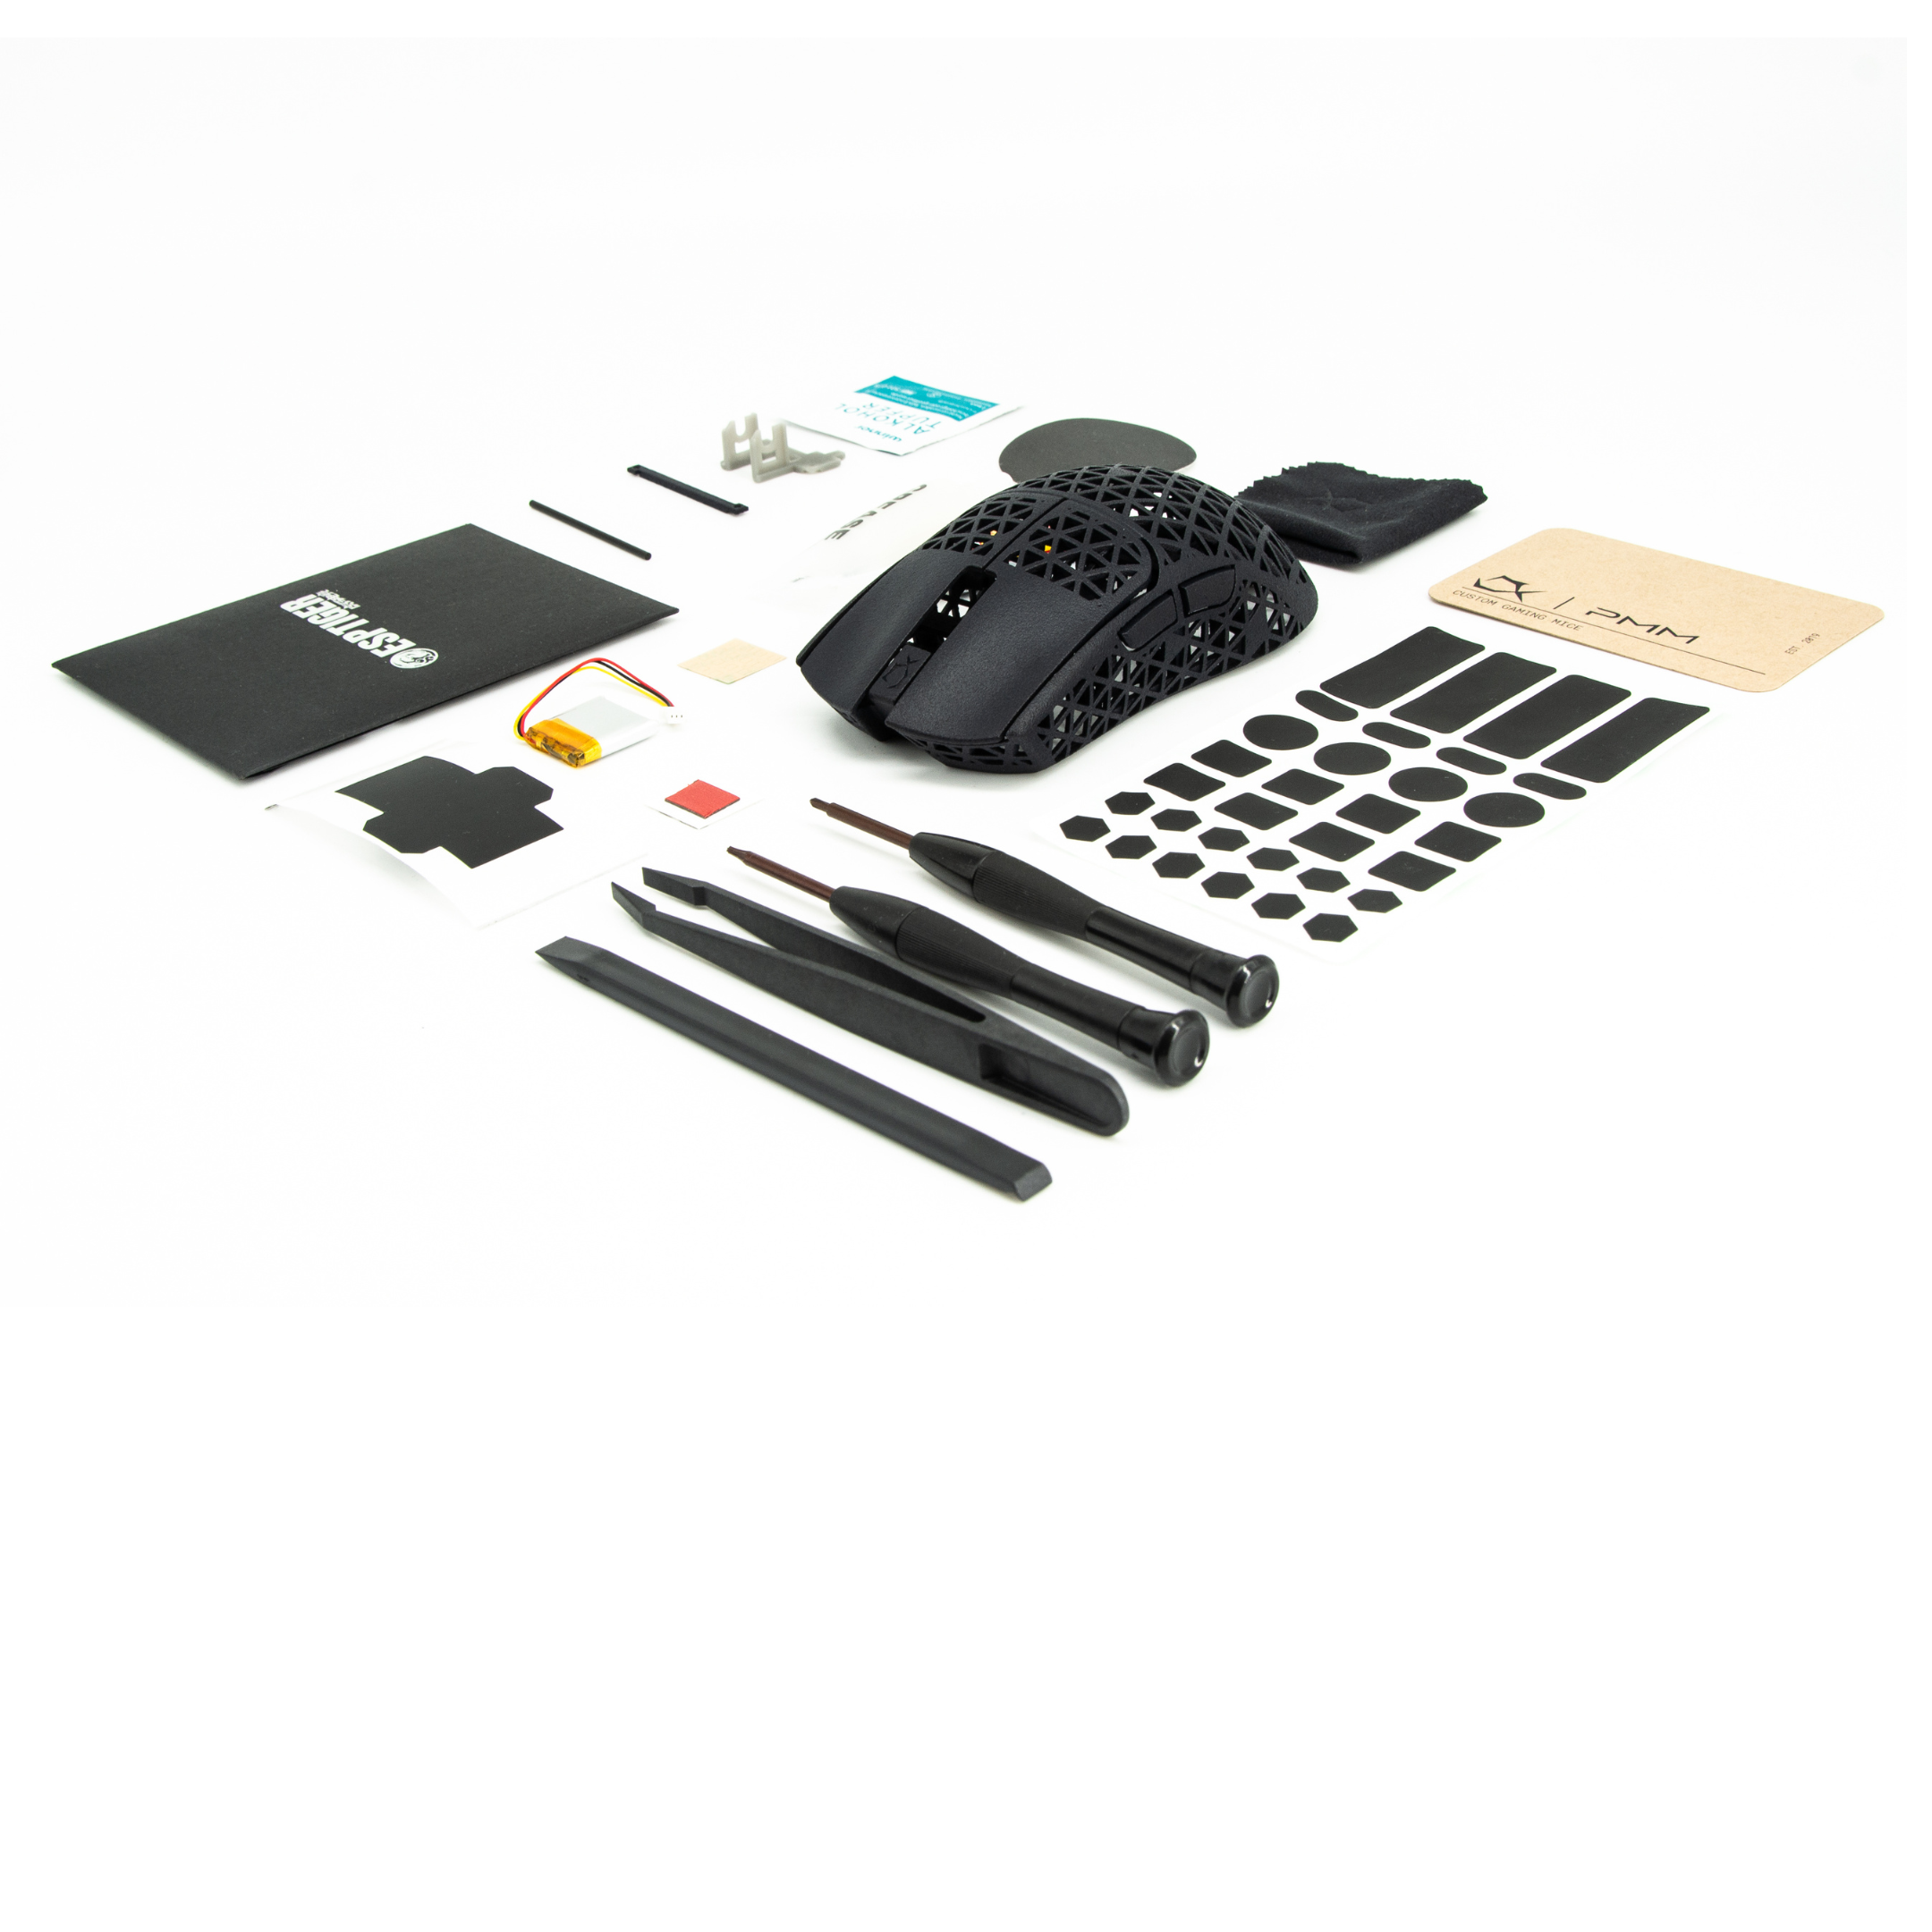
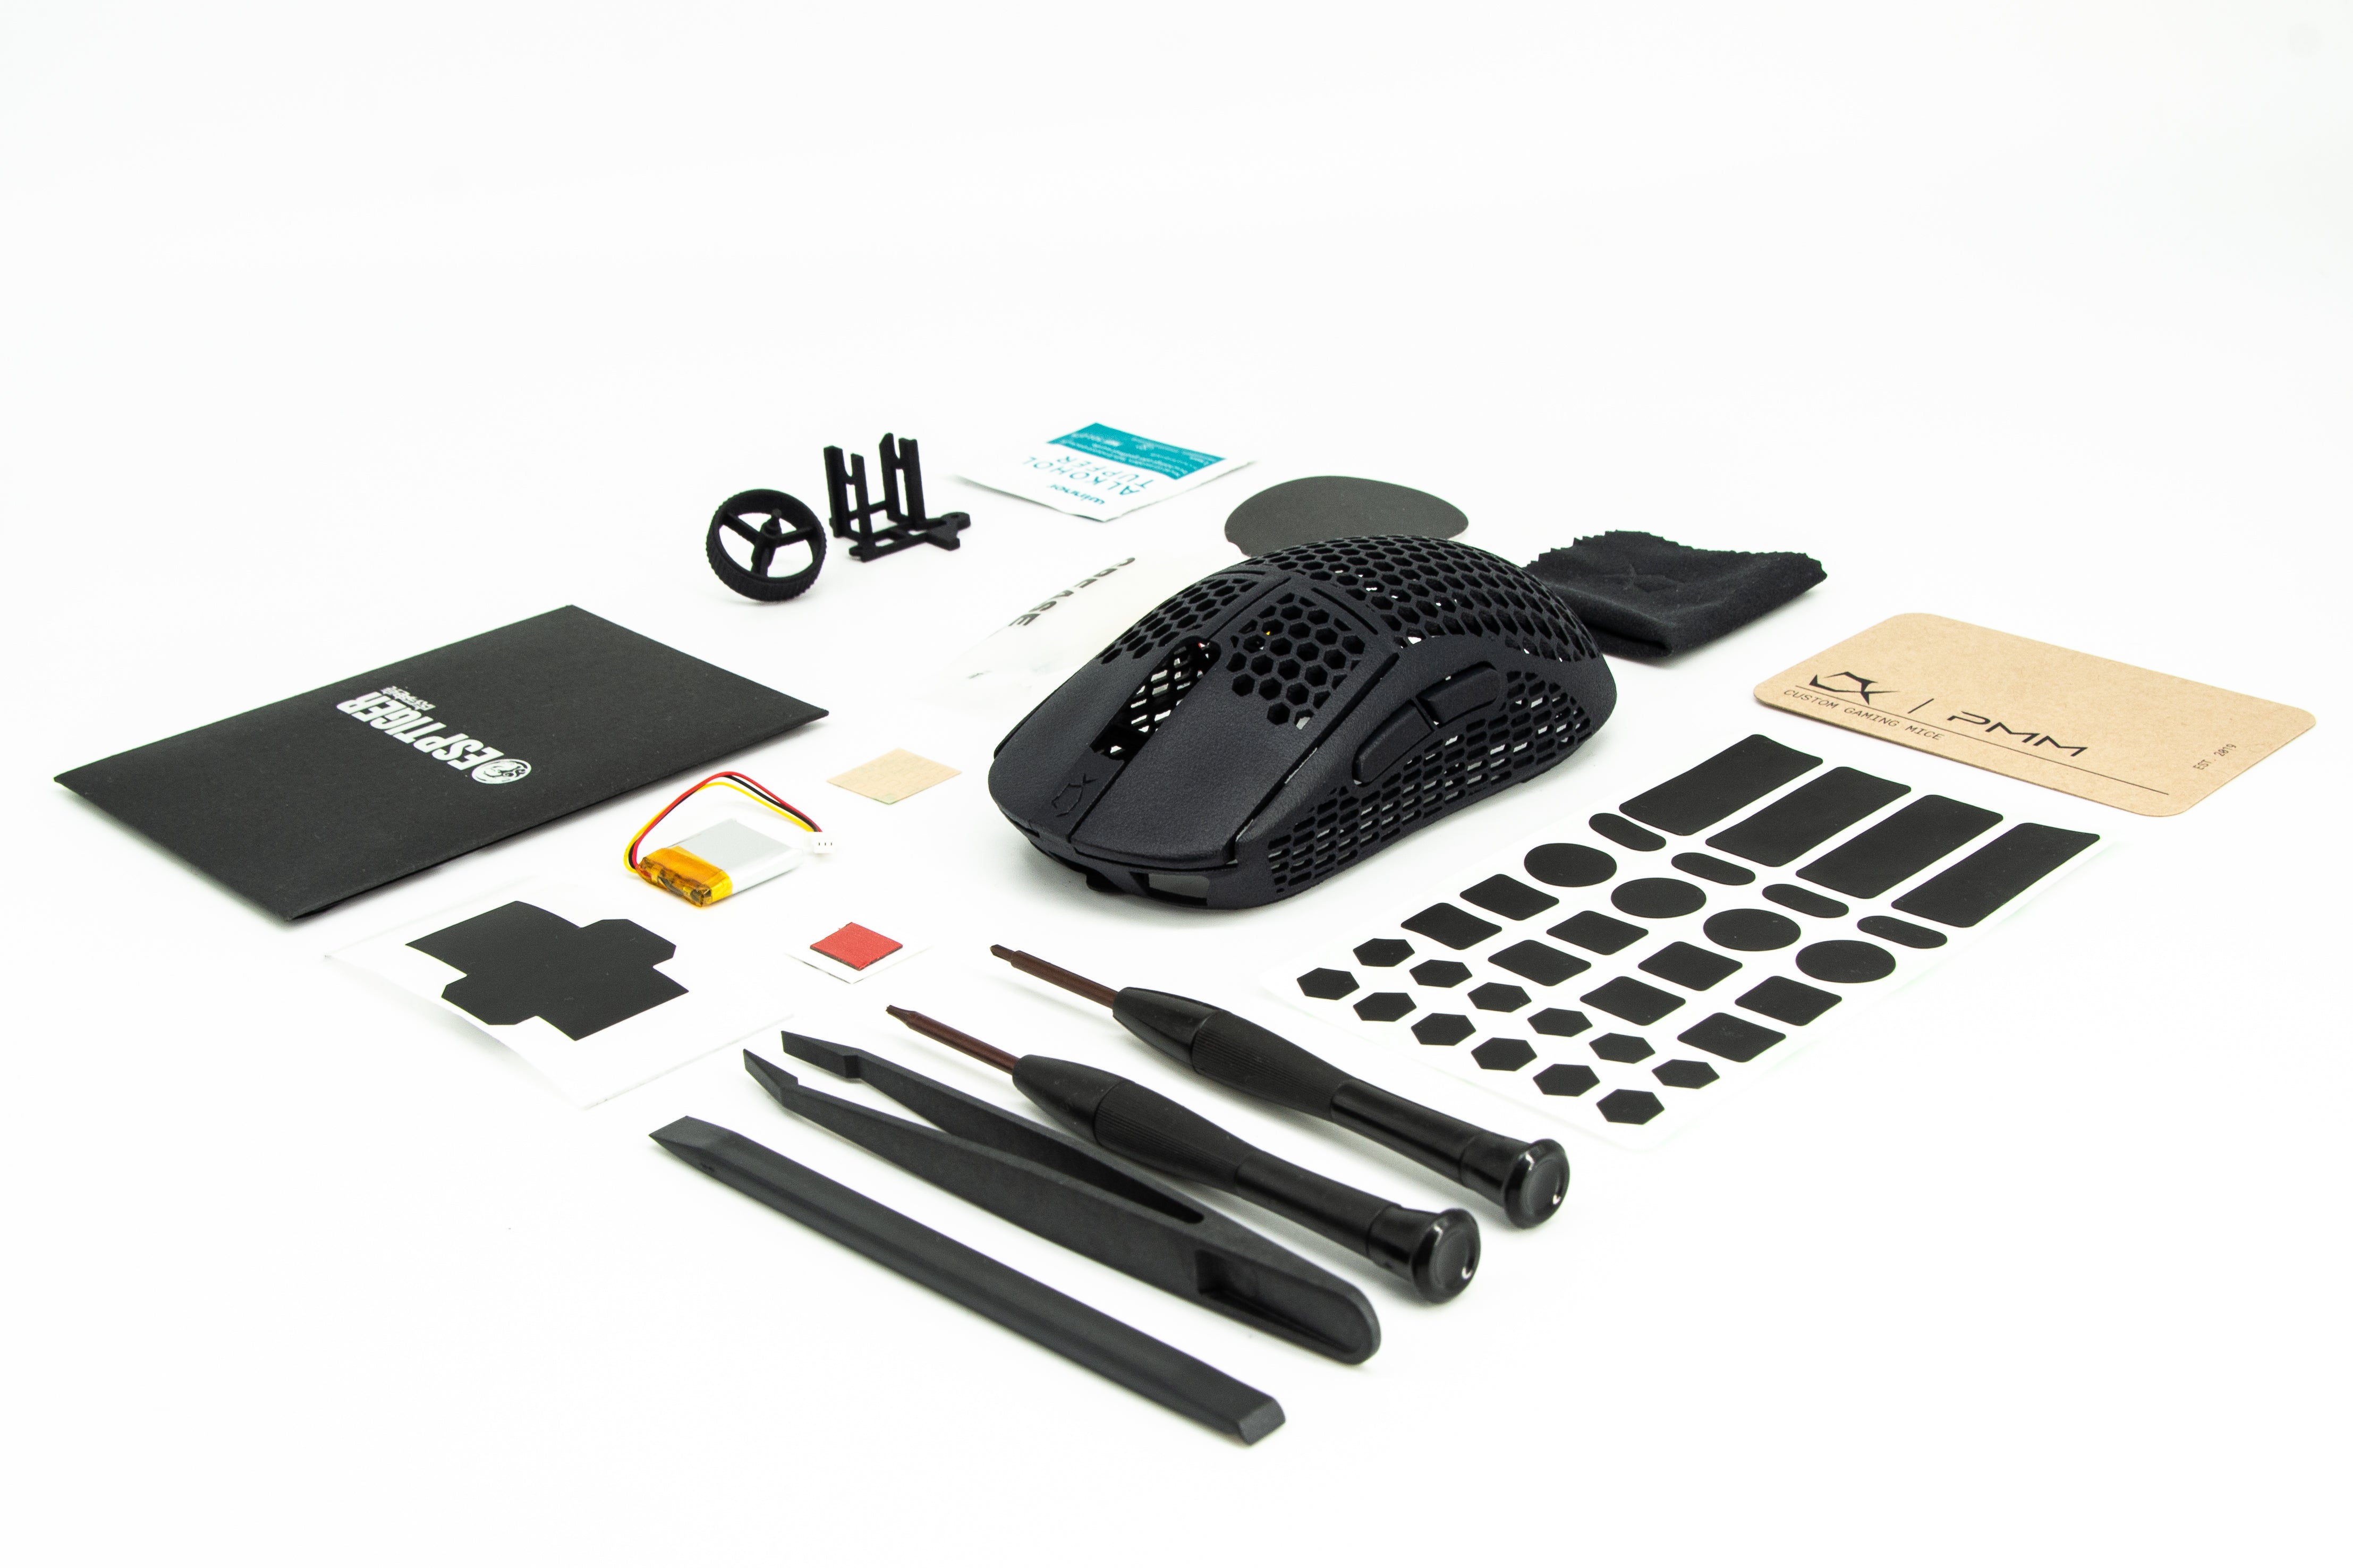
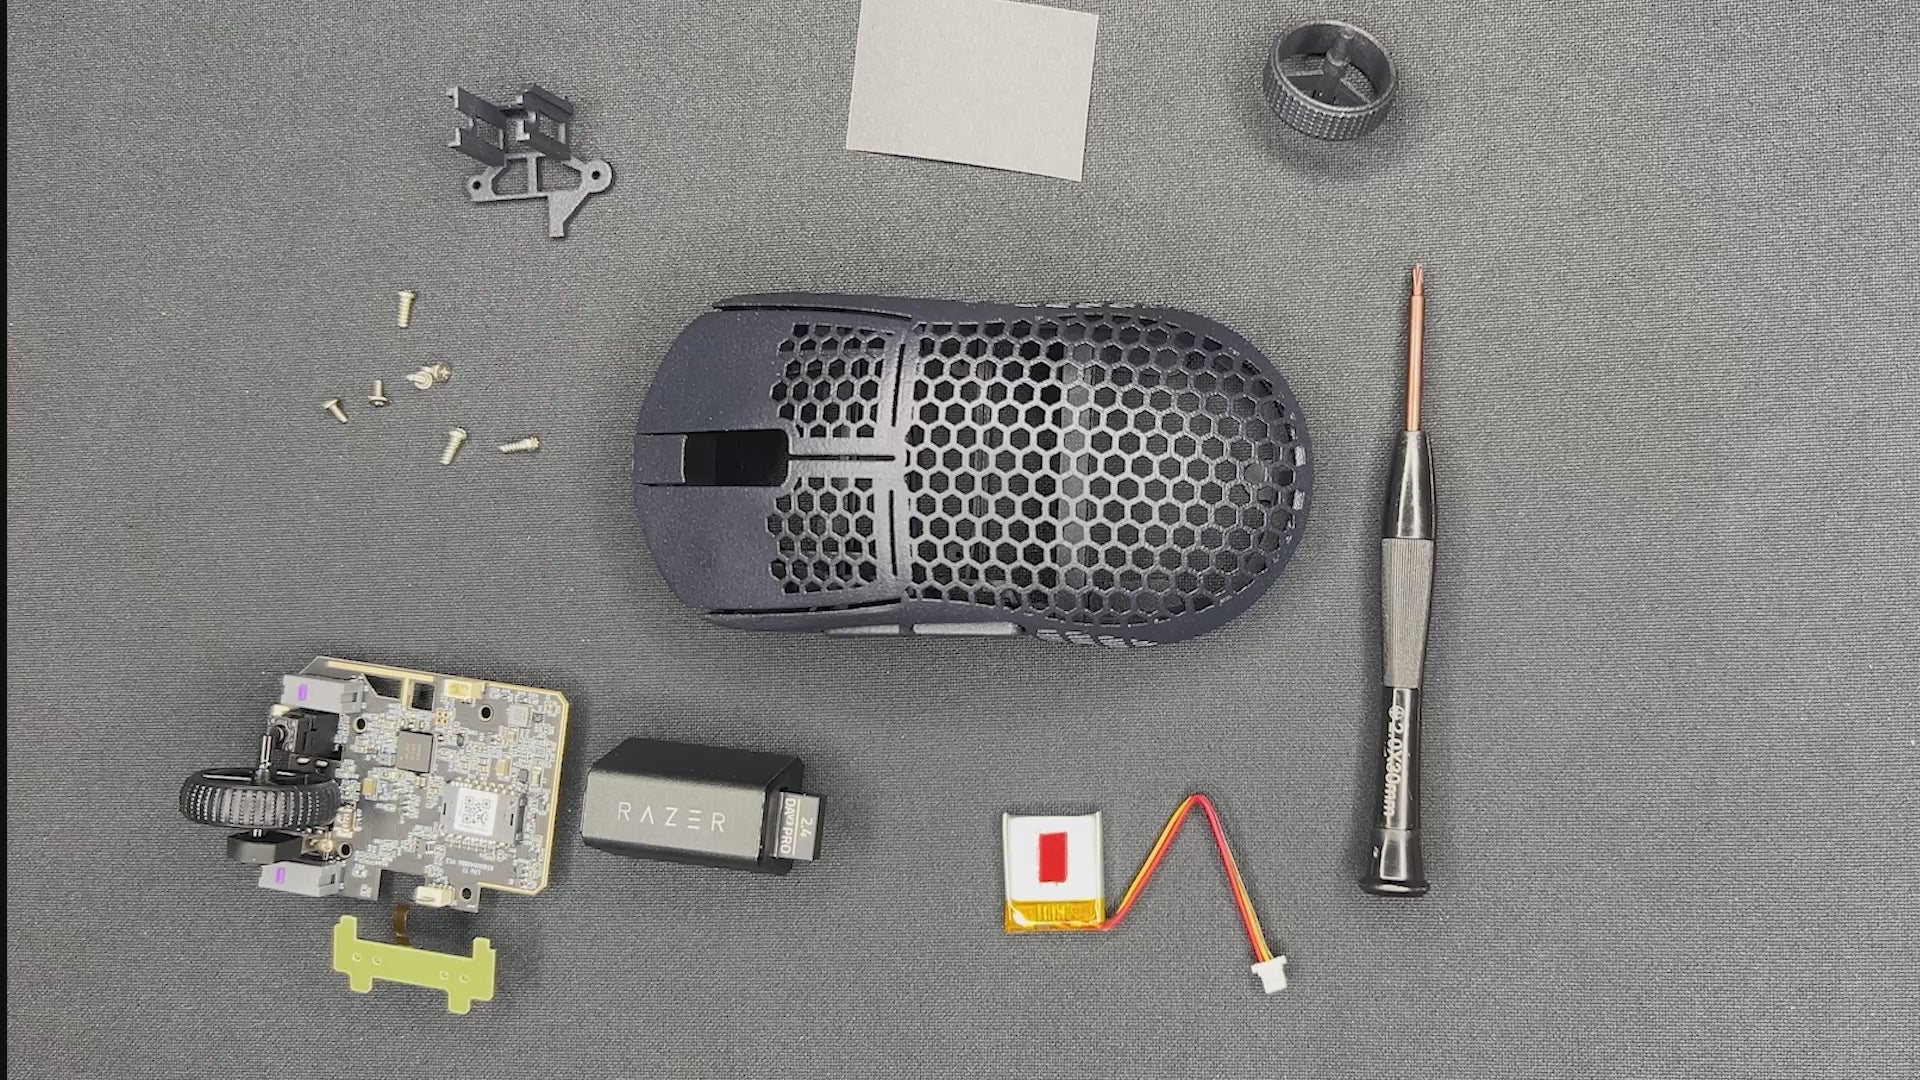
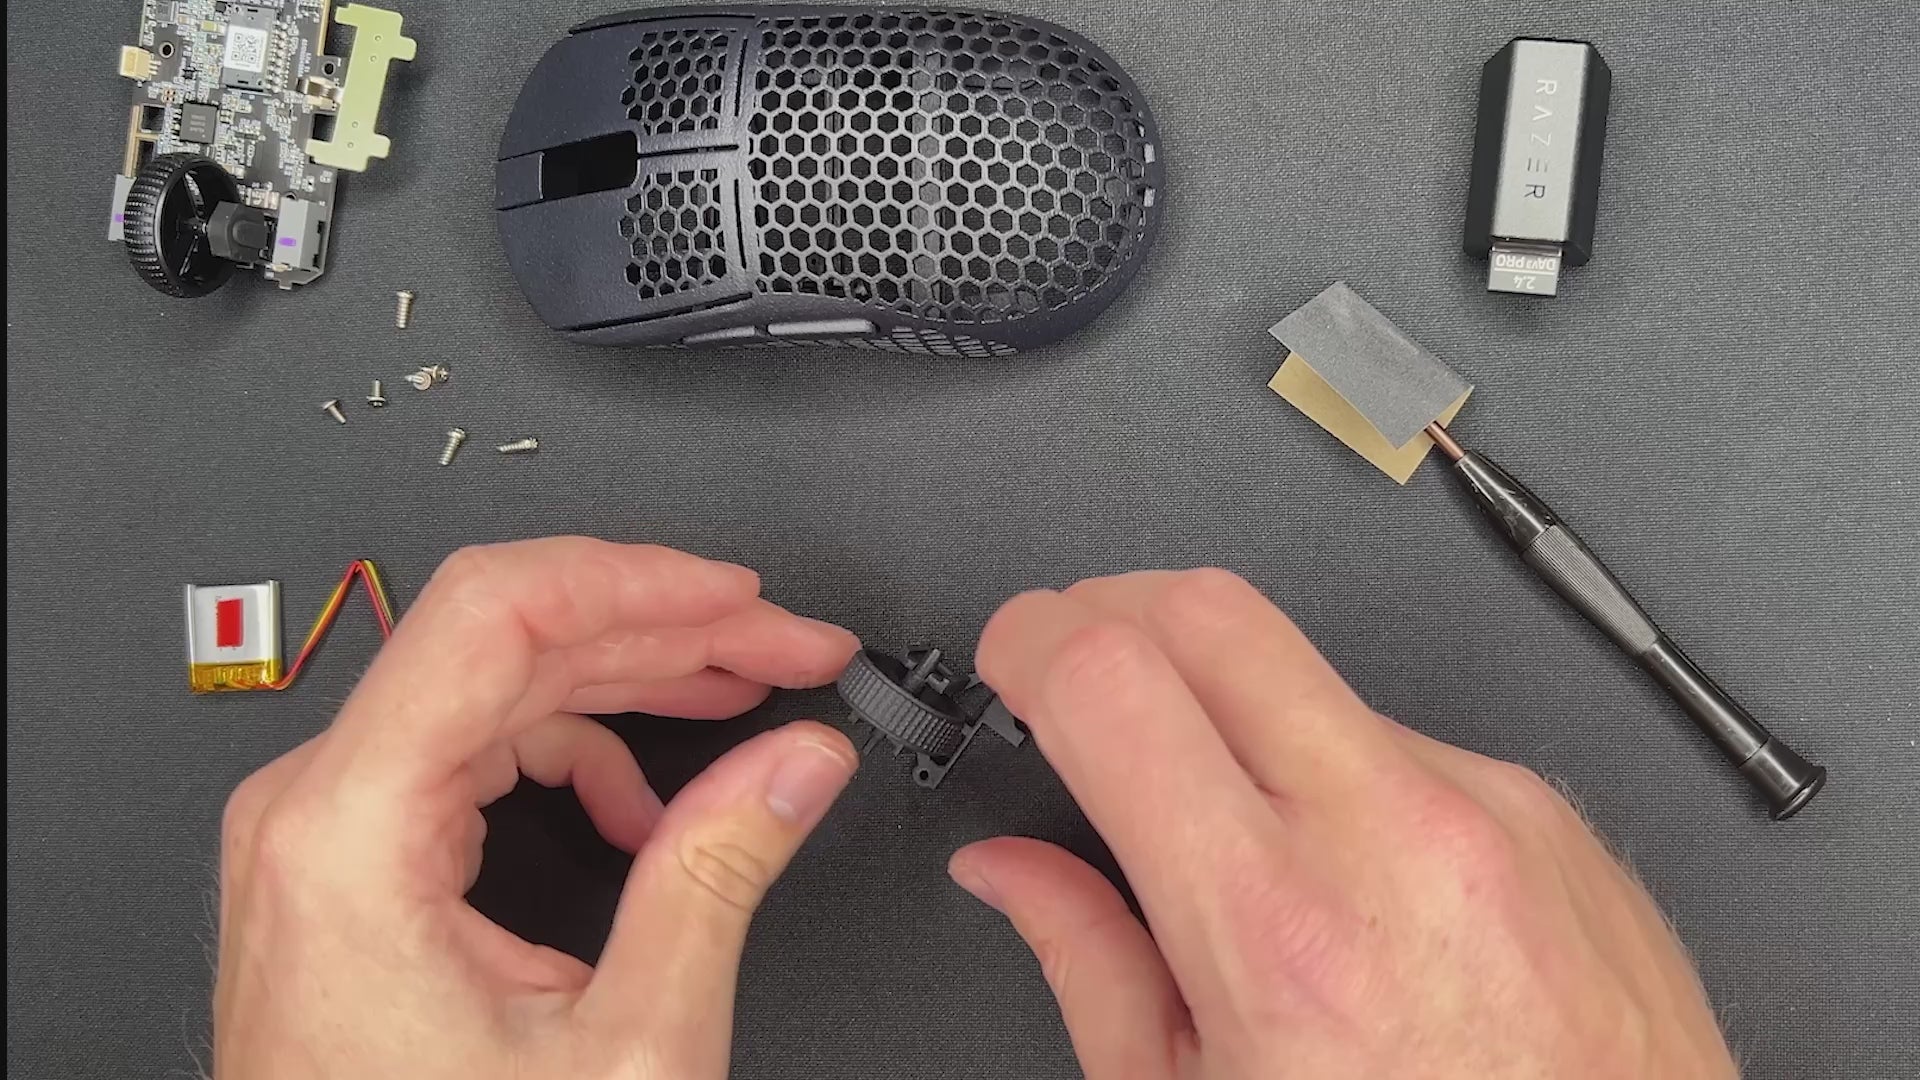
STEP 1: PREPARATION
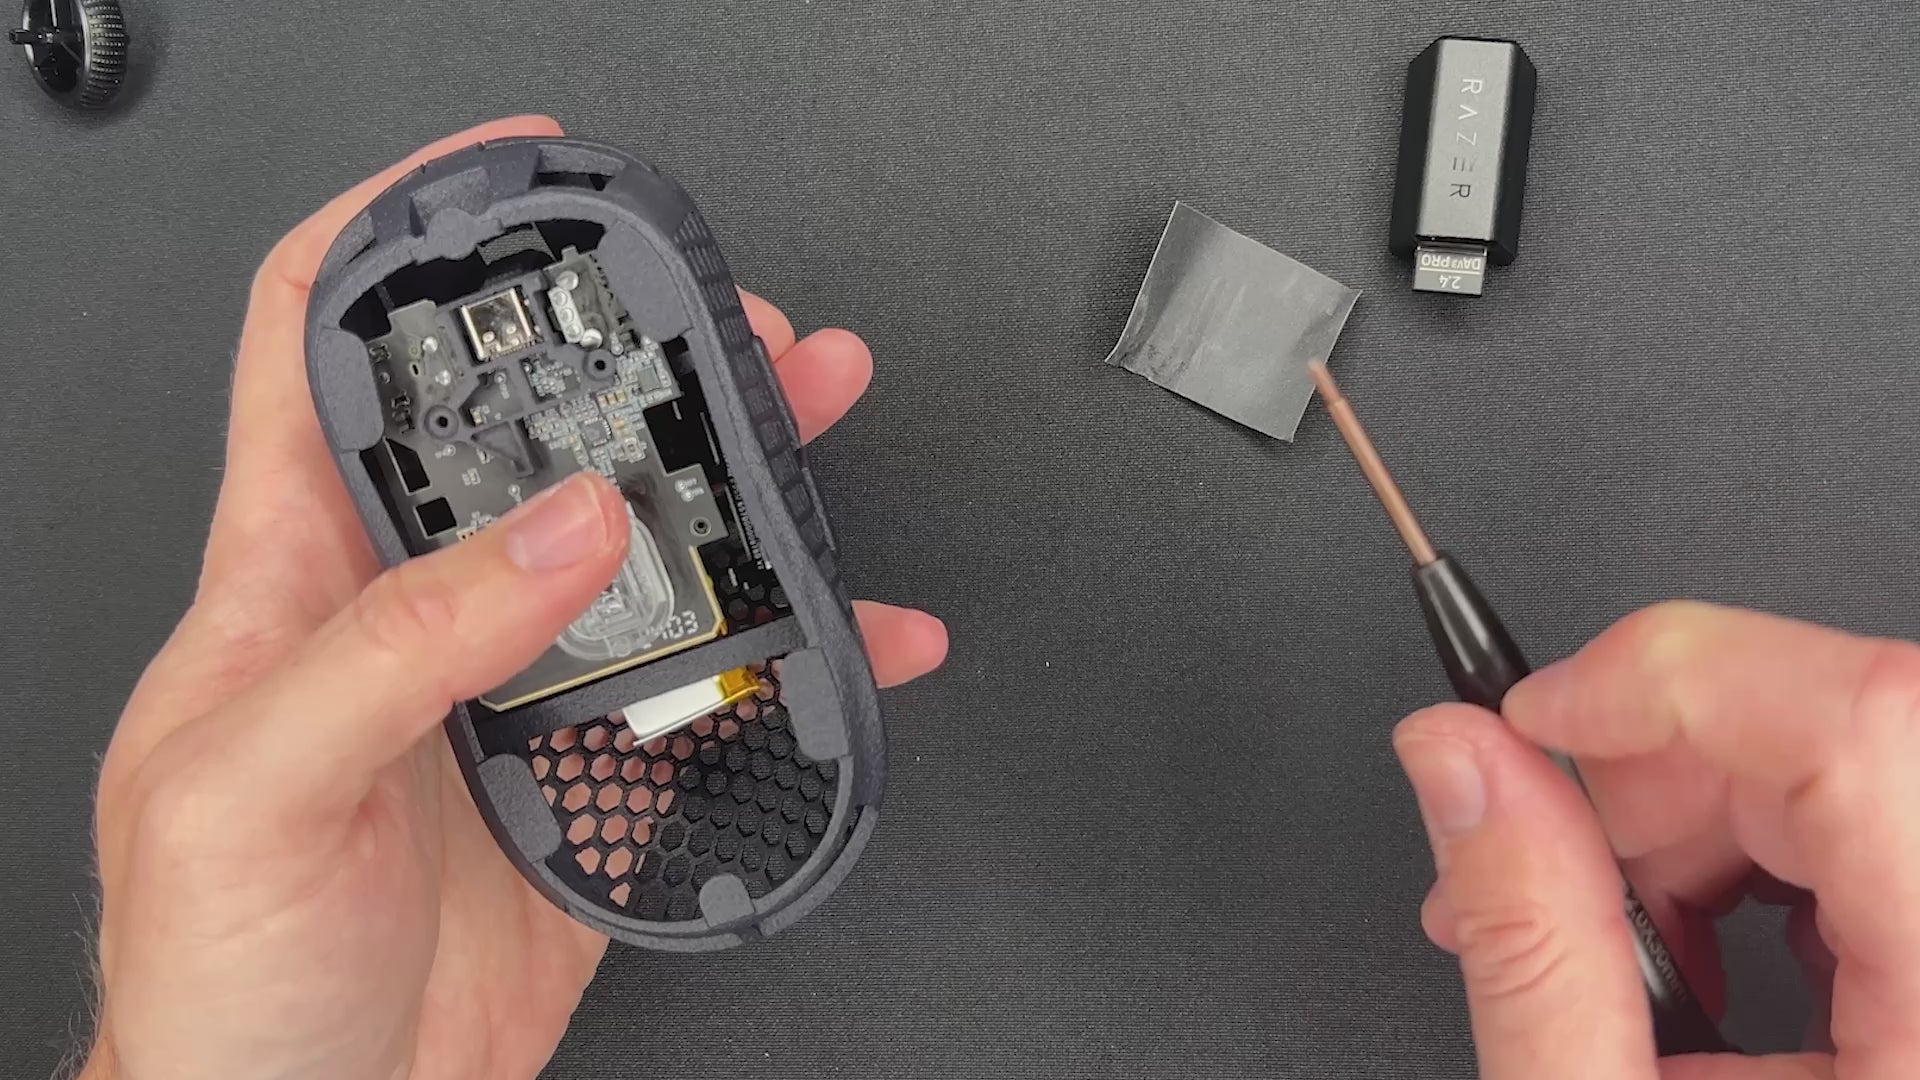
Sand the mouse wheel. Don't use too much pressure.
- Sand the thicker pin of the mouse wheel.
- Final check: Does the wheel run smooth in the holder?
- Repeat the process until the wheel runs smoothly.
The following video shows an example where it is not smooth enough yet.
STEP 1
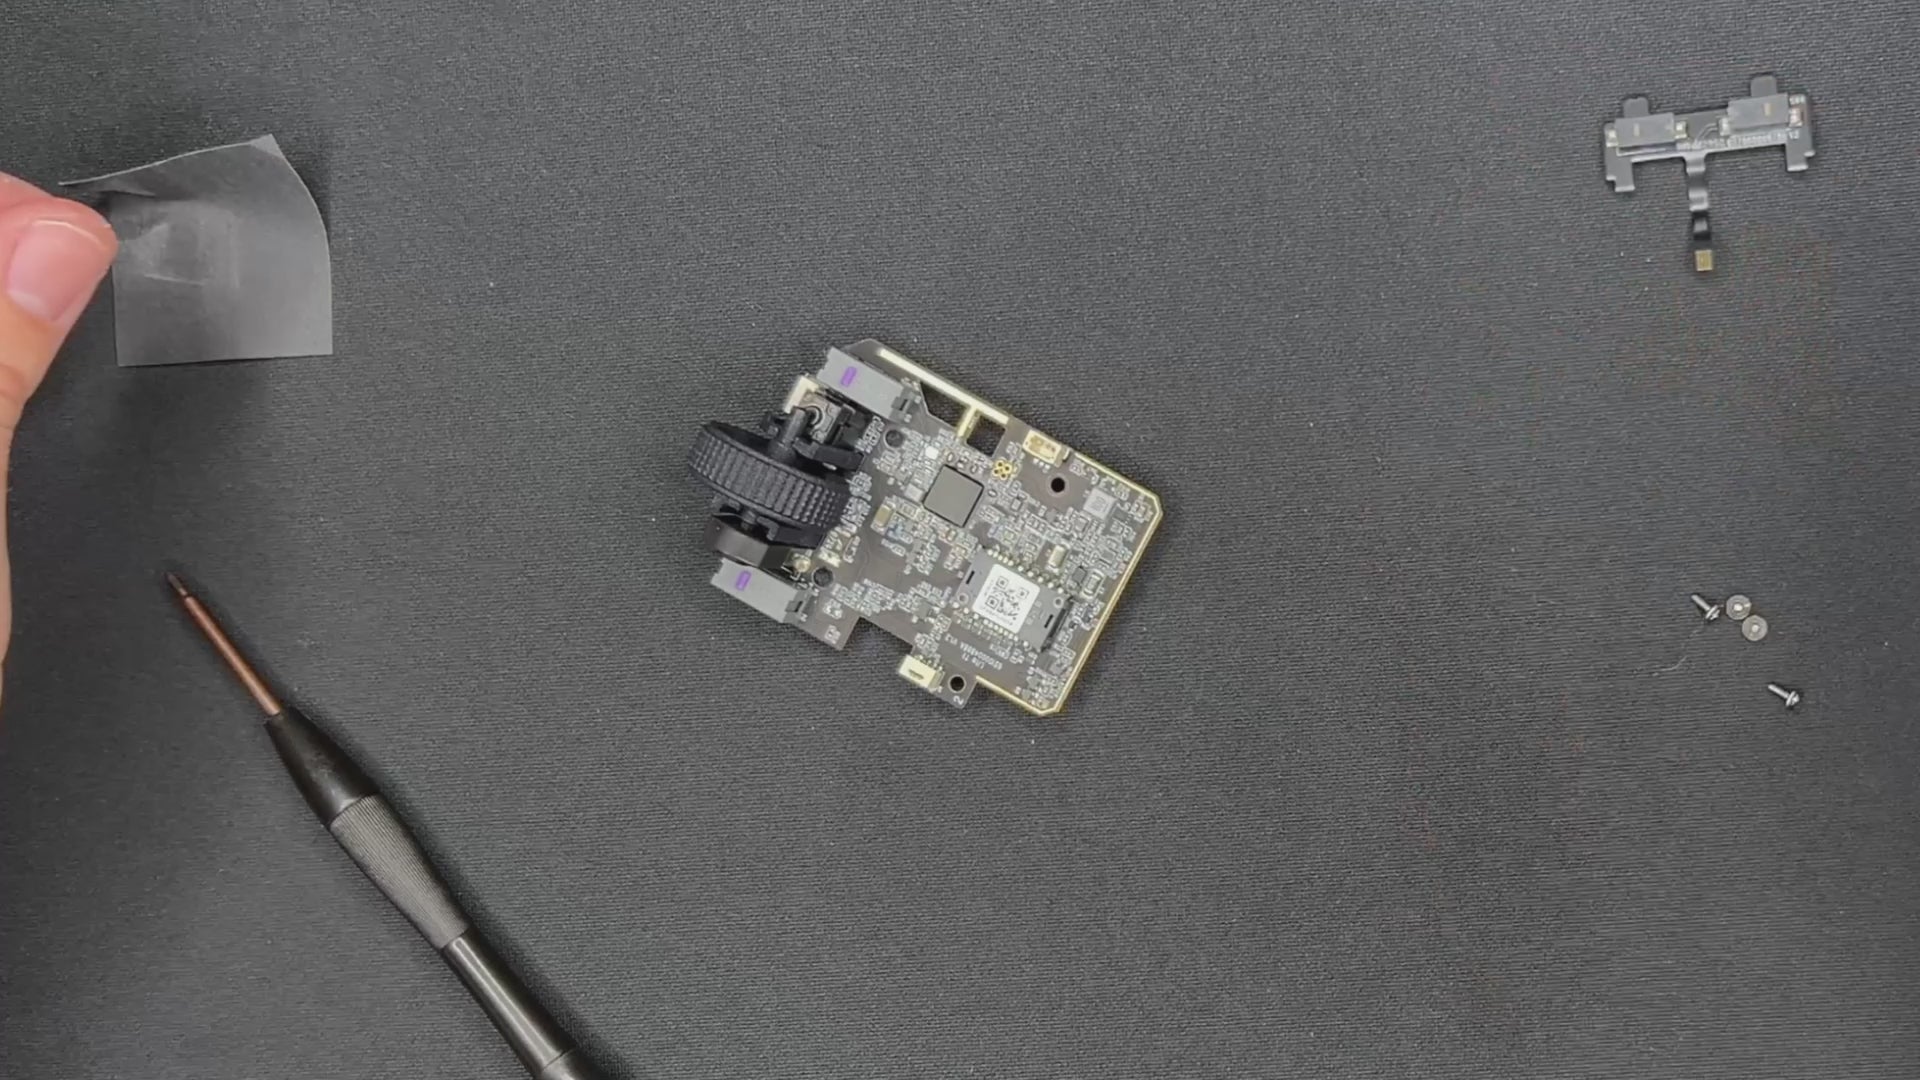
STEP 2: ADD THE MOUSE WHEEL TO THE PCB
- Remove the dust cover of the encoder.
- Plug the scroll wheel inside the encoder.
- Install the mouse wheel holder. It should be above the USB-C charging slot.
- Check if the mouse wheel runs smoothly. If there is too much friction you either need to sand more, or center the mouse wheel further. Updated mouse wheel holder are already so smooth that no sanding is needed.
STEP 2
STEP 3: CONNECT THE SIDE BUTTON PCB
- Connect the side button PCB with the ribbon cable. Be careful, don't bend the cable or put it in with too much pressure. The cable is fragile.
STEP 3
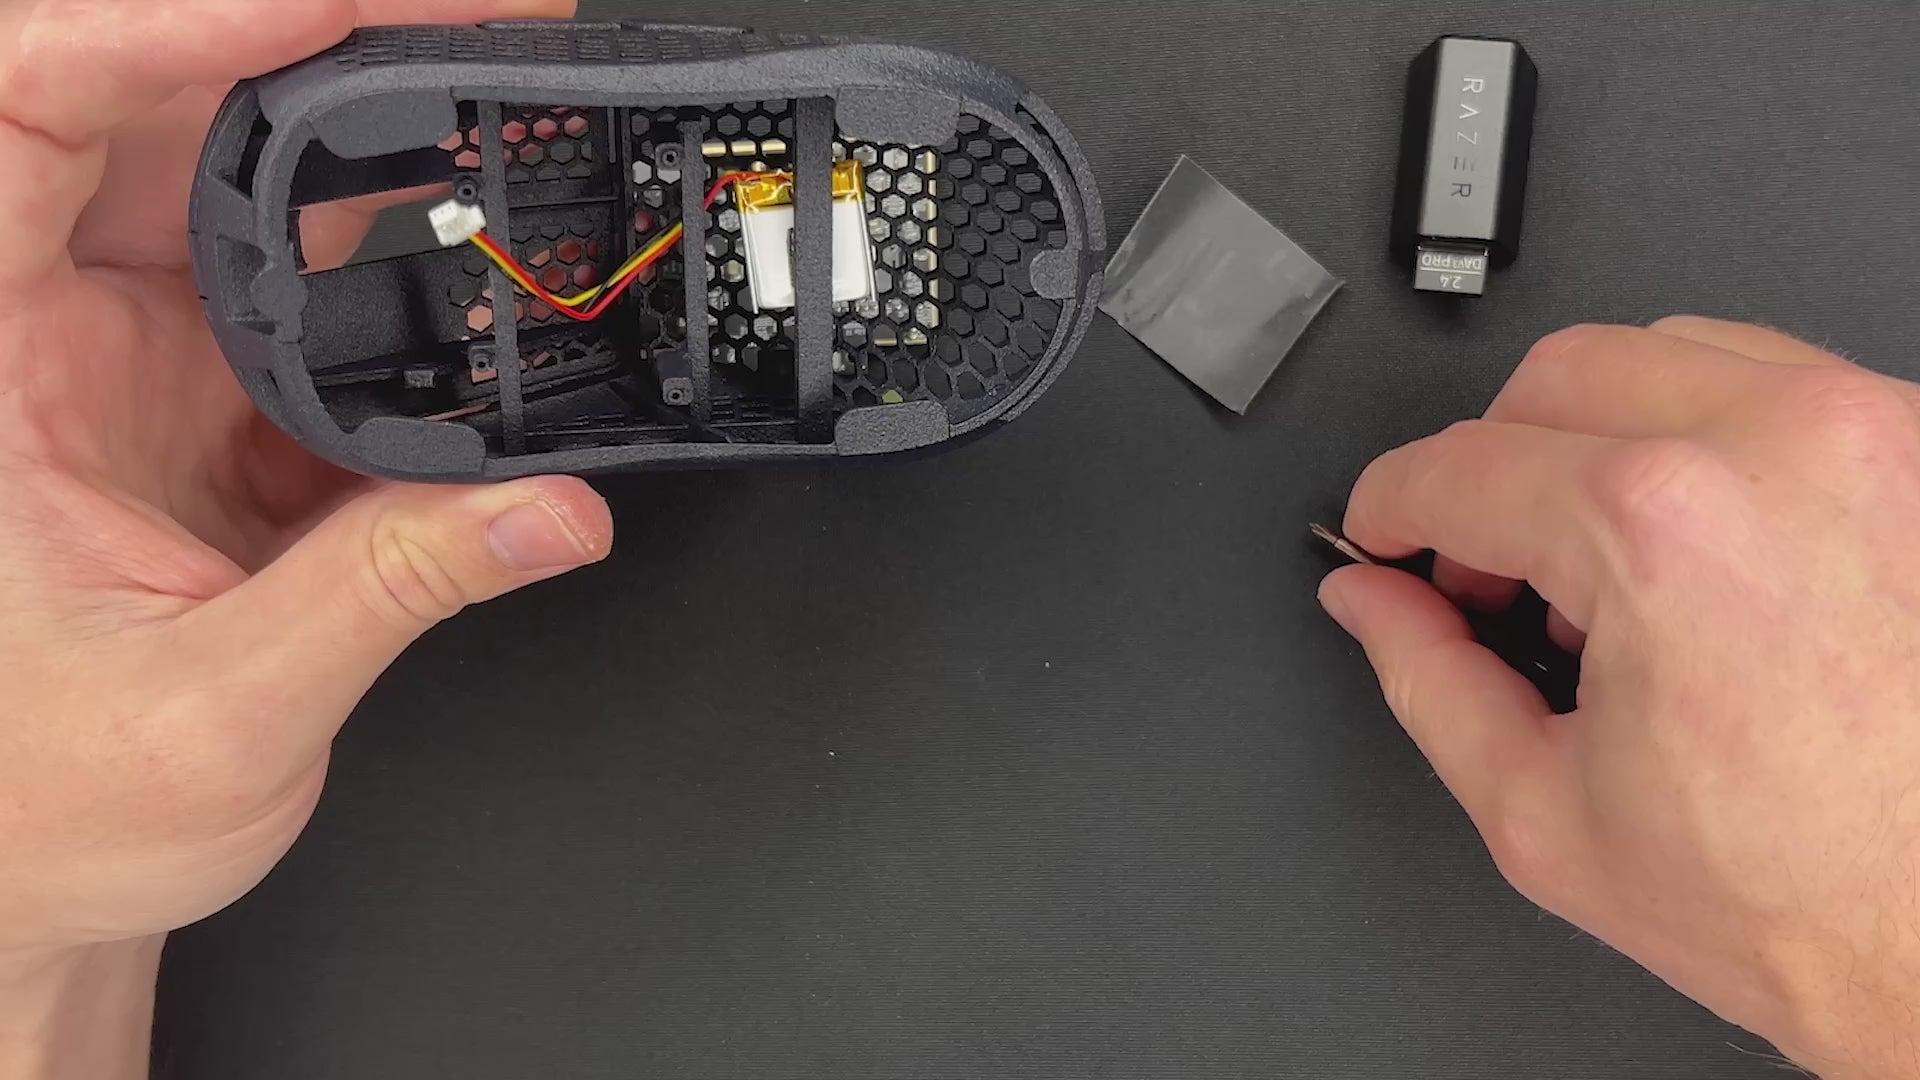
STEP 4: ADD THE BATTERY
Cover the battery with the black sticker but leave some free space for the adhesive. Put adhesive on your battery and not the sticker. Some cutting might be required. Since the sticker is a new component of the MOD-KIT, the video does not show it yet.
- Take off the adhesive film.
- Place the battery in the back, for a good weight balance.
- Check the battery cable to be in the right position.
STEP 4
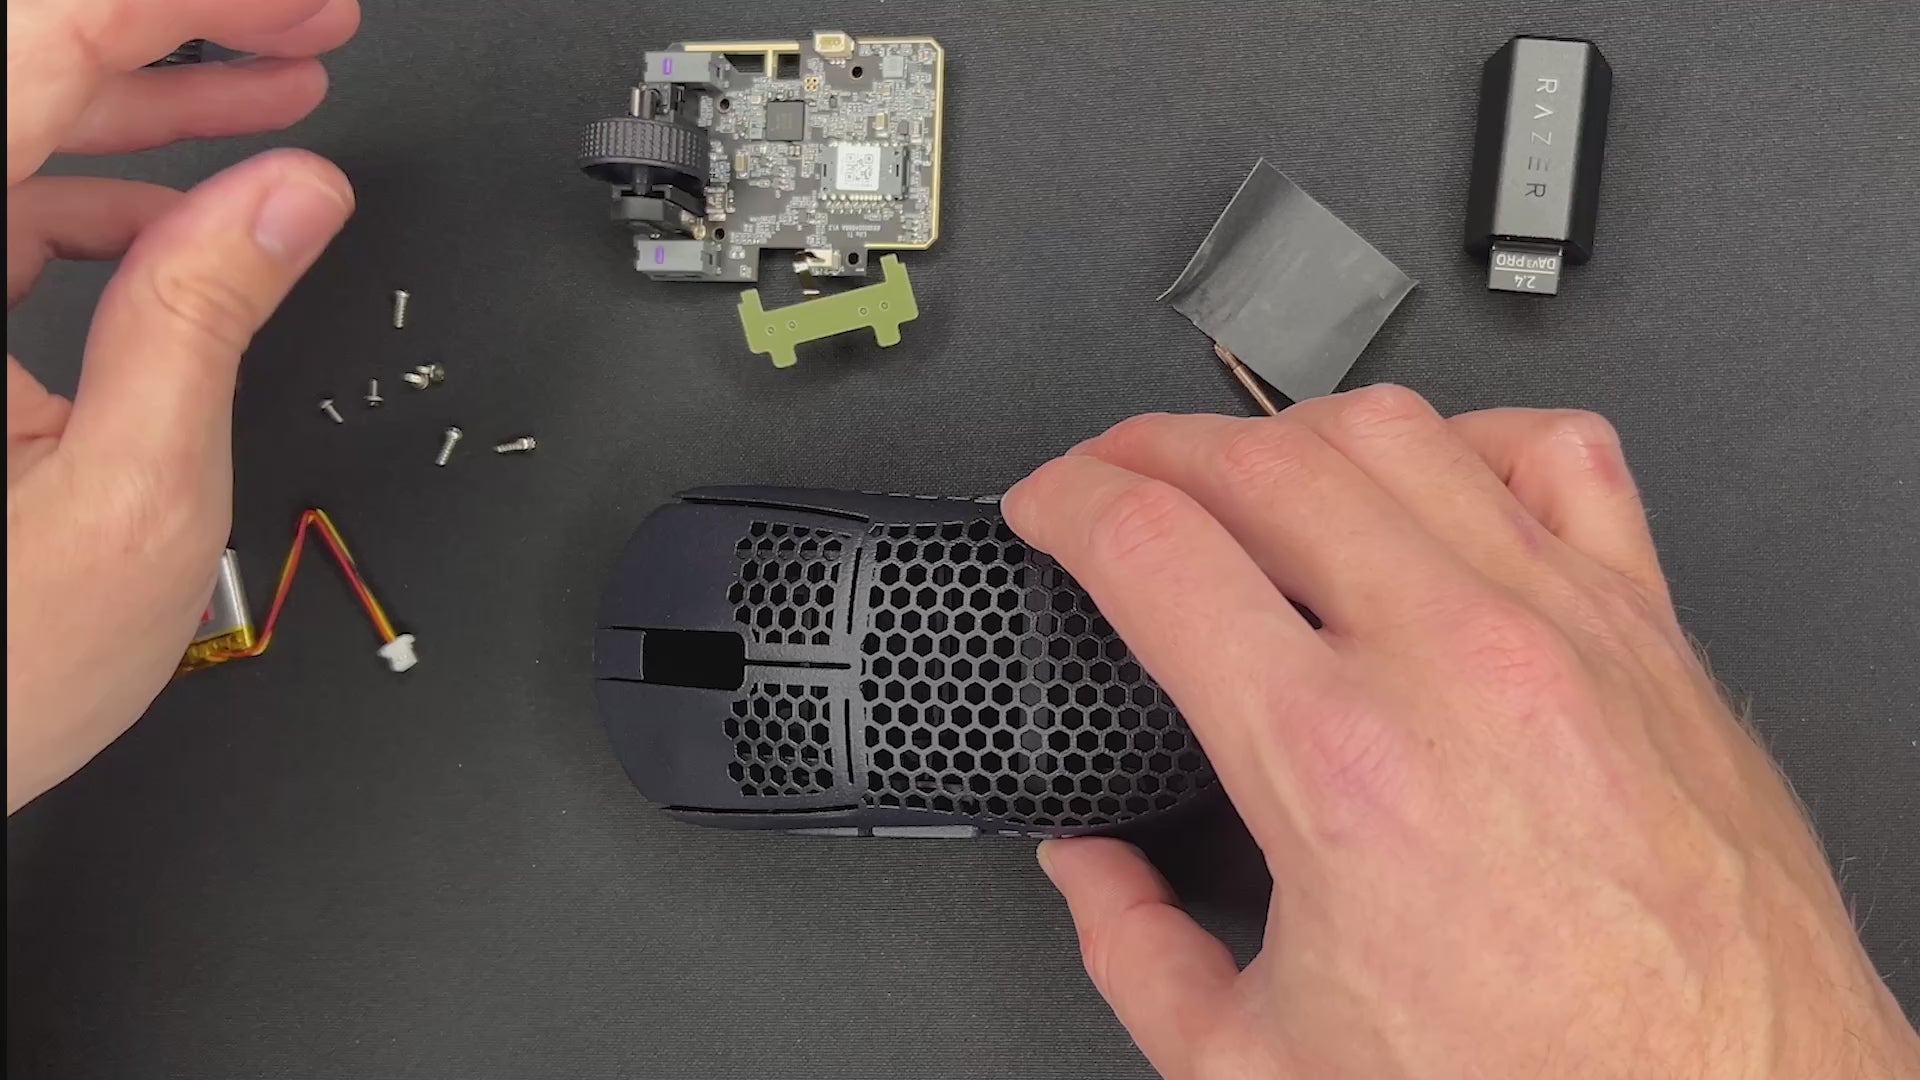
STEP 5: INSTALL THE PCB
- There is only one way to plug in the battery cable. Check that the connectors are in the correct direction.
- Place the side button PCB in the holder. It does not need to be completely inside. Later you will have the change to fully insert it.
Note: Be careful where the scrollwheel is before you push the PCB down in this step. It should not push against a mouse button.
- Start by placing the PCB under the skate on the front right side.
- Next, get the PCB under the left skate. A bit of bending might be required.
- Slowly go around the edges and place the PCB over the screw holes.
- The PCB has to sit on top of the pins in the front.
- Check if left and right mouse buttons work, when you press the PCB against the shell. If that is not the case, please contact support by Email to support@pmm.gg or join the website live chat.
STEP 5
STEP 6: INSERTING THE SIDE BUTTON PCB AND FASTENING THE MAIN PCB
- Use your screwdriver to further insert the side button PCB. It can get stuck at the side buttons. You might need to gently push the side buttons out.
- Check if the clicks work. If you notice that there is a gap between the pins that are touching the PCB in the front, you can apply the spacer that are part of the Mod-Kit to get rid of it. This will greatly improve the click feeling.
- Screw the PCB to the shell.
STEP 6
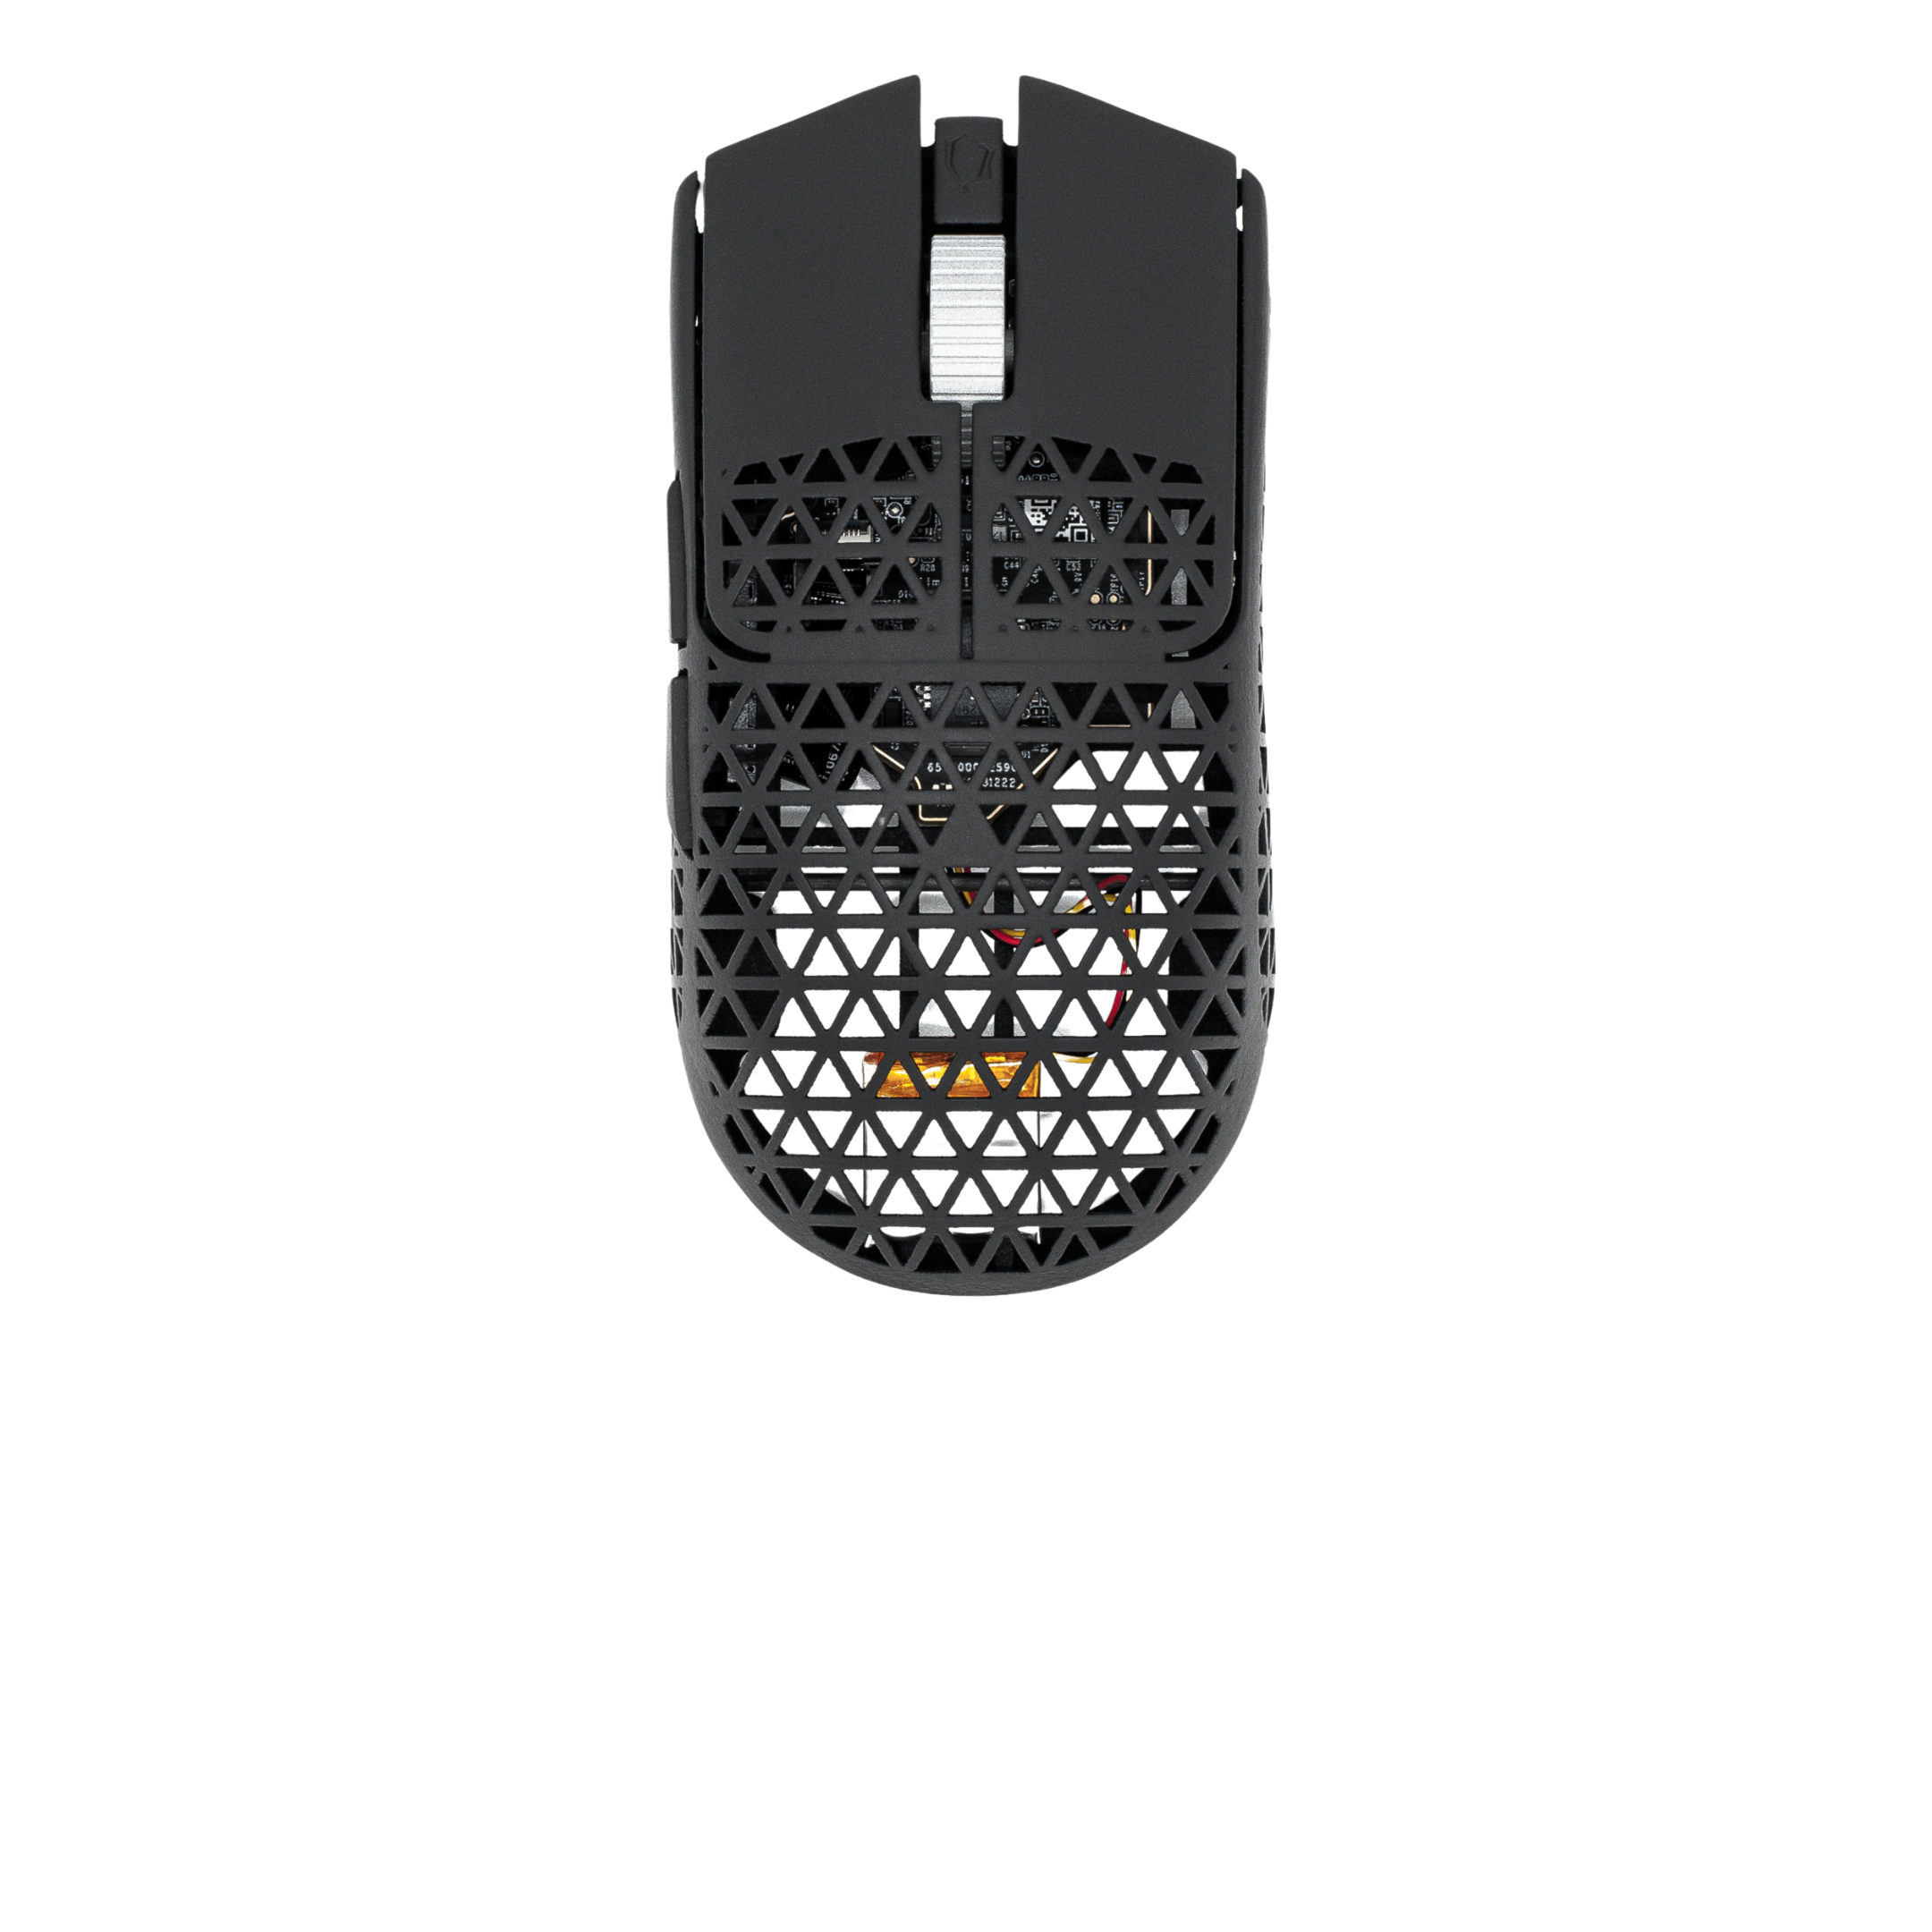
STEP 7: APPLY SKATES
- Place the mouse skates on the designated spots.
- If you are using dots or sapphire skates we recommend to place 6 skates on the mouse. Three in the front and 3 in the back.
FINAL CHECK
Check if all mouse skates touch the ground. If that is not the case it is possible that the PCB or shell got slightly bent during the disassembly/ assembly process. To fix this, it is possible to bend the mouse in to opposite direction as it's deformed. Repeat the process until all mouse skates are on the ground.
If you experience that the mouse wheel click stays activated after a click, please get in contact with support.
If you have any other problems, contact our support team at support@pmm.gg or in the live chat.
Check out the FAQ to find out how to pair the 8K Hyperpolling dongle.
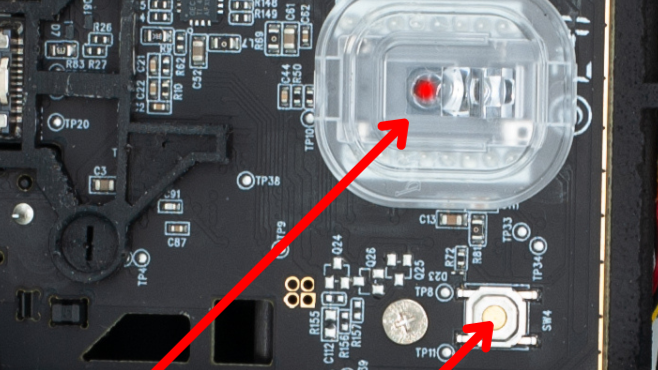
Turning on the TITAN 8K L
You turn on the mouse by pressing the golden button on the bottom of the PCB for 4-6 seconds.
To check if the mouse has turned on, there should be a red LED shining in the sensor lense.
Have fun gaming!
YOU DID IT!
Well done.