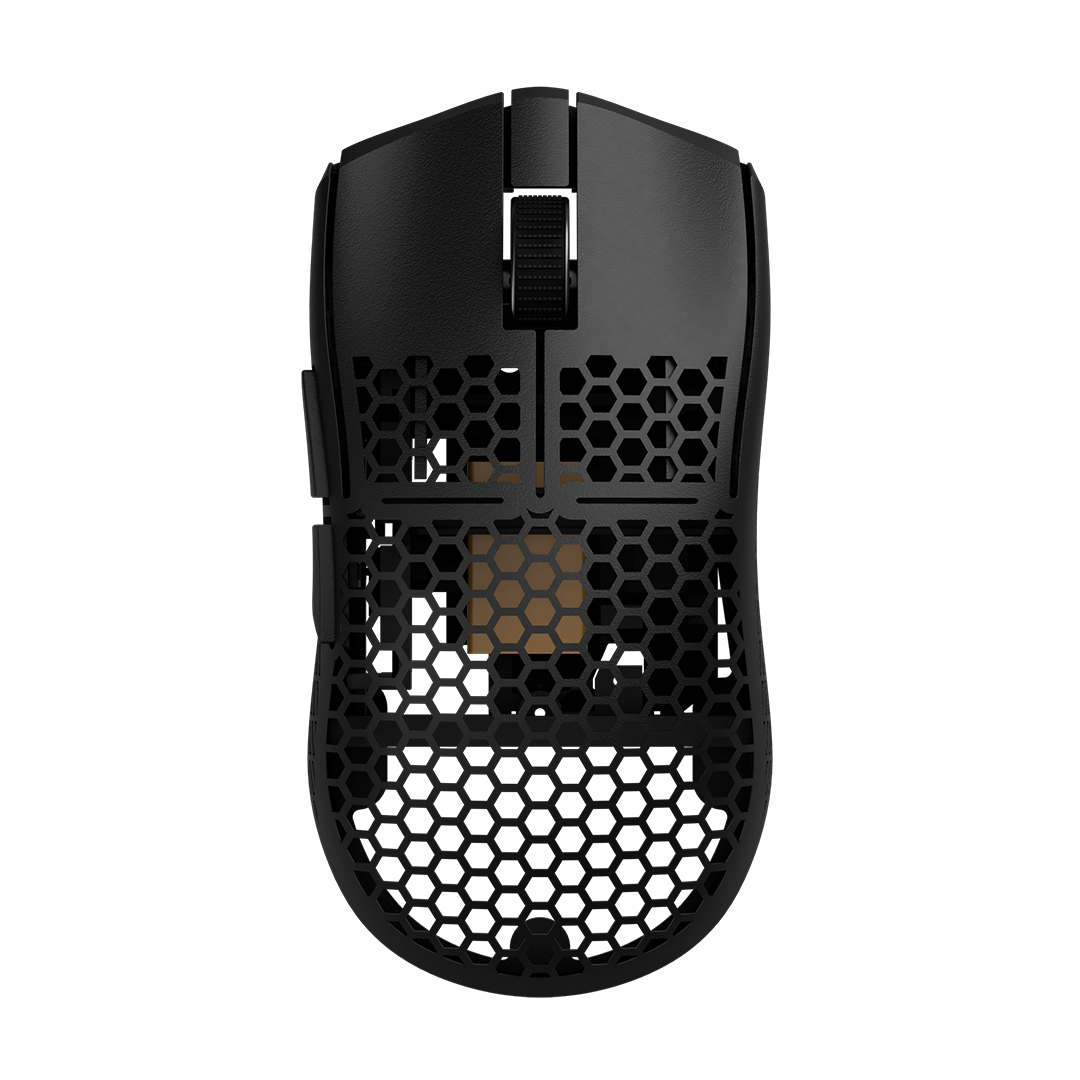
For: Every G304/G305 based design
What you need:
3 printed parts (redrill small holes with a 1.2mm and large holes with 1.8mm drill if needed), one zip tie, Logitech G305(G304) ,micro USB rechargeable AAA battery (any brand will work), Phillips screwdriver.
 |
 |
For the G303 Wireless mod you will need to cut the left micro switch PCB along the black lines. We recommend using a wire cutter.
 |
1) Take apart the G304/G305.
Follow the steps here shown by my friend beardedb0b. Be careful to not damage any cables.
These are the parts we will need in a minute.
 |
2) Add the on/off switch to the bottom shell and make sure the power switch is on the same side as the small pin.
 |
Different screws
The large screws will be for the bottom. Mid screws for PCB, Side buttons, mouse buttons, mouse switch platform. Mid+plate for the side button PCB. Small ones for the mouse switches. The small ones can be replaced for mid ones as well. Mid and small just differ in head-size.
 |
3) Add the PCB and make sure the mouse wheel spring is in it's correct position.
 |
4) Fasten the PCB with the mid-sized screws.
This is very important: don't over-tighten the screws, you will destroy the thread they made themselves.
 |
5) Add the micro switch platforms and fasten the switches with the small screws and finally plug the cable in.
The right switch has written "SWR" on it. Pay attention to the orientation of the plug. The switch platforms should sandwich the PCB.
 |
 |
6) Slide the sidebuttons in and lock them in position with the screws.
 |
7) Add the side button switches , fasten them with the screw that has a small plate and plug the cable in the socket. Once again pay attention to the orientation.
Make sure the side buttons are not activated in the default position and also dont have pretravel. You can adjust the pretravel by bending the side buttons.
 |
8) Insert the mouse button screws.
Screw in two screws in the holes in the mouse buttons. You will later need to calibrate them to your liking.
 |
9) Wrap the zip tie around your screwdriver to give it a twirl, then insert it in the battery holder.
 |
 |
 |
10) Add the larger battery spring in it's correct position and orientation and lock it in place with the battery.
Don't press the battery in completely yet to leave space for the smaller spring. (see next page)
 |
11) Add the smaller spring and press down the battery so that it locks in. Make sure the micro USB port is facing the hole. Fasten the zip tie.
 |
12) Cut the zip tie.
 |
13) Connect the battery cable and slide the top shell on the bottom shell.
 |
 |
14) When joining both shells together pay attention to the pins inside the top shell.
 |
15) Check for the mouse button pretravel. There should not be a gap like in this picture.
(If the screws are completely screwed in and still so close to the switches that those get activated, gently heat the mouse buttons with a hair dryer and bend those up slightly.)
 |
16) Open the mouse again and adjust the screw height until there is no gap anymore.
 |
17) Add the bottom screws.
These are the largest ones.
TIP: If the shell breaks during the assembly, superglue is your friend! If you got the latest version, you will notice that 2 of the 4 bottom screws now sit in the front.
 |
18) I recommend buying a magnetic micro USB cable.

|
19) Add 100% PTFE mouse feet. I recommend G304/G305 hyperglides or corepads.
 |
20) Download Onboard Memory Manager from the official Logitech Support site, set the Report Rate to 1000 for the best experience.
 |
If you need any support with the assembly please write a detailed Email to: support@pmm.gg


