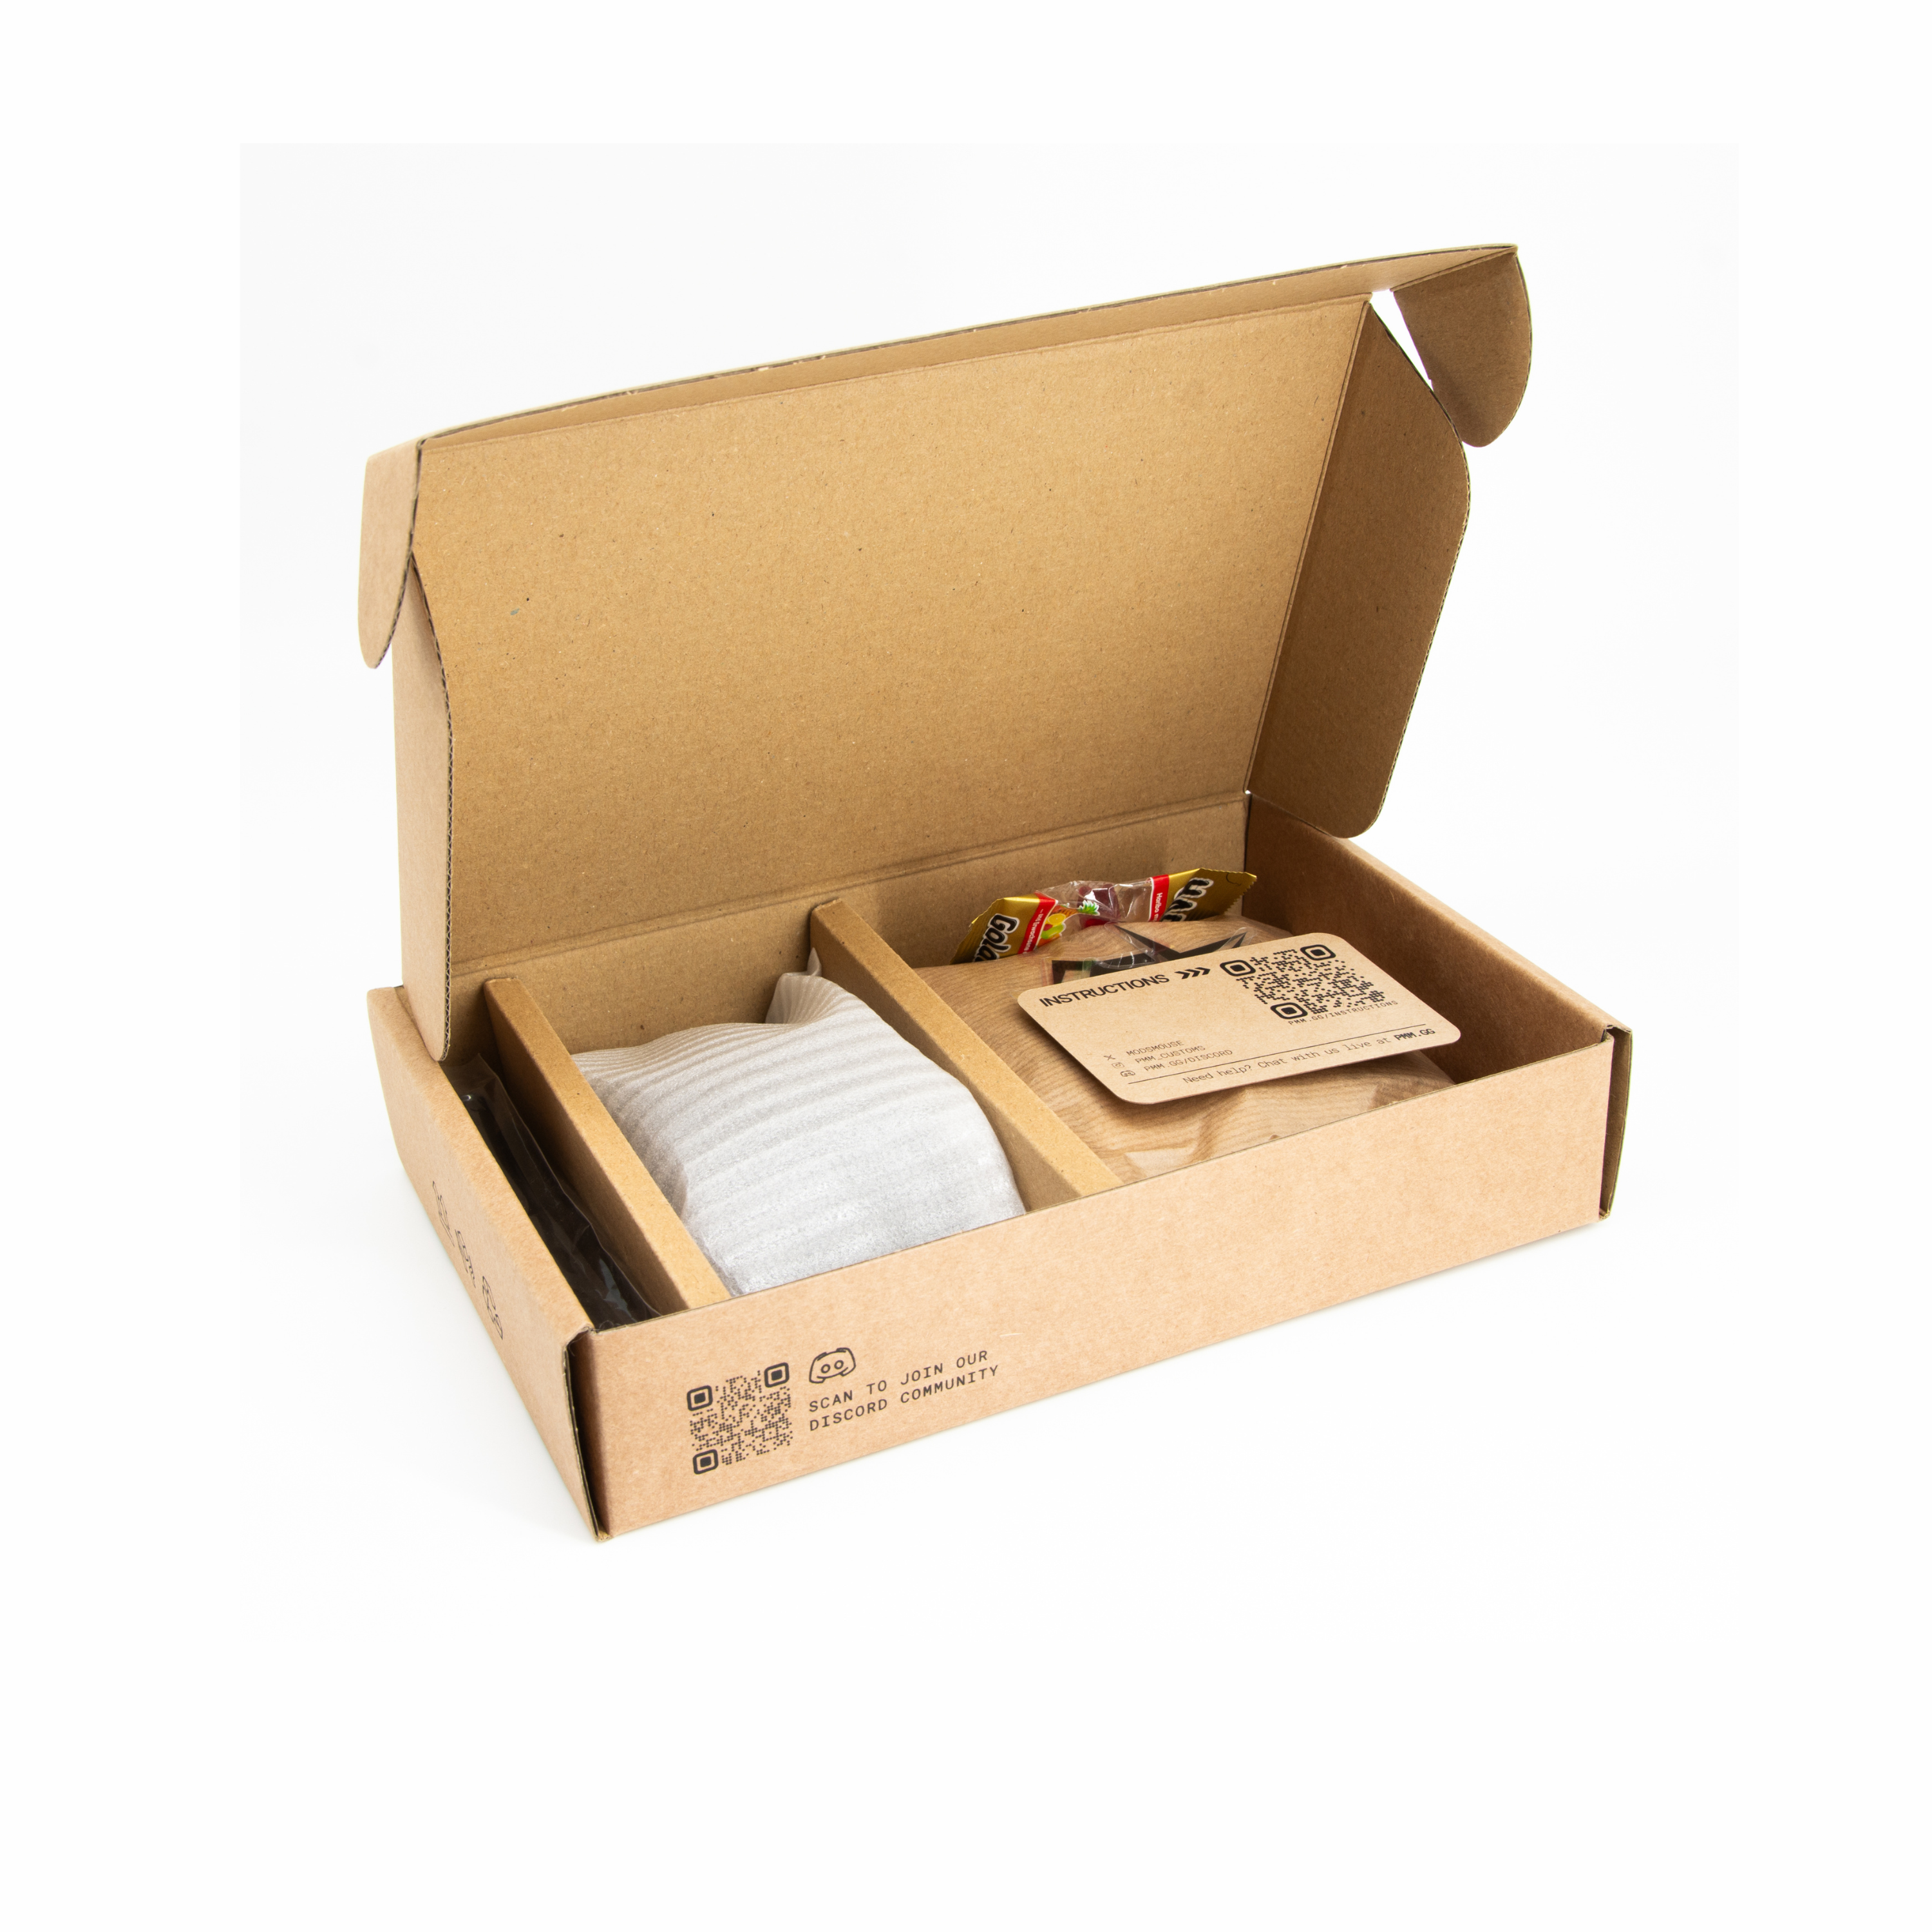
Check if you got all the components of the MOD-KIT
[Your MOD-KIT version might be a newer version but the instructions are still almost the same]

Shell, Clips, Switches, HOT-SWAP, Instructions, Screwdriver, Skates, Charging cable, Magnetic adapter, Battery, Replacement battery cable.
Screw Types

From left to right: Bottom screws, side button screw, mid screws, switch screws [Save those for the end]
[1] Add on/off switch

Pay attention to the orientation!
[2] Add the main PCB

Move the on/off switch to make it lock in.
[3] Check the scrollwheel spring

It has to sit in it's pockets.
[4] Fasten the PCB

Use 5 mid-screws.
[5] Add the side buttons PCB

Place the cable in front of the PCB.
[6] Add the side button screw

Pay attention to the orientation!
[7] Add screws to the clips
Use mid sized screws.
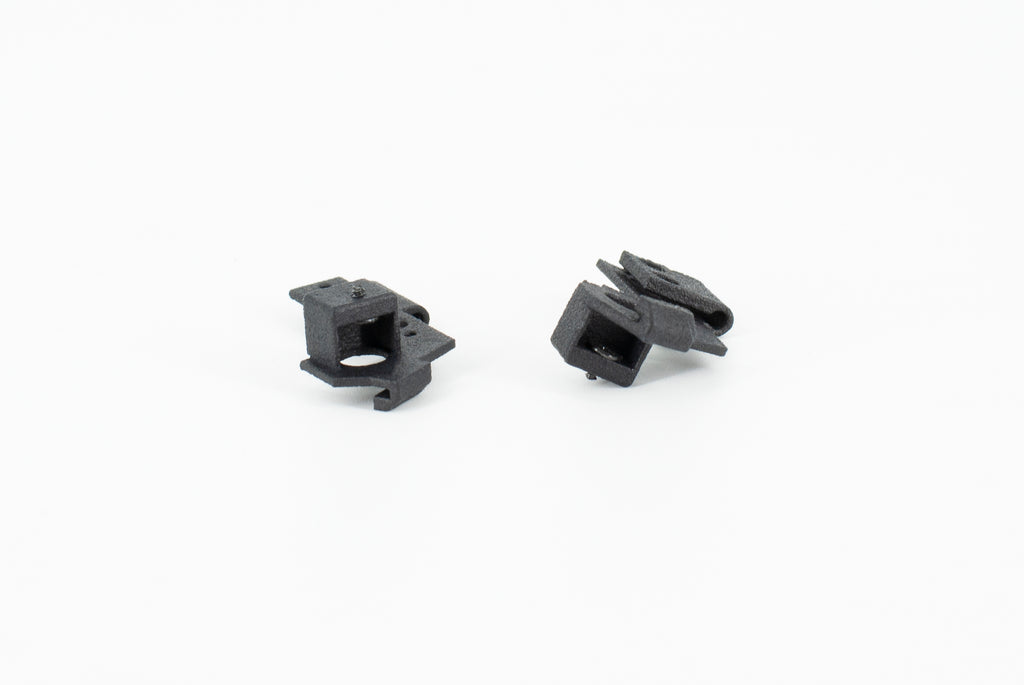
[8] Add the clips

The clips are supposed to "sandwich" the main PCB.
[9] Add the switches to the HOT-SWAP

Pay attention to the orientation!
[10] Add the HOT-SWAP

Pay attention to the orientation of the cable. Use mid-sized screws.

[11] Add mid sized screws [Old MOD-KIT version]

These are for the post-travel calibration of the side buttons.
[12] Add mid sized screws

These are for the post-travel calibration of left and right click.
[13] Add the battery cable

[14] Add the battery

The micro USB socket should be in the back of the mouse.
[15] Add the adapter to the cable

[16] Push the magnetic adapter in the battery. Push against the battery from the other side.
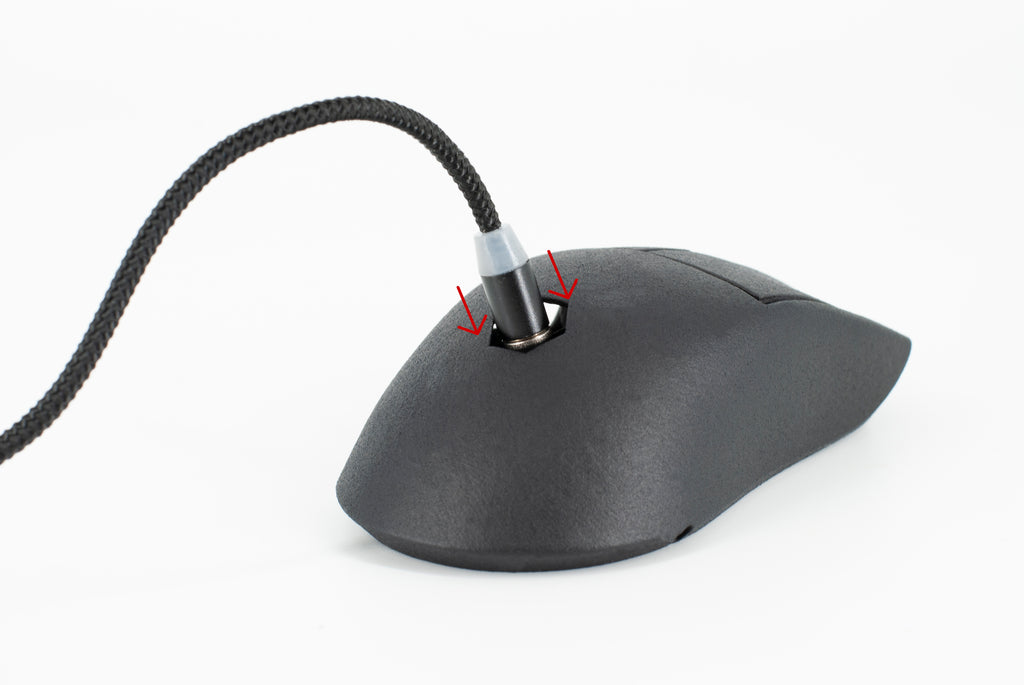
You have to push more than you think. Check if it's charging [Battery LED is blinking green]
[17] Plug in the battery cable

The small pin should tell you the orientation. It looks like it's not all the way in - it is though!
[18] Combine bottom and top shell

Start with the side buttons going in front of the screws. Add the 4 bottom screws at the sides.
[19] Add the switch screws

Depening on the model there will be 2-4 holes.
[20] Add the skates

We recommend adding the small circle in the back.
[21] Caibrate the side buttons

By extending the screws behind the sidebuttons, you can reduce the post-travel.
[22] Check the mouse buttons

If the mouse buttons touch the shell in the front before they activate, you need to calibrate them.
[23] Calibration

To fix the mentioned issue, extend the screws in the mouse buttons half a turn to the left and check again.
[24] Pre-travel calibration

To calibrate the pre-travel, turn the screws in the clips to the left and pull down the mouse buttons.
[25] Install drivers
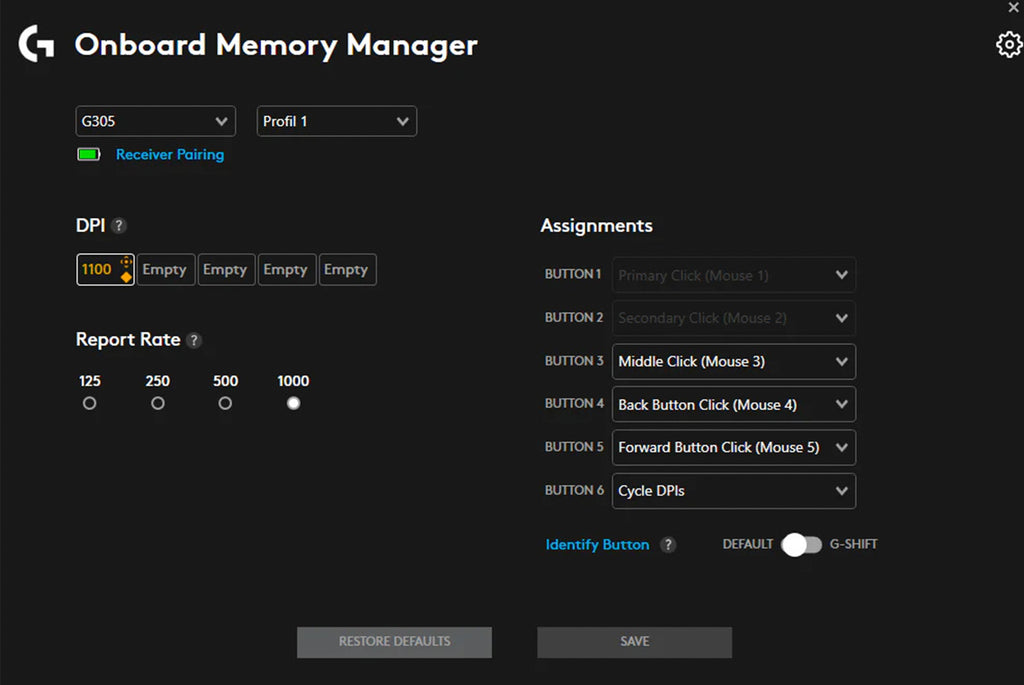
To change the DPI install drivers. Download Link to Onboard Memory Managment from the official Logitech Support site. Make sure to set the report rate to 1000. If you encounter issues with this software, try this one instead.