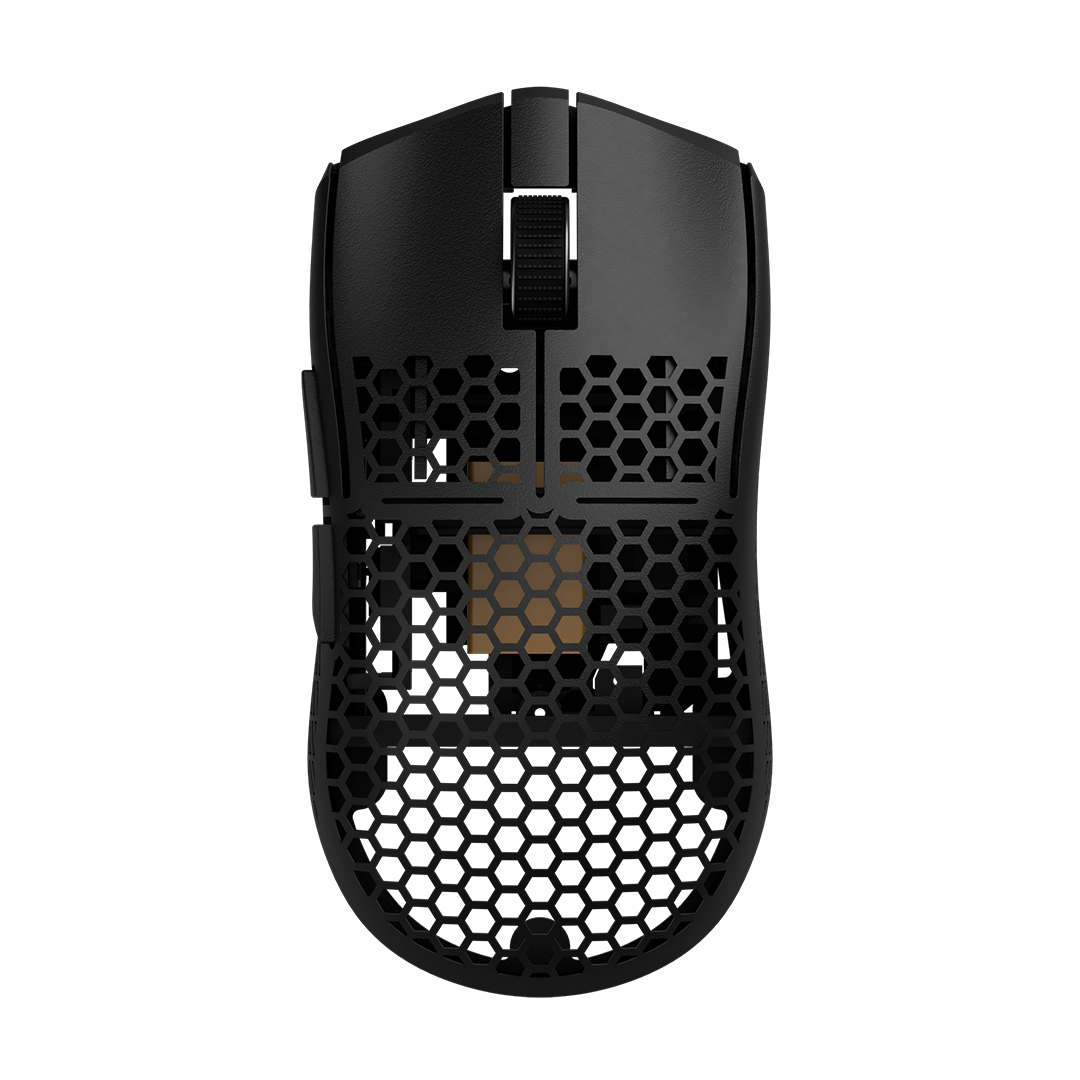
300mAh battery
If you went for the larger battery, it will only fit in this position.

What you need
Shell, 3D printed scrollwheel, Deathadder V3 Pro PCB, Battery, 2 cross screws (from the PCB), cross screwdriver. The smaller battery is part of the kit, if you selected it.

Prepare the PCB
Add the battery to the PCB and connect it like on the picture as well as the side button PCB. Replace the scrollwheel with the 3D printed one.

Add the side button PCB
A pair of pliers will help here.

Add carbon fiber rods
The rods will stabilize the shell. Start with the rod holder on the opposite of the side buttons. Never versions will just need one rod.

Add the mouse wheel holder [New version]
Add the mousewheel to the PCB, now attach the holder to the PCB. You will later have to screw it in the top shell. Older versions will have pins that you push in the PCB. Make sure that the mouse wheel is centered.

Place the PCB
Adding the PCB is a bit challenging. Don't give up too easily! In the first step you place the PCB over the small structures in the front.

Careful with the white plug
The white battery plug might be in the way when pushing the PCB down.

Connect the side button PCB
Frustration warning! This step can take around 5 minutes. Fixate the side button PCB cable with a par of tweezers or pliers and push the main PCB down.

Add the screws
Fasten the 2 PCB screws in the back. That's all the screws needed. Stop fastening the screws when you feel resistance, otherwise you might destroy the thread. Apply the skates like shown in the photo.

Final checks
Check if all four large mouse skates touch the ground. If that is not the case it is possible that the PCB or shell got slightly bent during the disassembly process. To fix this, it is possible to bend the mouse in to opposite direction as it's deformed. Repeat the process until all mouse skates are on the ground. If the scroll wheel feels too tight, contact our support team at support@pmm.gg
Have fun gaming!

Connect 8K dongle
First make sure to update the firmware.
Then you can connect the dongle using these instructions.
You might need to update the dongle firmware.


