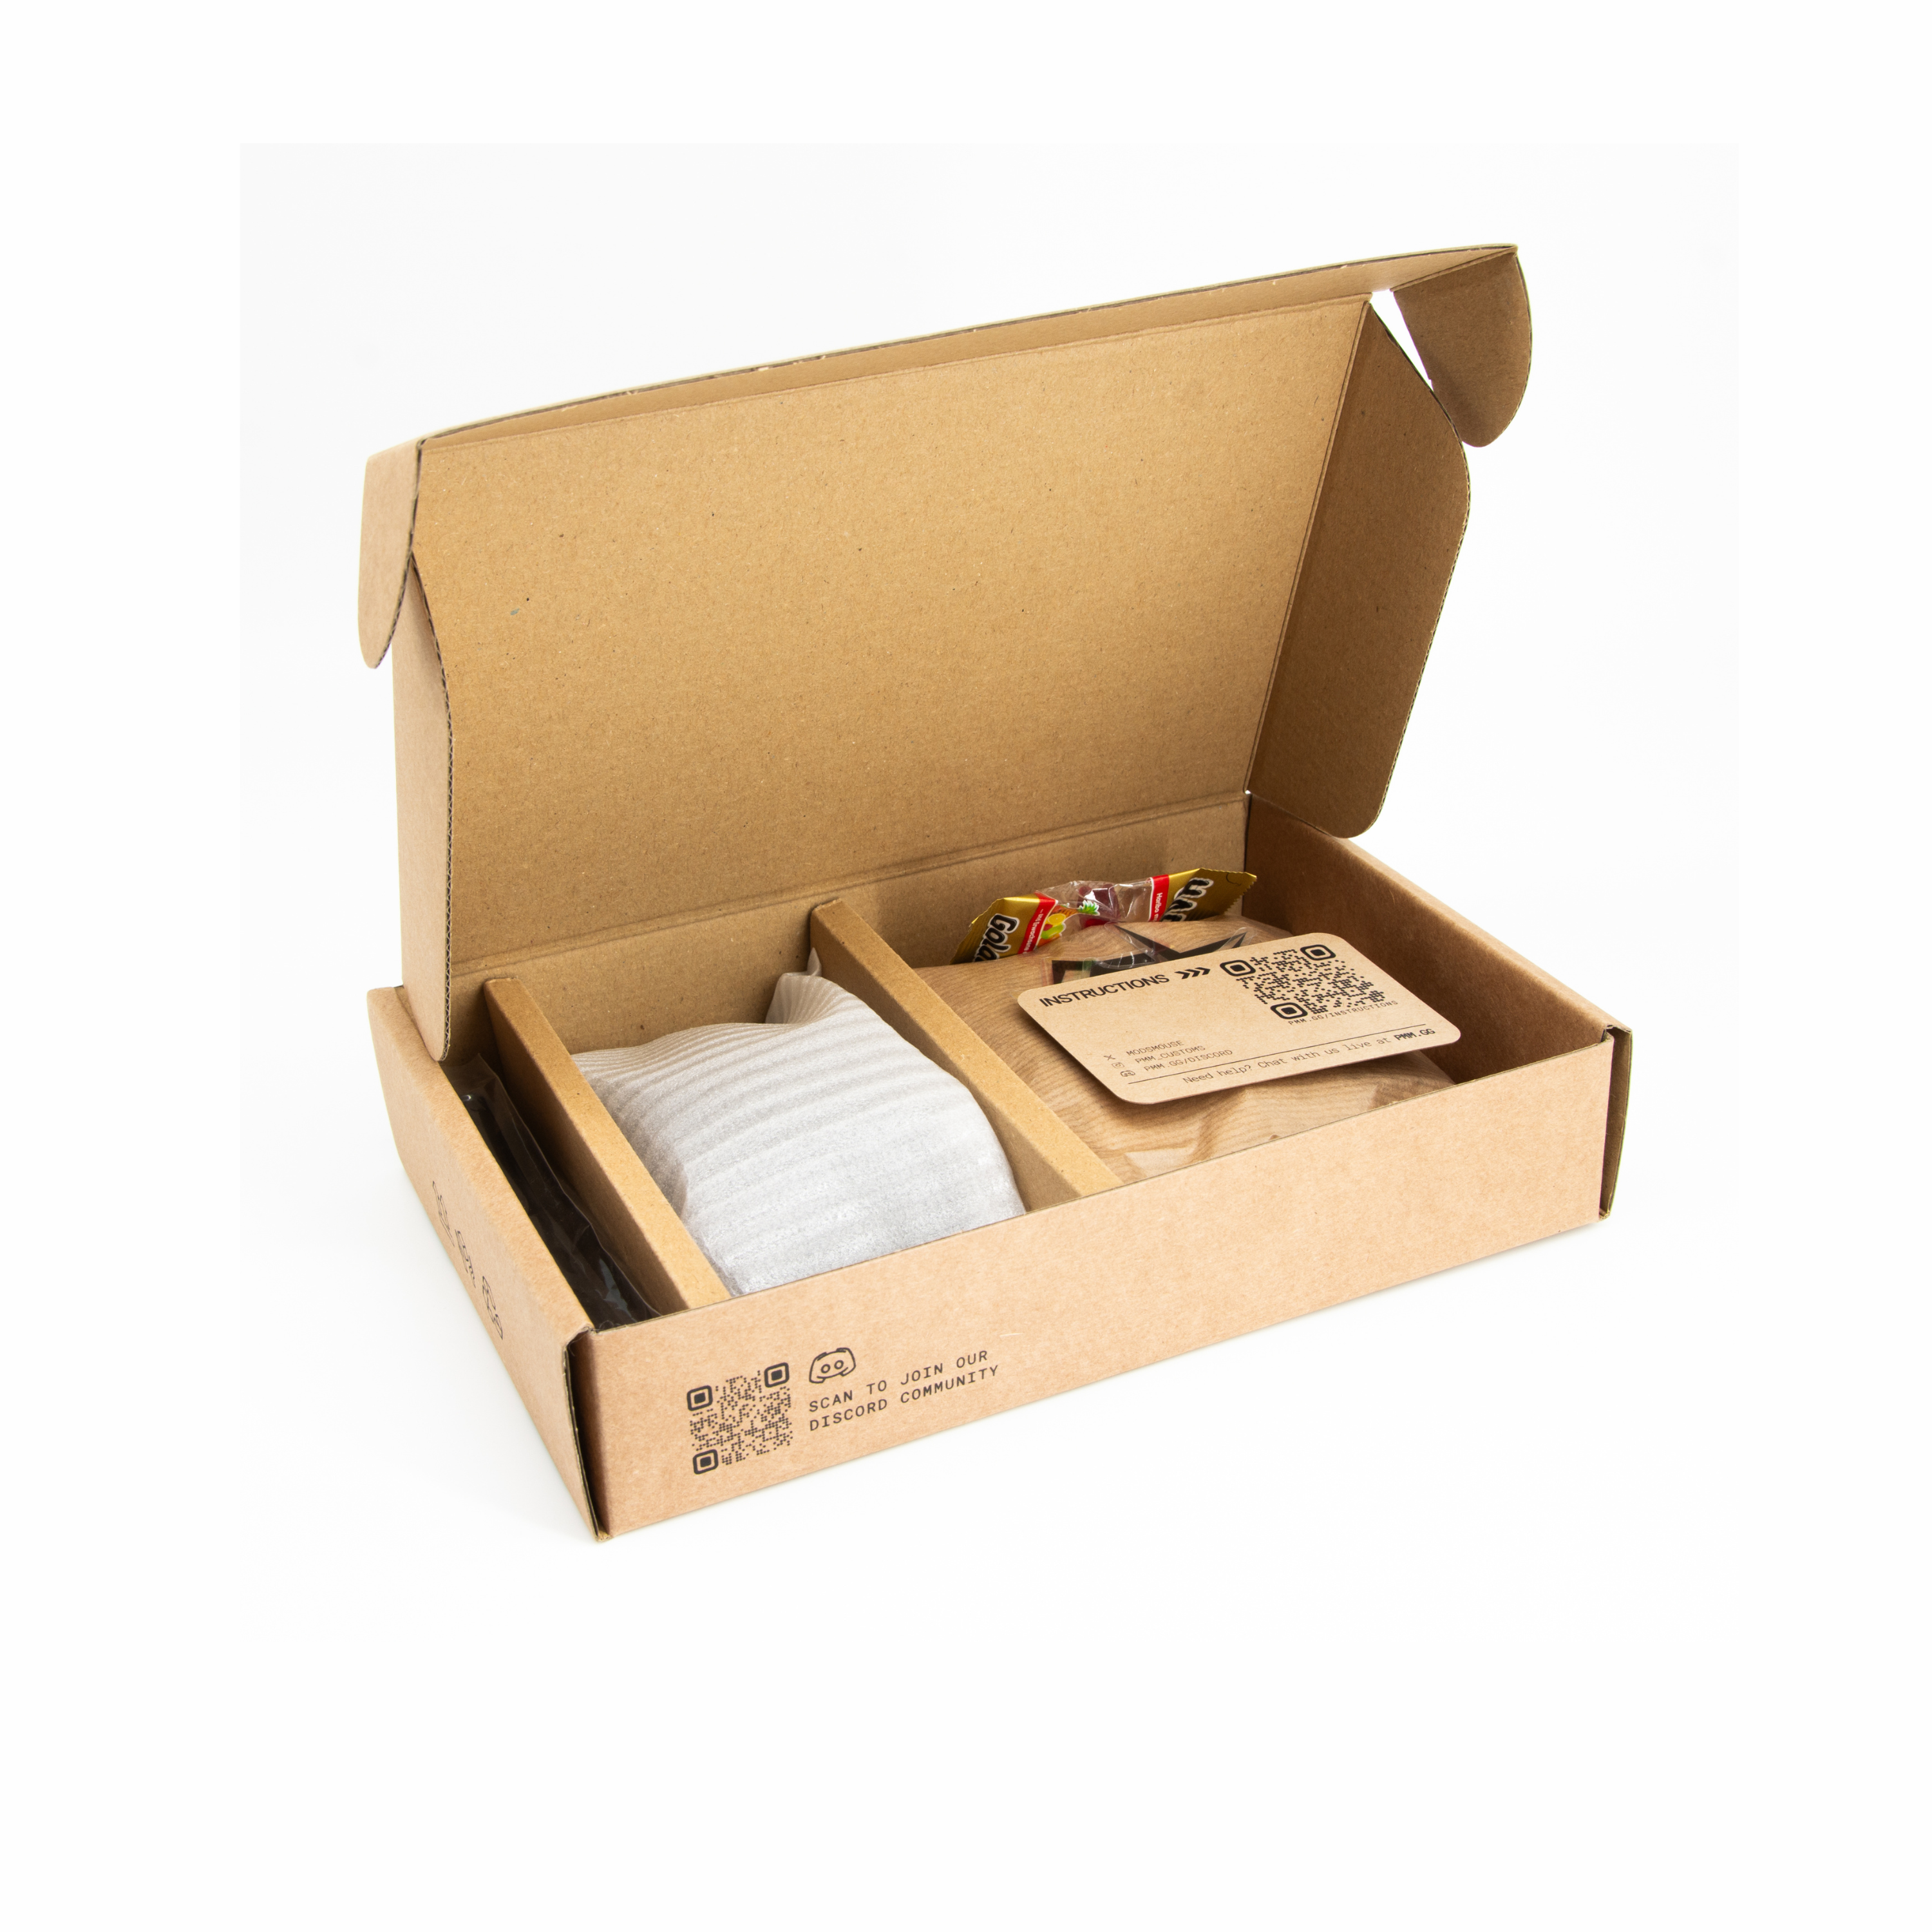
Instructions
You need a Phillips PH00 screwdriver. Proceed at your own risk.

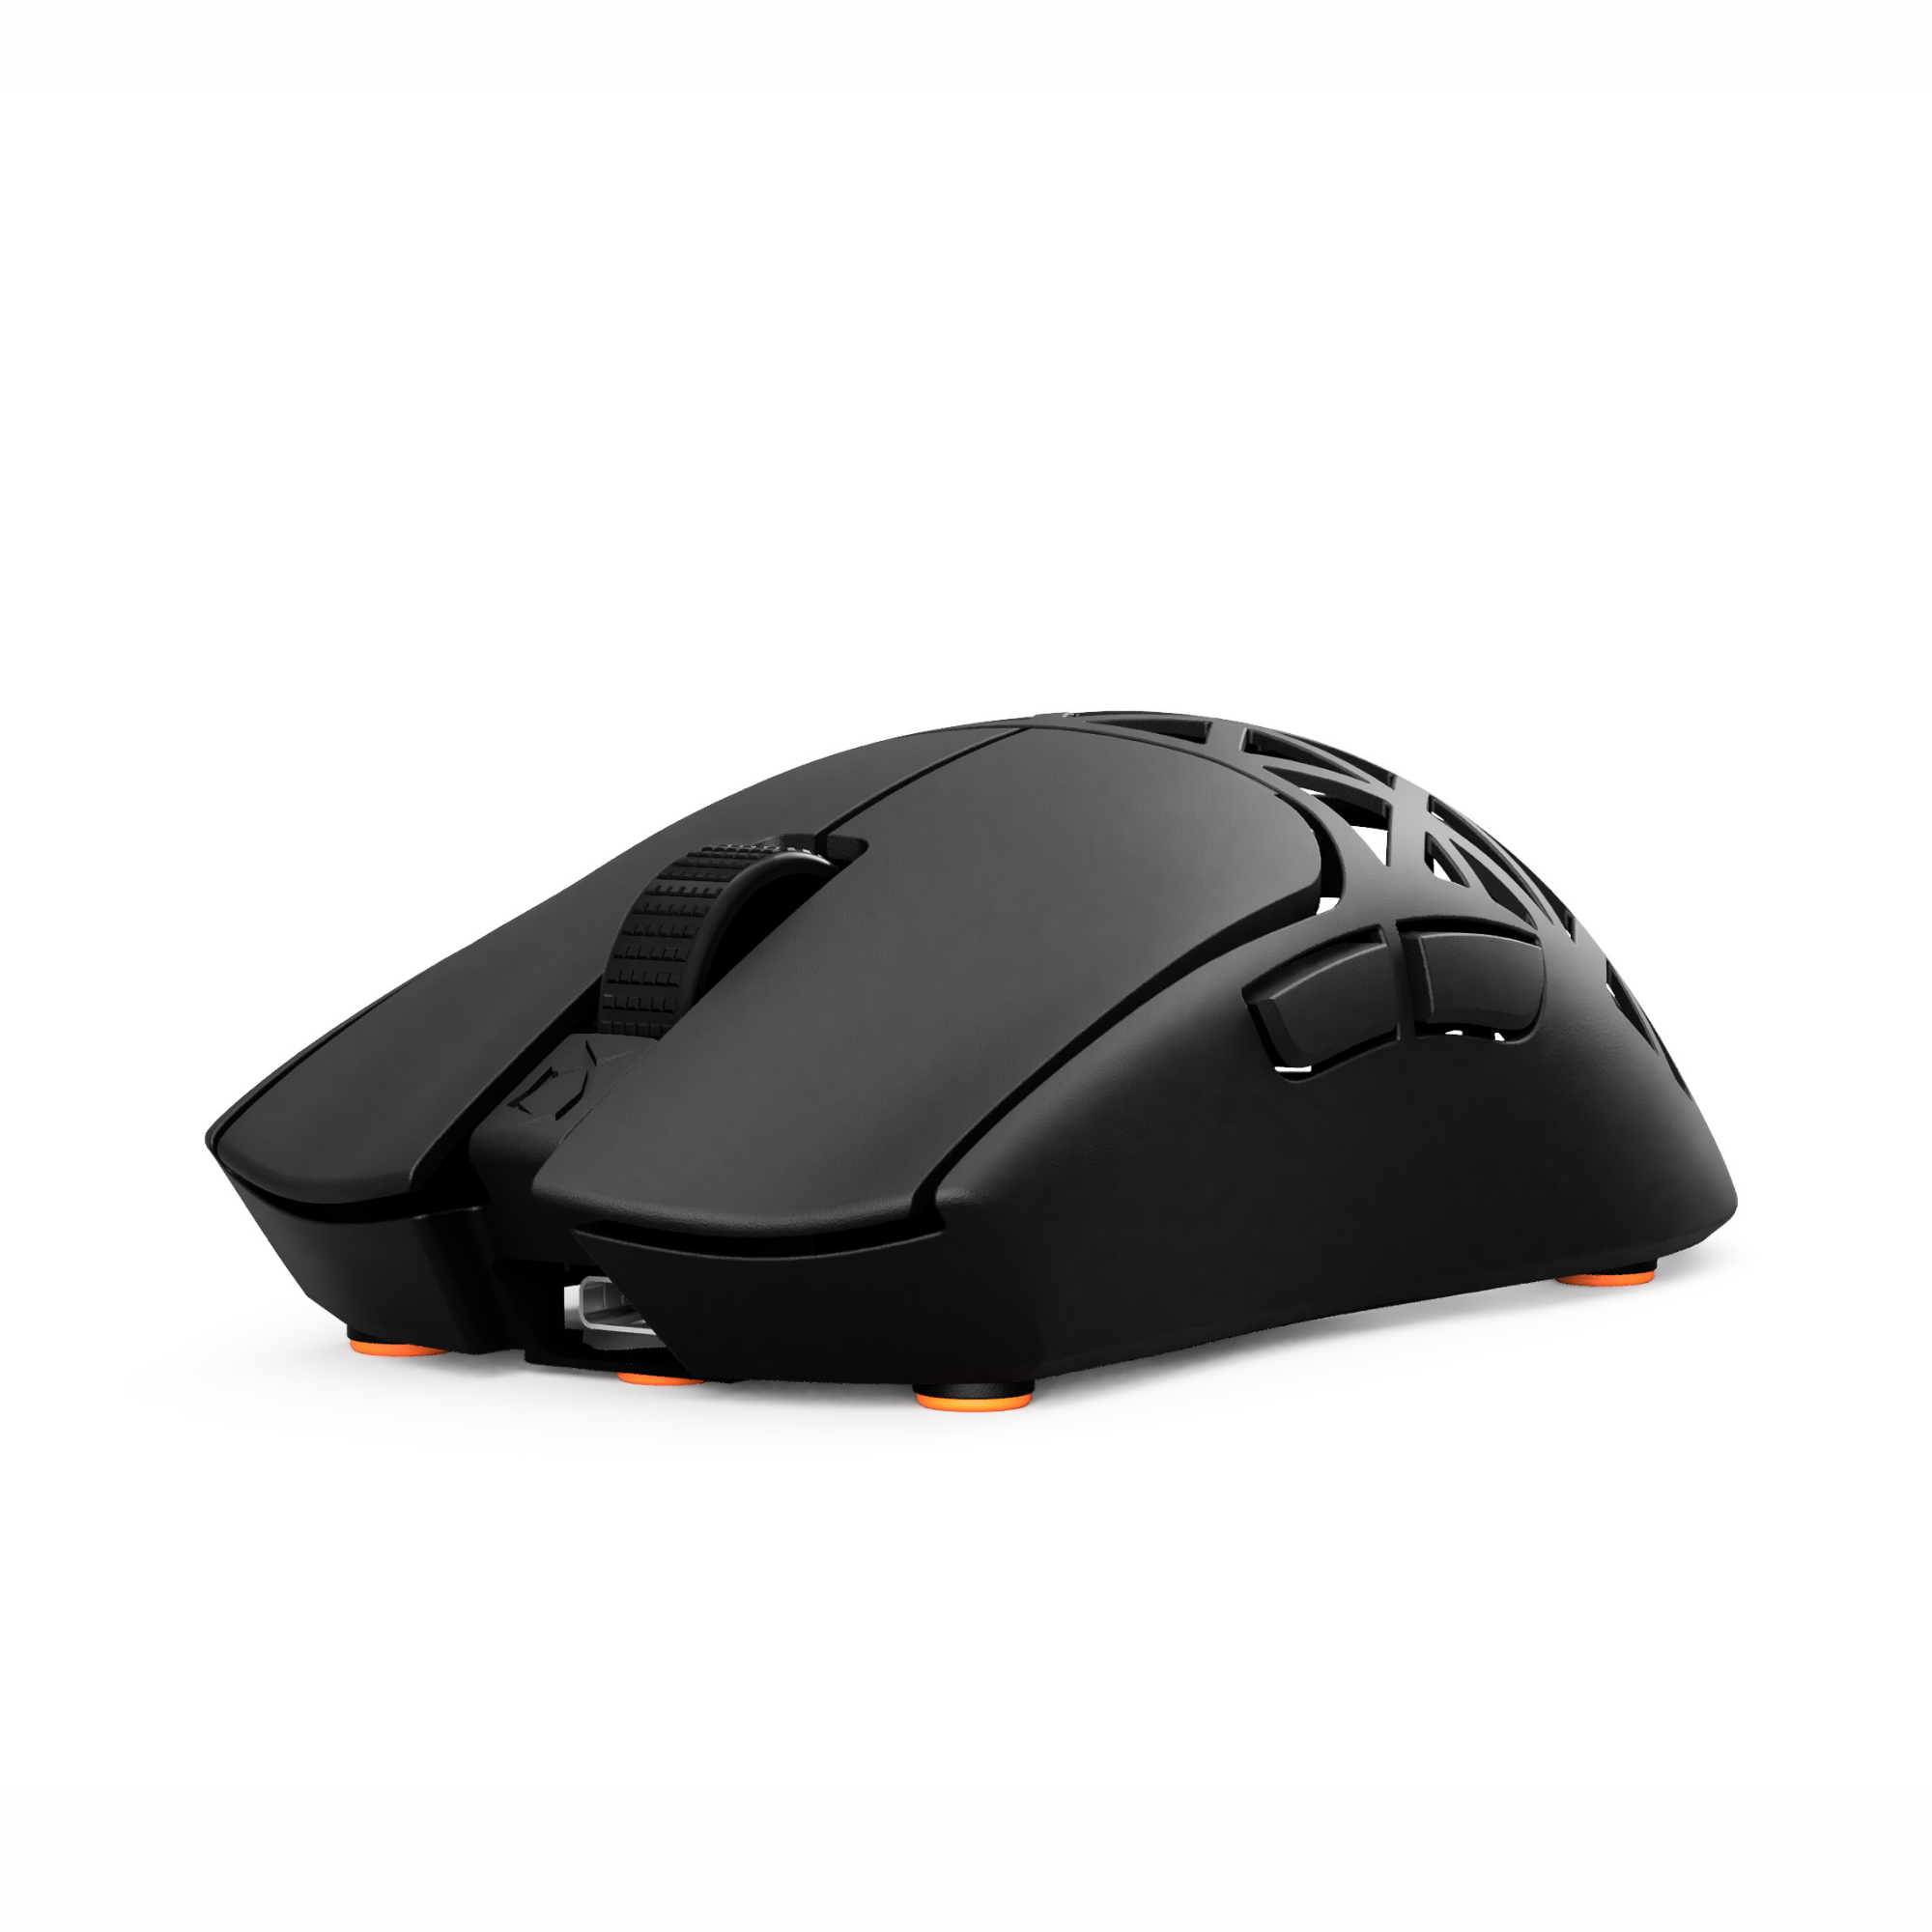
Identify your design version
If you have this design version, you will find separate instructions regarding the mouse wheel at the end of this page.

Battery wrapping
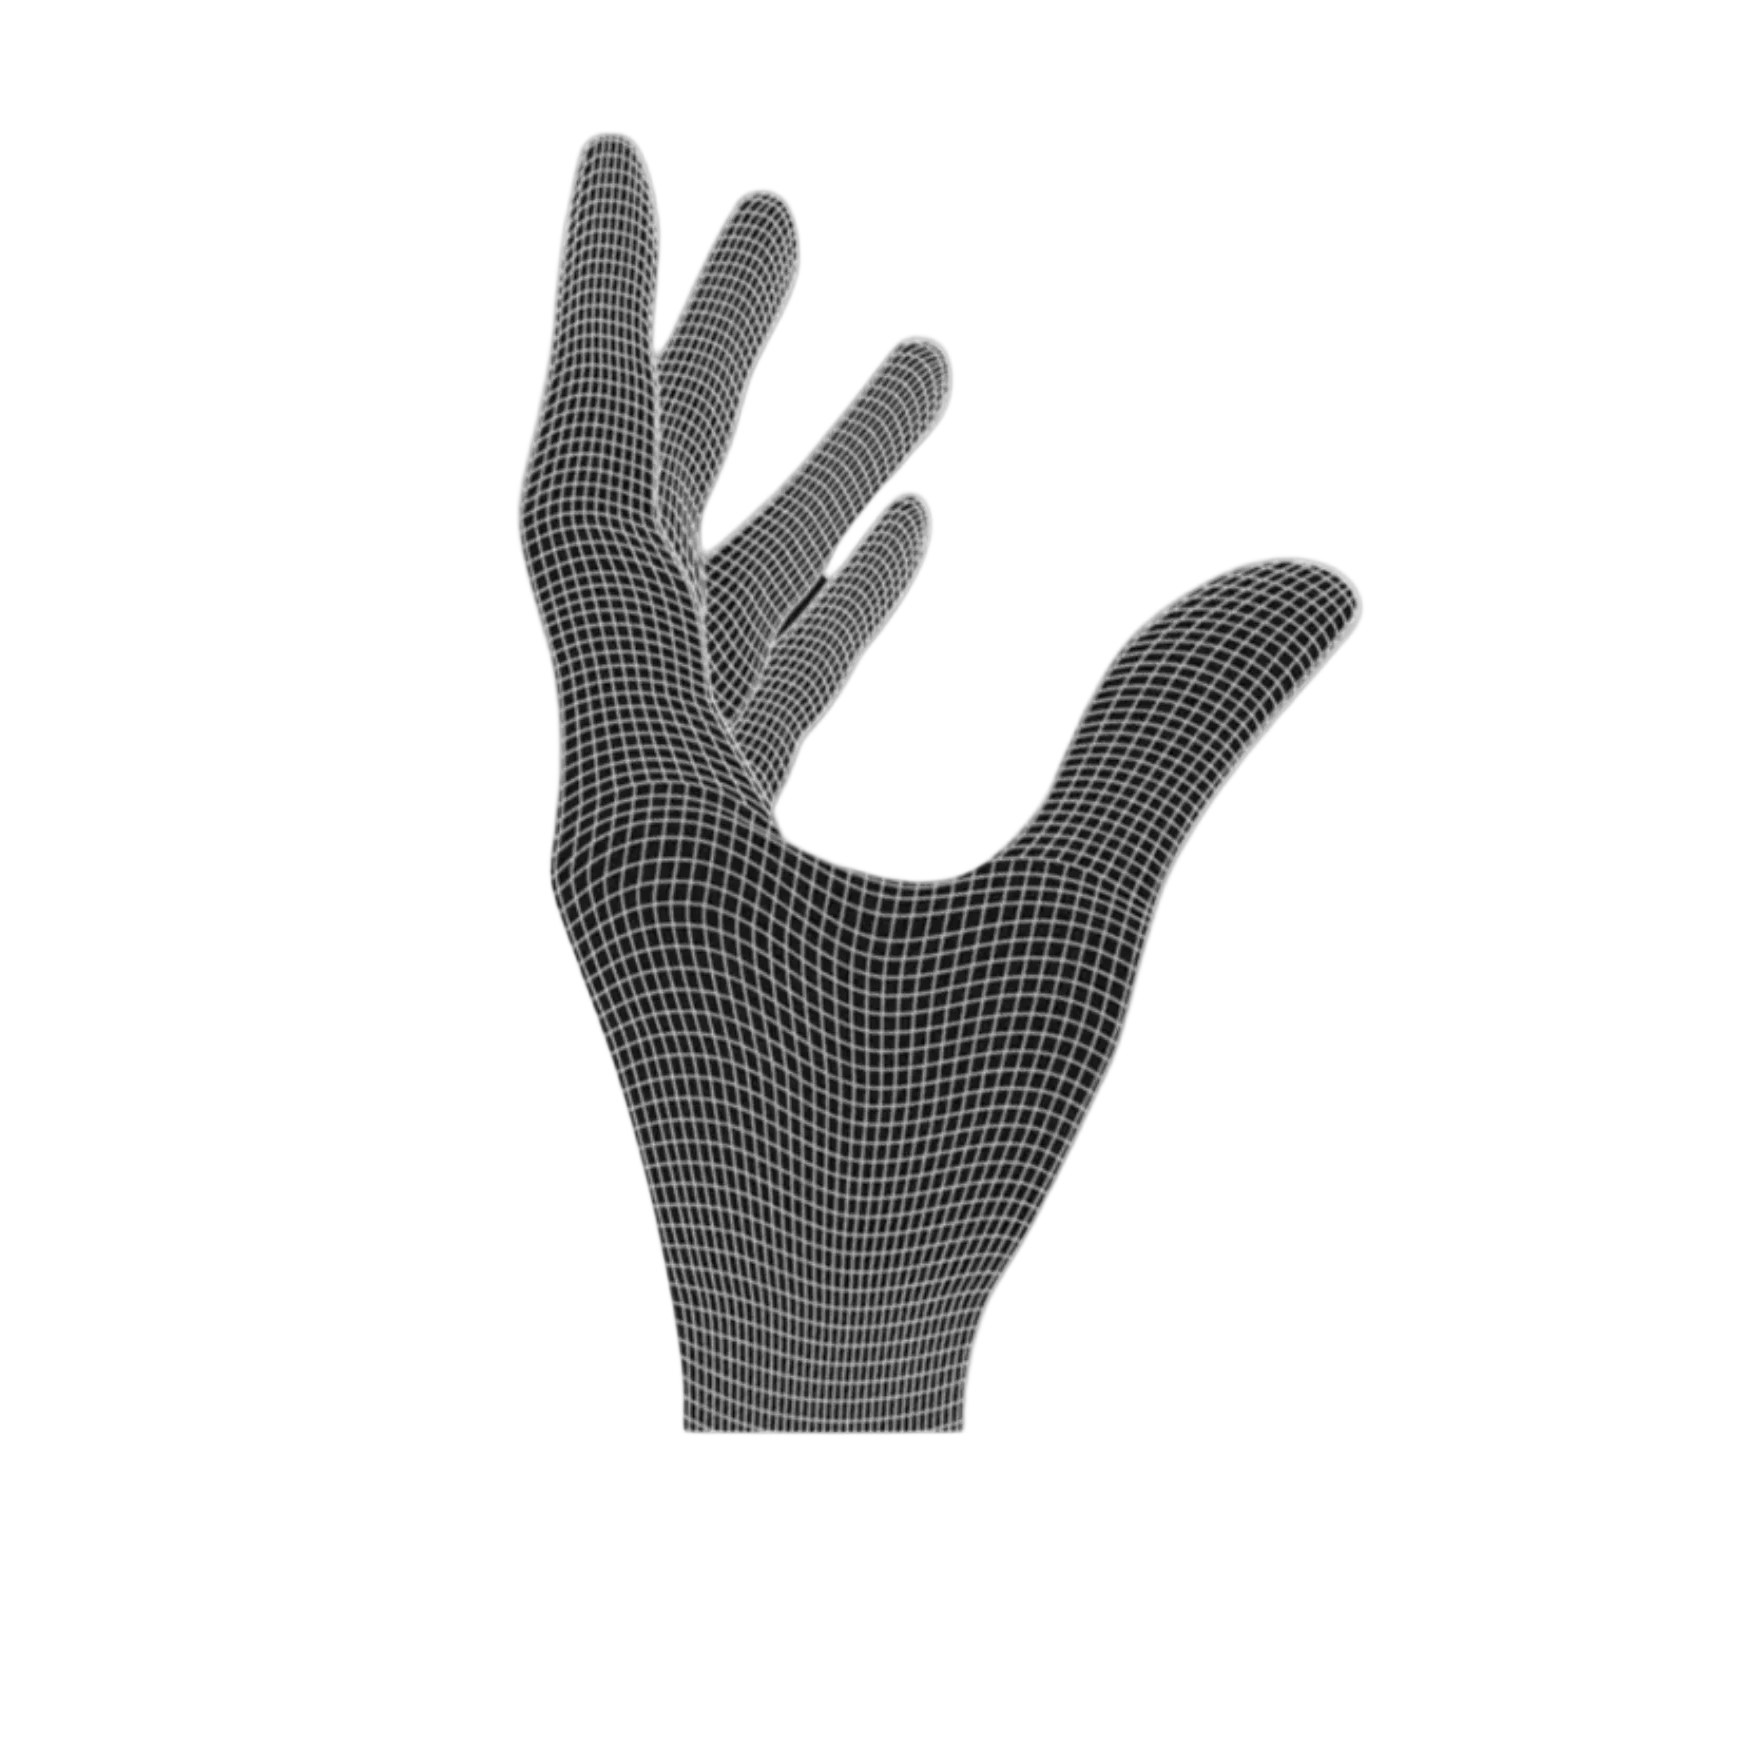
STEP 1: PREVENT PRE-TRAVEL
- Bend the mouse buttons down. Hold for 3-5 seconds.
STEP 1
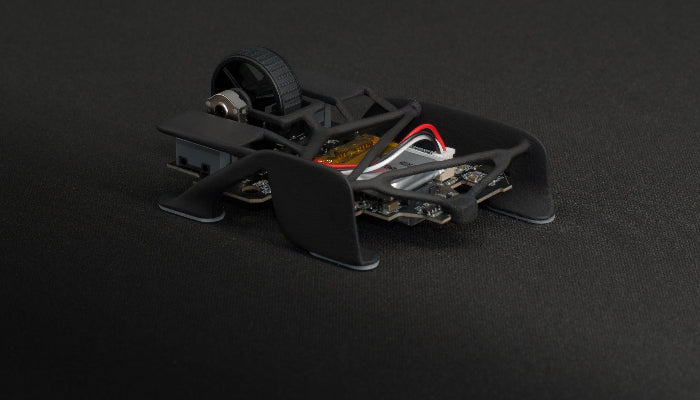
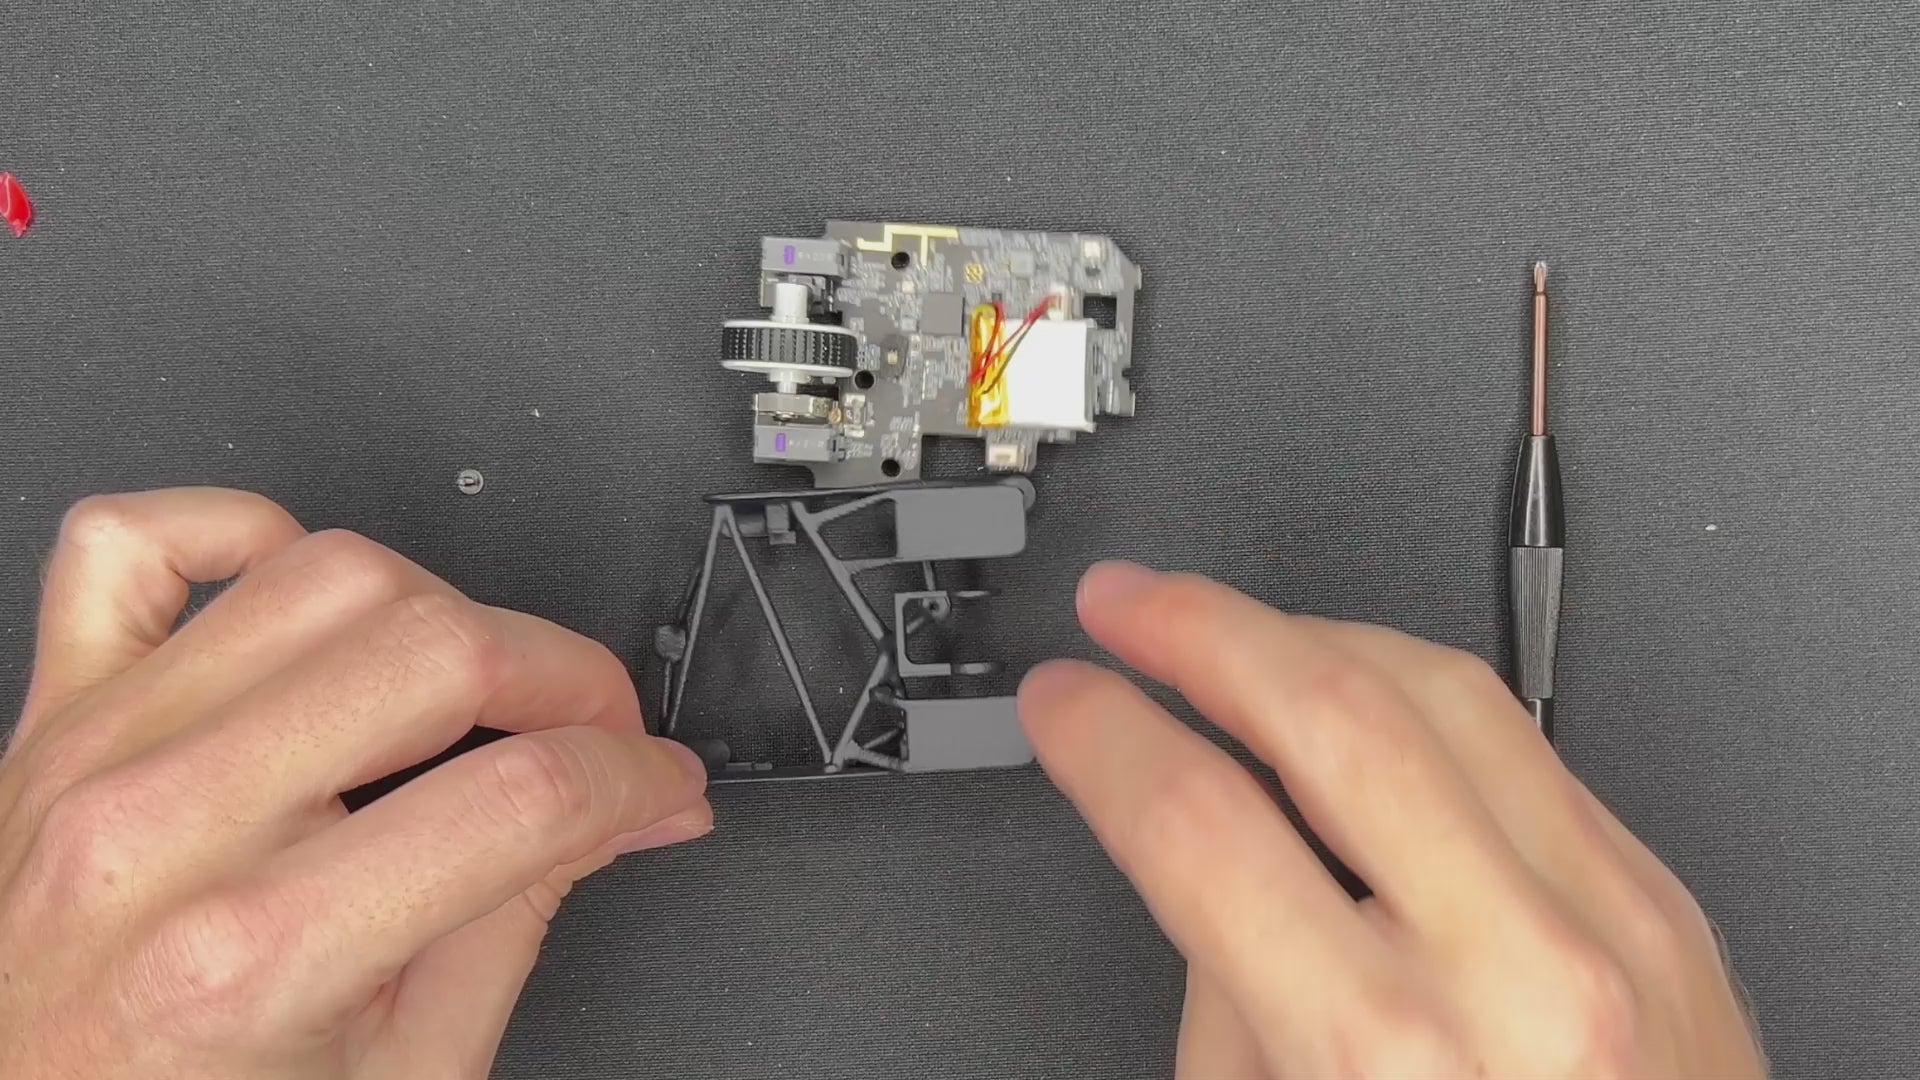
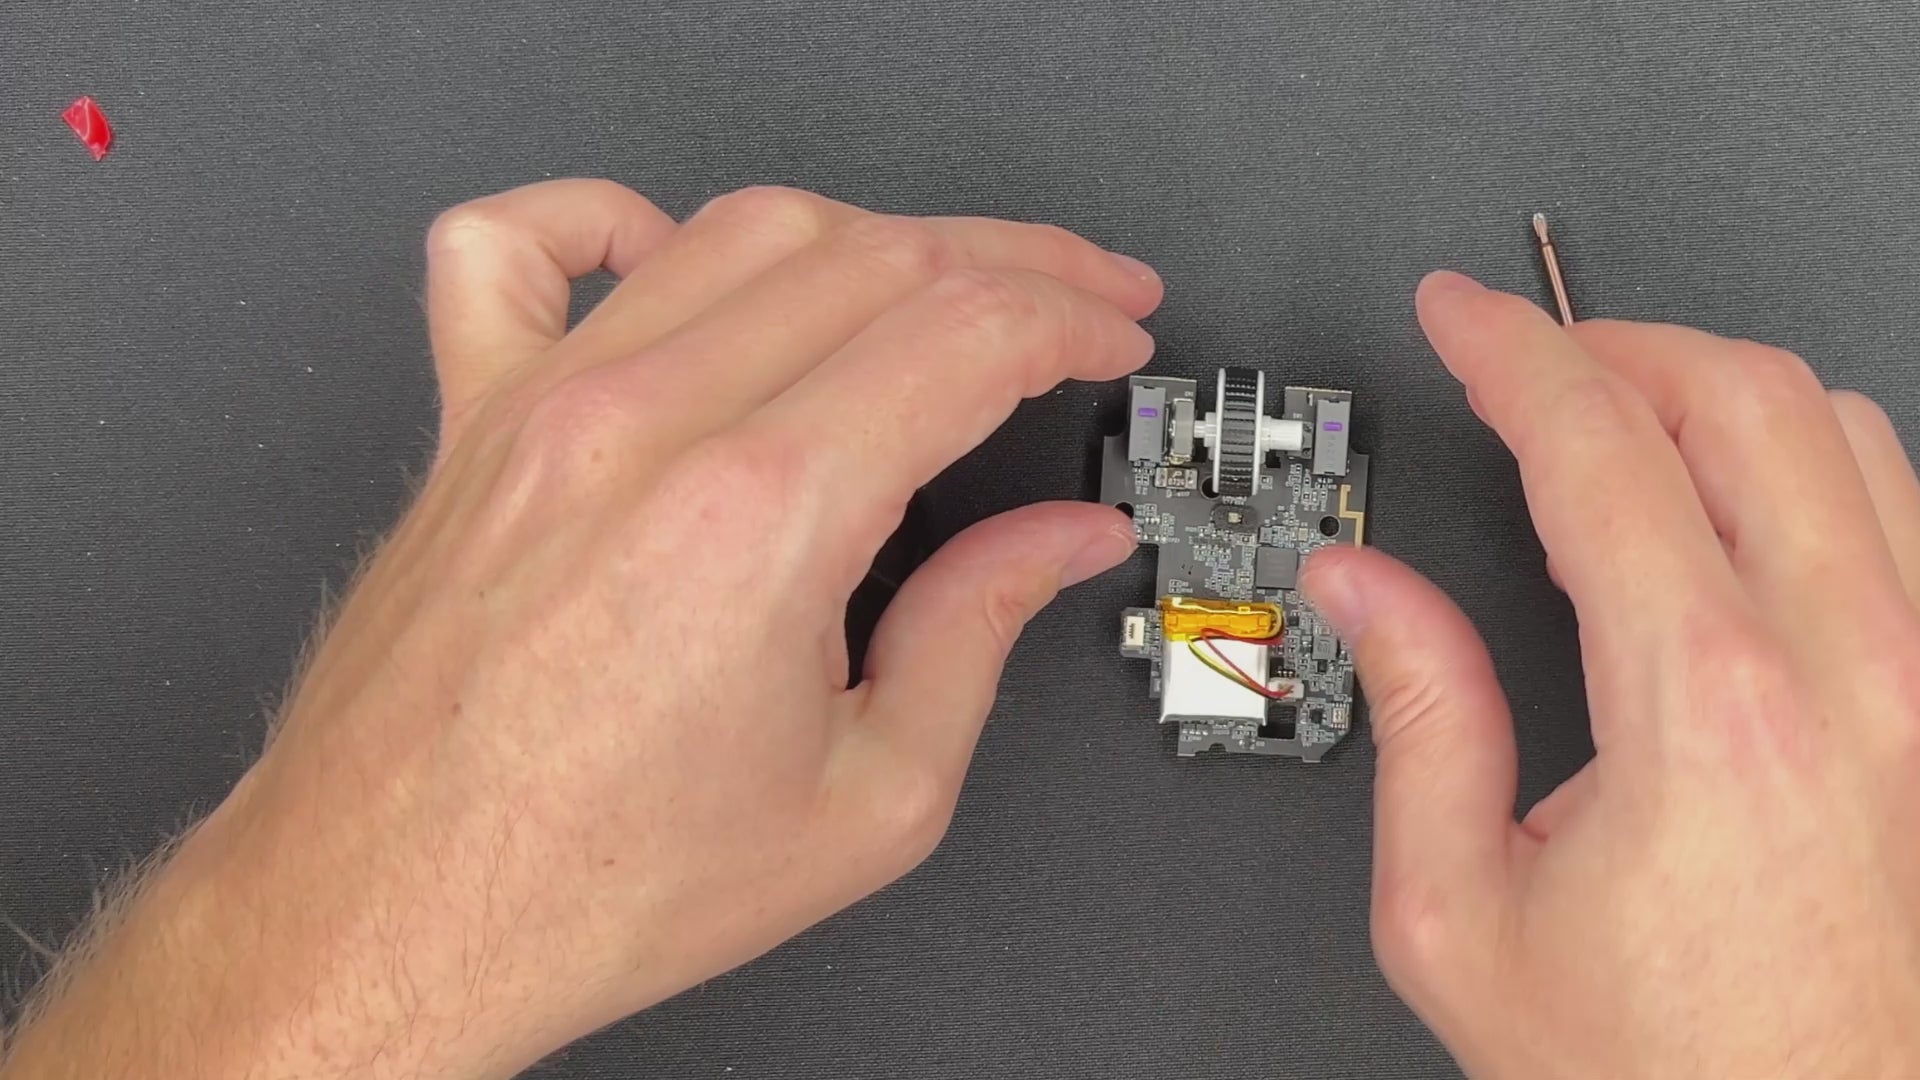
STEP 2: INSTALL THE PCB
- Unplug the mouse wheel from the PCB.
- Gently bend the shell to add the PCB starting from the left, longer side of the mouse.
- Gently click the PCB into the designated spots.
- The PCB should align with the screw holes of the shell.
- Check if the clicks are working, they might not be perfect at this stage. This will be fixed soon.
STEP 2
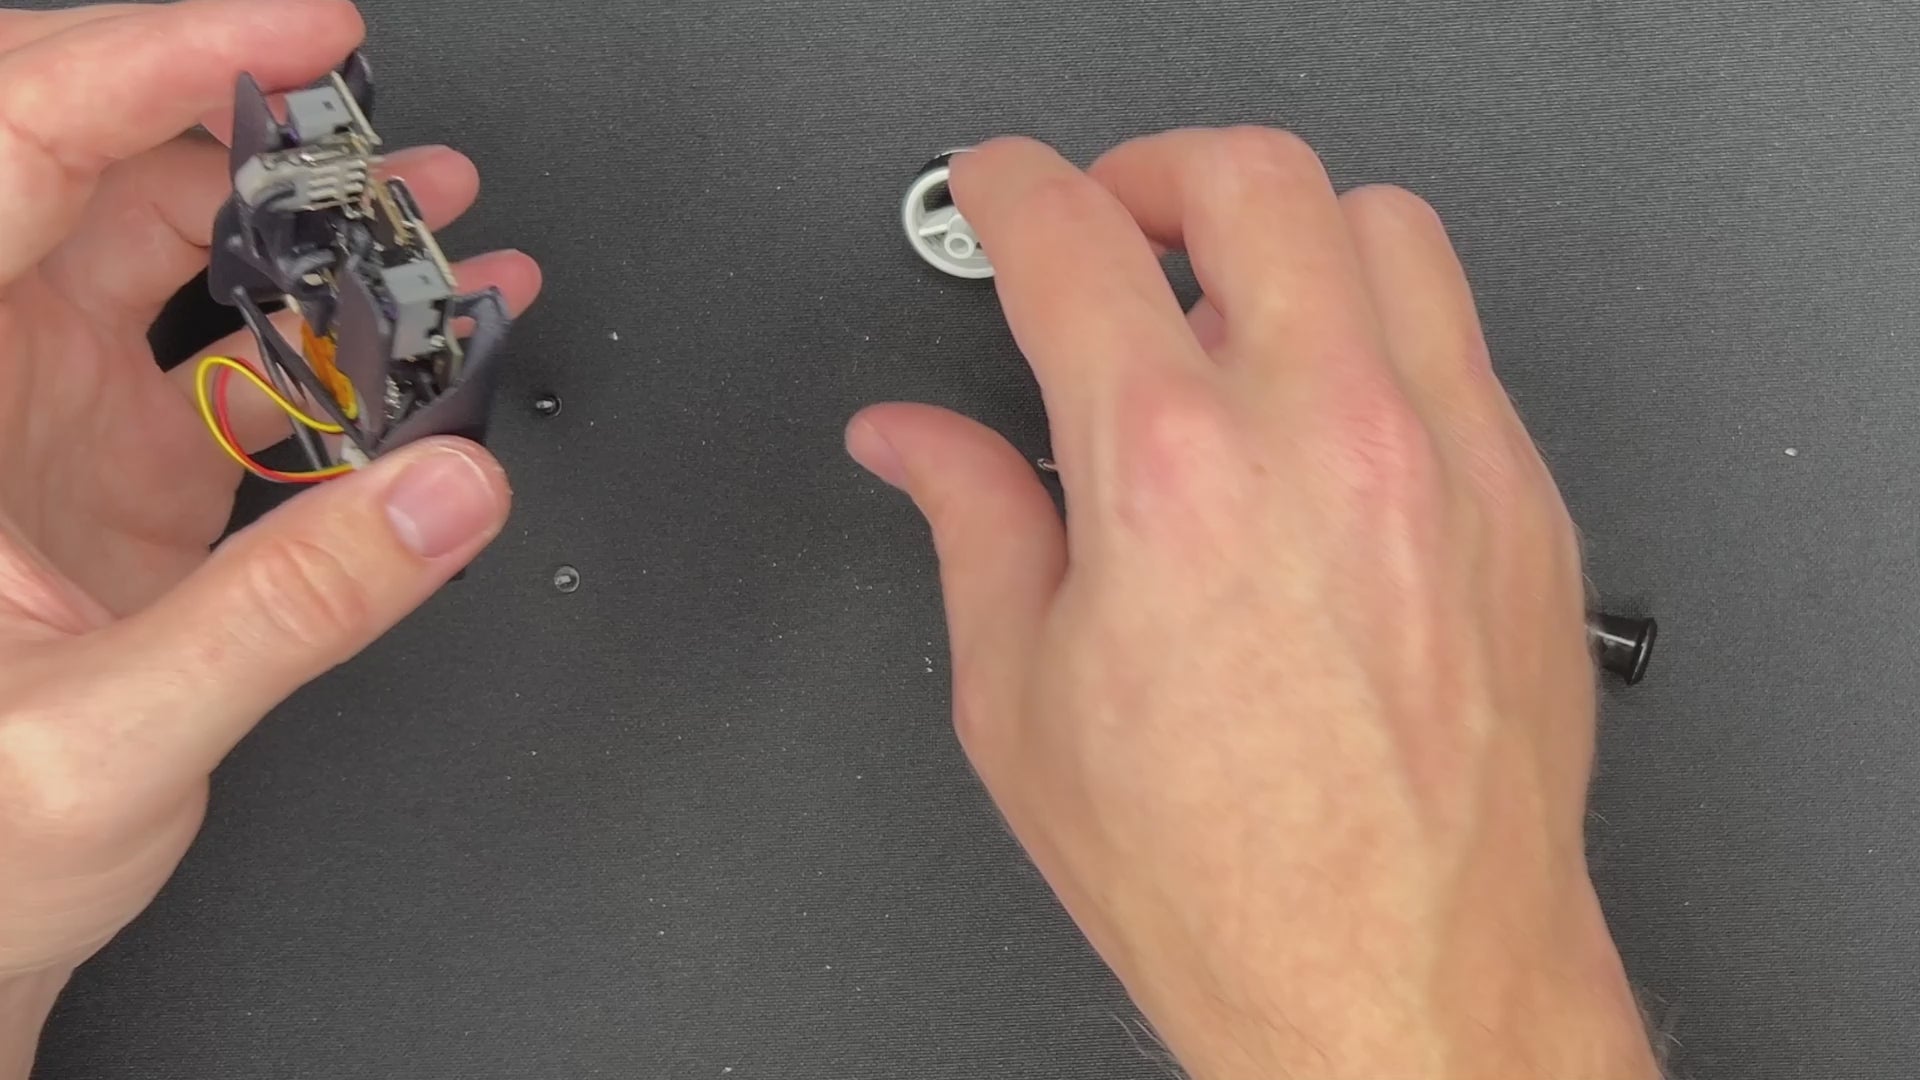
STEP 3: ADD THE SCROLL WHEEL
- Slightly bend the mouse wheel holder. Plug the wheel into the encoder.
STEP 3
STEP 4: ADD MOUSE FEET
- Put them on the designated spot. Make sure to align the skates with the shell properly.

STEP 4

Design version with separate mouse wheel holder
Add the mouse wheel holder and fasten it with the screw.
The bar is supposed to sit on top of the UCB-C socket.
Then add the mouse wheel by slightly pushing the holder to the side.
YOU DID IT!
Well done.
FINAL CHECK
Check if all four mouse skates touch the ground. If that is not the case it is possible that the PCB got slightly bent during the disassembly process. To fix this problem you need to bend down the PCB in the corner where a mouse skate does not touch the desk. You can keep the mouse assembled during this step. Repeat the process until all mouse skates are on the ground. If the scroll wheel feels too tight contact our support team at support@pmm.gg